
The Alocasia plant, known for its striking foliage, has a rich history and requires specific care to thrive. Originally from tropical regions, this plant is cherished for its unique leaf shapes and textures. Understanding its background and care needs is essential for any plant enthusiast.
Understanding the Alocasia Plant
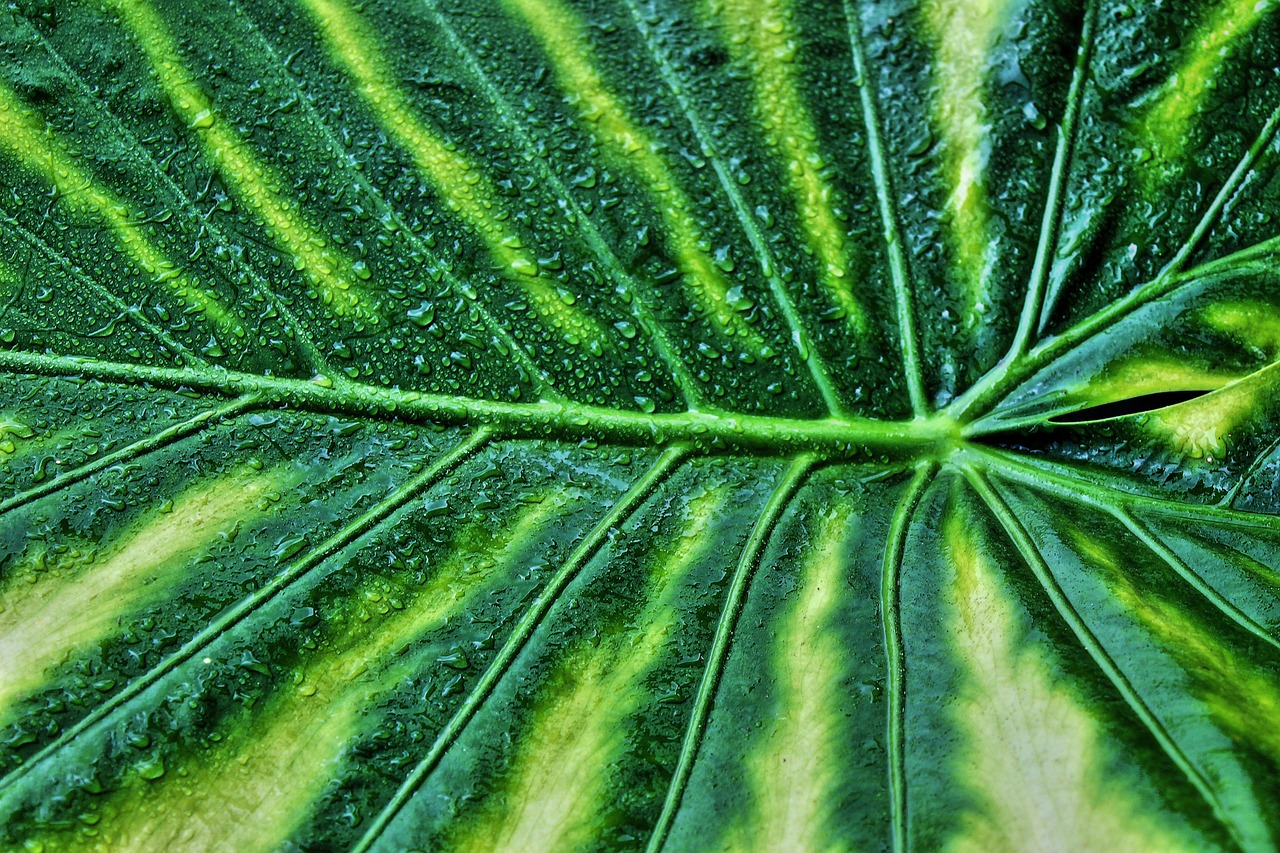
The Alocasia plant, part of the Araceae family, is native to Southeast Asia. It is commonly referred to as elephant ear due to its large, heart-shaped leaves. There are many species of Alocasia, each with unique characteristics. This diversity makes them popular among indoor gardeners and collectors.
Historically, Alocasia plants have been significant in various cultures. They have been used in traditional medicine and as ornamental plants in gardens. Their striking appearance adds a tropical vibe to any space, making them a favorite choice for indoor decoration.
Key Characteristics
Alocasia plants are known for several key features:
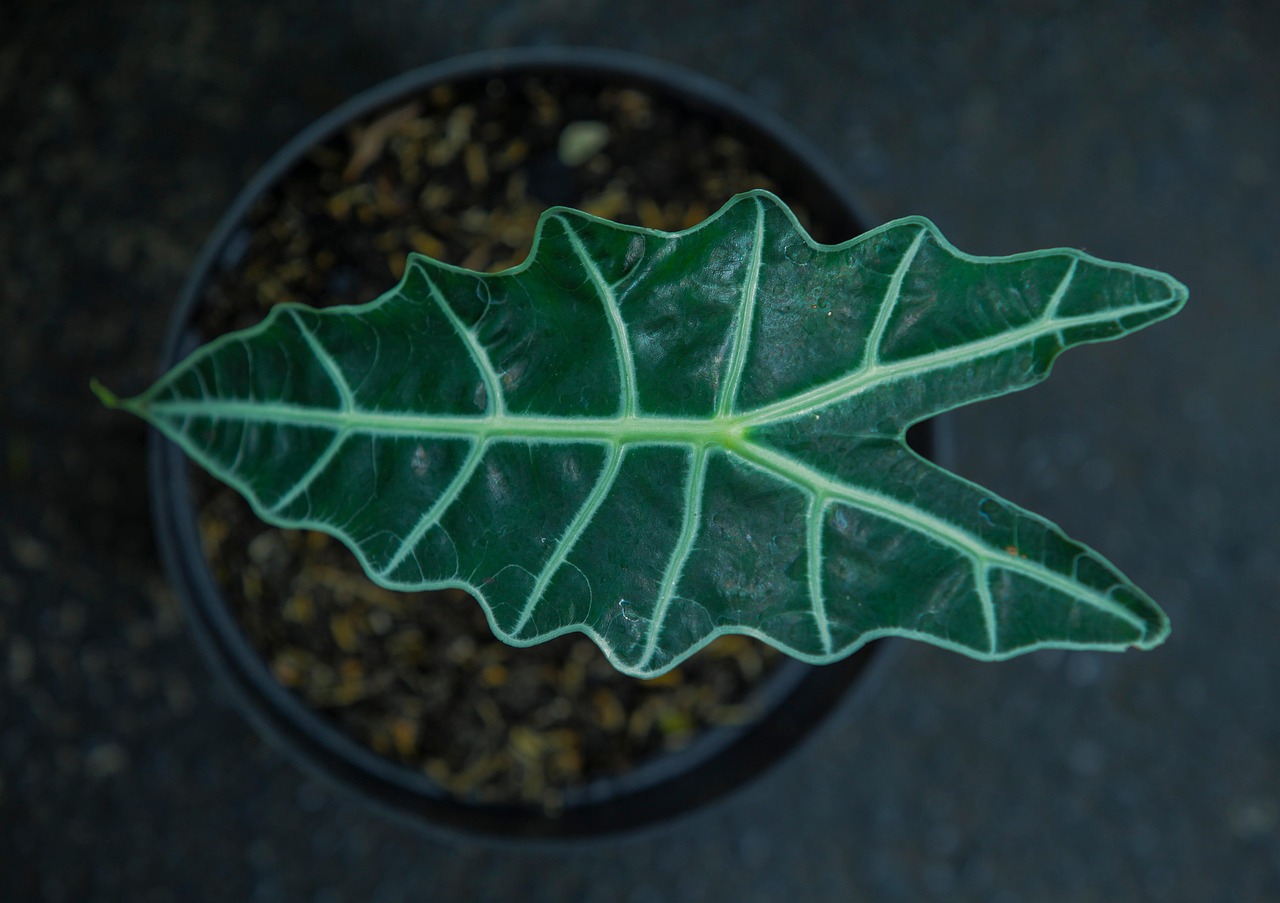
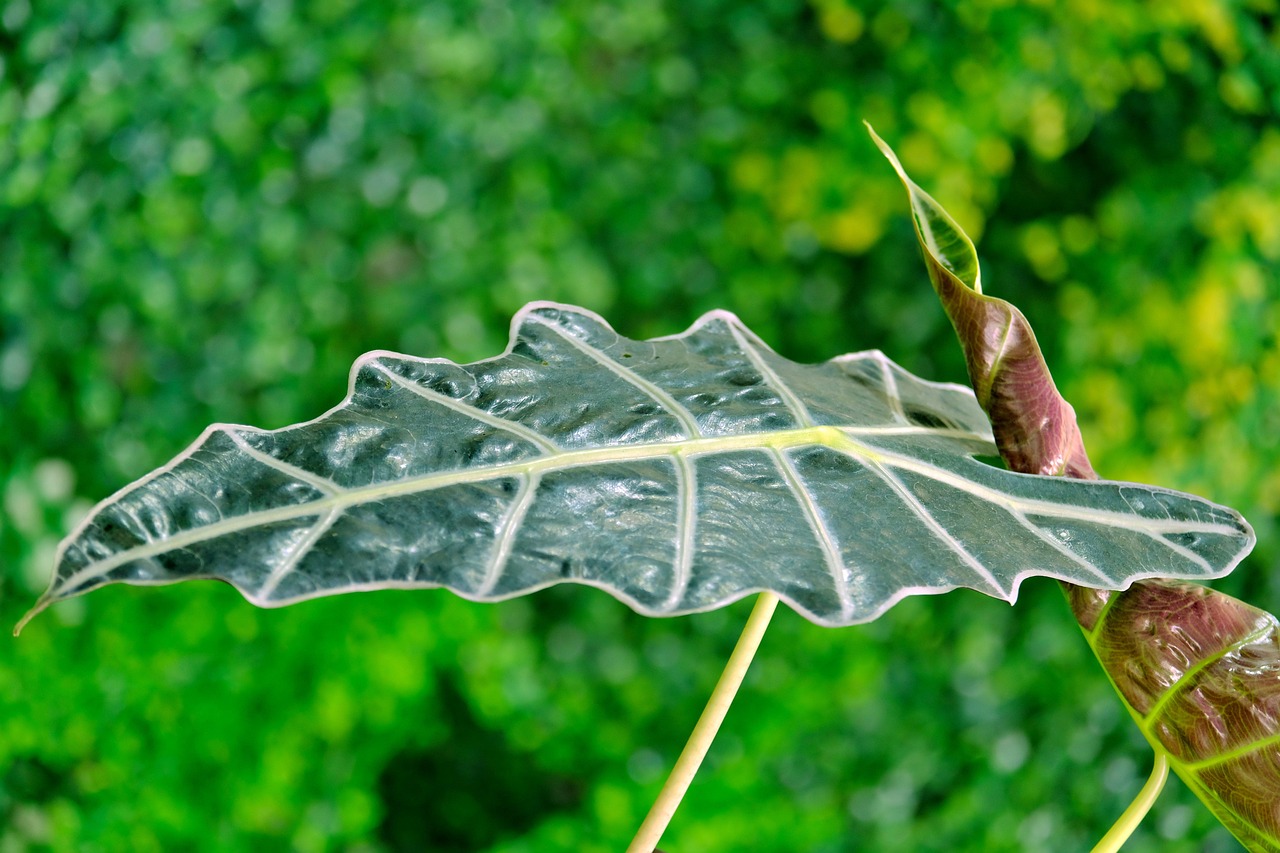
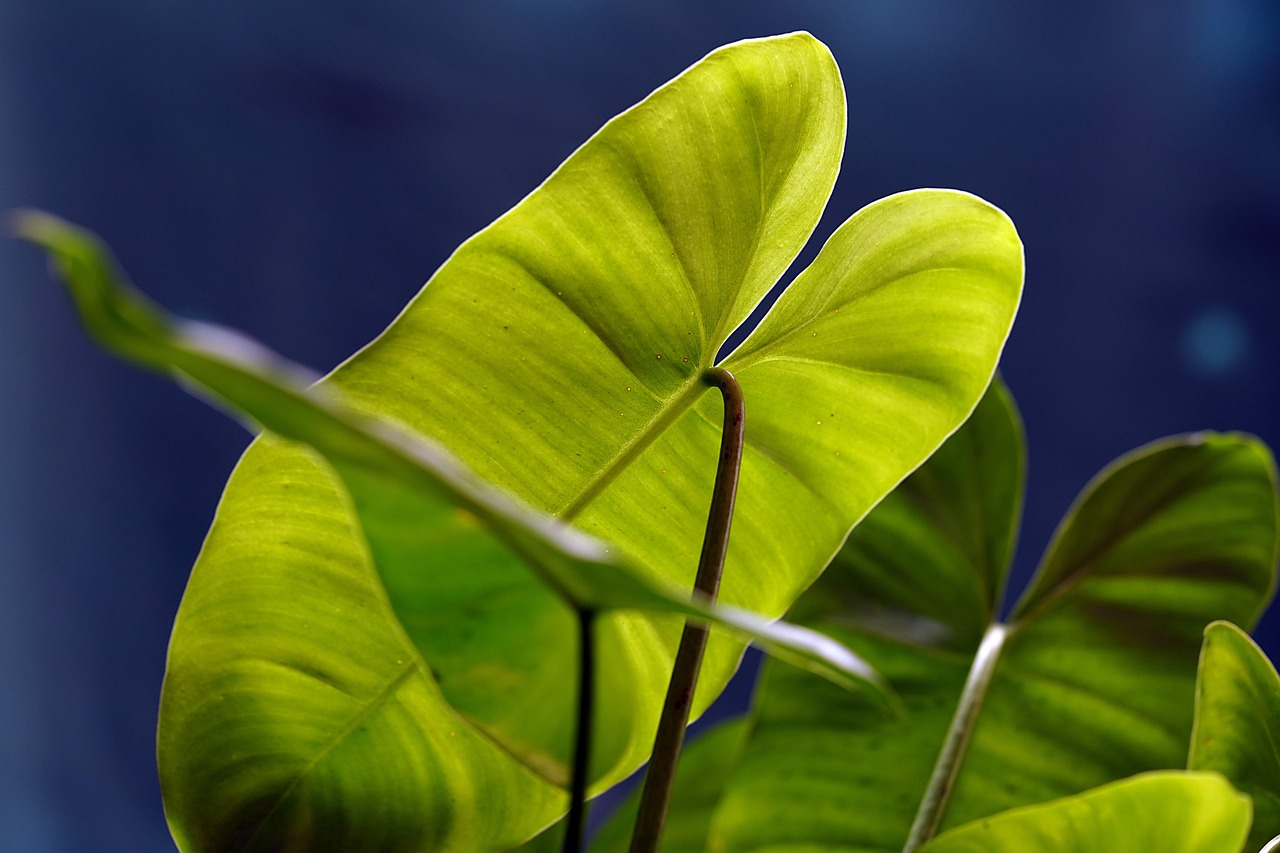
- Leaf Shape: The leaves are large, glossy, and vary in shape from arrow-like to heart-shaped.
- Height: Depending on the species, Alocasia plants can grow anywhere from 1 to 6 feet tall.
- Growth Habit: They can be grown as houseplants or in outdoor gardens in suitable climates.
Popular Species of Alocasia
There are several notable species of Alocasia. Here are a few popular ones:
| Species Name | Common Name | Notable Feature |
|---|---|---|
| Alocasia amazonica | African Mask Plant | Distinctive dark green leaves with white veins |
| Alocasia zebrina | Zebra Plant | Unique zebra-striped stems |
| Alocasia macrorrhiza | Giant Taro | Large leaves that can reach up to three feet long |
Caring for Alocasia Plants
Caring for an Alocasia plant requires attention to a few essential needs. They thrive in warm and humid environments, making them perfect for indoor spaces with adequate humidity. Here are some tips for their care:
- Light: Place your Alocasia in bright, indirect sunlight. Too much direct sunlight can scorch the leaves.
- Watering: Water the plant when the top inch of soil feels dry. Ensure good drainage to prevent root rot.
- Humidity: Maintain high humidity levels. You can use a humidifier or place a tray of water near the plant.
- Fertilization: During the growing season, fertilize every few weeks with a balanced liquid fertilizer.
Understanding these aspects of Alocasia will help ensure that your plant remains healthy and vibrant. As you learn more about its history and care, you can create an optimal environment for your Alocasia to flourish.
Common Pests and Diseases
Like many houseplants, Alocasia can attract pests and may be susceptible to certain diseases. Identifying and addressing these issues promptly is crucial for maintaining the health of your plant. Here are some common pests and diseases that can affect Alocasia:
Pests
- Spider Mites: These tiny pests thrive in dry conditions. Look for fine webbing on leaves and stippling damage.
- Mealybugs: They appear as small white cotton-like clusters on the leaves and stems. They can weaken the plant by sucking sap.
- Aphids: These small, green or black insects can cause curling leaves and stunted growth by feeding on the sap.
- Scale Insects: Scale can look like small brown or white bumps on the stems and leaves. They create a sticky residue and can lead to fungal growth.
Diseases
- Root Rot: Caused by overwatering, root rot leads to mushy roots and can kill your plant. Ensure proper drainage to prevent this condition.
- Leaf Spot: This disease manifests as dark spots on leaves, often due to fungal infections or excessive water on foliage.
- Powdery Mildew: A white powdery coating on leaves indicates this fungal issue. It often occurs in low air circulation and high humidity.
To manage pests, regularly inspect your Alocasia for any signs of infestation. If you spot pests, you can remove them with a damp cloth or spray the plant with insecticidal soap. For diseases, ensure proper care practices, such as appropriate watering and air circulation, to minimize risks.
Propagation Techniques
Propagating Alocasia can be a rewarding experience. It allows you to expand your collection or share plants with friends. There are two primary methods for propagating Alocasia plants: division and offsets.
Division Method
This method involves separating a mature plant into smaller sections, each capable of growing independently. Here’s how to propagate through division:
- Timing: The best time to divide your Alocasia is during the spring when it is actively growing.
- Prepare the Plant: Water the plant a day before division to make it easier to remove from its pot.
- Remove the Plant: Carefully take the plant out of its pot and shake off excess soil.
- Separate the Rhizomes: Using clean, sharp scissors, divide the rhizomes into sections, ensuring each section has roots and healthy leaves.
- Replant: Place each division in its own pot with fresh potting soil. Water lightly.
Offsets Method
Offsets are small plants that grow from the base of the main plant. These can be removed and potted separately:
- Locate Offsets: Look for small plants growing at the base of the parent plant.
- Remove Carefully: Gently detach the offsets from the main plant, making sure to include some roots.
- Potted Offsets: Pot each offset in a suitable container with well-draining soil mix.
- Watering: Water lightly after potting, and place in a warm, humid environment until established.
Both methods can lead to successful propagation. Ensure that newly propagated plants receive proper care to encourage healthy growth.
Environmental Conditions for Optimal Growth
If you want your Alocasia to thrive, providing the right environmental conditions is essential. Here are some important factors to consider:
Temperature
The ideal temperature range for Alocasia is between 65°F to 80°F (18°C to 27°C). They prefer warmth and should be protected from cold drafts or sudden temperature changes.
Soil Requirements
A well-draining potting mix is crucial for Alocasia. Consider using a mix of regular potting soil, perlite, and orchid bark to provide aeration and drainage.
Light Conditions
A bright spot with indirect sunlight is perfect for Alocasia plants. Direct sunlight can scorch their leaves, so it’s essential to find a suitable location that offers filtered light.
Caring for an Alocasia plant involves understanding its needs. By providing optimal conditions, you can enjoy its stunning foliage and ensure it remains a vibrant part of your indoor garden.
Common Myths About Alocasia Plants
Despite their popularity, several misconceptions surround Alocasia plants. Understanding these myths can help you care for your plant more effectively and prevent any unnecessary stress. Here are some common myths and the truths behind them:
My
th 1: Alocasia Plants Are Poisonous
While it is true that Alocasia plants contain calcium oxalate crystals, which can be toxic if ingested in large quantities, they are not highly poisonous. If handled properly, they pose minimal risk to humans. However, it’s important to keep them out of reach of pets and small children to avoid any potential issues.
Myth 2: Alocasia Is a Very Difficult Plant to Care For
Many believe Alocasia plants are challenging to maintain due to their tropical origins. However, with the right conditions and care routine, they can thrive indoors. They require specific needs, but they are not overly demanding compared to other houseplants.
Myth 3: Alocasia Plants Do Not Bloom Indoors
Another common belief is that Alocasia plants will never flower when kept indoors. While it is rare for indoor Alocasia to produce flowers, it is not impossible. With the right environmental conditions and care, you may witness blooms, though foliage is usually the main attraction.
Seasonal Care for Alocasia
As seasons change, so do the care requirements for your Alocasia plant. Understanding how to adjust your care routine throughout the year can lead to healthier growth.
Spring Care
Spring is the active growing season for Alocasia. During this time, consider the following:
- Repotting: If your plant has outgrown its pot, spring is a great time to repot into a slightly larger container.
- Fertilization: Begin fertilizing every two to four weeks with a balanced fertilizer as the plant resumes growth.
- Increase Watering: As temperatures rise, monitor soil moisture and increase watering frequency as needed.
Summer Care
Summer brings warmth and light, which are beneficial to your Alocasia:
- Humidity Control: Increase humidity levels if required. Consider using a pebble tray or humidifier during hot days.
- Pest Monitoring: Regularly check for pests as they may become more active in warmer months.
- Watering Adjustment: Continue to monitor moisture levels closely since plants may need more water in the heat.
Fall Care
As temperatures start to cool in fall, adjust your care accordingly:
- Reduce Fertilization: Cut back on fertilizing as growth slows down and the plant prepares for dormancy.
- Water Less Frequently: Be cautious with watering; allow the topsoil to dry out more than in spring and summer.
- Check for Diseases: Examine leaves for any signs of disease or excess moisture trapped in lower leaves.
winter Care
Winter can be a challenging time for Alocasia due to reduced light and lower humidity:
- Light Adjustment: Position your plant in a spot that receives bright, indirect light to compensate for shorter days.
- Avoid Overwatering: Water sparingly during winter, as the plant’s growth slows and it requires less moisture.
- Humidity Maintenance: Use a humidifier or mist the leaves occasionally to maintain humidity levels.
Choosing the Right Container
The container you choose for your Alocasia plant can significantly impact its growth. Here are some factors to consider when selecting a pot:
Drainage
Ensure that your pot has adequate drainage holes. This helps prevent water from accumulating at the bottom, reducing the risk of root rot.
Size
Select a pot that is appropriate for the size of your plant. A pot that is too large may retain excess moisture, while one that is too small can restrict root growth.
Material
Pots come in various materials such as plastic, ceramic, and terracotta. Each material has its benefits. For example:
- Ceramic Pots: These pots are often heavier and provide stability but may retain moisture longer.
- Terracotta Pots: They are porous and allow for better airflow and drainage but can dry out quickly.
- Plastic Pots: Lightweight and available in various designs, plastic pots are good for moisture retention but may not provide as much airflow.
Selecting the right container will help create an optimal environment for your Alocasia to thrive. By understanding its needs and adjusting your care throughout the seasons, you can enjoy this beautiful plant in your home for years to come.
Additional Tips for Enhancing Your Alocasia Experience
Carin
g for an Alocasia plant can be a delightful journey, and there are several additional tips that can enhance your experience. Here are some considerations to keep in mind:
Cleaning the Leaves
Alocasia plants have large, glossy leaves that can accumulate dust and dirt over time. Regularly cleaning the leaves not only keeps them looking beautiful but also allows the plant to photosynthesize efficiently. Use a damp cloth to gently wipe the leaves, removing any debris or dust.
Rotate Your Plant
To promote even growth, consider rotating your Alocasia pot every few weeks. This helps ensure that all sides of the plant receive equal sunlight exposure, reducing the likelihood of uneven growth or leaning.
Monitor for Signs of Stress
Being observant is essential in plant care. Watch for signs of stress, such as yellowing leaves, wilting, or stunted growth. These symptoms can indicate problems like overwatering, underwatering, or insufficient light. Addressing these issues promptly will help maintain the health of your plant.
Seasonal Decor
Alocasia plants can serve as stunning decorative elements in your home. During different seasons, you might consider incorporating seasonal decor around your plant. For instance, placing festive decorations during the holidays can create a beautiful focal point in your living space.
Common Questions About Alocasia Plants
As yo
u delve deeper into caring for your Alocasia plant, you may encounter several common questions. Here are some frequently asked questions and their answers:
Can Alocasia plants grow outdoors?
Yes, Alocasia plants can thrive outdoors in suitable climates. They prefer warm, humid conditions similar to their native tropical environments. If you live in USDA zones 9-11, you may be able to grow them outside year-round. However, ensure they are protected from harsh sunlight and frost.
How often should I repot my Alocasia plant?
Repotting should be done every 1-2 years or when the roots outgrow the pot. Signs that indicate it’s time to repot include roots growing out of the drainage holes or water not soaking into the soil properly.
Why is my Alocasia plant drooping?
A drooping Alocasia plant can be a sign of several issues. It may be due to underwatering, overwatering, or insufficient light. Check the soil moisture and adjust your care routine accordingly to help revive your plant.
Final Thoughts
The Alocasia plant is truly a captivating addition to any home or garden. With its dramatic foliage and unique characteristics, it offers both beauty and an element of nature indoors. By understanding its history, specific care needs, and common challenges, you can create an environment where your Alocasia thrives.
Caring for this tropical gem requires attention to detail, but the rewards are substantial. From monitoring humidity levels to ensuring proper lighting and watering practices, each aspect plays a vital role in maintaining a healthy plant. Remember to embrace the journey of learning and adapting your care techniques as you go along.
Ultimately, whether you are an experienced gardener or a newcomer to houseplants, nurturing an Alocasia can be a fulfilling experience. As you cultivate your green thumb with this magnificent plant, enjoy watching it grow and flourish—bringing a touch of the tropics into your everyday life.