
To ensure healthy growth for Alocasia plants, provide bright, indirect light, maintain high humidity, and use well-draining soil. Water them thoroughly when the top inch of soil dries out, and avoid overwatering to prevent root rot. Fertilize every few weeks during the growing season for optimal development.
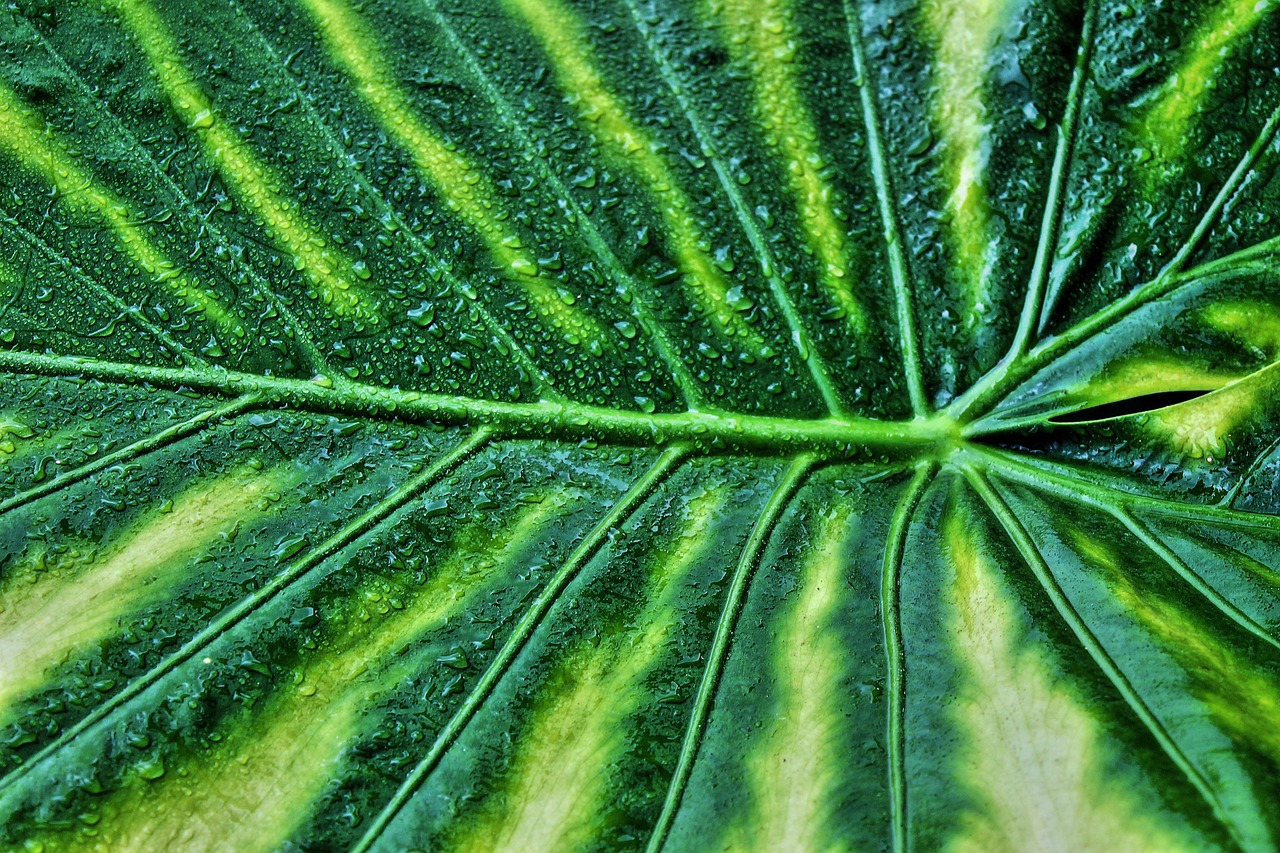
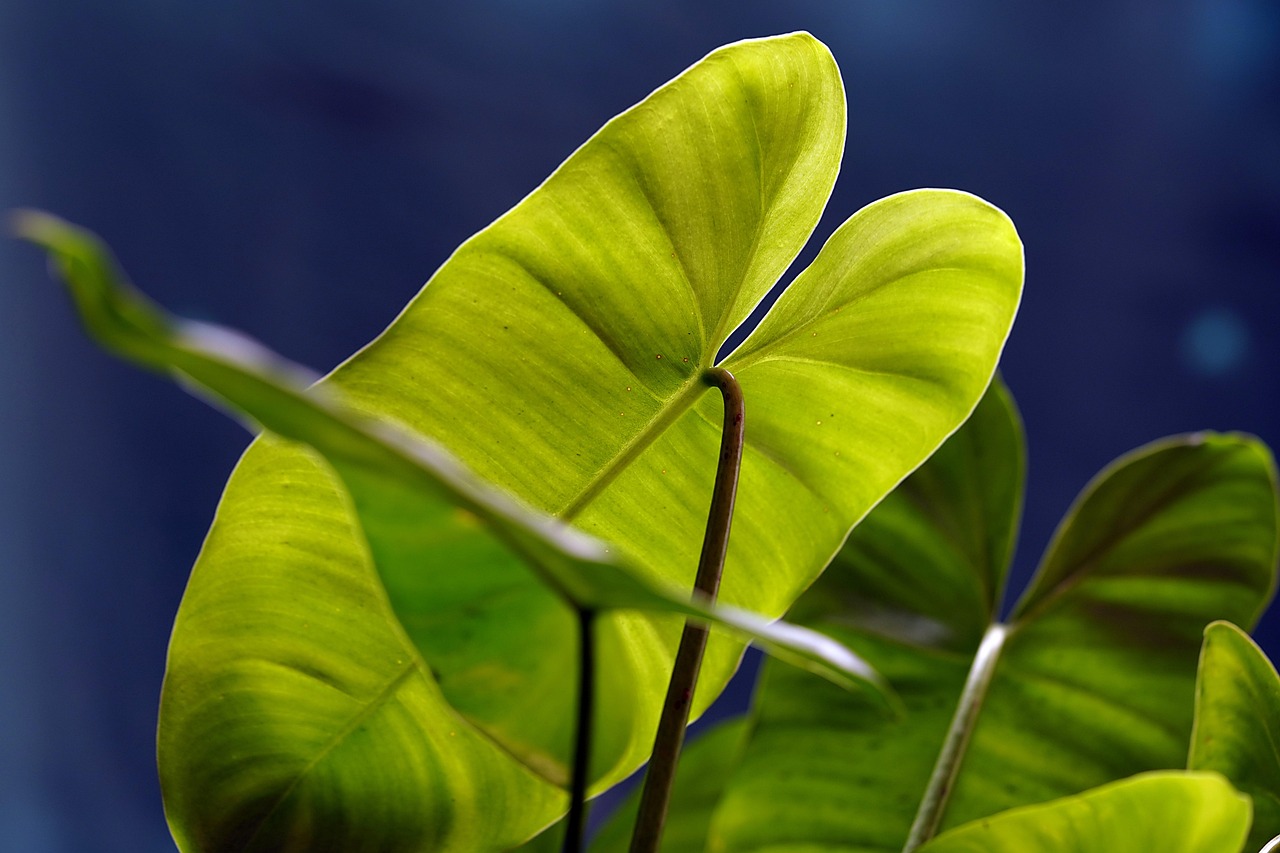
Alocasia, commonly known as elephant ear due to its large, distinctive leaves, is a popular houseplant admired for its striking appearance. Native to tropical regions, these plants thrive in environments that simulate their natural habitat. Understanding their specific care requirements is essential for cultivating healthy specimens.
These plants are not just aesthetically pleasing; they also have unique characteristics that make them appealing to plant enthusiasts. Alocasia species can vary significantly in size and leaf shape, with some reaching several feet in height. This variability adds to their charm and makes them a focal point in any indoor garden.
Understanding Alocasia Needs
Before diving into the specifics of Alocasia care, it’s crucial to understand the environmental conditions these plants prefer. Alocasia thrives in warm temperatures and high humidity, making them ideal for indoor spaces that mimic tropical climates. Below are some key factors to consider when caring for your Alocasia:
- Light: Alocasia plants prefer bright, indirect light. Direct sunlight can scorch their leaves.
- Temperature: These plants enjoy warm temperatures, ideally between 65°F to 80°F (18°C to 27°C).
- Humidity: High humidity is vital for Alocasia health. Aim for levels above 60%.
- Soil: A well-draining potting mix is essential to prevent waterlogging.
One of the most critical aspects of Alocasia care is understanding how to provide adequate moisture without overwatering. Overwatering can lead to root rot, which is one of the most common issues faced by Alocasia owners. It is important to allow the top inch of soil to dry out before watering again. This practice helps maintain a healthy root system and encourages the plant to absorb nutrients effectively.
An effective way to maintain high humidity levels is by utilizing a humidity tray or a humidifier. Placing your Alocasia on a tray filled with water and pebbles allows moisture to evaporate around the plant. Alternatively, frequent misting can also help in elevating humidity levels.
Fertilization and Feeding
Fertilizing your Alocasia appropriately contributes significantly to its growth. During the growing season, which typically spans from spring to summer, feeding your plant every 4-6 weeks with a balanced liquid fertilizer can promote vibrant foliage growth. It’s essential to dilute the fertilizer to half-strength, as Alocasia can be sensitive to over-fertilization.
The type of fertilizer you choose can also impact your plant’s health. A fertilizer rich in nitrogen can enhance leaf growth, while those containing phosphorus and potassium support overall plant health and flower production if applicable. Always read the instructions on the fertilizer package carefully before application.
Common Problems and Solutions
Like any plant, Alocasia can face certain challenges. Recognizing symptoms early can help in taking corrective measures promptly. Below are some common problems associated with Alocasia care:
| Problem | Symptoms | Solutions |
|---|---|---|
| Yellow Leaves | Overwatering or nutrient deficiency | Allow soil to dry out; adjust fertilization routine. |
| Brown Tips | Low humidity or underwatering | Increase humidity; water more frequently. |
| Drooping Leaves | Underwatering or temperature stress | Check soil moisture; ensure proper temperature range. |
Caring for your Alocasia requires attention and understanding of its needs. By providing the right environment and addressing any issues quickly, you can enjoy a thriving plant that adds beauty to your home.
Repotting Alocasia
Repotting is an essential aspect of Alocasia care that can significantly influence its growth and overall health. These plants can outgrow their pots quickly, especially during the growing season. Recognizing when to repot and how to do it correctly are crucial for maintaining a thriving Alocasia.
Typically, you should consider repotting your Alocasia every 1-2 years. Signs that your plant may need repotting include:
- Roots growing out of the drainage holes.
- Water draining too quickly, indicating soil compaction.
- Stunted growth, despite proper care.
When repotting, follow these steps to ensure the best outcome:
- Choose the Right Time: Early spring is the ideal time to repot, as it coincides with the start of the growing season.
- Select a Suitable Pot: Choose a pot that is 1-2 inches larger in diameter than the current one. Ensure it has drainage holes.
- Prepare Fresh Soil: Use a well-draining potting mix, preferably one designed for aroids or tropical plants.
- Remove the Plant: Gently take the Alocasia out of its pot by gripping the base of the plant. Avoid pulling on the leaves.
- Inspect the Roots: Check for any signs of rot or damage. Trim away any unhealthy roots with sterilized scissors.
- Repot the Plant: Place the plant in the new pot, fill with fresh soil, and ensure it is at the same depth as before.
- Water Thoroughly: After repotting, water the plant well to help settle the soil around the roots.
Pest Management
Pests can be a significant concern for Alocasia plants. Common pests include spider mites, aphids, and mealybugs. Regular inspection and prompt action are crucial to keeping your plant healthy.
Here are some effective strategies for managing pests:
- Regular Inspection: Check your Alocasia weekly for any signs of pests or damage.
- Isolation: If you notice an infestation, isolate the affected plant immediately to prevent spreading.
- Pest Control Methods: Use insecticidal soap or neem oil as organic solutions. Apply according to package instructions for effectiveness.
- Cleaning Leaves: Wipe down the leaves with a damp cloth regularly. This practice helps keep pests at bay and improves photosynthesis by removing dust.
If you encounter a severe infestation, you may need to take more aggressive measures. In such cases, consider using stronger insecticides after ensuring they are safe for indoor use.
Propagation Techniques
Propagating Alocasia can be a rewarding experience. It allows you to create new plants from your existing ones. There are several methods for propagating Alocasia, including division and offsets. Here’s how you can do it:
Division
This method is suitable for mature plants that have multiple stems or bulbs. Follow these steps for successful division:
- Remove the Plant: Take the Alocasia out of its pot gently.
- Separate the Bulbs: Carefully separate the bulbs or stems with roots attached. Ensure each section has at least one healthy leaf.
- Pot Separately: Place each division into its own pot with well-draining soil.
- Water and Care: Water lightly and provide indirect light as they adjust to their new environment.
Offsets
If your Alocasia produces offsets or small bulbs around its base, you can propagate them as well. Follow these steps:
- Identify Offsets: Look for small bulbs connected to the main plant.
- Gently Remove: Carefully detach the offsets without damaging the main plant.
- Potted in Soil: Place them in their own pots with well-draining soil.
- Provide Care: Water them lightly and ensure they receive adequate light until they establish roots.
Propagation not only expands your collection but also rejuvenates older plants by reducing crowding in pots. It’s a fulfilling way to enjoy Alocasia and share it with friends or family.
Season
al Care Adjustments
The care requirements for Alocasia can change with the seasons. Adjusting your care routine helps ensure that your plant thrives year-round. Here are some seasonal adjustments to consider:
- Spring and Summer: During these growing months, increase watering and fertilization. Ensure your plant gets plenty of bright, indirect light.
- Fall: As temperatures drop, reduce watering frequency. Check humidity levels and consider using a humidifier if necessary.
- Winter: In winter, many Alocasia go dormant. Water less frequently and avoid fertilizing until spring returns.
By making these seasonal adjustments, you can help ensure that your Alocasia remains healthy and vibrant throughout the year.
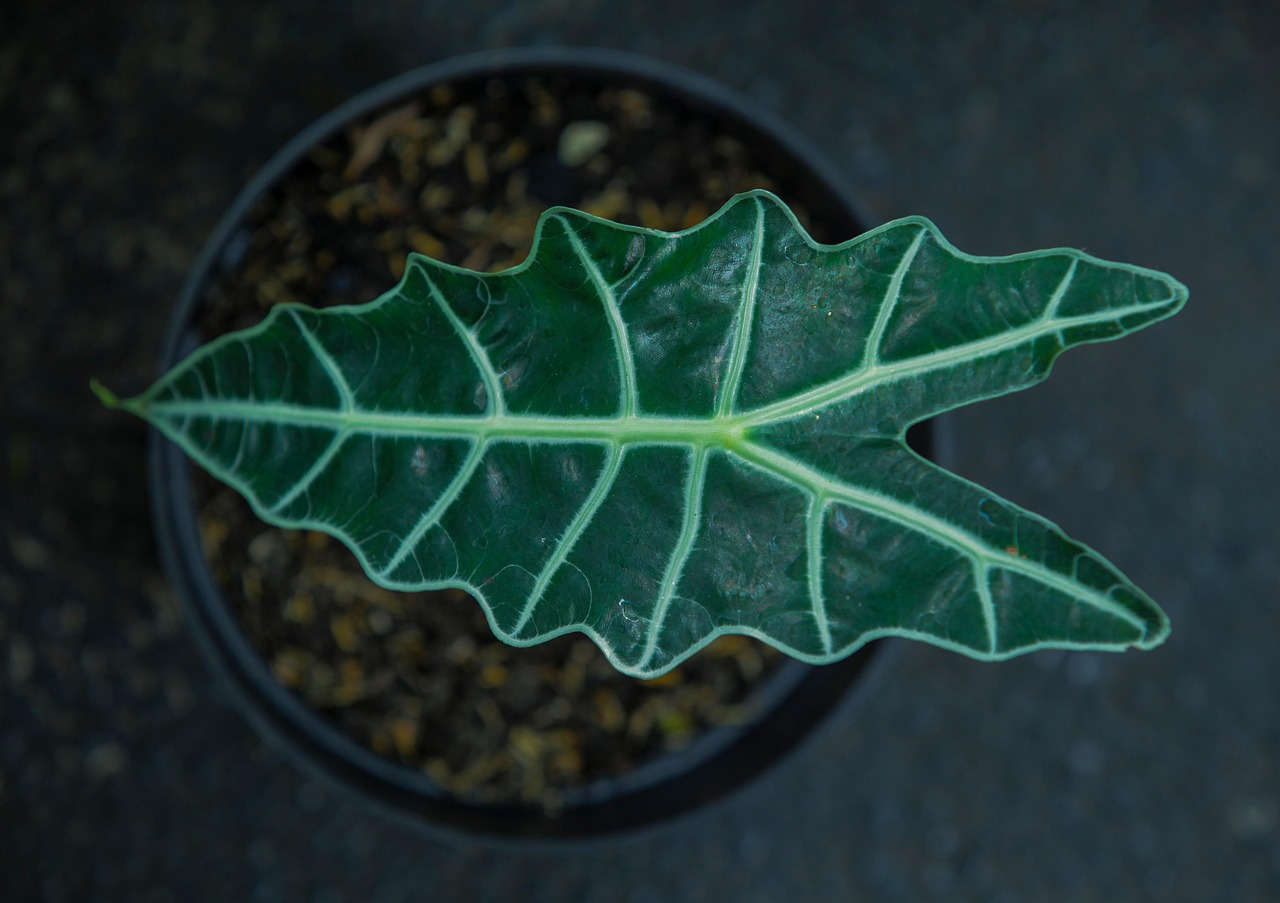
Common Alocasia Varieties
Alocasia plants come in various species and cultivars, each with unique characteristics and care requirements. Understanding the specific needs of different varieties can enhance your ability to care for them effectively. Here are some popular Alocasia varieties:
- Alocasia Amazonica: Also known as African Mask Plant, this variety is famous for its striking arrow-shaped leaves and prominent veining. It thrives in bright, indirect light and requires high humidity.
- Alocasia Zebrina: This variety features distinctive zebra-like stems and large, glossy leaves. It prefers similar care to other Alocasia types but benefits from regular misting to maintain humidity.
- Alocasia Micholitziana: Known for its stunning foliage, this variety has elongated leaves with a unique texture. It enjoys warm temperatures and consistent moisture.
- Alocasia Polly: This compact variety is perfect for smaller spaces. It has thick, dark green leaves with contrasting veins and requires similar care to other Alocasia types but can tolerate slightly lower humidity.
Choosing the Right Location
The placement of your Alocasia in your home can greatly impact its growth. Selecting the right location involves considering light, temperature, and humidity levels. Here are some tips for choosing the ideal spot:
- Light: Place your Alocasia in a location where it receives bright, indirect sunlight. A spot near an east or west-facing window is often ideal.
- Avoid Direct Sunlight: Direct sunlight can scorch the leaves, leading to brown spots and damage. If you notice the leaves fading or discoloring, consider moving the plant further from the light source.
- Temperature Stability: Keep your Alocasia away from drafty areas or places with fluctuating temperatures. Consistent warmth is crucial for healthy growth.
- Humidity Considerations: If your home is dry, consider placing your Alocasia in a bathroom or kitchen where humidity levels may be higher. Grouping plants together can also help increase humidity around them.
Water Quality and Temperature
The quality of water you use can significantly affect your Alocasia’s health. Here are some key points regarding water quality and temperature:
- Water Quality: Use filtered or distilled water whenever possible. Tap water may contain chemicals like chlorine or fluoride that can harm your plant over time.
- Temperature of Water: Water your Alocasia with room temperature water. Cold water can shock the roots, while hot water can damage them.
- pH Levels: Alocasia prefers slightly acidic to neutral pH levels (around 6-7). You can test your water with a pH meter to ensure it meets these requirements.
Signs of Stress in Alocasia
Recognizing signs of stress in your Alocasia is vital for timely intervention. Common stress indicators include:
- Wilting Leaves: This can indicate either underwatering or overwatering. Check the soil moisture level to determine the cause.
- Discoloration: Yellowing leaves may signal nutrient deficiencies or overwatering, while browning leaf tips can indicate low humidity levels.
- Leaf Drop: If your Alocasia drops leaves, it could be a sign of stress from changes in environment, such as sudden temperature fluctuations or inadequate light exposure.
- Stunted Growth: If your plant isn’t growing despite proper care, it could be root-bound or lacking essential nutrients.
Tips for Long-Term Care
The lon

g-term health of your Alocasia hinges on consistent care practices. Here are some tips to help you maintain a thriving plant over the years:
- Regular Pruning: Trim away any dead or yellowing leaves regularly to promote healthy growth and improve airflow around the plant.
- Consistent Feeding Schedule: Stick to a regular feeding schedule during the growing season to ensure your plant receives adequate nutrients.
- Monitor for Pests: Stay vigilant for any pest activity and address infestations promptly to prevent damage.
- Rotate the Plant: Occasionally rotate your Alocasia to ensure even light distribution across all leaves.
By implementing these long-term care strategies, you can enjoy a vibrant and healthy Alocasia that adds beauty to your living space for years to come.
Environmental Considerations
In addition to regular care, understanding the environmental needs of your Alocasia can significantly impact its longevity and growth. Here are some key environmental factors to consider:
- Air Circulation: Good air circulation helps prevent mold and mildew, which can thrive in high humidity. Consider using a fan or opening windows occasionally to promote airflow.
- Container Choice: The right pot can make a difference. Terracotta pots are excellent for preventing overwatering because they allow moisture to escape. However, plastic pots retain moisture better, which may be beneficial in drier environments.
- Seasonal Temperature Changes: During seasonal changes, be aware of how temperature fluctuations affect your plant. In colder months, keep your Alocasia away from drafty windows or heating vents that could dry it out.
Additionally, understanding the specific variety you own will help tailor your care. Some Alocasia types may have slightly different requirements regarding light and humidity. Researching your particular variety will enable you to provide the best possible environment.
Creating a Plant Care Routine
Establi
shing a consistent plant care routine can simplify the maintenance of your Alocasia. Here is a suggested framework for a weekly and monthly care schedule:
Weekly Care Tasks
- Check Soil Moisture: Test the soil with your finger to ensure it’s dry about an inch down before watering.
- Inspect for Pests: Look for signs of pests or damage on the leaves and stems.
- Dust Leaves: Wipe the leaves with a damp cloth to remove dust and improve photosynthesis.
Monthly Care Tasks
- Fertilize: Apply a balanced liquid fertilizer every month during the growing season.
- Rotate the Plant: Rotate your Alocasia to ensure it receives even light exposure.
- Repot if Necessary: Check if your plant needs repotting based on root growth and soil condition.
By following these routines, you can ensure that your Alocasia remains healthy and vibrant throughout the year, reducing the likelihood of issues arising from neglect or oversight.
Final Thoughts
Caring for an Alocasia plant is a rewarding endeavor that can enhance your home environment with its stunning foliage. By understanding its specific needs in terms of light, water, humidity, and temperature, you can cultivate a thriving plant that will bring joy for years to come. Remember to adapt your care routine to the changing seasons and be proactive in monitoring for any signs of stress or pest issues.
The journey of nurturing an Alocasia involves patience and attention to detail, but the beauty it adds to your space makes it worthwhile. With consistent care practices, you will not only enjoy the plant’s striking appearance but also deepen your connection with nature within your home. Whether you are a seasoned plant parent or new to indoor gardening, the principles outlined in this article will guide you toward successful Alocasia care. Embrace the experience, and watch as your Alocasia flourishes!