
Alocasia corms are essential for propagating these stunning plants. By carefully managing their corms, you can ensure successful growth and vibrant foliage. This guide will walk you through the process of propagating Alocasia corms effectively.
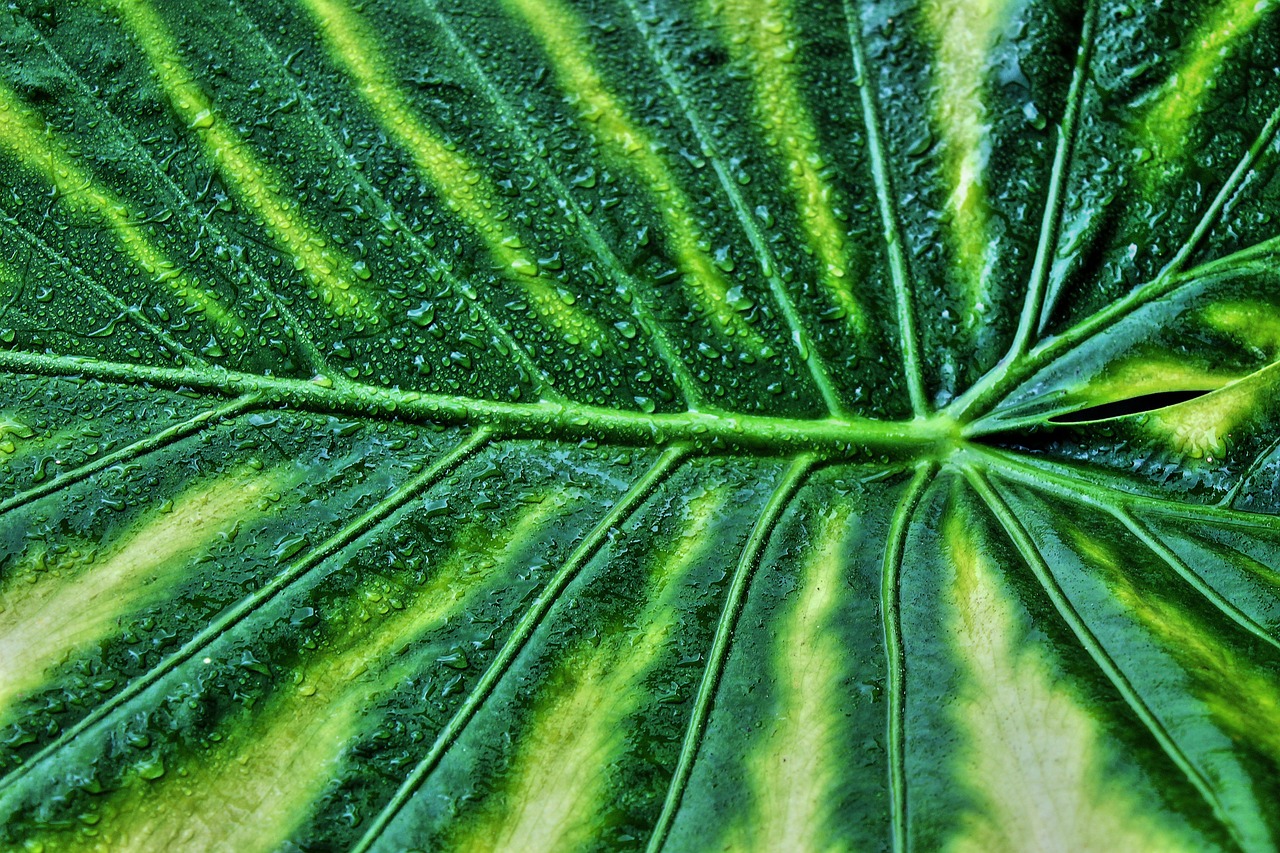
Alocasia, commonly known as elephant ear plants, are beloved for their striking leaves and unique shapes. These tropical plants thrive in warm, humid environments, making them popular houseplants. One of the most intriguing aspects of Alocasia plants is their corms. Corms are bulb-like structures that store nutrients and energy for the plant. They play a crucial role in reproduction and growth.
Understanding how to propagate Alocasia corms can significantly enhance your gardening experience. Successful propagation leads to new plants that can be shared or expanded upon in your home. Corm propagation is also a cost-effective method for increasing your plant collection.
What Are Alocasia Corms?
Alocasia corms are underground storage organs. They resemble bulbs but are slightly different in structure and function. Here are some key characteristics of Alocasia corms:
- Storage of Nutrients: Corms store starches and nutrients that help the plant survive during unfavorable conditions.
- Propagation: When conditions are right, corms can produce new growth, leading to new plants.
- Seasonal Growth: Corms are most active during the growing season, typically spring and summer.
Knowing these characteristics can aid in understanding how to best care for your Alocasia plants and maximize their growth potential. Properly managing corm health is essential for propagation success.
Why Propagate Alocasia Corms?
There are several reasons to propagate Alocasia corms. Here are some benefits:
- Increased Plant Collection: Propagation allows you to grow more plants without purchasing new ones.
- Cost-Effective: Growing from corms is often more affordable than buying full-grown plants.
- Sharing with Friends: Successful propagation means you can share your plants with friends and family.
These benefits make propagation an attractive option for both novice and experienced gardeners alike.
The Right Time for Propagation
The timing of propagation is critical for success. Alocasia corms should ideally be propagated during their active growing season. This period typically falls in spring or early summer when the temperatures are warm, and sunlight is abundant. During this time, corms will be more likely to produce new shoots and roots.
When propagating, ensure that the parent plant is healthy and thriving. A well-nourished plant will produce viable corms that can develop into robust new plants.
How to Prepare for Propagation
Preparation is vital for ensuring a successful propagation process. Follow these steps to get ready:
- Gather Supplies: You will need a clean tool for cutting, a pot with drainage holes, fresh potting mix, and water.
- Inspect Corms: Examine the corms closely for any signs of rot or disease before proceeding.
- Choose Healthy Corms: Select firm, plump corms for the best chances of successful propagation.
Taking these preparatory steps will set you up for a fruitful propagation experience.
Understanding the Propagation Process
The actual process of propagating Alocasia corms involves several clear steps. Once you have prepared adequately, you can move forward with the following:
- Carefully dig up the parent plant, ensuring minimal damage to the root system.
- Clean off excess soil and identify individual corms attached to the main root system.
- Using your clean tool, separate the corms from one another, making sure each has roots attached.
This careful handling is essential for maintaining the health of each corm during the transition to new growth.
Planting the Corms
After successfully separating the corms, the next essential step is planting them. Proper planting ensures that the corms establish themselves and begin to grow into healthy new plants. Follow these guidelines for planting Alocasia corms:
- Choose the Right Pot: Select a pot that is at least 6 inches in diameter with drainage holes to prevent waterlogging.
- Use Quality Potting Mix: A well-draining potting mix is crucial. Consider a mix that includes peat, perlite, and orchid bark for aeration.
- Positioning the Corm: Plant the corm with the pointed end facing up. Cover it with about 1 to 2 inches of soil.
Planting depth is vital. If planted too deep, the corm may rot. If too shallow, it may not establish properly. Ensure the corms are placed correctly in relation to the soil surface.
Watering and Care After Planting
Once the corms are planted, proper watering and care are necessary for their successful growth. Here are some crucial tips for watering and general plant care:
- Initial Watering: After planting, water the soil thoroughly to help settle it around the corm. Ensure excess water drains out of the pot.
- Moisture Levels: Keep the soil consistently moist but not soggy. Overwatering can cause root rot.
- Humidity Requirements: Alocasia plants prefer high humidity. Consider using a humidity tray or misting the leaves regularly.
Monitoring moisture levels is essential. Use your finger to check the top inch of soil. If it feels dry, it’s time to water again.
Providing Adequate Light
Light is another critical factor in the successful growth of Alocasia corms. These plants thrive in bright, indirect light. Here are some considerations for providing adequate light:
- Avoid Direct Sunlight: Direct sunlight can scorch the leaves. Aim for filtered light from a nearby window.
- Rotate the Plant: To ensure even growth, rotate the pot every few weeks so all sides receive equal light exposure.
- Supplemental Lighting: If natural light is insufficient, consider using grow lights to promote healthy growth.
Proper light conditions will encourage vigorous growth and vibrant foliage, which is characteristic of healthy Alocasia plants.
Temperature and Environmental Conditions
The ideal temperature for growing Alocasia is between 65°F and 80°F (18°C to 27°C). They are sensitive to cold and prefer warm environments. Consider the following:
- Avoid Cold Drafts: Place your plants away from cold drafts or sudden temperature changes that can stress them.
- Maintain Consistent Temperature: Fluctuations in temperature can hinder growth and overall plant health.
- Seasonal Adjustments: During colder months, ensure that indoor temperatures remain stable to protect your plants.
By maintaining appropriate temperature conditions, you will foster a conducive environment for your Alocasia corms to thrive.
Pest Management
Pests can be a significant concern for Alocasia plants. Regular monitoring is essential to catch any infestations early. Common pests include spider mites, aphids, and mealybugs. Here’s how to manage them:
- Regular Inspections: Check both sides of leaves regularly for signs of pests.
- Natural Remedies: Use neem oil or insecticidal soap as a preventative measure against pest infestations.
- Quarantine New Plants: Always quarantine new plants before introducing them to your existing collection to prevent pest transfer.
Pest management is crucial for maintaining healthy Alocasia plants. By staying proactive, you can minimize the risk of infestations.
Nutrient Requirements
Nourishing your Alocasia plants is vital for their growth and overall health. Fertilizing at the right times can significantly enhance their vigor. Here are some guidelines for providing nutrients:
- Choose a Balanced Fertilizer: Use a balanced fertilizer with equal parts nitrogen, phosphorus, and potassium during the growing season.
- Frequency of Fertilization: Fertilize every four to six weeks while the plant is actively growing.
- Dilution of Fertilizer: Always dilute fertilizers to half-strength to avoid burning the roots.
Nutrients play a critical role in promoting lush growth and vibrant colors in your Alocasia plants. By following these fertilization guidelines, you can support their development effectively.
Common Issues with Alocasia Corm Propagation
Even with the best care, issues can arise during the propagation of Alocasia corms. Understanding these common problems will help you troubleshoot and adjust your care routine effectively. Here are some frequent challenges:
- Rotting Corms: Overwatering is the primary cause. If the soil remains soggy, corms can rot. Ensure proper drainage and allow the soil to dry slightly between waterings.
- Stunted Growth: Insufficient light or nutrients can lead to stunted growth. Ensure your corms receive adequate light and follow fertilization guidelines.
- Pest Infestations: Pests can attack weakened plants. Regularly check for pests and treat infestations promptly to protect your plants.
By being aware of these issues, you can take proactive measures to ensure your corms thrive during propagation.
When to Expect New Growth
Patience is key when propagating Alocasia corms. After planting, it may take some time before you see new growth. The duration depends on several factors:
- Temperature: Warmer temperatures can accelerate growth. If your environment is consistently warm, expect new shoots sooner.
- Light Conditions: Proper lighting will encourage quicker growth. Ensure your plants receive sufficient indirect sunlight.
- Health of the Corms: Healthy corms will sprout more quickly than damaged or unhealthy ones. Monitor their condition closely.
Typically, you can expect to see new shoots in about 4 to 8 weeks after planting, depending on these factors.
Transplanting Alocasia Plants
Once your Alocasia corms have sprouted and grown into seedlings, you may need to transplant them into larger pots. Transplanting is essential for their continued growth and development. Here’s how to do it effectively:
- Choose the Right Time: Transplant when the seedlings have at least two to three leaves and have outgrown their current pot.
- Select a Suitable Pot: Choose a pot that is one size larger than the current one, ensuring it has drainage holes.
- Prepare the Soil: Use fresh potting mix that retains moisture but drains well, similar to what you used initially.
- Gently Remove the Seedling: Carefully loosen the soil around the roots and lift the seedling out. Avoid disturbing the roots as much as possible.
- Plant in the New Pot: Place the seedling in the new pot and fill in with soil, ensuring the base of the stem is level with the soil surface.
Transplanting encourages healthy root development and provides ample space for growth. After transplanting, water the new plant thoroughly.
Maintaining Your Alocasia Plants
Proper care doesn’t stop after planting or transplanting your Alocasia plants. Ongoing maintenance is crucial for long-term health. Here are some essential care tips:
- Regular Watering: Keep a consistent watering schedule. Monitor soil moisture and adjust as necessary based on environmental conditions.
- Fertilization Schedule: Continue to fertilize every four to six weeks during the growing season to promote healthy foliage.
- Pruning Dead Leaves: Remove any yellow or dead leaves to keep the plant healthy and encourage new growth.
- Seasonal Adjustments: In winter, reduce watering frequency since Alocasia plants enter a dormant phase and require less moisture.
Consistency in care will lead to thriving Alocasia plants that bring beauty to your home.
Caring for Mature Alocasia Plants
Carin
g for mature Alocasia plants involves similar practices but requires attention to their increased size and needs. Here are some considerations for mature plants:
- Larger Pots: As your Alocasia grows, it may require repotting into larger containers to provide ample root space.
- Increased Light Needs: Mature plants may need more light compared to younger seedlings, so adjust their location accordingly.
- Pest Prevention: Larger plants may attract more pests; maintain a regular inspection routine to catch any infestations early.
Mature plants can be quite rewarding, often showcasing impressive foliage and size. Proper care ensures they remain healthy and vibrant.
The Beauty of Alocasia in Your Space
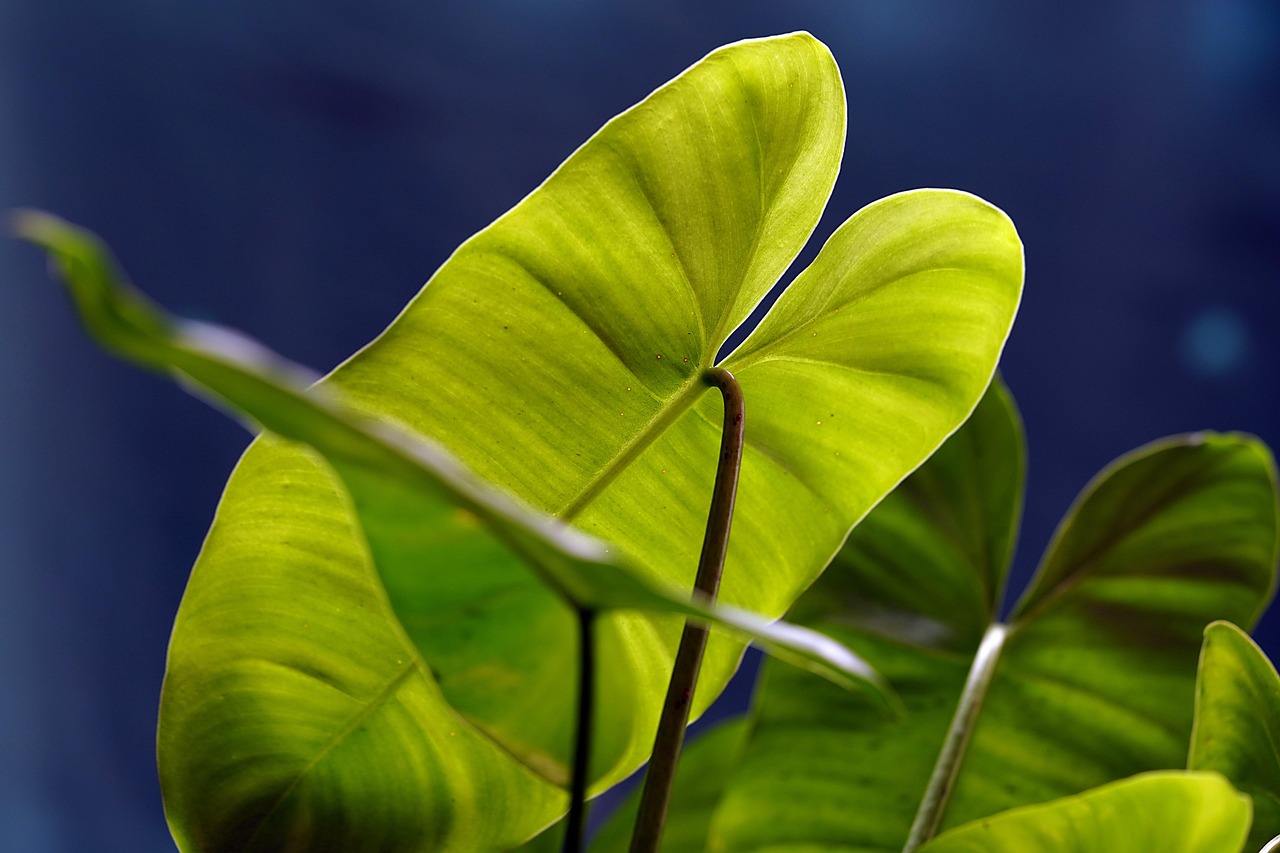
Alocasia plants are not only fascinating due to their propagation process but also serve as stunning decor in any living space. Their unique leaf shapes and vibrant colors can enhance any room. Here are some ways to incorporate Alocasia into your home:
- Statement Pieces: Use large Alocasia plants as focal points in living rooms or entryways.
- Grouping Plants: Combine smaller Alocasia varieties with other houseplants for an appealing display.
- Outdoor Spaces: In warmer climates, Alocasia can thrive outdoors in shaded areas or patios.
The versatility of Alocasia plants allows you to enjoy their beauty in various settings while providing an opportunity for creative plant arrangement designs.
Creating a Care Routine for Your Alocasia Plants
To ensure the long-term health and beauty of your Alocasia plants, establishing a regular care routine is essential. This routine should cover all aspects of plant care, including watering, fertilization, and pest management. Here are some tips to help you create an effective care schedule:
- Weekly Check-Ins: Dedicate time each week to inspect your plants for signs of distress, pests, or disease. Early detection is crucial for maintaining plant health.
- Adjust Watering Based on Seasons: During the growing season (spring and summer), water more frequently, whereas in the dormant season (fall and winter), reduce the frequency.
- Monthly Fertilization: As mentioned earlier, fertilize your plants every four to six weeks during the active growing season to provide necessary nutrients.
- Seasonal Pruning: Regularly remove any dead or yellowing leaves to encourage new growth and maintain the plant’s appearance.
By implementing a consistent care routine, you’ll be well-equipped to maintain healthy Alocasia plants that thrive in your home.
Common Varieties of Alocasia
There are many varieties of Alocasia that you can consider adding to your collection. Each has its unique characteristics and beauty. Here are a few popular Alocasia varieties:
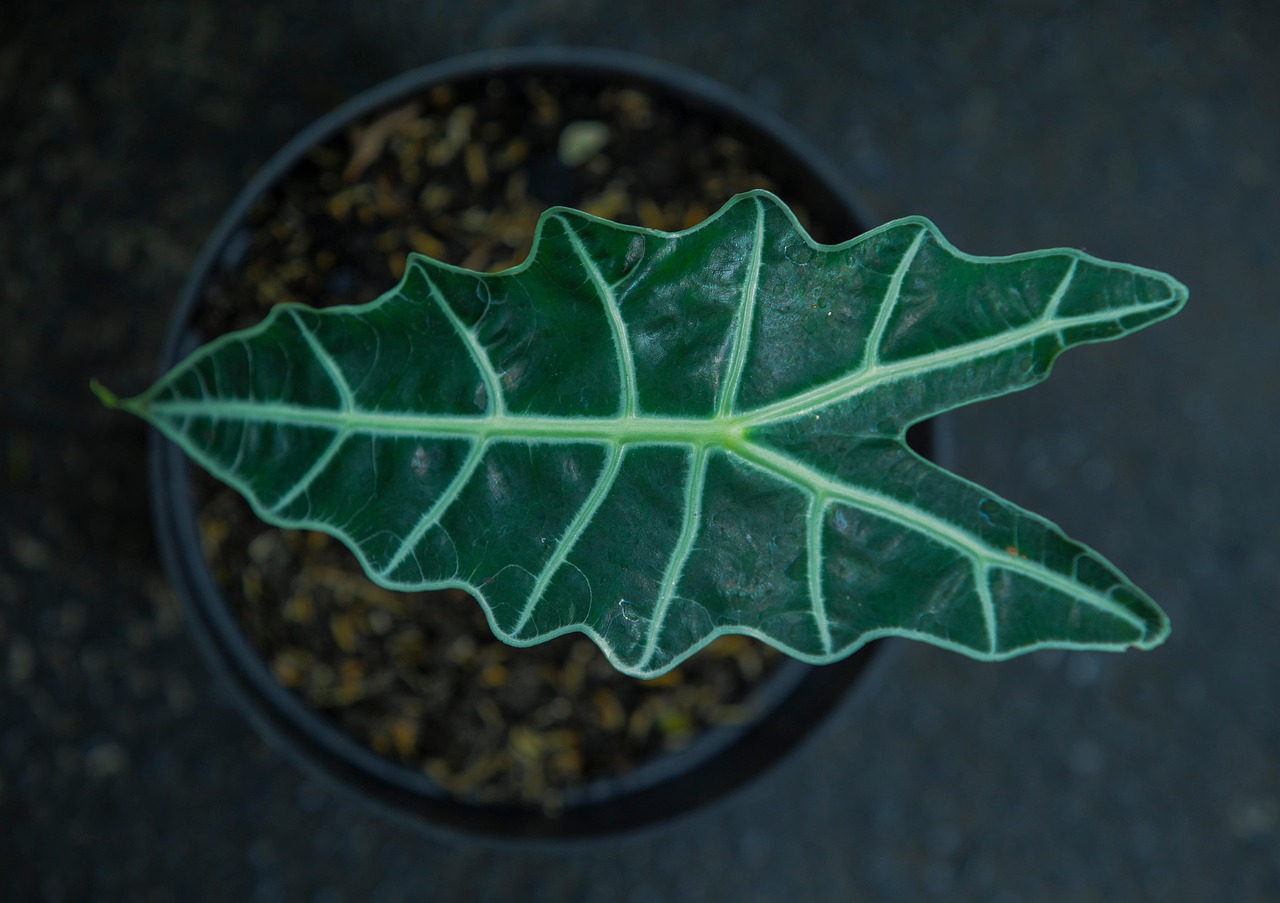
- Alocasia Amazonica: Known for its striking arrowhead-shaped leaves with deep green coloration and white veins.
- Alocasia Zebrina: Features zebra-like stems that stand out and adds a unique aesthetic to any space.
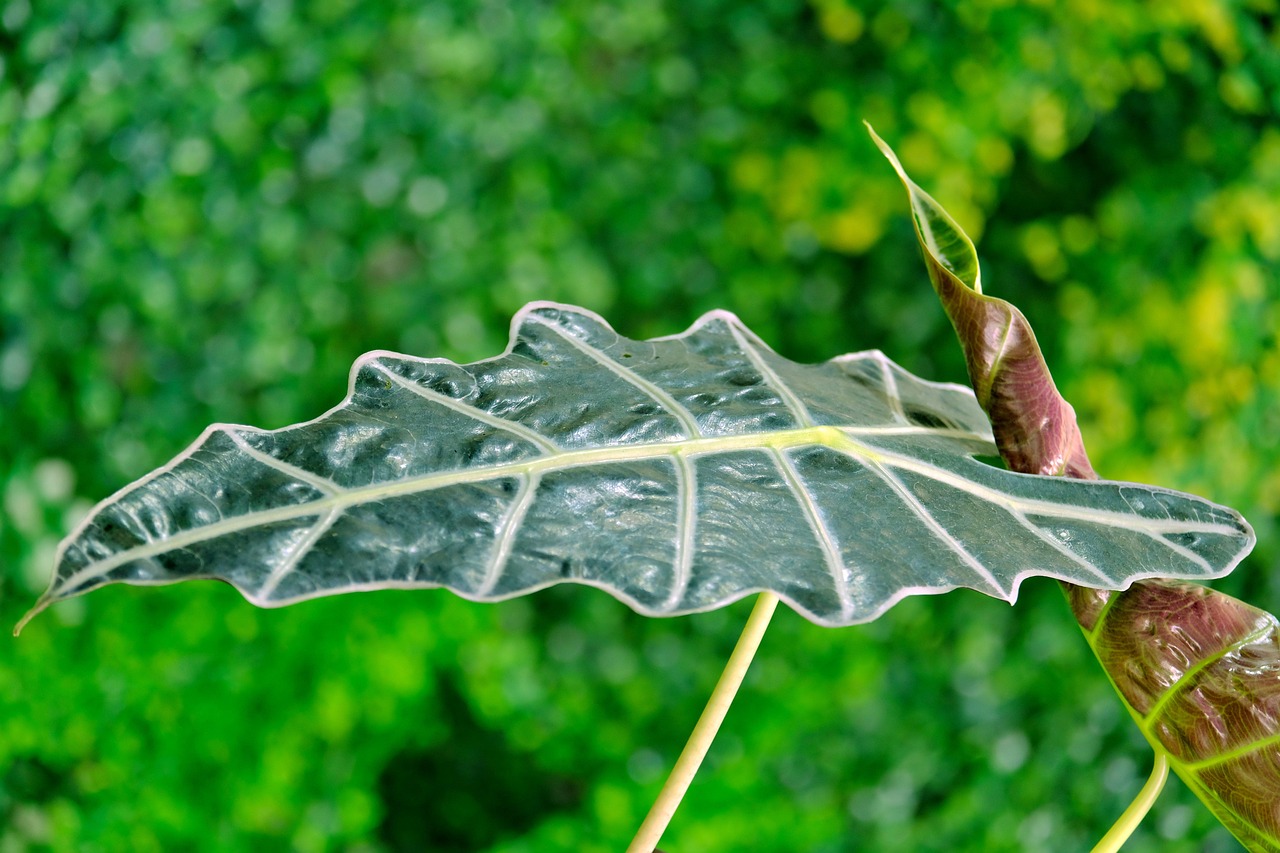
- Alocasia Micholitziana: Recognized for its dramatic leaf shape and vibrant coloration, making it a showstopper.
- Alocasia Frydek: Offers stunning velvety leaves with a rich green color and pronounced white veins.
Choosing a variety that resonates with your personal style can enhance your enjoyment of these remarkable plants.
Understanding Plant Diseases
In addi
tion to pests, Alocasia plants can face various diseases that may hinder their growth. Here are some common diseases to be aware of:
- Root Rot: Caused by overwatering or poorly draining soil, root rot can be fatal if not addressed promptly. Signs include yellowing leaves and mushy roots.
- Leaf Spot: This fungal disease manifests as dark spots on leaves and often occurs due to excessive moisture. Ensure adequate airflow around your plants to prevent this issue.
- Powdery Mildew: Characterized by a white powdery coating on leaves, it can occur in humid conditions. Improve air circulation and avoid overhead watering to mitigate this problem.
Understanding these diseases will empower you to take the necessary steps to maintain the health of your Alocasia plants.
Final Thoughts
Propagating Alocasia corms can be a rewarding experience, leading to beautiful plants that enhance any space. By understanding their specific needs—such as light, water, humidity, and nutrients—you can ensure their healthy growth. Regular maintenance, including monitoring for pests and diseases, will support the longevity of your plants.
The journey from corm to mature plant is not only educational but also fulfilling, as you witness the transformation of these unique specimens. With patience and care, you can enjoy a thriving collection of Alocasia plants that bring life and beauty into your home for years to come.
Remember that every plant is unique, and what works for one may not work for another. Therefore, staying attentive to your plants’ individual needs is key to successful propagation and care. Embrace the journey of growing Alocasia corms, and watch as they flourish under your care!