
Alocasia corms require careful storage in a cool, dry place to prevent rot. For growth success, provide bright, indirect light, high humidity, and well-draining soil. Regular watering and occasional fertilization will encourage healthy development.
Understanding Alocasia Corms
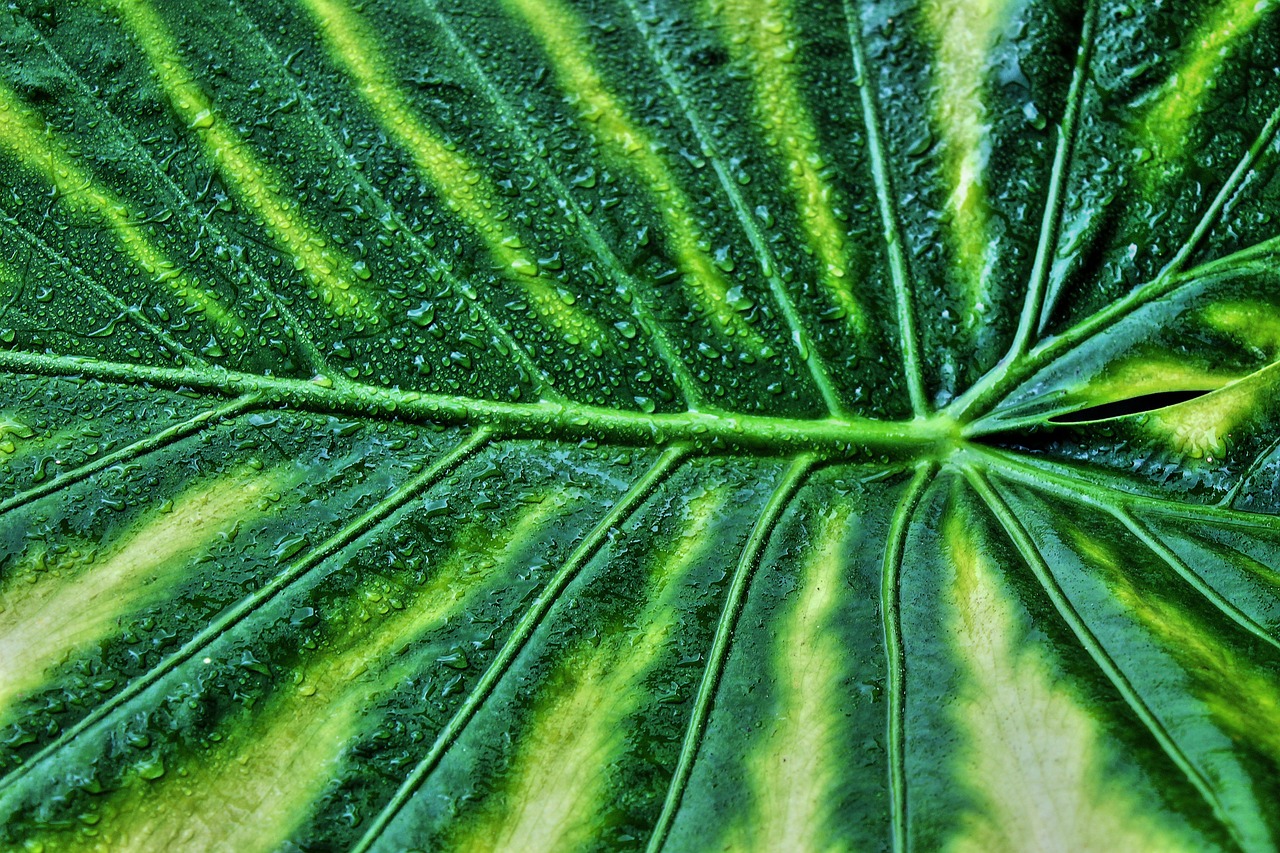
Alocasia plants are known for their stunning foliage and unique shapes. They are often referred to as elephant ear plants due to the size and form of their leaves. The plant’s growth starts from corms, which are bulb-like storage organs that store nutrients and energy. Proper care of these corms is crucial for the successful growth of the plant.
Corms can be sensitive to environmental conditions. Factors like temperature, moisture, and light play significant roles in their health. Understanding how to store and care for Alocasia corms can enhance your chances of nurturing a thriving plant.
Storage Conditions for Alocasia Corms
When it comes to storing corms, the right conditions can make a big difference. Here are some essential tips for optimal storage:
- Temperature: Keep corms in a cool environment, ideally between 50°F and 70°F (10°C to 21°C).
- Humidity: Maintain low humidity levels to prevent mold. A dry atmosphere helps protect the corms.
- Light: Store in a dark area. Exposure to light can trigger growth, leading to weak corms.
- Container: Use breathable containers like paper bags or boxes with holes for airflow.
Before storing, make sure the corms are clean and dry. This helps reduce the risk of rot during storage. Inspect them for any signs of damage or disease, discarding any unhealthy corms to ensure that only the best ones are preserved.
Growth Tips for Alocasia Plants
Once you are ready to plant your stored corms, following specific guidelines can promote healthy growth. Here are some key growth tips:
- Soil: Use a well-draining potting mix. A blend containing peat, perlite, and orchid bark works well.
- Watering: Water thoroughly after planting but allow the top inch of soil to dry out between waterings. Overwatering can lead to rot.
- Light Requirements: Place your Alocasia in a location with bright, indirect sunlight. Too much direct sun can scorch the leaves.
- Humidity Needs: Aim for humidity levels around 60% or higher. If necessary, use a humidifier or place a tray of water near the plant.
- Fertilizing: Fertilize monthly during the growing season with a balanced liquid fertilizer diluted to half strength.
Each of these factors plays an integral role in ensuring that your Alocasia plants grow strong and vibrant. Consistent monitoring and adjustments based on their needs will lead to success in growing these beautiful plants.
Common Issues with Alocasia Corms
Even with the best practices, challenges can arise when dealing with Alocasia corms. Here are some common issues and how to address them:
| Issue | Solution |
|---|---|
| Rotting | Ensure proper drainage and avoid overwatering. |
| Pests | Inspect regularly and use insecticidal soap if needed. |
| Yellowing Leaves | Check watering habits and light conditions. |
By being proactive and observant, you can catch potential issues early and keep your Alocasia plants healthy and thriving.
Choosing the Right Pot for Alocasia Corms
When growing Alocasia plants, selecting the right pot is essential for their health. The pot not only holds the soil and corms but also supports proper drainage and root development. Here are some factors to consider when choosing a pot:
- Size: The pot should be large enough to accommodate the corms and allow for growth. A pot that is too small can restrict root expansion, while an overly large pot can retain excess moisture.
- Material: Pots made from clay, ceramic, or plastic are popular choices. Clay pots are porous and allow for better airflow, while plastic pots are lightweight and often come with drainage holes.
- Drainage: Ensure the pot has adequate drainage holes at the bottom. This helps prevent water from accumulating, which can lead to rot.
- Shape: A deeper pot allows for more root growth, while a wider pot can provide stability for larger plants. Consider the growth habit of your Alocasia when selecting a shape.
Preparing the Soil for Alocasia Corms
The soil you use is just as important as the pot. Alocasia plants thrive in well-draining soil that retains moisture without becoming waterlogged. Here are some tips to prepare the best soil mix:
- Use Quality Potting Mix: Start with a high-quality potting mix designed for houseplants. Avoid garden soil, as it may not drain well in pots.
- Add Amendments: Incorporate amendments like perlite, orchid bark, or coco coir to improve drainage and aeration. A good mix might consist of one part potting soil, one part perlite, and one part orchid bark.
- Moisture Retention: Ensure the mix retains some moisture. Ingredients like peat moss help with this while still allowing excess water to drain.
- pH Level: Aim for a slightly acidic to neutral pH level (between 5.5 to 7.0) for optimal nutrient absorption.
Watering Techniques for Healthy Growth
Watering is a critical aspect of caring for Alocasia corms. Proper watering practices can prevent issues such as overwatering or underwatering, both of which can harm the plant. Here are key techniques to follow:
- Check Soil Moisture: Before watering, check the top inch of soil. If it feels dry, it’s time to water. If it’s still moist, wait a few more days.
- Water Thoroughly: When you water, do so thoroughly until water drains from the bottom of the pot. This ensures that all roots get moisture.
- Avoid Water Accumulation: Never let the pot sit in standing water. This can lead to corm rot and other fungal issues.
- Adjust Seasonally: During the growing season (spring and summer), Alocasia plants may need more frequent watering compared to the dormant season (fall and winter).
Light Requirements for Alocasia Plants
Light is another crucial factor affecting the growth of Alocasia plants. While they enjoy bright light, direct sunlight can be damaging. Understanding their light preferences will help you position them correctly in your home or garden:
- Bright Indirect Light: Alocasia plants thrive in bright, indirect light. A location near a window with filtered light is ideal.
- Avoid Direct Sunlight: Direct sunlight can scorch their leaves, causing browning and damage. Use sheer curtains if placing them near a sunny window.
- Low Light Adaptation: Although they can tolerate lower light conditions, this may slow their growth and result in smaller leaves.
- Rotate Regularly: To ensure even growth, rotate your plant every few weeks so that all sides receive equal light exposure.
Humidity Levels for Optimal Growth
Alocasia plants naturally thrive in humid environments, which can be challenging in some indoor settings. Here are ways to maintain adequate humidity levels:
- Use a Humidifier: A humidifier can effectively raise humidity levels in your growing area.
- Misting: Lightly misting the leaves with water can help increase humidity, but this should not replace regular watering.
- Group Plants Together: Placing multiple plants close together can create a microclimate with increased humidity.
- Humidity Tray: Set your pot on a tray filled with pebbles and water. Ensure the bottom of the pot does not sit directly in the water.
By closely managing these factors—pot selection, soil preparation, watering techniques, light exposure, and humidity—you can set up your Alocasia corms for successful growth and vibrant foliage. Each element contributes to a nurturing environment conducive to their development.
Fert
ilizing Alocasia Plants for Optimal Growth
Fertilization is crucial for the healthy growth of Alocasia plants. Providing the right nutrients can help your plants flourish and develop vibrant foliage. Understanding when and how to fertilize can greatly enhance their growth.
Types of Fertilizers
Choosing the right type of fertilizer is important. Here are some common options suitable for Alocasia plants:
- Liquid Fertilizers: These are easy to apply and provide immediate nutrients to the plant. They can be diluted with water and applied during watering.
- Slow-Release Fertilizers: These fertilizers release nutrients gradually over time. They are ideal for ensuring a consistent supply of nutrients without frequent applications.
- Organic Fertilizers: Options like worm castings or fish emulsion are excellent for promoting healthy growth while being gentle on the plant.
- Specialized Houseplant Fertilizers: Formulations specifically designed for houseplants often contain the right balance of nutrients for Alocasia.
When to Fertilize
The timing of fertilization is as important as the type. Here’s a simple guide on when to fertilize your Alocasia plants:
- Growing Season: Fertilize during the growing season, which typically spans from spring through early fall. This is when the plant actively grows and requires more nutrients.
- Frequency: For liquid fertilizers, apply every 4-6 weeks. Slow-release fertilizers can be applied every 2-3 months, depending on the product instructions.
- Dormant Season: Reduce or stop fertilization during the winter months when the plant enters dormancy. This allows the plant to rest without unnecessary nutrient input.
Repotting Alocasia Corms
Repotting is an essential part of maintaining healthy Alocasia plants. As they grow, they may outgrow their pots or require fresh soil. Here’s how to effectively repot your Alocasia corms:
Signs It’s Time to Repot
It’s important to recognize when your Alocasia needs repotting. Here are some signs to look out for:
- Root Bound: If roots are growing out of the drainage holes or circling around the inside of the pot, it’s time to repot.
- Soil Degradation: If the soil has decomposed, compacted, or shows signs of mold, fresh soil is needed.
- Stunted Growth: If your plant’s growth has slowed or stopped, it may be because it needs more space and nutrients.
Steps for Repotting
Follow these steps to repot your Alocasia corms effectively:
- Choose a New Pot: Select a pot that is one size larger than the current one. Ensure it has proper drainage holes.
- Prepare New Soil: Use a fresh, well-draining potting mix as discussed earlier in this article.
- Remove the Plant: Carefully remove the Alocasia from its current pot, gently loosening the roots if necessary.
- Inspect Roots: Check the roots for any signs of rot or disease. Trim away any unhealthy roots with clean scissors.
- Add Soil: Place a layer of fresh soil at the bottom of the new pot, then position the corms in the center, adding more soil around them until it is filled.
- Water Thoroughly: After repotting, water the plant thoroughly to help settle the soil and provide moisture to the roots.
Pest Management for Alocasia Plants
Pests can pose a threat to your Alocasia plants. Identifying and managing these pests is crucial for maintaining healthy growth. Common pests that affect Alocasia include aphids, spider mites, and mealybugs.
Identification of Common Pests
Here’s how to identify some of the most common pests:
- Aphids: Small, green or black insects that cluster on new growth and stems, causing curling leaves.
- Spider Mites: Tiny red or brown dots that create webbing on leaves. They thrive in dry conditions and can cause leaf discoloration.
- Mealybugs: White, cotton-like masses found in leaf joints and on stems. They suck sap from the plant and can stunt growth.
Pest Control Methods
Here are effective methods for managing pests on your Alocasia plants:
- Regular Inspections: Check your plants frequently for signs of pest infestations. Early detection is key to effective management.
- Natural Remedies: Use neem oil or insecticidal soap as natural options for controlling pests without harming the plant.
- Isolation: If you notice an infested plant, isolate it immediately to prevent pests from spreading to other plants.
- Cultural Practices: Maintain good air circulation and humidity levels to deter pests from thriving.
Taking proactive measures against pests will help keep your Alocasia plants healthy and vibrant, ensuring they continue to thrive in your care.
Advanced Care Tips for Alocasia Plants
In addition to
the fundamental care practices discussed, Alocasia plants benefit from advanced techniques that can enhance their growth and overall health. Here are some additional care strategies to consider:
Seasonal Adjustments
Understanding seasonal changes can help you tailor your care routine for Alocasia plants:
- Spring Care: As the growing season begins, increase watering and start fertilizing to support new growth.
- Summer Maintenance: Monitor for pests regularly, as warmer temperatures can encourage infestations. Maintain high humidity and ensure adequate light exposure.
- Fall Preparation: Gradually reduce watering as the plant prepares for dormancy. Stop fertilizing in late fall.
- Winter Care: Keep plants in a warm location away from drafts. Limit watering to prevent root rot during the dormant phase.
Propagation Techniques
Propagating Alocasia can be a rewarding experience. Here are methods to propagate your plants effectively:
- Division: When repotting, you can divide the corms. Make sure each division has a healthy root system and at least one leaf attached.
- Offsets: Some Alocasia varieties produce offsets or pups around the main corm. These can be carefully separated and potted on their own.
- Leaf Cuttings: While less common, leaf cuttings can be taken and placed in water or moist soil to encourage root formation. Ensure the cutting has a vein to aid in rooting.
Common Varieties of Alocasia
Familiarizing yourself with different Alocasia varieties can help you choose the right type for your home. Here are a few popular varieties:
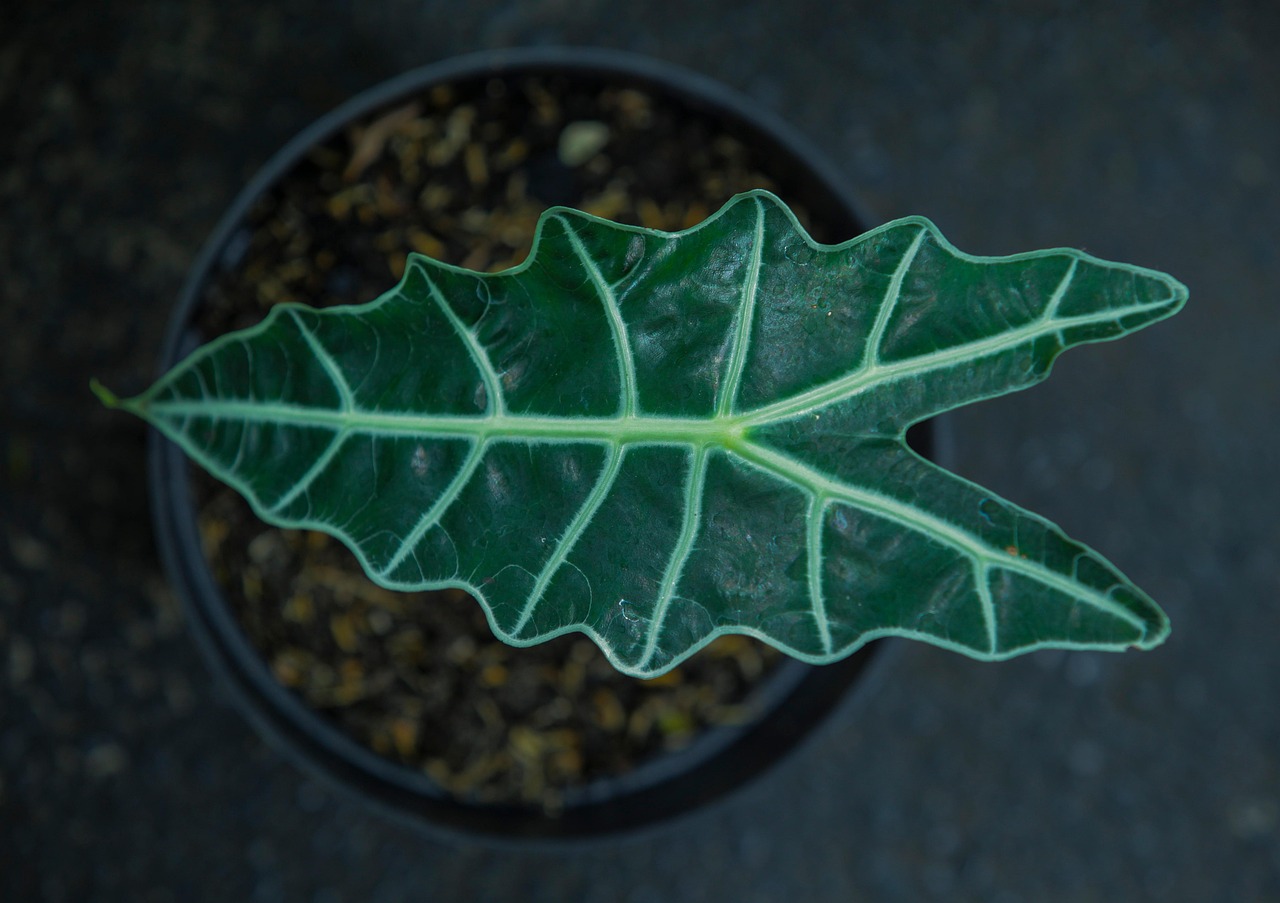
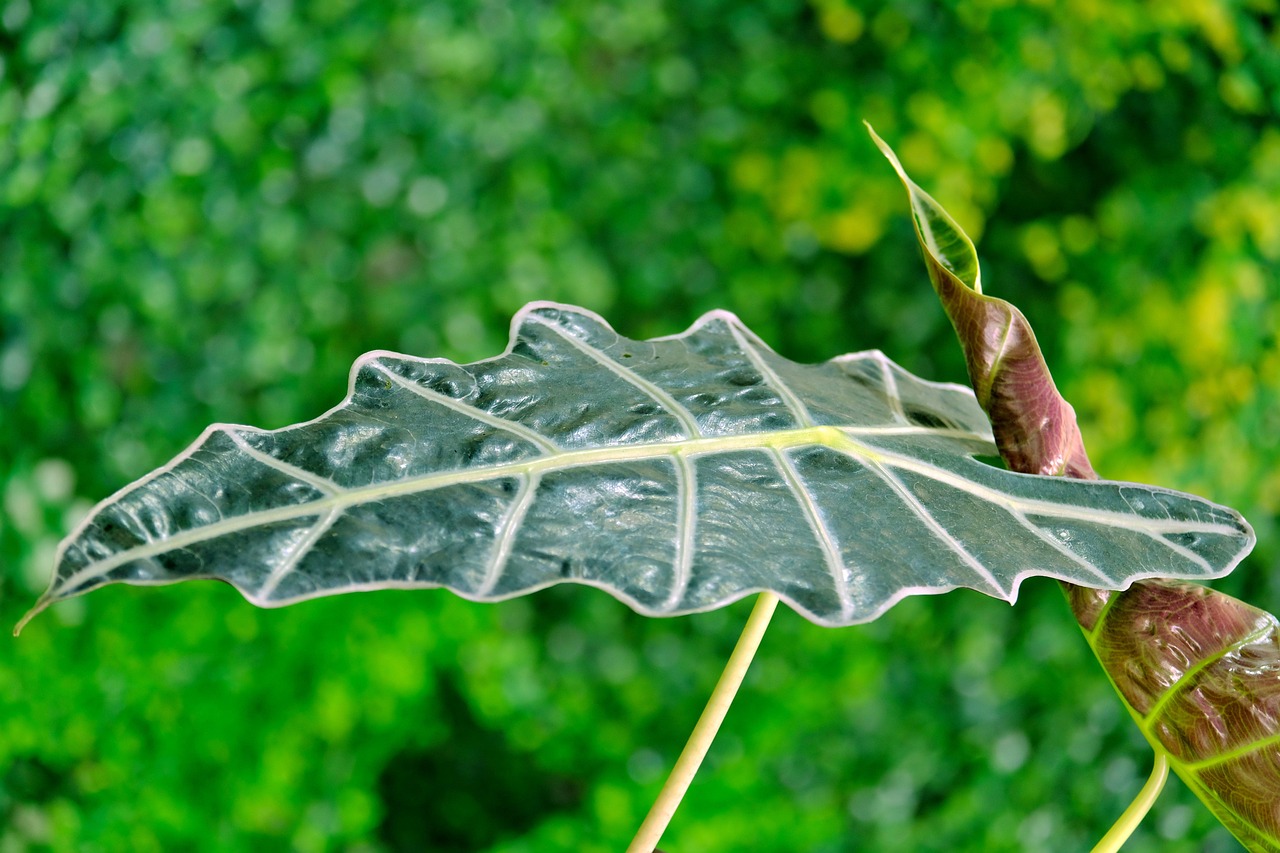
- Alocasia Polly: Known for its striking arrow-shaped leaves with prominent veins, it is a favorite among houseplant enthusiasts.
- Alocasia Zebrina: This variety features zebra-striped stems and large leaves, making it a visually stunning addition to any plant collection.
- Alocasia Amazonica: Sometimes called African Mask Plant, it has dark green leaves with contrasting white veins.
- Alocasia Macrorrhiza: Also known as Giant Taro, this variety can grow quite large and is often used in landscaping.
Final Thoughts
Caring for Alocasia corms involves a blend of knowledge, patience, and attention to detail. By understanding their specific needs regarding storage, watering, light, humidity, and pest management, you can cultivate healthy and thriving plants. Remember that each Alocasia variety may have slightly different requirements, so it is essential to observe your plants closely and adjust care techniques accordingly.
The journey of growing Alocasia plants is rewarding, enriching your space with their unique beauty. With the right conditions and care practices in place, these tropical beauties can thrive and become a stunning focal point in your home or garden. Embrace the process, learn from your experiences, and enjoy the lush greenery that Alocasia plants bring into your life.
By implementing these comprehensive tips and insights, you will be well-equipped to achieve success with your Alocasia corms, ensuring they grow into vibrant and healthy plants that brighten your environment for years to come.