
Alocasia plants thrive indoors with proper care. They prefer bright, indirect sunlight, high humidity, and well-draining soil. Regular watering and fertilization during the growing season ensure vibrant leaves and healthy growth.
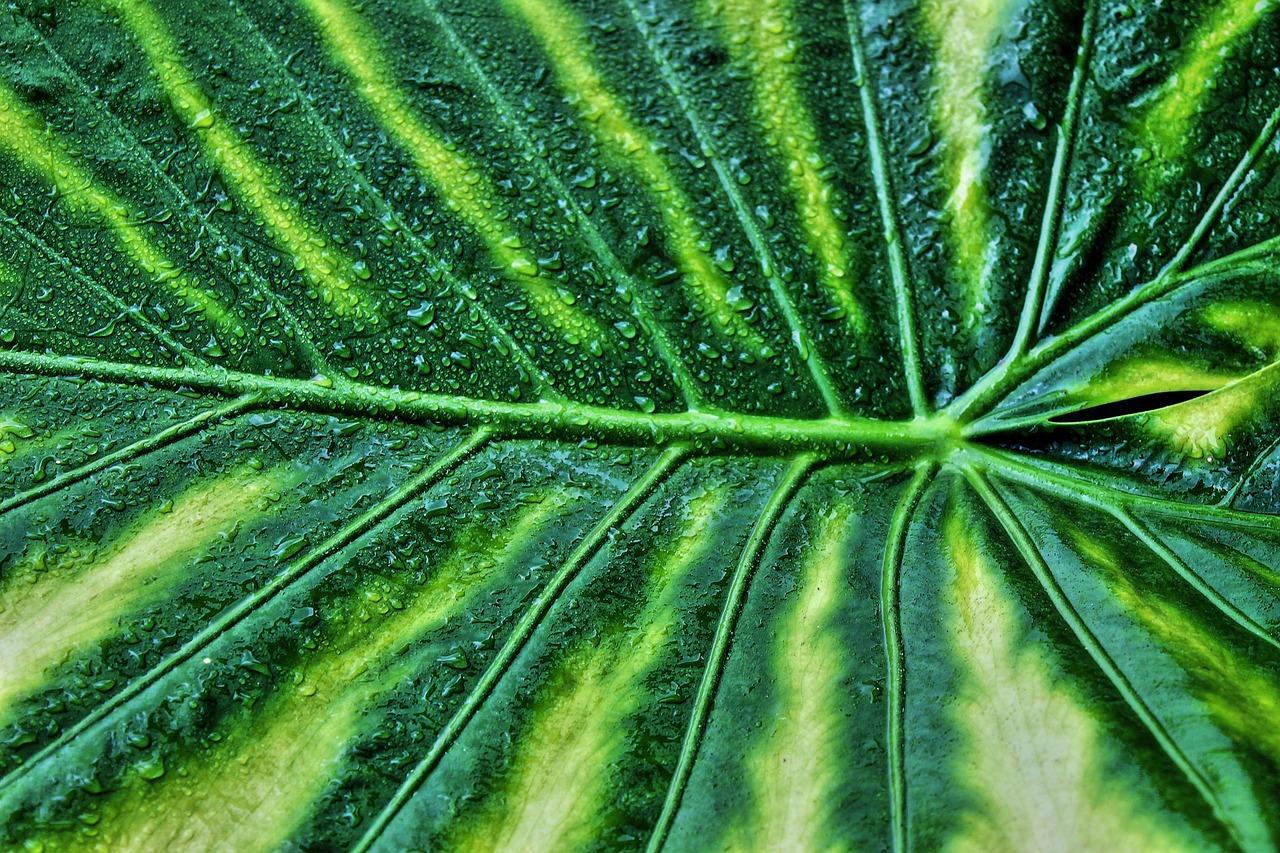
The Alocasia plant, often known for its striking foliage, is a favorite among indoor gardeners. With its large, arrow-shaped leaves and unique patterns, it brings a touch of the tropics into homes. However, these plants require specific conditions to flourish. Understanding their needs is essential for anyone looking to incorporate Alocasia into their indoor garden.
Native to tropical and subtropical regions of Asia and Australia, Alocasia is part of the Araceae family. This family includes other popular houseplants like pothos and peace lilies. Alocasia comes in various species, each with its distinctive characteristics. Some of the most popular types include:
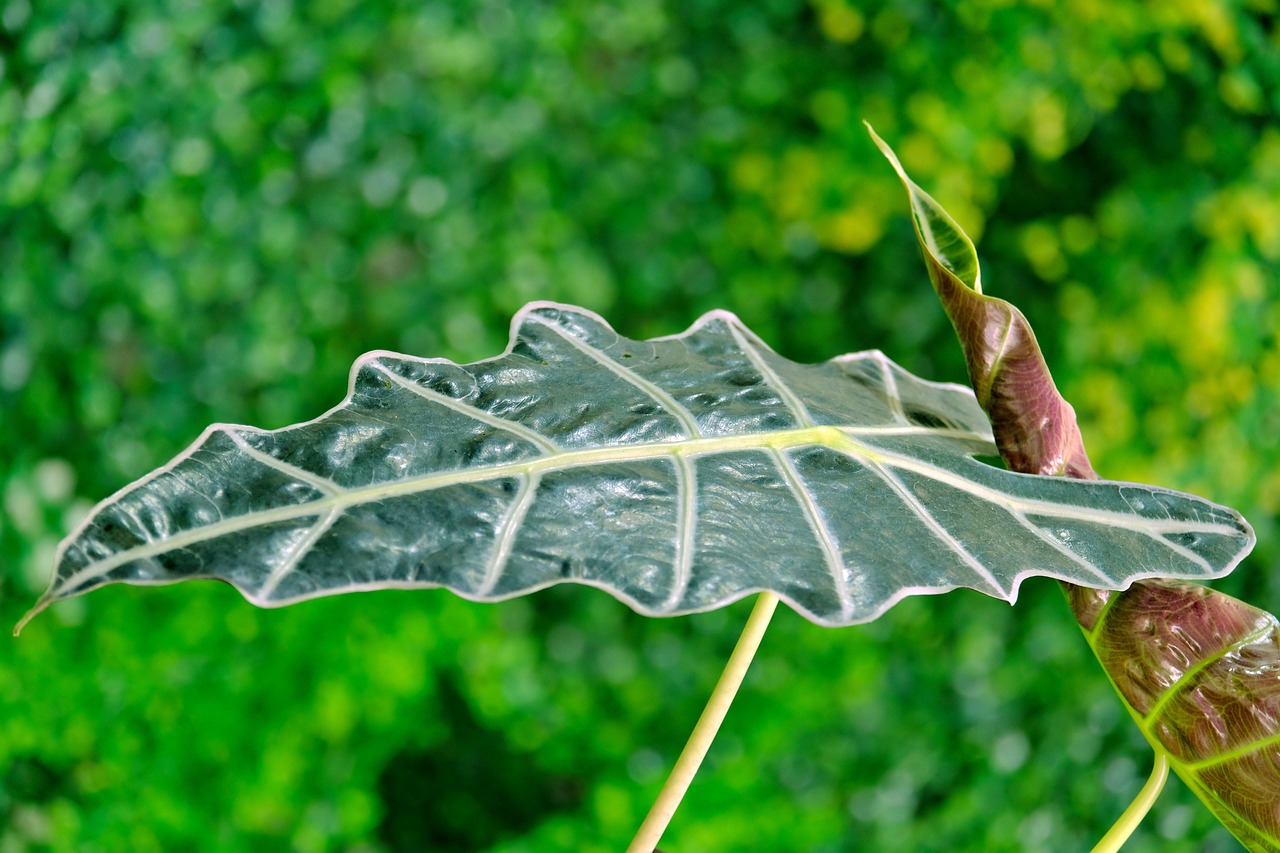
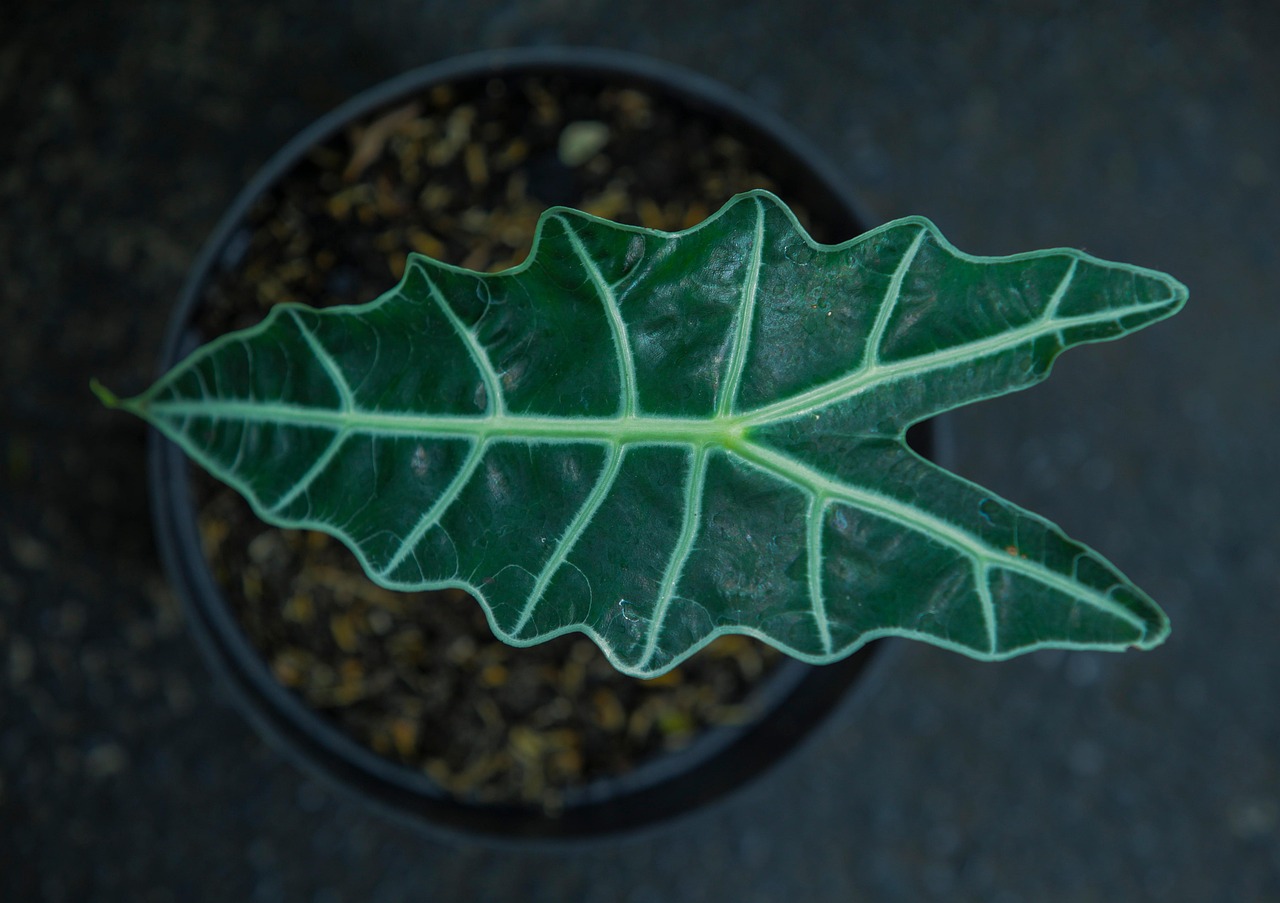
- Alocasia Amazonica: Known for its dramatic leaves with white veins.
- Alocasia Zebrina: Features zebra-like stems with large leaves.
- Alocasia Micholitziana: Recognized for its unique leaf shape and color variations.
Understanding Alocasia Plant Needs
Alocasia plants are not just beautiful; they also have specific requirements that must be met to ensure their health and longevity. Here are some essential factors to consider:
Light Requirements
Light is one of the most critical factors affecting the growth of Alocasia plants. They thrive in bright, indirect sunlight but can also tolerate partial shade. Direct sunlight can scorch their leaves, resulting in damage. Placing them near a window with filtered light is often ideal.
Temperature Preferences
Alocasia plants prefer warm temperatures between 65°F and 80°F (18°C to 27°C). They are sensitive to cold drafts and sudden temperature changes, which can affect their growth. Keeping them away from air conditioning vents and open windows during cold months is essential.
Humidity Levels
High humidity is crucial for the Alocasia plant’s wellbeing. They thrive in environments with humidity levels above 60%. Low humidity can lead to dry leaf tips and overall decline. To maintain adequate humidity, consider the following methods:
- Use a humidifier to increase moisture in the air.
- Group plants together to create a microclimate.
- Place a tray filled with water and pebbles under the pot.
Watering Guidelines
Watering is another vital aspect of Alocasia care. These plants prefer their soil to be kept consistently moist but not soggy. Overwatering can lead to root rot, while underwatering can cause stress. A good rule of thumb is to water when the top inch of soil feels dry. Always ensure pots have drainage holes to allow excess water to escape.
| Care Aspect | Ideal Condition |
|---|---|
| Light | Bright, indirect sunlight |
| Temperature | 65°F to 80°F (18°C to 27°C) |
| Humidity | Above 60% |
| Watering Frequency | When top inch of soil is dry |
With these basic care requirements in mind, indoor gardeners can create optimal conditions for their Alocasia plants. Providing the right light, temperature, humidity, and water will encourage healthy growth and vibrant foliage throughout the year.
Soil and Potting for Alocasia
The right soil and potting conditions are crucial for the health of Alocasia plants. These tropical beauties thrive in well-draining soil that retains some moisture while avoiding waterlogging. Here are some essential tips for potting and soil selection:
Choosing the Right Soil
Alocasia plants benefit from a blend of potting mediums that provide good aeration and drainage. Consider using a combination of the following components:
- Potting Mix: Start with a high-quality potting mix as a base.
- Coconut Coir: This helps retain moisture while improving drainage.
- Pearlite or Vermiculite: Adding either of these materials enhances aeration.
- Bark Chips: These can improve drainage and provide a natural environment.
A suggested soil mix ratio is two parts potting mix, one part coconut coir, and one part perlite or vermiculite. This combination ensures that the roots have the moisture they need without becoming waterlogged.
Pot Selection
Selecting the right pot is equally important. Alocasia plants prefer pots that allow for good drainage. Here are some factors to consider when choosing a pot:
- Drainage Holes: Ensure your pot has adequate drainage holes to prevent water accumulation.
- Size: Choose a pot that is slightly larger than the current root ball. Too large a pot can retain excess moisture.
- Material: Terracotta pots are excellent for promoting airflow to the roots but can dry out quickly. Plastic pots retain moisture better.
Fertilizing Your Alocasia
Regular fertilization supports healthy growth during the growing season, which typically runs from spring to early fall. Alocasia plants are heavy feeders and benefit from balanced nutrients. Here are some guidelines for fertilizing:
Types of Fertilizer
When selecting fertilizer, consider these options:
- Liquid Fertilizers: These provide quick nutrient absorption. Dilute according to package instructions.
- Slow-Release Fertilizers: These can be mixed into the soil at the beginning of the growing season for ongoing nourishment.
- Organic Options: Compost tea or fish emulsion can also be effective, providing gentle nutrition.
Fertilization Schedule
A regular schedule can help maintain plant health. Follow these tips:
- Fertilize every 4-6 weeks during the growing season.
- Reduce or stop fertilizing in the fall and winter months when the plant’s growth slows.
- Always water your plant before applying fertilizer to prevent root burn.
Common Pests and Problems
While Alocasia plants are generally hardy, they can be susceptible to certain pests and diseases. Awareness is key to maintaining their health. Common issues include:
Pests
- Spider Mites: Look for fine webbing and yellowing leaves. Increase humidity to deter them.
- Mealybugs: These appear as white cotton-like masses on stems and leaves. Use insecticidal soap or neem oil for control.
- Aphids: Small green or black insects that cluster on new growth. They can be removed with a strong spray of water or insecticidal soap.
Diseases
Pests often lead to diseases, especially if the plant is stressed. Watch for:
- Root Rot: Caused by overwatering, it leads to wilting and yellowing leaves. Ensure proper drainage and adjust watering habits.
- Leaf Spot: Brown spots on leaves may indicate fungal infections. Remove affected leaves and improve air circulation.
Monitoring your Alocasia regularly will help catch these issues early, allowing for prompt treatment and care.
Re
potting Alocasia Plants
Repotting is an essential aspect of Alocasia care. As these plants grow, they may outgrow their current pots. Repotting allows for better root development and access to fresh nutrients. Understanding when and how to repot your Alocasia can enhance its health and growth.
When to Repot
Knowing the right time to repot is crucial. Look for the following signs:
- Root Bound: If roots are growing out of the drainage holes or circling the pot, it’s time to repot.
- Soil Degradation: If the soil is compacted or nutrient-depleted, fresh soil should be introduced.
- Stunted Growth: If your Alocasia shows little new growth during the growing season, check if it needs more space.
How to Repot
Follow these steps to ensure a successful repotting process:
- Choose a New Pot: Select a pot that is one size larger than the current one, ensuring it has drainage holes.
- Prepare the Soil: Mix fresh potting soil according to the recommended blend for Alocasia.
- Remove the Plant: Gently take the plant out of the old pot, being careful not to damage the roots.
- Inspect the Roots: Trim any dead or rotten roots with sterilized scissors.
- Place in New Pot: Position the plant in the new pot and fill with fresh soil, leaving space at the top for watering.
- Water Thoroughly: Water the plant well after repotting to help settle the soil around the roots.
Propagating Alocasia Plants
Propagation can be a rewarding way to expand your indoor garden. Alocasia plants can be propagated through offsets, which are small plants that grow from the base of mature plants. Here’s how to propagate your Alocasia effectively:
Identifying Offsets
Offsets are typically visible at the base of the plant. They will have their own roots and leaves. Look for healthy offsets that are at least a few inches tall and have developed their own roots.
Propagation Steps
- Prepare Tools: Gather a clean knife or scissors, small pots, and fresh potting mix.
- Separate Offsets: Carefully cut the offset away from the mother plant, ensuring you include some roots.
- Potted Offsets: Place each offset in its own pot filled with the appropriate soil mix.
- Watering: Water lightly to avoid soaking the new plant.
- Create Humidity: Cover the pots with plastic bags or place them in a humidity dome to promote root growth.
- Monitor Growth: Keep in a warm, bright location, and check for root development over several weeks.
Caring for Alocasia During Dormancy
Many Al
ocasia plants enter a dormant phase during the winter months. During this time, their growth may slow significantly. Understanding how to care for your Alocasia during dormancy is crucial for its long-term health.
Watering During Dormancy
Reduce watering as the plant’s growth slows. Allow the top inch of soil to dry out before watering again. Overwatering can lead to root rot during this period.
Temperature and Light Conditions
Maintain a stable temperature and provide bright, indirect light. Avoid placing your Alocasia in drafts or near heating vents, as sudden temperature changes can stress the plant. Keeping it in a consistent environment is key during dormancy.
Fertilization During Dormancy
Do not fertilize during the dormancy period. The plant will not actively absorb nutrients, so adding fertilizer can lead to buildup in the soil and potential harm to the roots.
Understanding these aspects of Alocasia care will help indoor gardeners ensure their plants remain healthy and vibrant throughout all seasons. With proper attention to repotting, propagation, and dormancy care, your Alocasia can thrive and continue to beautify your indoor space.
Special Considerations for Alocasia Care
While g
eneral care guidelines are essential for maintaining the health of Alocasia plants, several special considerations can enhance your gardening experience. Understanding these nuances can lead to even more successful growth and vibrant foliage.
Environmental Factors
Alocasia plants thrive in specific environmental conditions that mimic their native tropical habitats. Here are additional factors to consider:
- Airflow: Good airflow around your Alocasia helps prevent pest infestations and mold growth. Ensure that your plants have enough space between them and are not crowded.
- Cleaning Leaves: Regularly wipe the leaves with a damp cloth to remove dust. This practice improves photosynthesis and keeps the plant looking its best.
- Seasonal Adjustments: Be aware of seasonal changes and adjust care accordingly. For example, during the summer months, you may need to increase watering frequency due to higher temperatures.
Common Myths About Alocasia
There are many myths surrounding Alocasia care that can lead to misunderstandings. Here are some of the most common myths debunked:
- Myth 1: Alocasia plants are toxic to pets. While some species can be toxic, many are not harmful if ingested in small quantities. Always research specific varieties if pets are a concern.
- Myth 2: Alocasia plants require constant humidity. While they do prefer high humidity, they can adapt to lower levels as long as they are monitored closely.
- Myth 3: All Alocasia plants can survive in low light. Most varieties need bright, indirect light to thrive; low light can lead to leggy growth and poor health.
Dealing with Leaf Drop
Leaf drop is a common issue with Alocasia plants and can be caused by various factors, including environmental stress or improper care. Here’s how to address it:
- Environmental Changes: Sudden changes in temperature or humidity can cause leaves to drop. Ensure consistency in their environment.
- Pest Issues: Check for any pests that may be affecting the leaves. Treat infestations promptly to prevent further damage.
- Watering Practices: Both overwatering and underwatering can lead to leaf drop. Monitor soil moisture levels regularly.
Final Thoughts
Caring for Alocasia plants can be a delightful experience for indoor gardeners. With their stunning foliage and unique characteristics, these plants can become a focal point in any home. By understanding their specific needs regarding light, soil, humidity, and care practices, you can create an environment where they thrive.
Remember that regular monitoring and adjustments based on the plant’s response will ensure optimal health. Whether you are repotting, propagating, or simply enjoying their beauty, the key is to be attentive and responsive to their needs.
With the right care, your Alocasia will not only survive but flourish, offering lush greenery and elegance to your living space. Embrace the journey of indoor gardening with Alocasia, and enjoy the rewards of your dedication and effort.