
Growing artichokes can be a rewarding experience, offering both beauty and delicious yields. With the right techniques and a bit of patience, I’ve found that anyone can successfully cultivate this unique vegetable!
Table of Contents
Getting Started with Artichoke Planting
When I first decided to grow artichokes, I was a bit intimidated. However, after some research and hands-on experience, I learned that with proper planning and care, these stunning plants can thrive in my garden. Artichokes are perennial plants, which means they can produce for several years if cared for correctly. Here’s how I got started and what I discovered along the way.
Choosing the Right Variety
Before diving into planting, I needed to choose the right variety of artichoke. There are two primary types: globe artichokes and Jerusalem artichokes. Globe artichokes are the ones most commonly found in grocery stores, characterized by their large, round buds. Jerusalem artichokes, on the other hand, are actually tubers and not true artichokes, but they’re worth considering if you’re looking to diversify your harvest. I opted for the globe variety due to its culinary versatility and popularity.
Understanding the Growing Conditions
Artichokes thrive in USDA hardiness zones 7-10, which made the climate in my region ideal for planting. They prefer well-drained, fertile soil with a pH level between 6.5 and 7.0. I made sure to conduct a soil test to gauge its quality. Once I understood the soil conditions, I began improving it by adding organic matter, like compost or well-rotted manure, which can enhance soil fertility and drainage.
When to Plant
Timing is crucial for a successful artichoke harvest. I learned that artichokes can be started from seeds or transplants. If starting from seeds, I usually began germination indoors about 8-10 weeks before the last frost date in my area. This gave the seeds ample time to sprout and grow into strong seedlings. For those who prefer starting with transplants, I found that purchasing healthy young plants from a nursery can save time and yield results more quickly.
Preparing the Garden Bed
Once I had my seedlings ready, I prepared the garden bed. I chose a location that received full sun, as artichokes love warmth and light. I spaced the plants about 3 feet apart to give them room to spread and grow. I tilled the soil to a depth of about 12 inches and mixed in compost to ensure a nutrient-rich environment. Proper drainage is essential, so I made sure to avoid low-lying areas where water tends to pool.
Planting the Artichokes
On planting day, I carefully dug holes for each seedling, making sure not to disturb the roots too much. I placed the seedlings in the holes and covered them with soil, gently pressing down to eliminate air pockets. After planting, I watered them thoroughly to help settle the soil around the roots. Observing the soil moisture in the days that followed was important; too much moisture can lead to root rot, while too little can stress the plants.
Watering and Fertilizing
Artichokes require consistent moisture, especially during the growing season. I learned to water them deeply once a week, allowing the top few inches of soil to dry out before the next watering. It’s crucial to avoid soggy conditions, so I often checked the soil moisture to gauge the right amount of water. As for fertilization, I applied a balanced fertilizer every 4-6 weeks during the growing season, which helped in achieving robust growth and better yields.
Pest and Disease Management
Like any gardener, I faced challenges with pests and diseases. Artichokes can be susceptible to aphids and snails, which can wreak havoc on the leaves. I regularly checked my plants for signs of infestation and used organic pest control methods, such as introducing beneficial insects or spraying with insecticidal soap, to keep my artichokes healthy. I also made sure to rotate my crops annually to prevent soil-borne diseases.
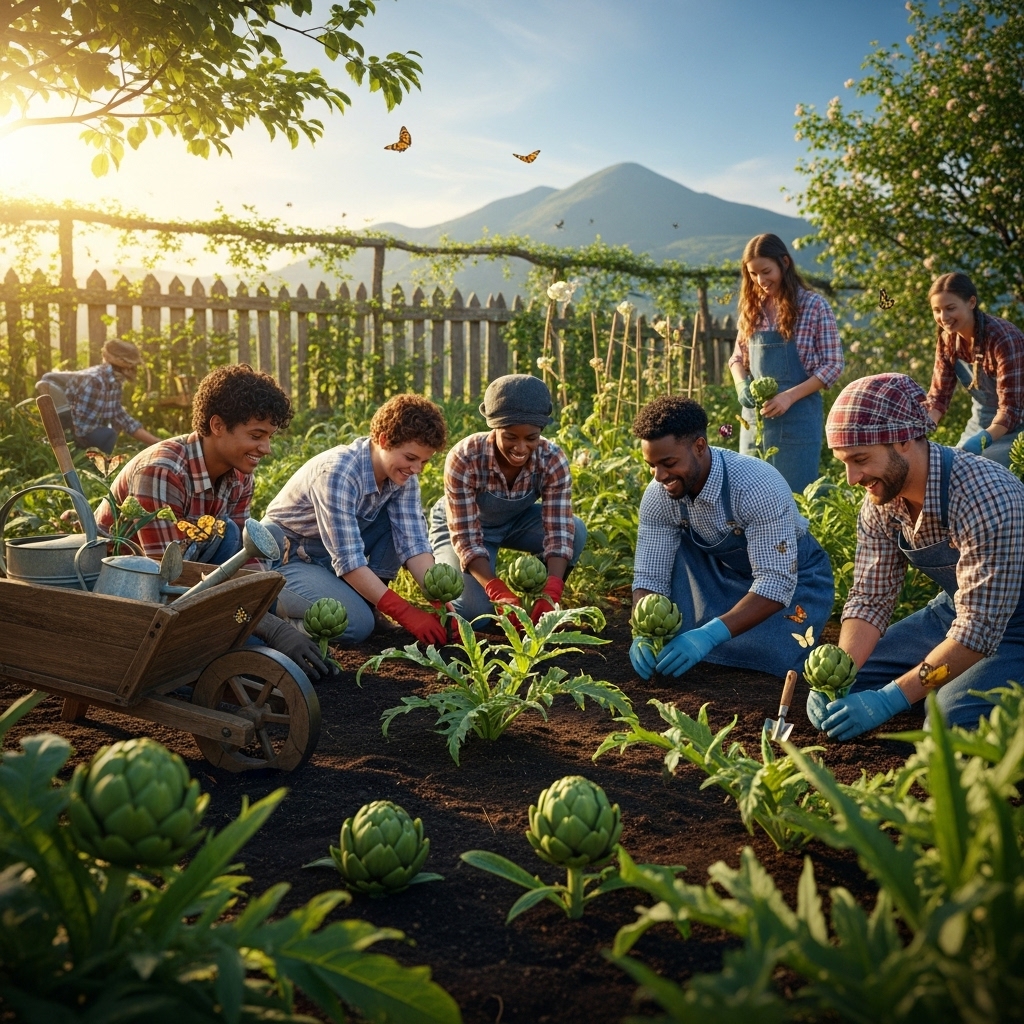
Harvesting Artichokes
The moment I had been waiting for arrived when I saw the first buds forming. Harvesting artichokes is a delicate process, as they should be picked while still tight and before they bloom into flowers. I learned to harvest them when they reached about 3-4 inches in diameter, cutting the stem about an inch below the bud. This encourages further growth, and I often left the smaller buds to mature for a future harvest.
Embarking on this journey of growing artichokes taught me patience and dedication. Each stage of the process—from selecting the right variety to harvesting—was filled with learning experiences. I’ve discovered that with the right care, I can enjoy homegrown artichokes for years to come, enhancing my culinary adventures and enriching my garden’s beauty. As I continue to cultivate these remarkable plants, I look forward to sharing more about the next steps and the joy of enjoying my harvest. Stay tuned for more tips and insights on maintaining and enjoying my artichoke plants!
Maintaining Your Artichoke Plants
After the excitement of harvesting my first artichokes, I quickly realized that the journey didn’t end there. Maintaining my artichoke plants is just as crucial to ensuring a bountiful harvest in the following years. I found that consistent care can make all the difference in the health and productivity of these beautiful perennials.
Mulching
One of the best practices I adopted was mulching around my artichokes. I discovered that applying a layer of organic mulch, such as straw or shredded leaves, not only helped retain soil moisture but also suppressed weeds that could compete for nutrients. As the mulch breaks down over time, it adds organic matter back into the soil, which benefits the plants. I made it a habit to replenish the mulch layer each spring, ensuring that my artichokes had the best possible growing conditions.
Pruning and Maintenance
Regular pruning became part of my routine as well. While artichokes are relatively low-maintenance, I learned that removing dead or damaged leaves helps promote healthy growth. I made it a point to cut back any brown or wilted leaves in the spring when new growth begins. This not only keeps the plants looking tidy but also allows for better air circulation, which can help prevent diseases. I also found that trimming the spent flower buds after harvesting encouraged the plants to focus their energy on producing new buds.
Winter Care
As the seasons changed, I realized that taking care of my artichokes during the winter was essential for their survival. In colder climates, I learned to provide a protective layer of mulch around the base of the plants to insulate the roots from freezing temperatures. In addition, I sometimes covered the plants with frost cloth if particularly harsh weather was predicted. This extra care ensured that my plants made it through the winter, ready to burst forth with new growth come spring.
Companion Planting
During my gardening journey, I also experimented with companion planting. I learned that certain plants can benefit artichokes when grown nearby. For instance, I found that planting herbs like basil and mint around my artichokes not only helped deter pests but also promoted a healthier ecosystem in my garden. Additionally, growing marigolds nearby attracted beneficial insects, which kept harmful pests at bay. This synergistic approach to gardening made my garden not only healthier but also more diverse and beautiful.
Understanding the Artichoke Life Cycle
As I continued to nurture my artichokes, I became more familiar with their life cycle. Artichokes typically produce their first crop of buds in the second year after planting, and I was pleased to see that my plants were thriving and getting stronger each season. I also learned that the size and quality of the buds can vary significantly depending on environmental factors, soil conditions, and care. Observing these changes helped me adjust my practices to optimize growth and yield.
Storing and Using Artichokes
Once I harvested my artichokes, I wanted to ensure I enjoyed them to the fullest. I discovered that fresh artichokes can be stored in the refrigerator for about a week. To keep them fresh, I placed them in a perforated plastic bag to allow for airflow. When it came to using my artichokes in the kitchen, I experimented with various recipes. Whether steaming, grilling, or adding them to pasta dishes, I found that artichokes added a unique flavor and texture to my meals. I often sautéed them with garlic and olive oil or enjoyed them simply with a squeeze of lemon juice. The possibilities were endless!
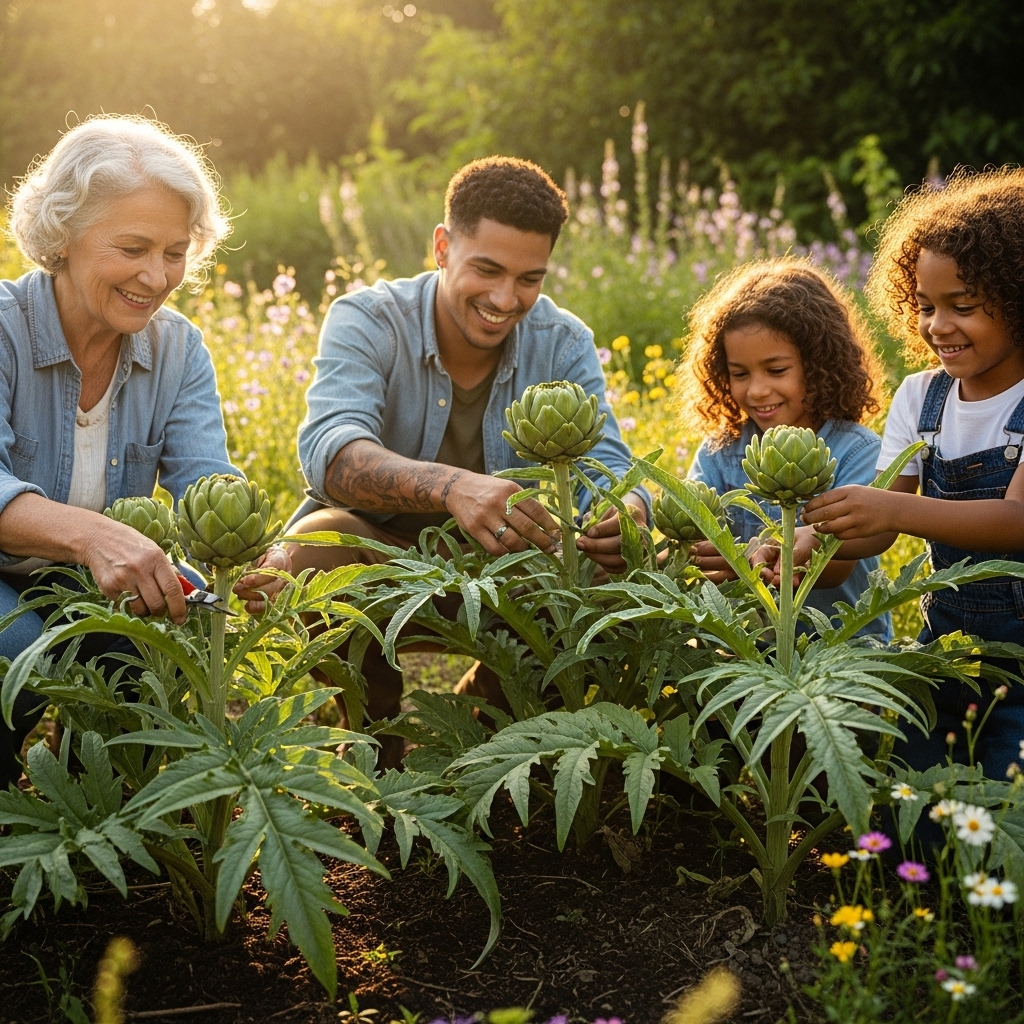
Sharing the Harvest
One of the most fulfilling aspects of growing artichokes has been sharing my harvest with family and friends. I’ve delighted in giving away freshly picked artichokes, teaching others how to prepare them, and even hosting casual dinners centered around this remarkable vegetable. It felt wonderful to connect with others over a shared love of gardening and good food. I’ve also learned that sharing my experiences and knowledge with fellow gardeners has deepened my appreciation for this journey.
As I move forward with my artichoke gardening adventures, I’m excited about the lessons yet to be learned and the joys of nurturing these plants. The more I learn, the more I realize that growing artichokes, like any gardening endeavor, is a continuous journey full of discoveries and rewards. I look forward to exploring new techniques, experimenting with different varieties, and sharing my experiences along the way.
Final Thoughts
Embracing the art of growing artichokes has enriched my gardening life in ways I never anticipated. The beauty of these plants, combined with the satisfaction of harvesting my own food, has made every effort worthwhile. I encourage anyone considering growing artichokes to take the plunge; with a little patience and care, the rewards are abundant. Here’s to many more delicious artichoke meals and the joy of gardening!