
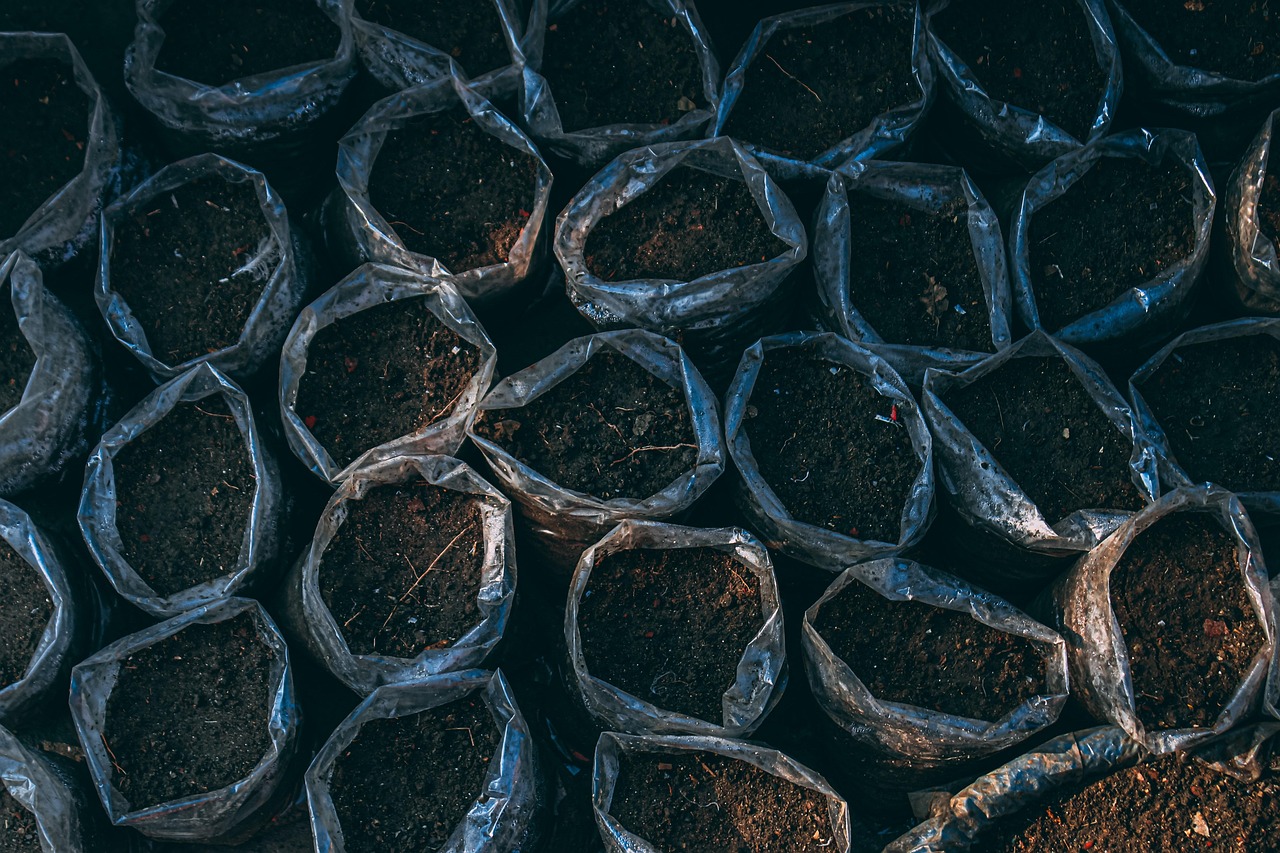
The best soil for Alocasia plant growth and health is a well-draining mix that retains some moisture while allowing excess water to escape. A combination of potting soil, perlite, and orchid bark creates an ideal environment for these tropical plants.
Understanding Alocasia Plants
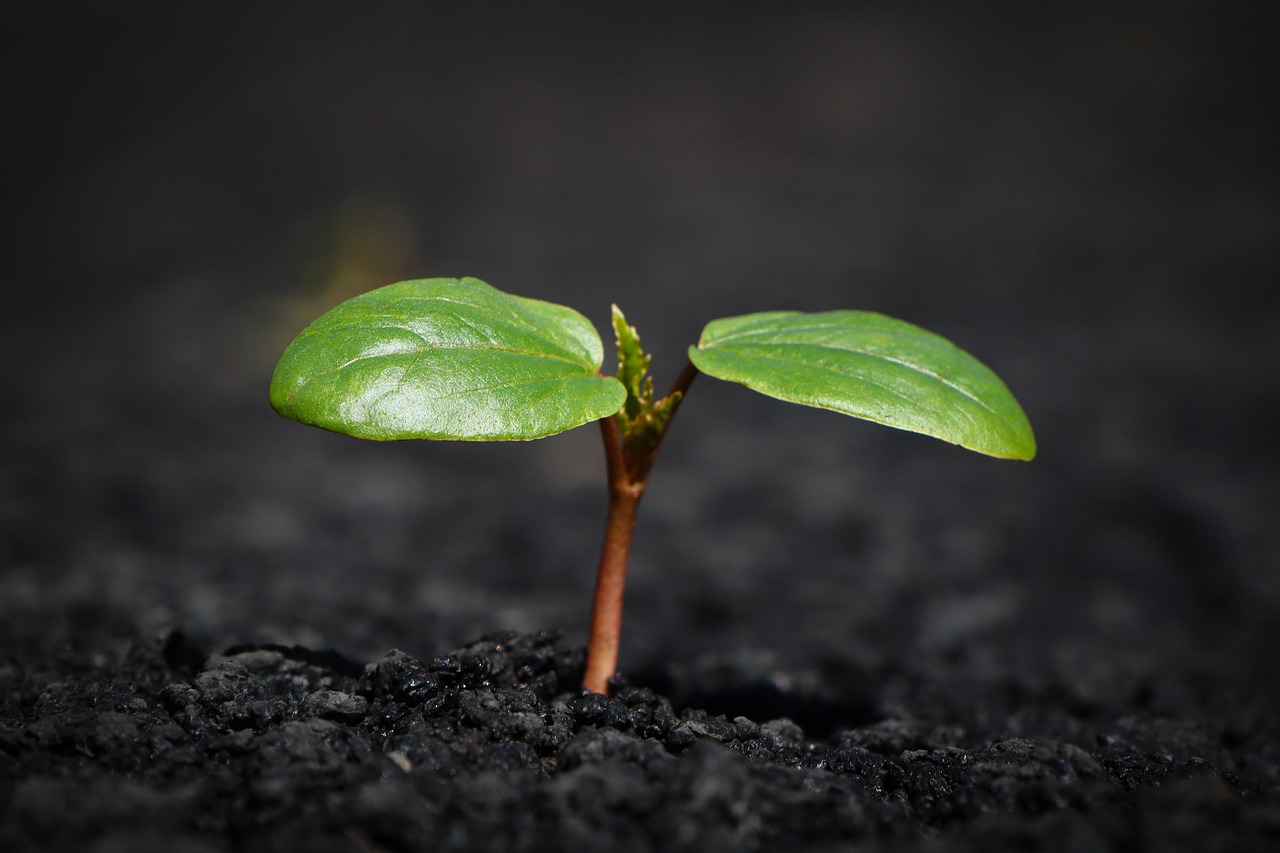
Alocasia plants are known for their striking foliage and unique shapes. These tropical plants thrive in warm, humid environments and are often used as ornamental houseplants. To ensure their healthy growth, it is crucial to provide them with the right soil type. Choosing the right soil mix can significantly impact their growth, health, and overall appearance.
Alocasia, also known as elephant ear plants, are native to tropical regions of Asia and Australia. They are characterized by their large, arrow-shaped leaves that can vary in color from deep green to variegated patterns. These plants prefer indirect light and high humidity, making them popular choices for indoor gardening.
Soil Requirements for Alocasia
The ideal soil for Alocasia should have specific characteristics to support their growth. Here are the essential components that make up the best soil for Alocasia:
- Well-draining: Alocasia plants do not like sitting in water. The soil must allow excess moisture to escape to prevent root rot.
- Moisture retention: While drainage is essential, the soil should still retain some moisture to keep the roots hydrated.
- Nutrient-rich: A good soil mix should provide the necessary nutrients for healthy plant growth.
- Acidic to neutral pH: Alocasia prefers slightly acidic to neutral soil, ideally within a pH range of 6.0 to 7.0.
Recommended Soil Mixes
Creating a suitable soil mix for your Alocasia can be done easily at home. Below are some recommended combinations that work well:
- Standard Potting Mix with Perlite: A standard potting mix combined with perlite in a 2:1 ratio creates a well-draining environment.
- Orchid Bark Mix: Mixing orchid bark with potting soil in equal parts provides excellent drainage while retaining moisture.
- Coconut Coir and Perlite: A mixture of coconut coir and perlite (2:1) offers good aeration and moisture retention.
Key Ingredients for Soil Mix
When creating your own Alocasia soil mix, consider using the following key ingredients:
| Ingredient | Function |
|---|---|
| Potting Soil | Provides nutrients and moisture retention. |
| Perlite | Enhances drainage and aeration. |
| Orchid Bark | Improves drainage and creates a loose texture. |
| Coconut Coir | A sustainable option that retains moisture. |
By using these ingredients in the right proportions, you can create a tailored soil mix that meets the specific needs of your Alocasia plants. Proper soil contributes not only to their growth but also enhances their vitality and aesthetic appeal in your home or garden.
Watering and Moisture Considerations
Watering is a crucial aspect of caring for Alocasia plants. These tropical plants thrive in humid conditions, but overwatering can lead to root rot. Understanding the balance between moisture retention and drainage in your soil mix is essential for their health.
Watering Frequency
The frequency of watering your Alocasia will depend on several factors, including the season, humidity levels, and pot size. Here are some guidelines:
- Growing Season (Spring and Summer): During these active growth months, water the plant when the top inch of soil feels dry. This may be every 5 to 7 days.
- Dormant Season (Fall and Winter): Water less frequently, allowing the soil to dry out more between waterings. This may extend to 10 to 14 days.
- Humidity Levels: If you live in a dry climate, you may need to water more often. Conversely, in high humidity, the plant may require less water.
Signs of Overwatering and Underwatering
Recognizing the signs of overwatering and underwatering can help you adjust your care routine effectively. Here are some indicators:
Overwatering Signs
- Yellowing leaves, especially lower leaves.
- Mushy or blackened roots when inspected.
- Soil that remains wet for extended periods.
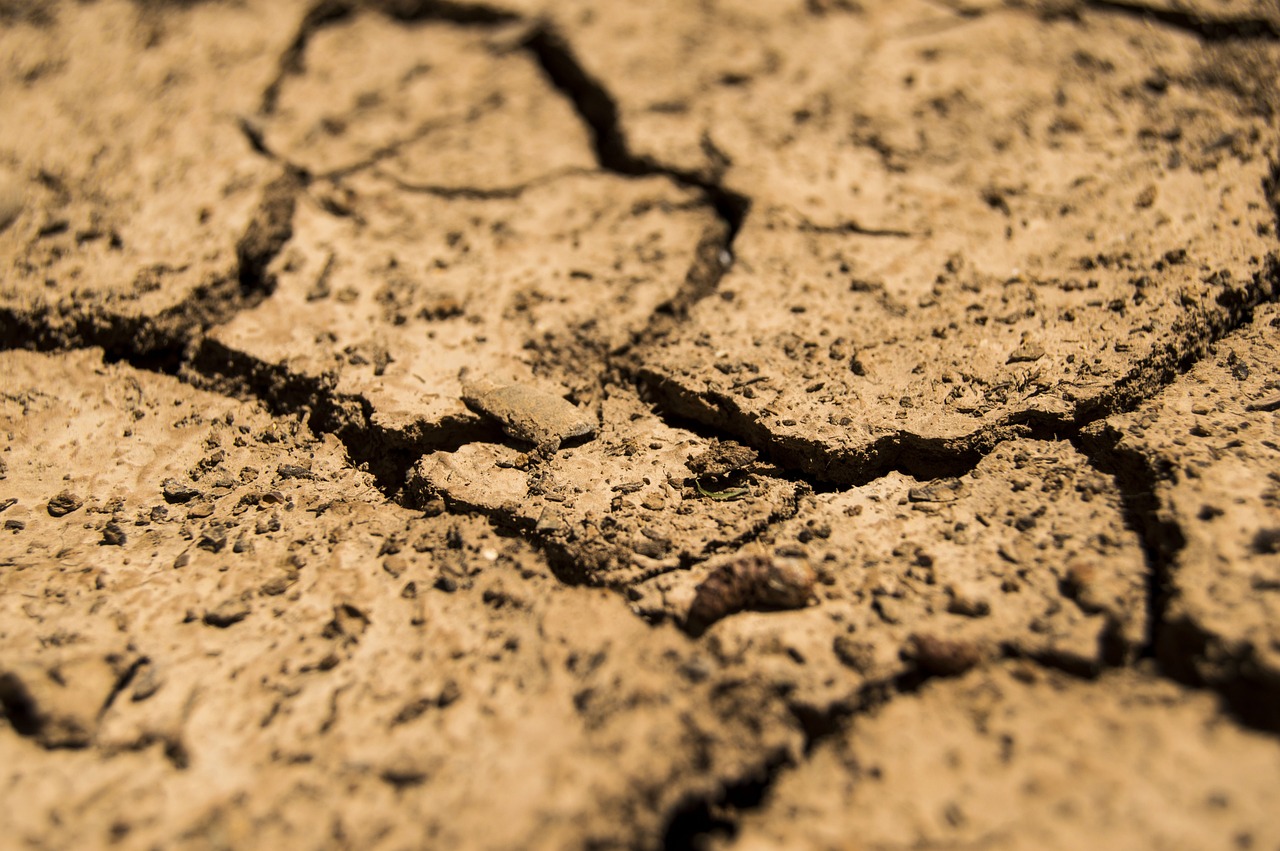
Underwatering Signs
- Crispy leaf edges or brown tips.
- Wilting leaves that lose their firmness.
- Soil that dries out quickly and pulls away from the pot edges.
Choosing the Right Pot for Your Alocasia
Selecting an appropriate pot is just as important as choosing the right soil. The pot should complement the needs of your Alocasia plant while ensuring proper drainage and growth. Here are some factors to consider when choosing a pot:
- Drainage Holes: Ensure that the pot has ample drainage holes to prevent water accumulation at the bottom.
- Size: Choose a pot that is slightly larger than the root ball of your Alocasia. A pot that is too big can hold excess moisture.
- Material: Terracotta pots are porous and allow for better air circulation, whereas plastic pots retain moisture longer. Choose based on your watering habits.
The Role of Fertilization
Fertilization plays an essential role in maintaining the health of Alocasia plants. A nutrient-rich soil mix will support initial growth, but regular fertilization will keep the plants thriving. Here are some key considerations:
Types of Fertilizers
- Liquid Fertilizers: These are easy to apply and can be mixed with water during regular watering. They provide nutrients quickly.
- Slow-release Fertilizers: These fertilizers release nutrients gradually over time, making them a good choice for busy gardeners.
Fertilization Schedule
During the growing season (spring and summer), fertilize your Alocasia every 4 to 6 weeks. In the dormant months (fall and winter), reduce or cease fertilization as the plant’s nutrient needs decrease.
Nutrients Needed
Your Alocasia will benefit from a balanced fertilizer with equal parts nitrogen, phosphorus, and potassium (NPK). Additionally, micronutrients such as magnesium and iron can promote vibrant leaf color and overall health.
Pest Management in Alocasia Plants
Pests can pose a significant threat to the health of your Alocasia. Regularly inspect your plants for common pests such as spider mites, aphids, and mealybugs. Early detection is key to effective management.
- Spider Mites: Look for fine webbing on leaves. Increase humidity levels and use insecticidal soap if needed.
- Aphids: These small insects cluster on new growth. Remove them with a strong spray of water or use neem oil.
- Mealybugs: Identify them by their cotton-like appearance. Wipe them off with a cotton swab dipped in alcohol.
By following these guidelines on watering, pot selection, fertilization, and pest management, you can create an optimal environment for your Alocasia plants to thrive. Proper care will ensure they remain healthy and vibrant additions to your indoor garden.
Light Requirements for Alocasia Plants
Light is another critical factor that influences the growth and health of Alocasia plants. These tropical plants naturally grow under the canopy of larger trees in their native habitats, which means they prefer bright, indirect light rather than direct sunlight. Understanding their light needs can help you position them correctly in your home.
Optimal Light Conditions
- Bright Indirect Light: Alocasia thrives in bright, indirect light. Placing them near a window with filtered light is ideal.
- Avoid Direct Sunlight: Direct sun can scorch the leaves, leading to brown edges or spots. If direct sunlight is unavoidable, consider using sheer curtains to diffuse the light.
- Low Light Tolerance: While Alocasia can survive in low light conditions, it may lead to slower growth and smaller leaves. Ideally, aim for at least a few hours of indirect sunlight daily.
Signs of Inadequate Light
Recognizing signs that your Alocasia is not receiving adequate light can help you adjust its placement. Here are some indicators:
- Stretched or leggy growth, where the stems become elongated.
- Smaller leaves than usual, often lacking the vibrant coloration.
- Leaves turning yellow or dropping off.
Temperature and Humidity Considerations
Temperature and humidity levels are vital for the thriving of Alocasia plants. Being tropical in nature, these plants prefer warm temperatures and high humidity. Here’s what you need to know:
Ideal Temperature Range
- Daytime Temperature: Keep temperatures between 65°F and 80°F (18°C to 27°C) during the day for optimal growth.
- Nighttime Temperature: Night temperatures can drop to around 60°F (15°C), but avoid letting them go below this threshold.
- Avoid Temperature Fluctuations: Sudden changes in temperature can stress the plant. Keep them away from drafts and heating vents.
Maintaining Humidity Levels
High humidity is crucial for Alocasia plants to prevent leaf browning and maintain healthy growth. Here are some effective ways to increase humidity:
- Humidity Tray: Place a tray filled with water and pebbles beneath the pot. As the water evaporates, it will increase the humidity around the plant.
- Misting: Lightly mist the leaves with water regularly, especially during dry seasons, to boost humidity levels.
- Room Humidifier: Consider using a humidifier in the room where your Alocasia is located to maintain consistent humidity levels above 50%.
Repotting Alocasia Plants
Rep

otting is an essential part of caring for Alocasia plants. As they grow, they may outgrow their current pots, necessitating a move to a larger container. Here’s how to approach repotting:
When to Repot
- Root Bound Signs: If roots are growing out of the drainage holes or if the plant appears top-heavy, it’s time to repot.
- Soil Degradation: If the soil has compacted or degraded over time, replacing it will provide fresh nutrients.
- Annual Repotting: Consider repotting every 1-2 years to refresh the soil and ensure healthy root growth.
Steps for Repotting
- Select a New Pot: Choose a pot that is 1-2 inches larger in diameter than the current one.
- Prepare Fresh Soil Mix: Use the recommended soil mix that provides good drainage and moisture retention.
- Remove the Plant: Gently take the plant out of its existing pot while being careful not to damage the roots.
- Inspect Roots: Check for any dead or rotting roots and trim them away with clean scissors.
- Repot: Place the plant in the new pot, fill with fresh soil mix, and water lightly to settle the soil.
Proper repotting allows your Alocasia plants to continue growing vigorously while ensuring their roots remain healthy and well-fed. By following these care tips regarding light, temperature, humidity, and repotting, you’ll create a nurturing environment for your Alocasia, promoting lush growth and vibrant foliage.
Common Issues and Solutions for Alocasia Plants
Despite providing the best care, you may encounter some challenges with your Alocasia plants. Identifying and addressing these issues promptly can help maintain their health and vitality.
Leaf Curling and Browning
Leaf curling or browning is a common problem in Alocasia plants. This can occur for several reasons, including insufficient humidity, underwatering, or exposure to direct sunlight. Here are some solutions:
- Increase Humidity: If the air is dry, consider using a humidifier or misting the leaves regularly.
- Adjust Watering Schedule: Ensure you are watering adequately. Check soil moisture before watering.
- Relocate the Plant: Move the plant to a location with filtered light to prevent leaf burn.
Slow Growth
If your Alocasia is showing signs of slow growth, it might be due to several factors:
- Insufficient Light: Ensure your plant is receiving enough bright, indirect light.
- Nutrient Deficiency: Consider fertilizing your plant during the growing season to provide essential nutrients.
- Pot Bound Roots: If the roots are congested, it may be time to repot into a larger container.
Pests and Diseases
As mentioned earlier, pests such as mealybugs and spider mites can affect your Alocasia’s health. Additionally, fungal diseases can arise from overwatering or poor air circulation. Here are preventative measures:
- Regular Inspections: Check for pests weekly and act quickly to remove them.
- Proper Air Circulation: Ensure your Alocasia is not overcrowded by other plants; good airflow helps prevent fungal issues.
- Use Natural Remedies: Neem oil can be effective against pests while being safe for the plant.
Seasonal Care Tips
Adapting
your care routine to the changing seasons can significantly benefit your Alocasia plants. Here are some seasonal tips to consider:
Spring and Summer
- Fertilization: Increase fertilization frequency as the plant is actively growing.
- Watering: Monitor moisture levels closely, as warmer temperatures will lead to quicker evaporation.
- Pest Monitoring: Keep an eye out for pests, as they can become more active during warmer months.
Fall and Winter
- Reduce Watering: Cut back on water as the plant enters dormancy; allow the topsoil to dry out more between waterings.
- Avoid Fertilization: Hold off on fertilizing during these months as growth slows.
- Maintain Humidity: Use a humidifier or continue misting to combat dry indoor air from heating systems.
Final Thoughts
Caring for Alocasia plants requires attention to detail, but the reward of vibrant foliage and unique beauty makes it worthwhile. By understanding the best soil composition, watering needs, light requirements, and seasonal adjustments, you can create an ideal environment for these tropical beauties. Remember to monitor for pests and signs of distress, making adjustments as needed to ensure healthy growth.
Your commitment to providing excellent care will lead to flourishing Alocasia plants that not only enhance your indoor space but also bring a touch of nature indoors. With proper soil and environment management, you can enjoy the captivating allure of Alocasia for years to come.