
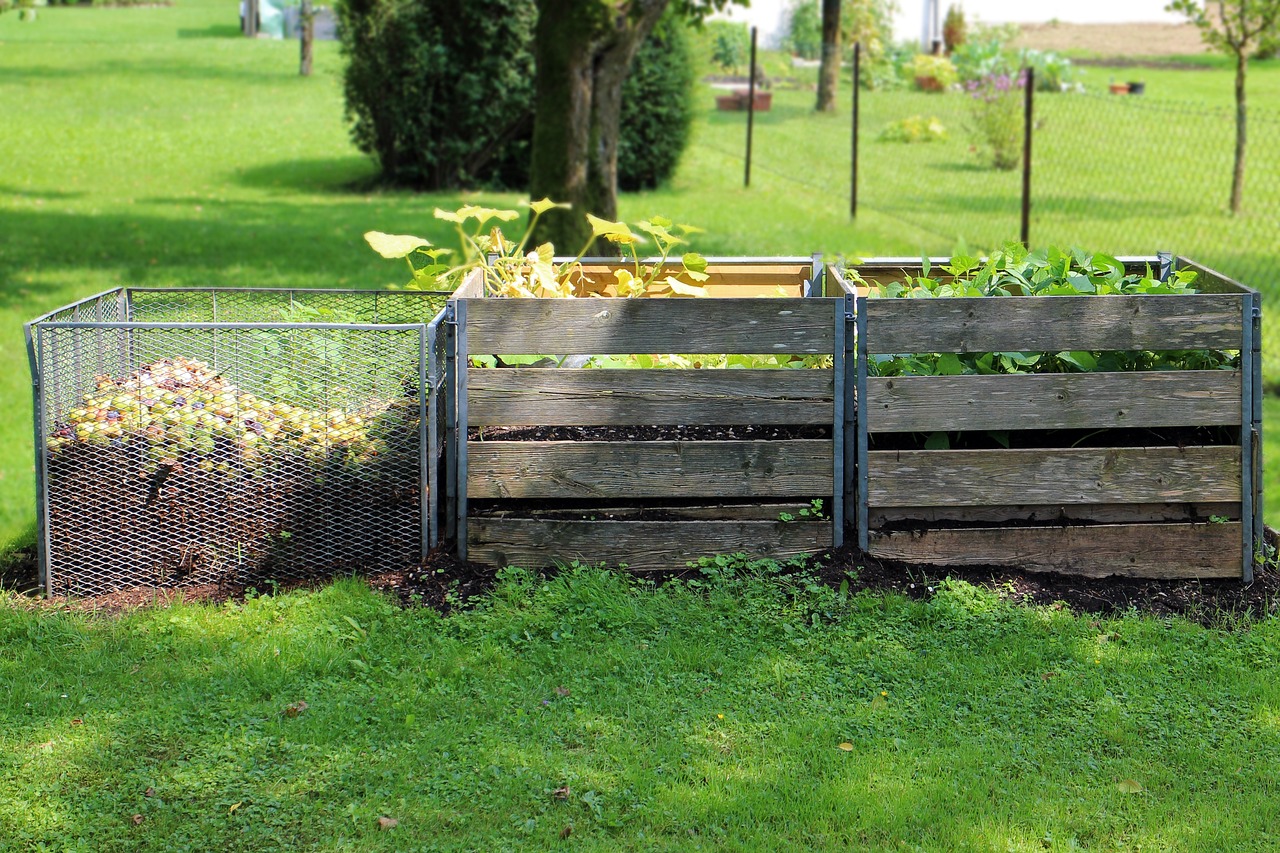
Building a worm composting bin is a straightforward and rewarding DIY project. With just a few materials, you can create an efficient system for turning kitchen scraps into nutrient-rich compost. This process not only benefits your garden but also helps reduce waste.
Worm composting, or vermicomposting, utilizes earthworms to break down organic matter. This method of composting is becoming increasingly popular due to its efficiency and simplicity. Instead of traditional composting, where decomposition relies on aerobic bacteria, worm composting speeds up the process significantly and produces high-quality compost known as worm castings.
There are several advantages to building a worm composting bin. Firstly, it allows you to recycle food scraps that would otherwise end up in a landfill. Secondly, the resulting worm castings are an excellent natural fertilizer for your plants. Lastly, maintaining a worm composting system requires minimal effort, making it accessible for both seasoned gardeners and beginners alike.
Materials Needed
To begin constructing your worm composting bin, gather the following materials:
- Two plastic storage bins with lids (one larger than the other)
- Drill with a drill bit
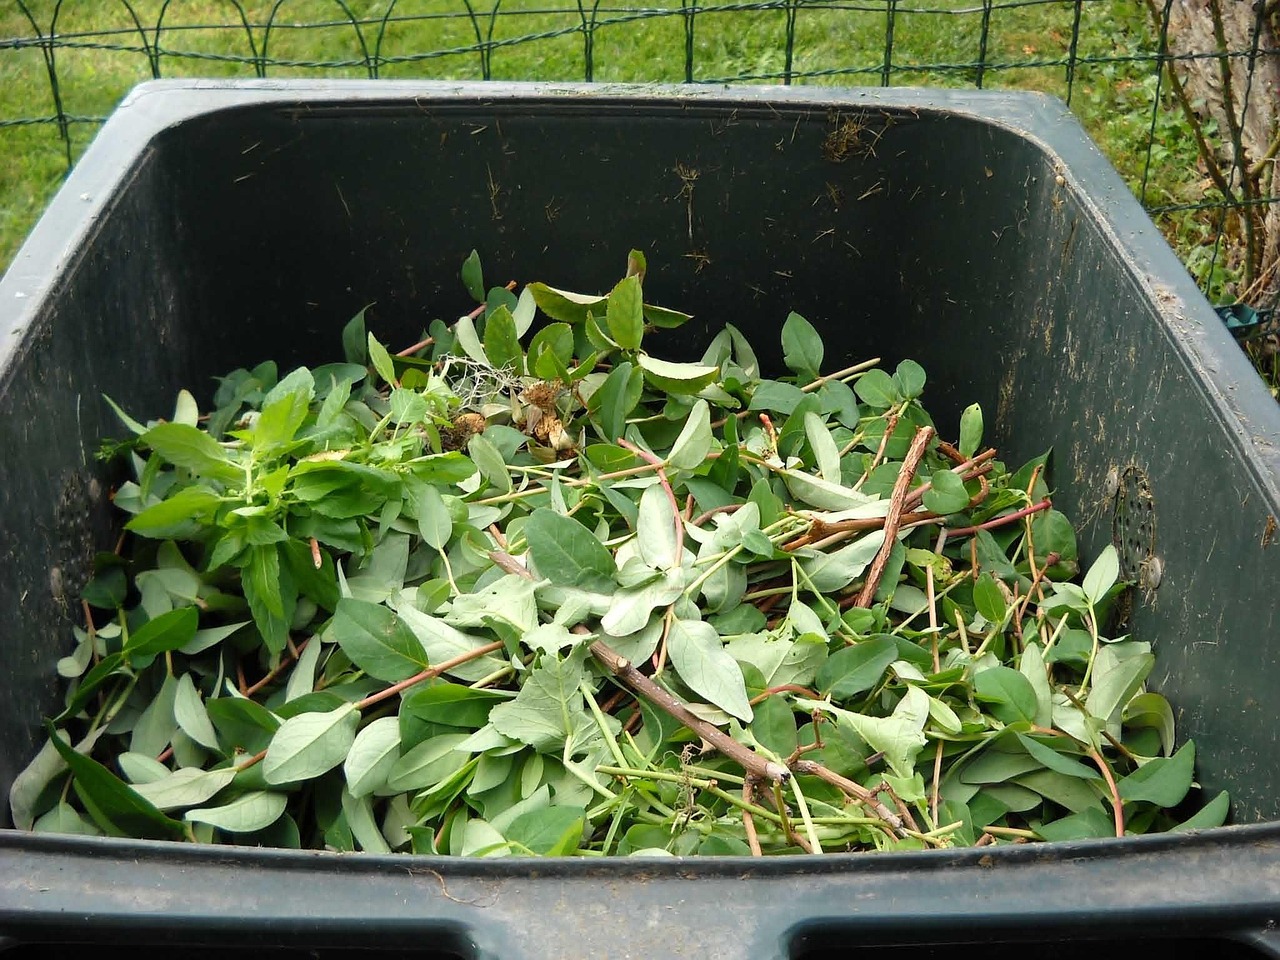
- Shredded newspaper or cardboard
- Red wiggler worms (Eisenia fetida)
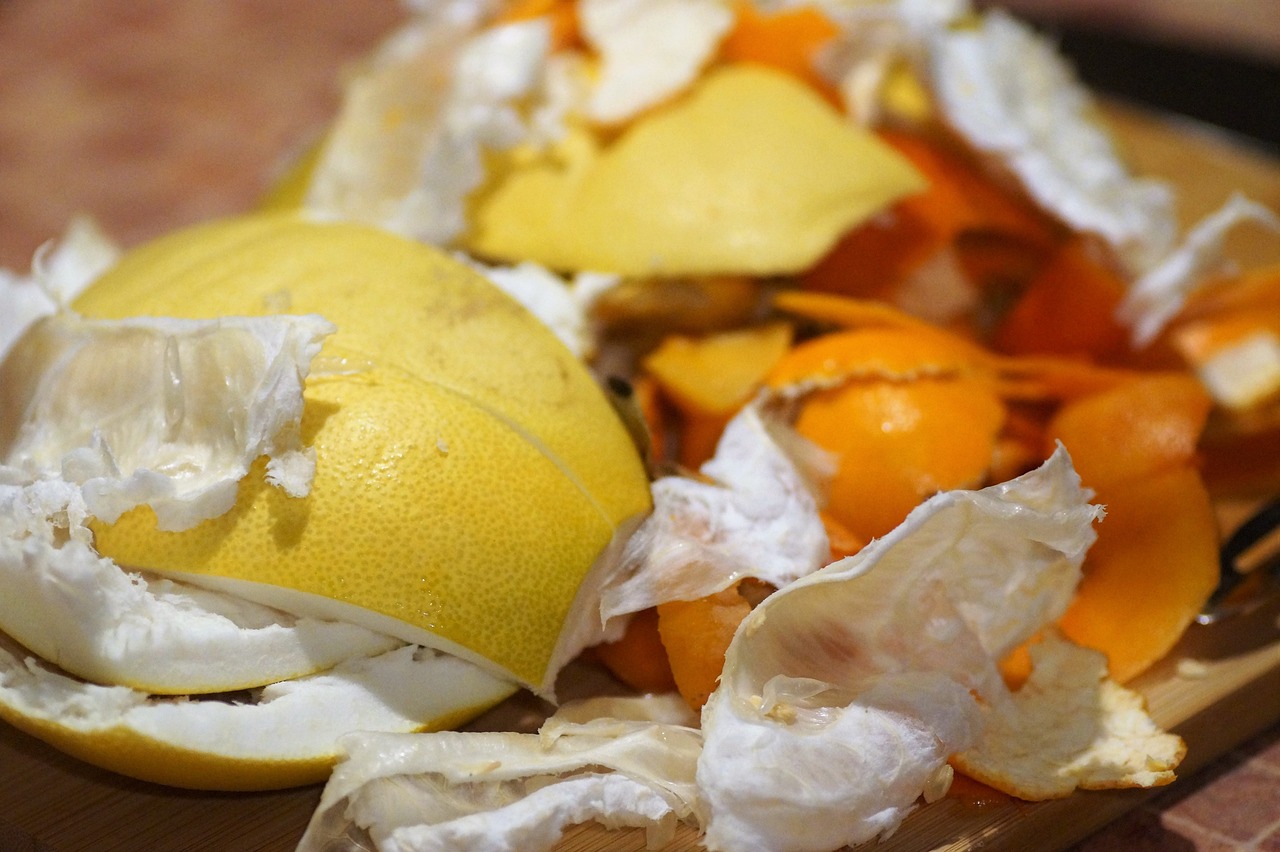
- Kitchen scraps (vegetable peels, fruit waste, coffee grounds)
- Water spray bottle
It is important to choose the right type of worms for your bin. Red wigglers are ideal because they thrive in composting environments and can consume large amounts of organic matter. Regular earthworms do not adapt as well to indoor systems and may not be effective for composting.
Choosing the Right Location
Selecting an appropriate location for your worm composting bin is crucial for the health of the worms and the efficiency of the composting process. Consider these factors when choosing a spot:
- The area should be cool and shaded, away from direct sunlight.
- A dry place is essential to prevent excess moisture buildup.
- Ensure the location is easily accessible for adding scraps and harvesting compost.
A well-ventilated area is also important. Proper airflow helps maintain an optimal environment for the worms while preventing odors from developing. If you live in a warmer climate, it may be beneficial to place your bin in a garage or basemínkat.
Building the Bin
Once you have gathered your materials and selected a suitable location, it’s time to construct the worm composting bin. Start by preparing your bins:
- Take the larger storage bin and drill several small holes in the bottom. These holes will allow excess moisture to drain out.
- Drill holes in the lid of the bin for ventilation. This will help to provide airflow and prevent anaerobic conditions.
- In the smaller bin, create holes in the bottom as well to allow liquid to drain into the larger bin underneath.
The construction of your bin should be simple but effective. The larger bin will serve as the collection point for any liquid that drains from the smaller bin, which contains the worms and food scraps. This liquid, often referred to as “worm tea,” is nutrient-rich and can be used as a liquid fertilizer.
The next step involves preparing bedding for your worms. Use shredded newspaper or cardboard to create a comfortable habitat. Moisten it lightly with water until it is damp but not soaking wet. The bedding serves as both habitat and food for the worms, so ensure it is well-prepared before introducing them.
| Bedding Material | Benefits |
|---|---|
| Shredded Newspaper | Absorbs moisture, provides structure, and offers carbon content. |
| Cardboard | Adds bulk, helps aerate the mixture, and provides a habitat. |
Now that your bin is prepared and bedding is set up, you are ready to add your red wiggler worms. Ensure they are introduced gently into their new home to avoid stress. Following these steps will set you on the path to successful worm composting.
Feeding Your Worms
Once you have introduced the red wiggler worms into their new environment, the next step is to provide them with food. Feeding your worms correctly is essential for maintaining a healthy composting system. Here are some guidelines to follow when adding food scraps:
- Types of Food: Worms thrive on a variety of organic materials. Ideal food options include:
- Fruit and vegetable scraps
- Coffee grounds
- Tea bags (ensure they are compostable)
- Crushed eggshells (for calcium)
- Shredded paper and cardboard (in moderation)
- Grass clippings (if dried out)
- Avoid Certain Foods: Not all food scraps are suitable for worms. Avoid feeding them:
- Meat and dairy products (can attract pests)
- Oils and greasy foods
- Citrus peels (too acidic)
- Processed foods
When introducing food, it is best to add it in small amounts. This prevents the food from spoiling before the worms can consume it. Additionally, burying the food scraps in the bedding helps reduce odors and keeps pests away.
Maintaining Moisture Levels
Keeping the right moisture levels in your worm composting bin is critical for the health of your worms. Worms breathe through their skin, which requires a moist environment. Here are some tips for managing moisture:
- Check Consistency: The bedding should feel like a damp sponge—moist but not soggy. If it feels too dry, lightly mist it with water using a spray bottle.
- Drainage: Ensure that your bin has adequate drainage holes. Excess water can cause the bedding to become oversaturated, leading to anaerobic conditions that could harm your worms.
- Adjust According to Season: In warmer months, you may need to add water more frequently, while in cooler months, moisture levels can remain stable.
Harvesting Compost
As your worms consume the food scraps and bedding, they will produce nutrient-rich compost known as worm castings. Harvesting this compost is an essential part of the vermicomposting process. Here are steps to effectively harvest worm castings:
- Wait for Maturity: Allow the compost to mature for about three to six months. You will know it is ready when the material is dark, crumbly, and has an earthy smell.
- Separate Worms from Castings: To harvest, you can either:
- Move the contents of the bin to one side and place fresh bedding and food on the other side. The worms will migrate to the new area over a few days.
- Use a light source. Worms are sensitive to light; shining a light on the surface will encourage them to burrow deeper, allowing you to collect the top layer of castings.
- Sift or Screen: If you have a significant amount of castings, you might want to sift them through a screen to remove any remaining large pieces of bedding or unconsumed food.
The harvested worm castings can be used directly in your garden as a natural fertilizer. They are also excellent for potting soil mixes or as a top dressing for potted plants.
Pest Management
While worm composting is generally odorless and pest-free, certain issues may arise. Here are some tips for preventing and managing common pests:
- Fruit Flies: If you notice fruit flies, it may be due to overfeeding or improperly burying food scraps. Ensure that you cover fresh scraps with bedding.
- Mites: These tiny pests can appear if the bin is too moist. Adjust moisture levels by adding dry bedding or allowing excess water to drain.
- Ants: Ants may invade if there are leftover bits of food. Keep the bin clean and avoid overfeeding.
By following these guidelines and maintaining your worm composting bin properly, you can create a thriving environment for your red wigglers while producing high-quality compost for your gardening needs.
Understanding Worm Life Cycles
To effectively manage your worm composting bin, it is beneficial to understand the life cycle of red wigglers. Knowing how they grow and reproduce can help you optimize their environment for better composting performance. Here is an overview of the worm life cycle:
- Egg Stage: Red wigglers start as eggs, which are laid in cocoons. Each cocoon can contain multiple eggs, and these typically hatch in about two to three weeks.
- Juvenile Stage: After hatching, the young worms are referred to as juveniles. They will grow rapidly, reaching maturity in approximately eight weeks.
- Adult Stage: Mature worms can reproduce several times throughout their lifespan, which can last from one to two years under ideal conditions. Adult red wigglers can grow up to four inches long.
Understanding this life cycle enables you to provide the right conditions for reproduction. Maintaining optimal moisture, temperature, and food availability will encourage your worms to thrive and multiply.
Optimal Conditions for Worm Health
Creating a healthy environment for your worms is essential for effective composting. Several factors can impact their health and productivity:
Temperature
The ideal temperature range for red wigglers is between 55°F and 77°F (13°C to 25°C). Here are some tips to maintain optimal temperatures:
- Avoid Extreme Heat: If temperatures rise above 85°F (29°C), worms may become stressed or die. In hot weather, consider moving the bin to a cooler location or shading it from direct sunlight.
- Prevent Freezing: In cold climates, ensure that your bin does not freeze. Insulating it with blankets or moving it indoors during the winter can protect the worms from extreme cold.
Aeration
Proper aeration is crucial for maintaining a healthy composting environment. Worms require oxygen to thrive. Here are some ways to ensure adequate airflow:
- Drill Holes: As mentioned earlier, drill holes in both the lid and base of the bin for ventilation.
- Mix Bedding: Occasionally mix the bedding and compost to prevent it from compacting, allowing air to flow throughout the bin.
pH Levels
The pH level of the composting bin should ideally be between 6.0 and 8.0. If it becomes too acidic or alkaline, it can harm the worms. Here are steps to monitor and adjust pH levels:
- Testing Kits: Use pH testing kits available at garden stores to check the levels of your compost.
- Add Lime: If the pH is too low (acidic), add crushed eggshells or agricultural lime to raise it.
- Add Sulfur: If the pH is too high (alkaline), consider adding elemental sulfur to lower it.
Common Misconceptions About Worm Composting
Worm composting is often surrounded by myths that can discourage new composters. Here are some common misconceptions clarified:
- Worms Smell Bad: When managed properly, worm bins should not have a foul odor. If there is a smell, it usually indicates overfeeding or excess moisture.
- You Cannot Compost Meat or Dairy: While it is true that these items should generally be avoided due to attracting pests, some experienced composters have had success in small amounts if managed carefully.
- Worms Will Escape: Red wigglers do not typically escape from their bins unless conditions are unfavorable. Proper management will keep them happy and contained.
By understanding the needs and behaviors of red wigglers, you can create a successful worm composting system that produces rich, organic compost while debunking common myths surrounding the process.
Benefits of Worm Composting
Worm composting offers numerous advantages that extend beyond just producing nutrient-rich compost. Here are some key benefits to consider:
- Environmental Impact: By composting kitchen scraps, you significantly reduce the amount of organic waste sent to landfills. This helps decrease methane emissions, a potent greenhouse gas.
- Soil Health: The worm castings produced are packed with essential nutrients and beneficial microorganisms that enhance soil health, leading to healthier plants and improved crop yields.
- Chemical-Free Fertilizer: Worm composting provides an organic alternative to synthetic fertilizers, which can harm soil life and water quality.
- Cost-Effective: By creating your own compost, you save money on store-bought fertilizers and soil amendments, making gardening more affordable.
- Educational Experience: Worm composting is a fantastic way to engage children and adults alike in environmental sustainability and responsible waste management practices.
Common Challenges and Solutions
Like any gardening method, worm composting can present challenges. However, most issues can be resolved with simple adjustments. Here are some common challenges and their solutions:
Overfeeding
Feeding your worms too much can lead to unpleasant odors and attract pests. To avoid this problem, always:
- Start with small amounts of food and gradually increase as the worms consume it.
- Bury food scraps beneath the bedding to minimize odors and deter pests.
Temperature Fluctuations
Extreme temperatures can stress worms. If you notice temperature fluctuations, consider the following:
- Insulate your bin during extreme cold or heat.
- Place the bin in a climate-controlled area, such as a basemínkat or garage.
Pest Control
If you encounter pests such as fruit flies or ants, it’s crucial to act quickly:
- Reduce moisture levels by adjusting the amount of food added.
- Keep the bin clean and free of uneaten food scraps.
Using Worm Castings in Your Garden
The final product of your worm composting efforts is the nutrient-rich worm castings. Here are some effective ways to utilize them in your garden:
- Soil Amendment: Mix worm castings into garden soil to improve texture, drainage, and nutrient content.
- Top Dressing: Spread a layer of worm castings on top of your garden beds or potted plants to provide ongoing nutrients.
- Liquid Fertilizer: Create a “worm tea” by steeping worm castings in water for a few days. Use this liquid to water your plants for an extra nutrient boost.
Final Thoughts
Building a worm composting bin is not only an environmentally friendly choice but also a rewarding endeavor that enriches your gardening experience. By understanding the needs of red wigglers, maintaining optimal conditions, and effectively managing inputs, you can successfully create a self-sustaining system that benefits both your garden and the planet.
The journey of worm composting encourages sustainable practices that contribute to a healthier environment. As you embark on this venture, remember that patience and observation are key. With time, you will witness the transformation of kitchen scraps into valuable compost while fostering a thriving ecosystem right in your backyard.
So gather your materials, set up your bin, and enjoy the process of composting with worms! Not only will you be doing your part for the environment, but you will also reap the rewards of lush, healthy plants nourished by the fruits of your labor.