
California Alocasia plants thrive indoors with the right care. They require bright, indirect light, well-draining soil, and consistent humidity. Proper watering and temperature control are essential for healthy growth and vibrant foliage.
Understanding California Alocasia
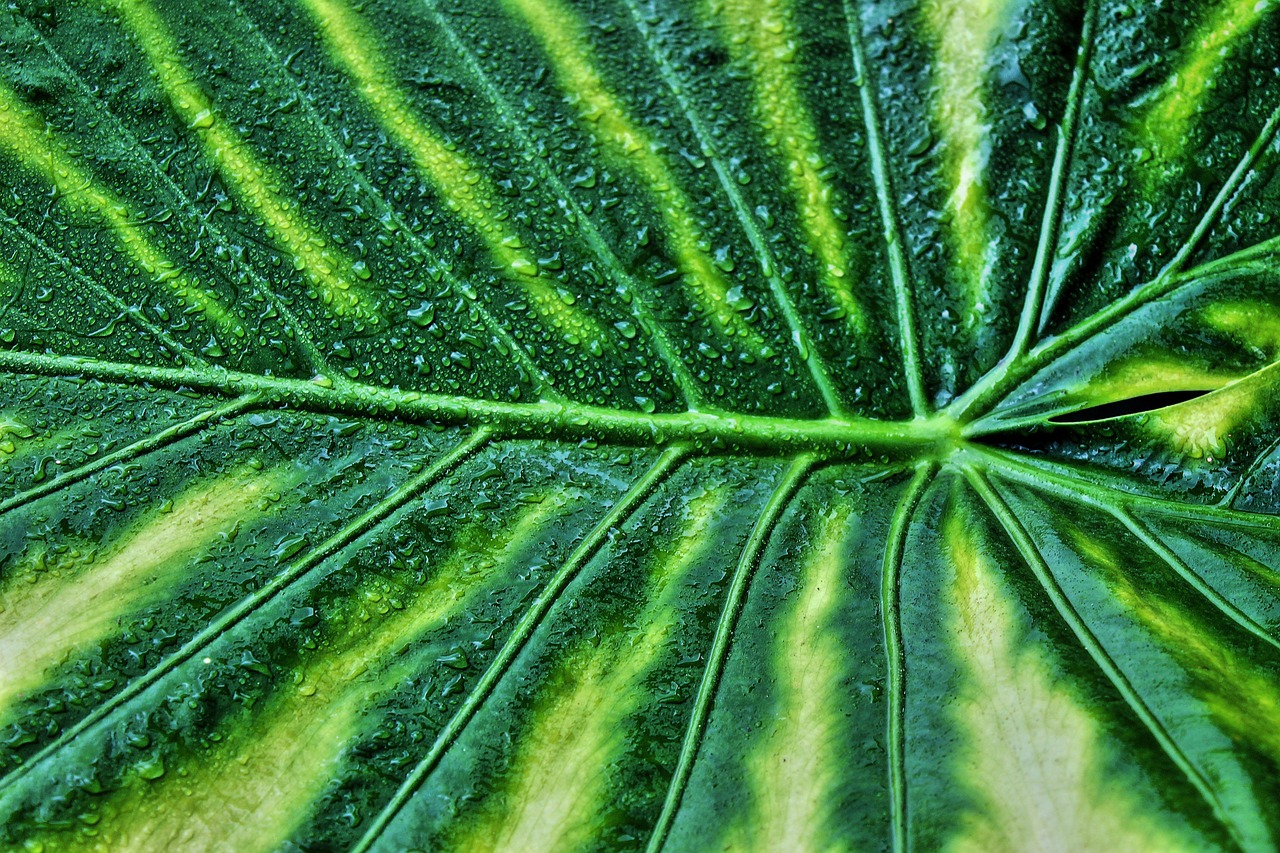
Alocasia, commonly known as elephant ear plants, are popular houseplants due to their striking foliage. Originating from tropical regions, these plants are well-suited for indoor environments, especially in California’s diverse climate. They are not only visually appealing but also purify the air, making them a fantastic addition to any home.
In California, Alocasia varieties can be grown successfully indoors. They bring a touch of the tropics into living spaces while requiring specific care to flourish. With the right knowledge and techniques, you can enjoy these stunning plants year-round.
Key Characteristics of Alocasia
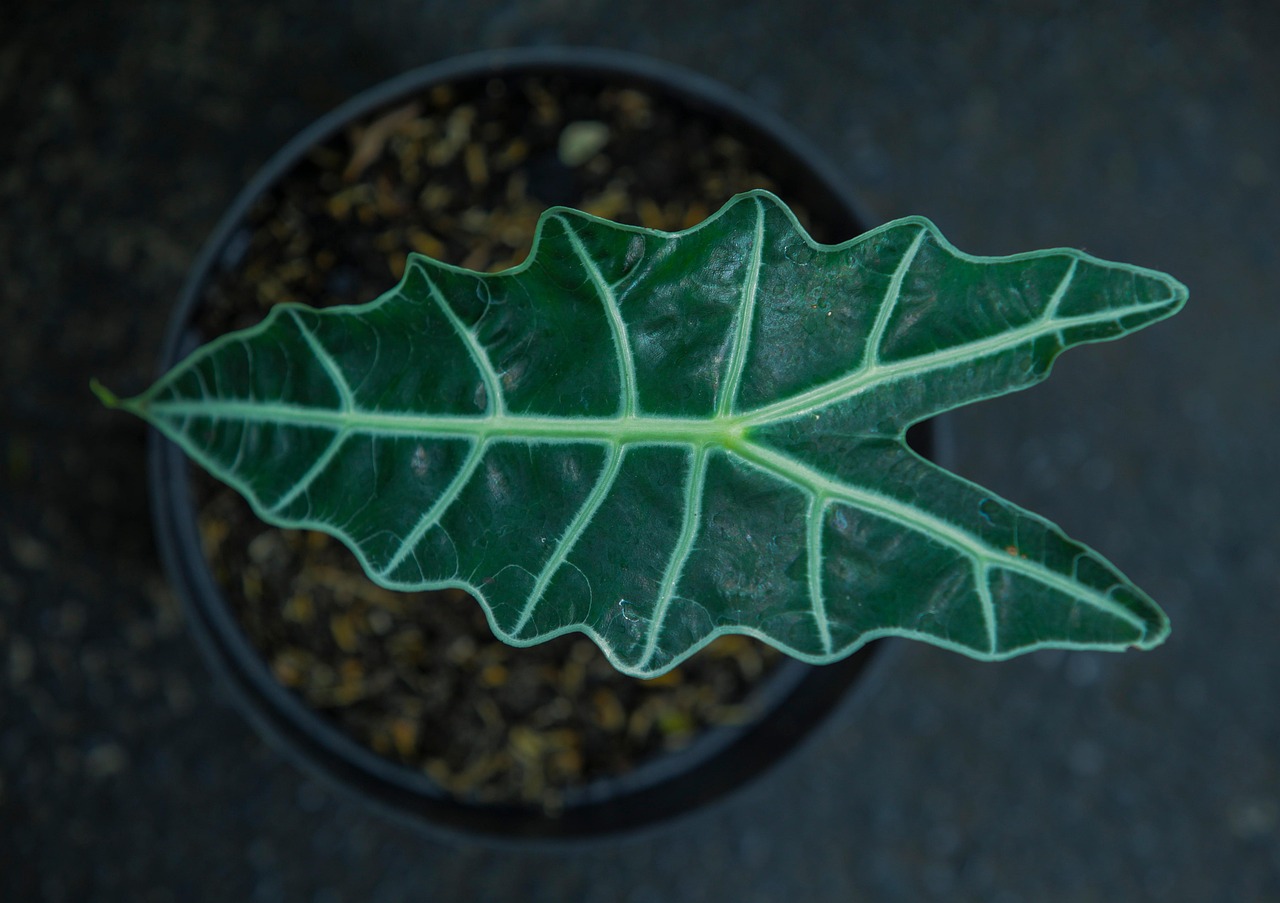
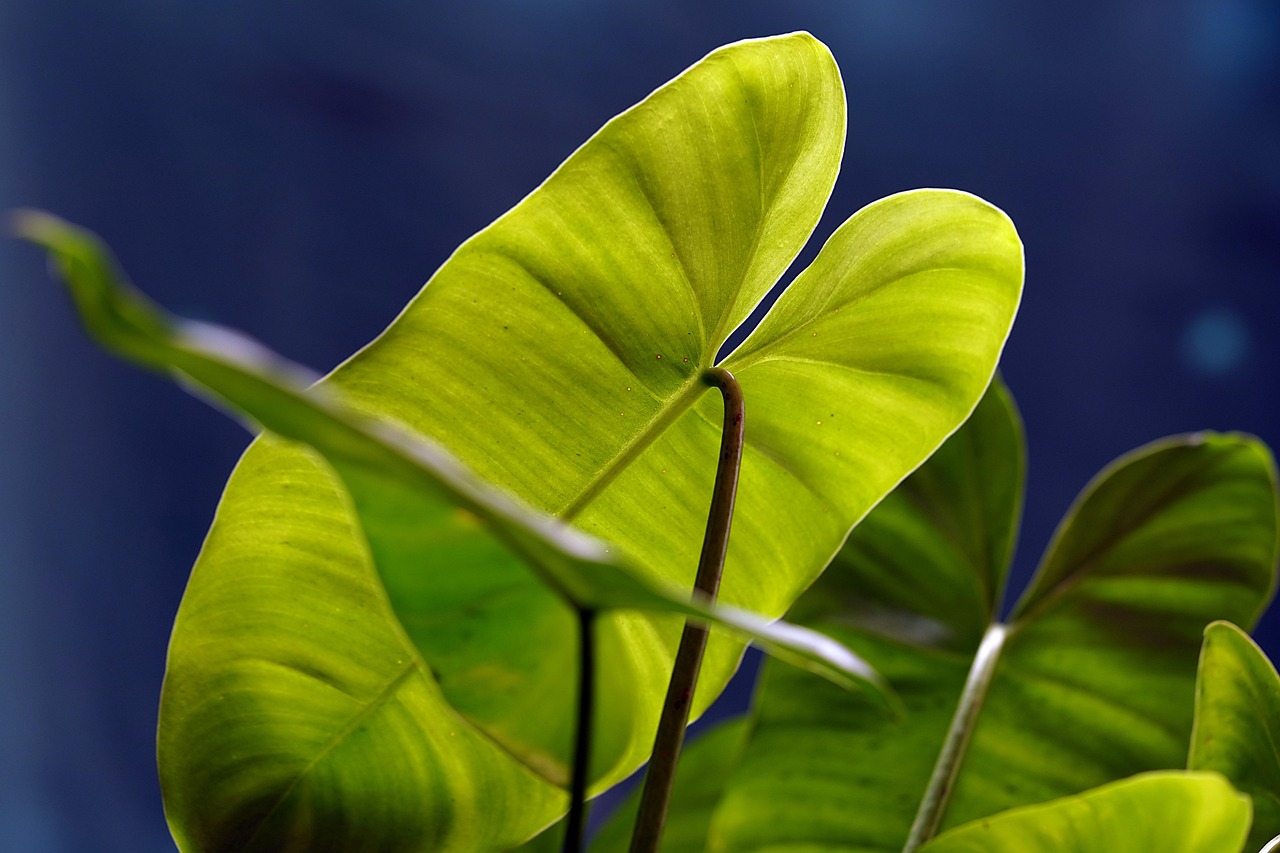
Alocasia plants are known for their large, glossy leaves that come in various shapes and colors. Understanding their characteristics can help you provide better care. Here are some key features:
- Leaf Shape: Alocasia leaves can be heart-shaped or arrow-like, depending on the species.
- Color Variations: Most Alocasia plants have deep green leaves, but some varieties exhibit striking variegation.
- Growth Habit: These plants can grow upright or spread out, depending on their type and growing conditions.
Growing Conditions for Alocasia in California
To achieve success with your Alocasia indoors, it is crucial to replicate their natural habitat as closely as possible. This involves providing suitable light, moisture, and temperature. Below are some essential conditions to consider:
| Growing Condition | Recommended Level |
|---|---|
| Light | Bright, indirect light |
| Humidity | 60% or higher |
| Temperature | 65°F to 80°F (18°C to 27°C) |
| Watering | Keep soil consistently moist but not soggy |
Alocasia plants prefer bright but indirect sunlight. Direct sun can scorch their leaves. Consider placing them near a window with filtered light or using sheer curtains to diffuse harsh rays. Humidity is another critical factor. These tropical plants thrive in high humidity levels. If your home is dry, especially during winter months, consider using a humidifier or placing a tray of water near the plant.
Temperature control is also vital. Alocasia plants do best in temperatures ranging from 65°F to 80°F. Avoid exposing them to cold drafts or sudden temperature changes, which can stress the plant and hinder growth.
Potting and Soil Requirements
The right potting mix is essential for the health of your Alocasia. They prefer well-draining soil that retains some moisture without becoming waterlogged. A mix designed for tropical plants or a blend of potting soil with perlite or orchid bark works well. Here are some tips for potting your Alocasia:
- Select a pot with drainage holes to prevent excess water accumulation.
- Use a lightweight potting mix that retains moisture while allowing excess water to escape.
- Repot every couple of years or when the plant becomes root-bound.
With these growing conditions and care tips in mind, you can create a thriving environment for your Alocasia plants in California.
Watering Techniques for Alocasia
Proper watering is crucial for the health of your Alocasia. Overwatering or underwatering can lead to serious issues such as root rot or dehydration. Understanding when and how to water will ensure your plant remains vibrant and healthy.
Here are some key points to consider regarding watering:
- Check Soil Moisture: Before watering, always check the top inch of the soil. If it feels dry, it’s time to water.
- Watering Frequency: During the growing season (spring and summer), Alocasia may need watering once a week. In fall and winter, reduce frequency to every two weeks.
- Water Quality: Use room temperature water. Rainwater or distilled water is preferred, as tap water may contain chemicals that can harm the plant.
When watering, do so thoroughly until water drains out of the pot’s drainage holes. This ensures that the entire root system receives moisture. Avoid letting the plant sit in standing water, which can lead to root rot.
Humidity Requirements for Healthy Growth
As tropical plants, Alocasia thrives in high humidity environments. Low humidity can cause leaf tips to brown and stunt growth. Here are some strategies to maintain optimal humidity:
- Humidity Trays: Place a shallow tray filled with pebbles and water beneath the pot. As the water evaporates, it increases humidity around the plant.
- Group Plants Together: Keeping multiple plants close together can create a microclimate with increased humidity.
- Use a Humidifier: In dry climates or during winter months, consider using a humidifier to maintain consistent moisture levels in the air.
Aim for humidity levels around 60% or higher for optimal growth. If you notice your Alocasia showing signs of stress, such as wilting leaves or browning tips, it may be time to reassess your humidity control methods.
Fertilizing Your Alocasia
Fertilizing is an essential part of caring for your Alocasia, especially during the growing season. Providing proper nutrients will support robust growth and vibrant foliage. Here are some guidelines for fertilizing:
- Select the Right Fertilizer: Use a balanced, water-soluble fertilizer with equal parts nitrogen, phosphorus, and potassium (N-P-K). A ratio of 20-20-20 is often suitable.
- Frequency: Fertilize every four to six weeks during the growing season. Reduce or stop fertilizing in fall and winter when the plant’s growth slows.
- Dilution: Always dilute liquid fertilizers to half strength to prevent nutrient burn.
Observe your plant for signs of nutrient deficiency, such as yellowing leaves or stunted growth. Adjust your fertilization routine accordingly to ensure your Alocasia receives adequate nutrition.
Pest Management for Alocasia
Like many houseplants, Alocasia can be susceptible to pests. Early detection and management are key to preventing infestations that could harm your plant. Some common pests include:
- Spider Mites: These tiny pests thrive in dry conditions. Look for webbing on leaves and fine spots on foliage.
- Aphids: These small insects can cluster on new growth, sucking sap and causing leaves to curl.
- Mealybugs: These pests appear as white, cotton-like clusters on stems and leaves.
To manage pests effectively, consider these methods:
- Regular Inspections: Regularly check your plant for signs of pests. Early detection makes treatment easier.
- Insecticidal Soap: Use insecticidal soap or neem oil as a natural remedy to treat infestations.
- Isolation: If a pest problem arises, isolate the affected plant to prevent spreading to other plants.
Maintaining a healthy environment with adequate humidity and proper care can significantly reduce the likelihood of pest infestations.
Signs of Stress in Alocasia
Recognizing signs of stress is crucial for keeping your Alocasia healthy. Here are some common symptoms and their potential causes:
- Browning Leaf Tips: This may indicate low humidity or underwatering.
- Yellowing Leaves: Often a sign of overwatering or nutrient deficiency.
- Wilting Leaves: This could result from underwatering or root rot due to overwatering.
If you notice any of these symptoms, assess your care routine. Make adjustments as needed to provide the best environment for your Alocasia.
Pr
opagation Methods for Alocasia
Propagating your Alocasia can be a rewarding experience. It allows you to expand your plant collection and share with friends. There are several methods to propagate Alocasia successfully, including division and offsets. Each method has its own set of steps to follow.
1. Division
Division is one of the most common methods for propagating Alocasia. This technique involves splitting a mature plant into smaller sections, each with its own roots. Here’s how to do it:
- Choose the Right Time: The best time to divide your Alocasia is during the spring or early summer when the plant is actively growing.
- Remove the Plant: Carefully take the plant out of its pot. Gently shake off excess soil to expose the roots.
- Identify Sections: Look for natural divisions in the root system. Each section should have at least one healthy leaf and a few roots.
- Cutting: Use a clean, sharp knife or scissors to cut through the roots, separating the sections.
- Repotting: Place each division into its own pot filled with fresh potting mix. Water thoroughly after repotting.
2. Offsets
Offsets are small plantlets that grow from the base of a mature Alocasia. These can be easily separated and repotted. To propagate using offsets, follow these steps:
- Monitor Growth: Keep an eye on your Alocasia for offsets that appear at the base of the plant.
- Careful Removal: When offsets are large enough to handle but still small, gently separate them from the parent plant.
- Potting: Place each offset in its own pot with well-draining soil. Ensure they are stable and water them lightly.
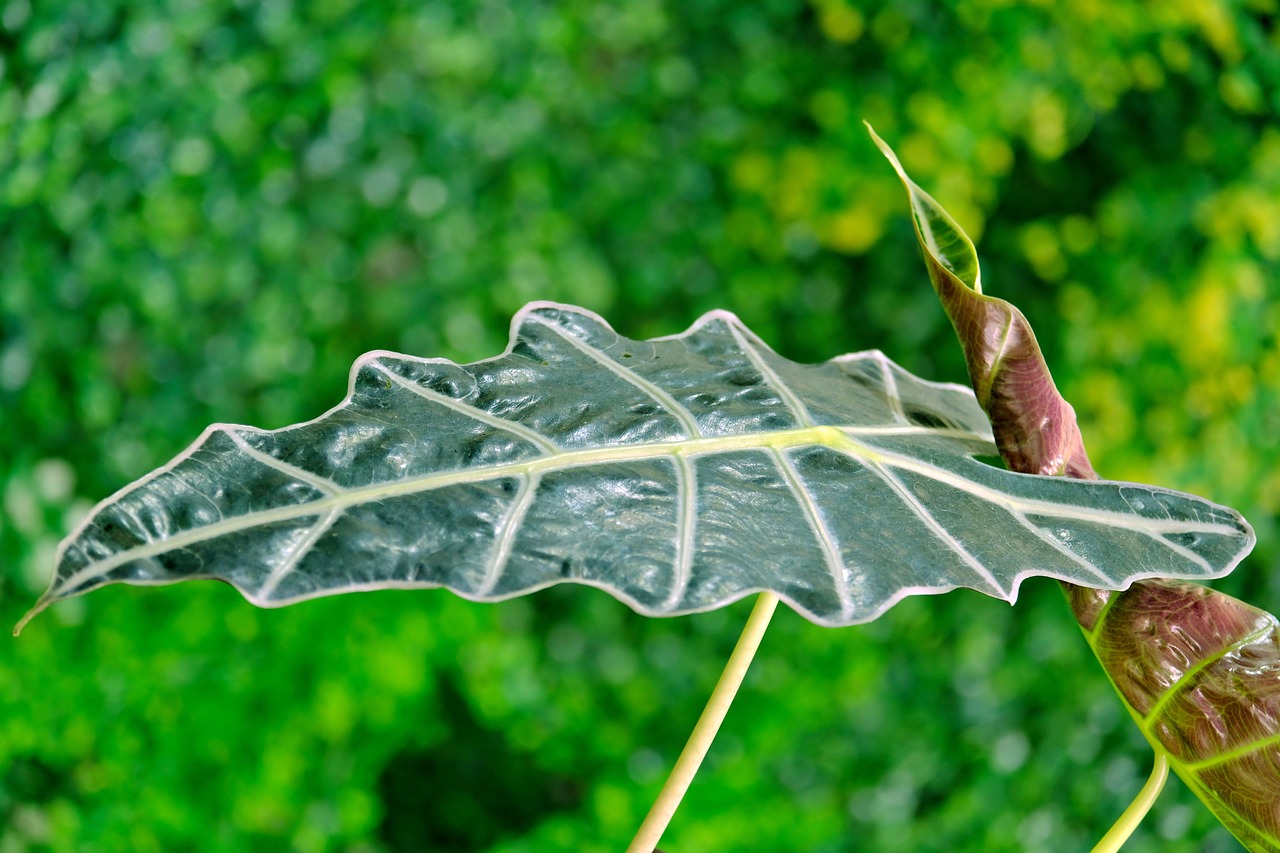
Common Varieties of Alocasia
California offers a variety of Alocasia species that make excellent indoor plants. Each variety has unique characteristics that may influence your choice depending on your preferences and growing conditions.
- Alocasia Polly: Known for its unique arrow-shaped leaves and striking white veins, this variety is compact and perfect for smaller spaces.
- Alocasia Zebrina: This variety features long stems with zebra-like stripes and large leaves, creating a dramatic effect in any room.
- Alocasia Amazonica: With its glossy leaves and intricate patterns, this hybrid is a popular choice among plant enthusiasts.
- Alocasia Macrorrhiza: This species, also known as giant taro, has large, broad leaves and can grow quite tall, making it a statement piece in any indoor garden.
Seasonal Care Tips
Caring for your Alocasia varies with the seasons. Understanding these seasonal needs can help you maintain the health of your plant throughout the year.
Spring and Summer
During the active growing season, your Alocasia will require more attention:
- Increase Watering: As temperatures rise, increase your watering frequency while ensuring the soil drains well.
- Fertilization: Begin a regular fertilization schedule to support growth. Use liquid fertilizer every four to six weeks.
- Pest Monitoring: Keep an eye out for pests, as warmer weather encourages their activity.
Fall and Winter
As temperatures drop and daylight decreases, your Alocasia’s growth will slow significantly:
- Reduce Watering: Cut back on watering frequency to prevent overwatering, as the plant will require less moisture.
- No Fertilizing: Hold off on fertilizing during these months until spring arrives.
- Humidity Control: Maintain humidity levels even during winter months when indoor air tends to be drier.
Creating an Ideal Environment
The e
nvironment in which you place your Alocasia plays a vital role in its overall health. Consider these factors to create an ideal setting:
- Lighting Conditions: Ensure your plant receives bright, indirect light. Avoid direct sunlight to prevent leaf scorch.
- Avoid Cold Drafts: Keep your Alocasia away from windows or doors that may expose it to cold drafts or sudden temperature changes.
- Consistent Temperature: Maintain a stable temperature range between 65°F to 80°F for optimal growth.
By focusing on these aspects, you can successfully cultivate a thriving Alocasia in your California home.
Common Problems and Solutions
Even with the best care, Alocasia plants may encounter some challenges. Recognizing these problems early and knowing how to address them can help maintain the health of your plant. Here are some common issues along with their solutions:
- Leaf Drop: If your Alocasia is dropping leaves, it may be due to sudden changes in temperature or humidity. Ensure the plant is in a stable environment and check for drafts.
- Discoloration: Yellowing leaves can indicate overwatering or nutrient deficiencies. Adjust your watering schedule and consider fertilizing if necessary.
- Root Rot: Overwatering is the main cause of root rot. If you suspect root rot, remove the plant from its pot, trim away affected roots, and repot in fresh soil.
- Pest Infestations: Regularly inspect your plant for pests. If found, treat promptly with insecticidal soap or neem oil to prevent further damage.
Being proactive and observant can help you tackle these issues before they escalate. Remember that every plant is unique and may require different approaches based on its specific needs.
Seasonal Changes and Plant Adaptation
As seasons change, your Alocasia may go through various phases of growth and dormancy. Understanding these cycles will help you provide the right care throughout the year.
In spring and summer, your Alocasia will be in its active growth phase. This is when you should focus on providing ample light, water, and nutrients to support its growth. As the days shorten in fall and winter, the plant may slow down. During this time, adjust your care by reducing watering and stopping fertilization.
It’s also important to be mindful of changes in light conditions as seasons shift. Move your plant closer to windows during winter months to ensure it receives adequate light, while providing some shade during the hotter months to prevent leaf burn.
Advanced Care Techniques
For tho
se looking to take their Alocasia care to the next level, consider implementing advanced techniques such as misting, using grow lights, or even propagating multiple plants simultaneously.
- Misting: Regular misting can help maintain humidity levels around your Alocasia, especially during dry seasons. This is particularly beneficial if you live in a low-humidity area.
- Grow Lights: If natural light is insufficient, using grow lights can provide the necessary brightness for your Alocasia, particularly in winter months when daylight is limited.
- Multiple Propagation: If you have several Alocasia plants, consider propagating them in groups to create a lush indoor jungle effect.
These advanced techniques can enhance your plant’s growth and health while also adding a decorative touch to your home.
Final Thoughts
Caring for Alocasia plants can be a fulfilling endeavor with the right knowledge and techniques. These stunning indoor plants not only enhance the beauty of your living space but also contribute to improved air quality. By understanding their light, humidity, watering, and feeding requirements, you set the stage for a thriving Alocasia.
Remember that patience is key when growing these tropical beauties. Monitor their health regularly, be aware of their needs across different seasons, and address any challenges as they arise. With dedication and care, your Alocasia will reward you with lush foliage and a vibrant presence in your home.
As you embark on this journey of cultivating Alocasia in California, enjoy experimenting with different varieties and propagation techniques. Each plant tells a story of growth and resilience, reflecting your commitment as a plant parent. Happy growing!