
Transforming a cluttered garden shed into a serene workspace can be an exhilarating journey. With the right strategies, organizing your garden tools becomes not just a task but a rewarding experience that enhances both your gardening and relaxation.
Table of Contents
Assessing Your Garden Tool Collection
Before diving into the organization process, I find it essential to take a moment and assess my garden tool collection. This step not only helps me understand what I have but also illuminates what I truly need for my gardening endeavors. I usually start by gathering all my tools in one central location, which allows me to see everything at a glance. I take note of the variety of tools I own, from hand trowels to rakes, and everything in between.
Evaluating Tool Condition
Next, I carefully examine each tool for any signs of wear and tear. It’s surprising how many tools I’ve kept over the years that are no longer useful. If a tool is rusty, broken, or has a handle that’s splintered, I take a moment to decide whether it can be repaired or if it’s time for it to retire. I often find that it’s easier to let go of a tool if I think about the space I’ll save by removing it. I also create a small pile for donations or recycling, which I find liberating.
Sorting Tools by Category
With my tools evaluated, I move on to sorting them into categories. This step is crucial for a streamlined organization. I tend to group my tools into several categories, such as:
- Hand Tools: Trowels, pruners, and hand forks.
- Power Tools: Lawn mowers, string trimmers, and hedge trimmers.
- Garden Accessories: Gloves, kneeling pads, and watering cans.
- Storage Supplies: Baskets, tool bags, and shelving units.
Sorting not only helps me understand what I have but also makes it easier to find tools when I need them. I often label each category so I can quickly identify where everything belongs. This way, I can save time during my gardening sessions, allowing me to fully immerse myself in the joy of gardening rather than searching for misplaced tools.
Creating a Functional Layout
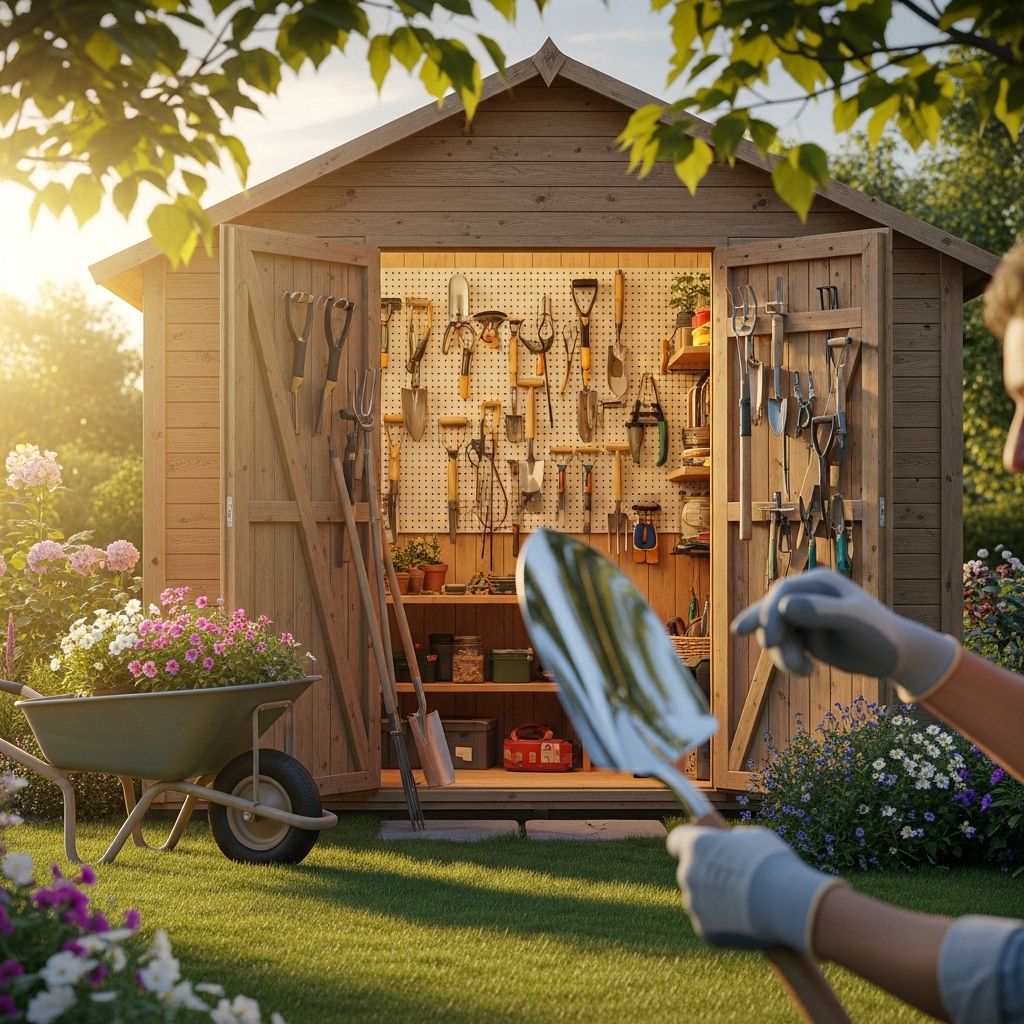
Once I’ve sorted my tools, I turn my attention to creating a functional layout for my garden shed or storage space. The layout plays a significant role in how efficiently I can access my tools. I usually map out the space, considering factors like how often I use each tool and its size. For example, I place my most frequently used hand tools within easy reach, while larger, less-used items like the lawn mower can be stored in the back. I also think about vertical space; using walls and shelves allows me to maximize storage without taking up valuable floor space.
Choosing the Right Storage Solutions
Choosing the right storage solutions is where the fun begins. I’ve experimented with several options over the years, and here are a few that I’ve found particularly effective:
- Tool Racks: These are fantastic for hanging up tools on the wall. I like to use pegboards where I can customize the layout as needed. The visibility of tools encourages me to return them to their rightful place after use.
- Toolboxes and Bins: For smaller tools and accessories, sturdy toolboxes or bins work wonders. I prefer clear bins, as they allow me to see what’s inside without opening them. I often label each bin for additional clarity.
- Magnetic Strips: These are great for storing metal tools like scissors or small hand tools. I’ve installed a magnetic strip on the wall of my shed, and it keeps my tools accessible and organized.
- Hanging Hooks: I use hooks to store larger tools like shovels and rakes. This keeps them off the ground and out of the way, preventing tripping hazards.
When selecting storage solutions, I always consider the material and durability. Outdoor environments can be harsh, so I prefer options that can withstand varying weather conditions, especially if my shed is not climate-controlled.
Maintaining Organization
After I’ve created an organized system, I realize that maintaining this order is just as important as achieving it. I set aside time every few months to reevaluate my tool collection. During this maintenance check, I take the opportunity to clean my tools, ensuring they’re in top condition for the next gardening season. I also remind myself to return tools to their designated spots after every use, reinforcing the habits that make my life easier.
Ultimately, organizing my garden tools is not just about tidiness; it’s about creating a space where I can truly enjoy my gardening passion. Each step I take towards organization brings me closer to that ideal gardening experience, allowing me to transition from chaos to calm in my gardening adventures.
Enhancing Your Workspace Aesthetics
As I organize my garden tools, I can’t help but think about the overall aesthetics of my workspace. I believe that a visually appealing environment can significantly enhance my gardening experience. I enjoy incorporating elements that reflect my personality and love for gardening. Here are some of the ways I have transformed my shed into a more inviting space.
Adding Personal Touches
To make my garden shed feel more like a sanctuary, I start by adding personal touches. I often hang up my favorite gardening posters or artwork that inspires me. Having a vibrant plant or two in the shed adds life to the space, and I find that they help improve the air quality while I work. Using lightweight shelves, I display interesting pots and decorative gardening books that not only serve a purpose but also add character to the room.
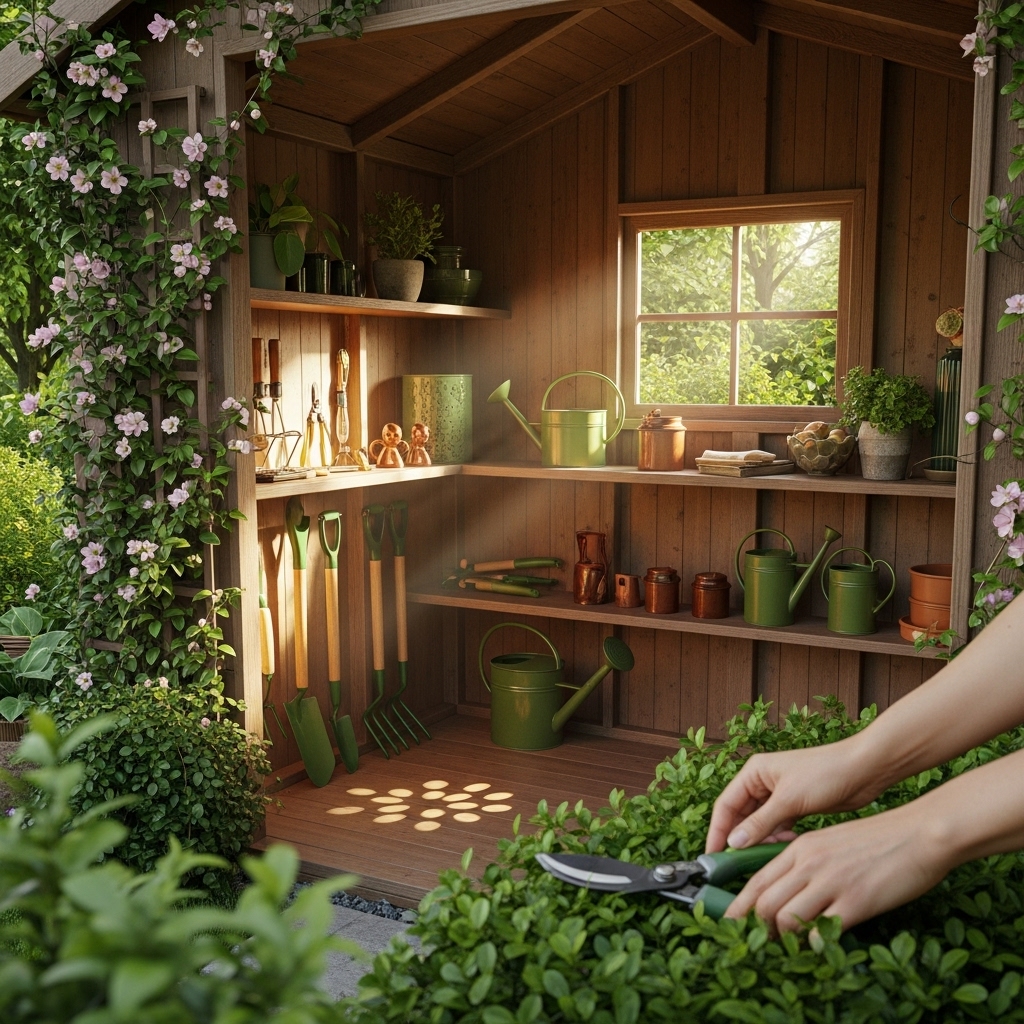
Incorporating Natural Elements
I also like to incorporate natural elements into my workspace. Using wooden crates or rustic wooden shelves aligns perfectly with the gardening theme while providing additional storage. I find that the organic textures and colors create a calming atmosphere. Sometimes, I even add a small herb garden on the windowsill. This not only looks great, but the fresh herbs are also handy for cooking when I return from the garden.
Lighting Considerations
Proper lighting is another critical aspect I focus on to enhance my workspace. Natural light is ideal, so I make sure to keep windows clean and unobstructed. Additionally, I have installed some LED strip lights along the shelves for practical illumination during evening projects. The warm glow they emit creates a cozy ambiance that makes me want to spend more time in the shed. I’ve even added a small desk lamp on my workbench, which provides task lighting while I pot plants or maintain tools.
Creating a Comfortable Work Area
Comfort is key when I’m spending hours in my gardening workspace. I’ve invested in a sturdy workbench that provides ample space for my projects. To make it even more comfortable, I placed a cushioned mat underneath, which absorbs the impact while I stand. I also keep a comfortable chair nearby for when I need to take a break. This setup not only helps prevent fatigue but also allows me to sit and reflect on my gardening strategies or plan my next planting endeavor.
Incorporating Multi-Functional Furniture
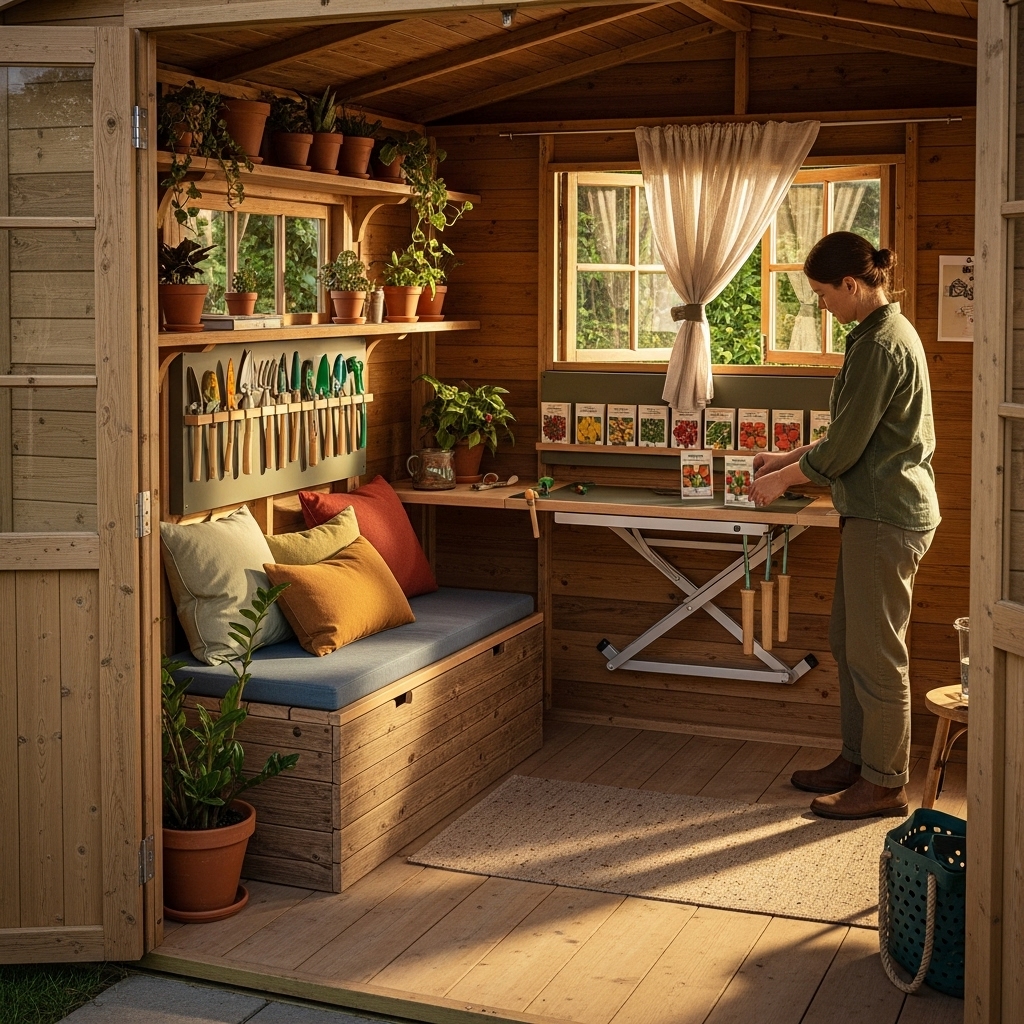
Maximizing the utility of my workspace is something I always consider, so I look for multi-functional furniture. For example, a folding table can serve as a potting station when needed but can easily be tucked away when I require more floor space. I’ve also found that using storage ottomans can be a fantastic way to keep tools and supplies organized while providing extra seating when friends come by to join me in the garden.
Integrating Technology into the Shed
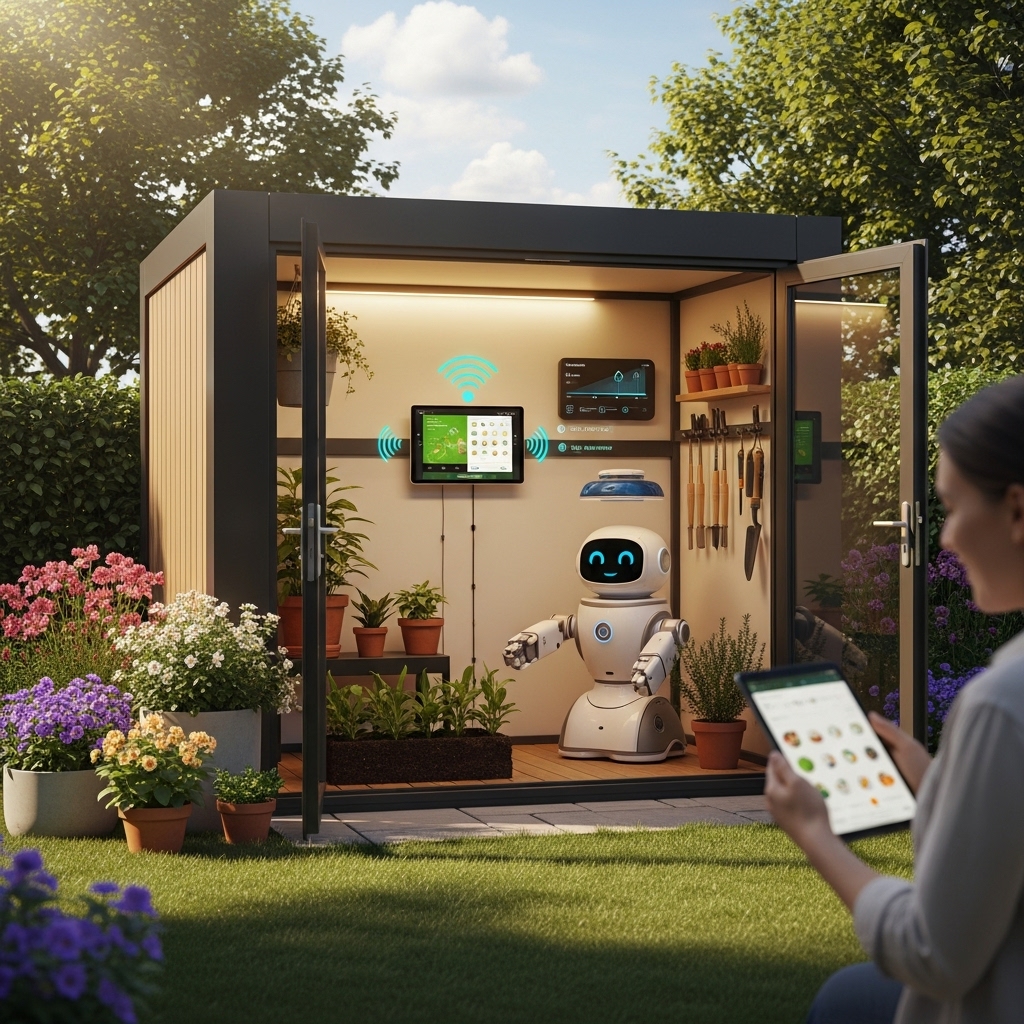
In this digital age, I’ve found that incorporating technology into my garden shed enhances my gardening experience. I use a small tablet or an old smartphone that I’ve repurposed to store gardening applications and keep track of my plants’ growth cycles. I can easily access information on various plants, get reminders for watering, and even check the weather forecasts without stepping outside.
Utilizing Smart Gadgets
There are also smart gadgets I’ve invested in that have simplified my gardening tasks. For instance, I use a moisture sensor connected to my smartphone, which alerts me when my plants need watering. This tech integration not only saves time but also ensures that I’m providing the best care for my plants.
Creating a Gardening Journal
I’ve started keeping a gardening journal within my workspace. Not only is it a practical tool for recording what I’ve planted and when, but it also serves as a creative outlet. I like to jot down my thoughts, sketch out gardening plans, and note any challenges I face along the way. This journal has become a valuable resource over time and has helped me reflect on my gardening journey.
Inviting Community into the Workspace
Another aspect I cherish is the opportunity to share my workspace with friends and family. I often invite fellow gardening enthusiasts over for potluck gatherings or planting days. Not only does it create a sense of community, but sharing ideas and tips enriches my gardening practices. I love having a space where we can all come together, swap stories, and inspire one another.
Transforming my garden shed into a workspace has been an ongoing journey. Every decision I make—from the organization of tools to the aesthetic enhancements—contributes to a more enjoyable gardening experience. I’ve discovered that a well-planned workspace fosters creativity, productivity, and joy, allowing me to fully embrace my passion for gardening.
Final Thoughts
Ultimately, every step I take towards creating a serene and organized workspace in my garden shed shapes my gardening journey. Whether it’s the tools I use, the aesthetics of the space, or the community I build around it, each element plays a crucial role in my overall experience. I look forward to the many gardening adventures that await, all sparked by my lovingly organized and beautifully curated workspace.