
Transforming a garden plagued by weeds into a stunning outdoor oasis is a journey of creativity and dedication. Join me as I explore the steps to overhaul your garden’s style, turning chaos into a canvas of beauty.
Table of Contents
Assessing Your Current Garden
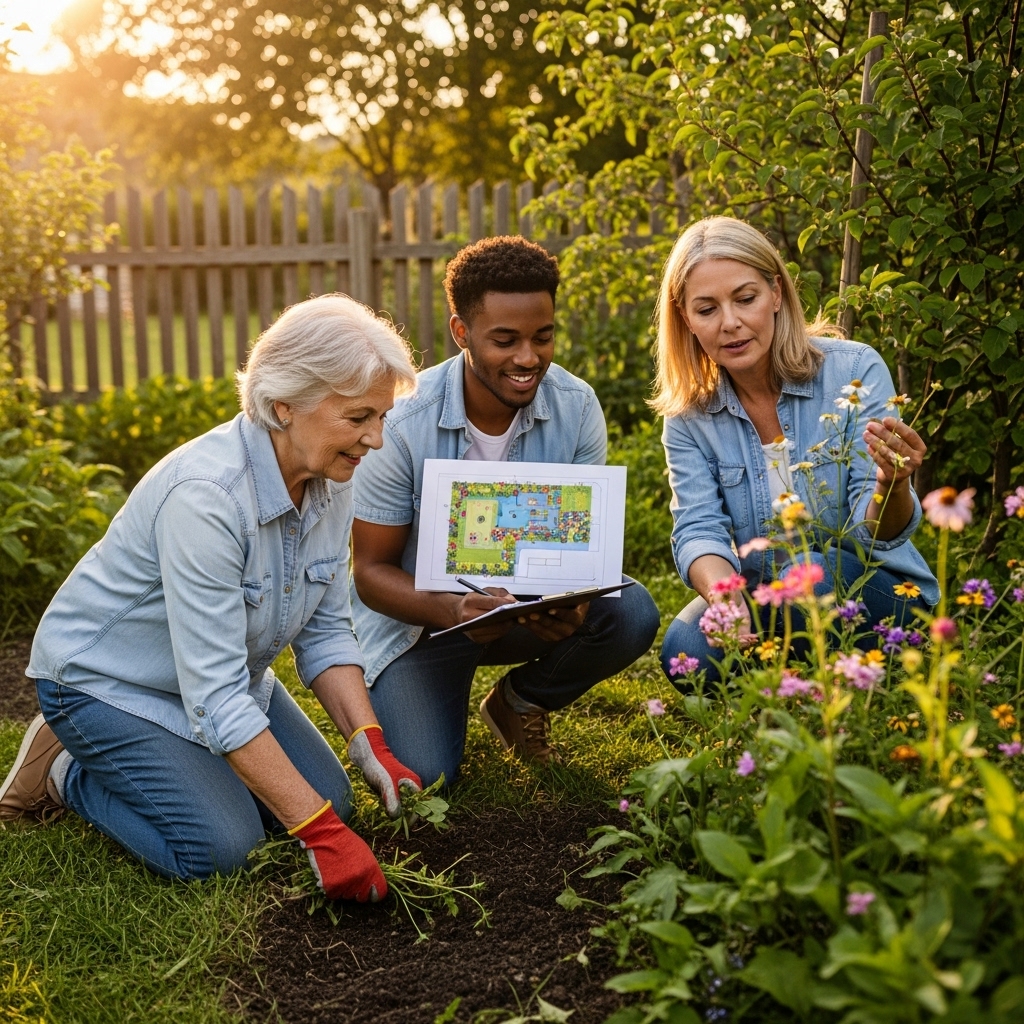
Before diving into any transformation, I find it crucial to assess the current state of my garden. I often begin by walking through the space, taking notes on what works, what doesn’t, and identifying the areas that are overrun with weeds. It’s easy to become overwhelmed, but I remind myself that every garden has potential waiting to be unlocked. I start by categorizing my observations into three main areas: plants, layout, and soil health.
Evaluating Plants
As I stroll through my garden, I pay close attention to the existing plants. Are there any hidden gems among the weeds? Sometimes, I discover perennials that have struggled to thrive due to overcrowding or poor positioning. I take note of these plants and consider how they can be incorporated into my new design. Weeds, on the other hand, are often abundant, but I don’t see them as the enemy; rather, they highlight areas that need my attention. I make a checklist of the invasive species that need to be removed, such as dandelions and clover.
Reimagining the Layout
Next, I focus on the layout of the garden. This is where I can let my imagination run wild! I visualize the flow and structure of the space. Is there a focal point that draws the eye? If not, I consider creating one, perhaps using a decorative bench or a vibrant flower bed. At this stage, I often sketch out my ideas on paper, mapping out where I want to place larger plants, pathways, and any seating areas. A well-thought-out layout not only enhances the aesthetic but also improves functionality, making the garden more enjoyable to spend time in.
Checking Soil Health
A garden’s success heavily relies on the health of its soil. I dig a few small holes in different areas to assess the soil quality. Is it compacted or loose? Does it retain water well? If the soil appears dry and lifeless, it’s a clear sign that I need to amend it before planting anything new. I take samples back to my gardening bench and conduct a simple test to determine its pH level. Based on these results, I might consider adding organic matter, such as compost or aged manure, to improve fertility and structure.
Planning Your Plant Palette
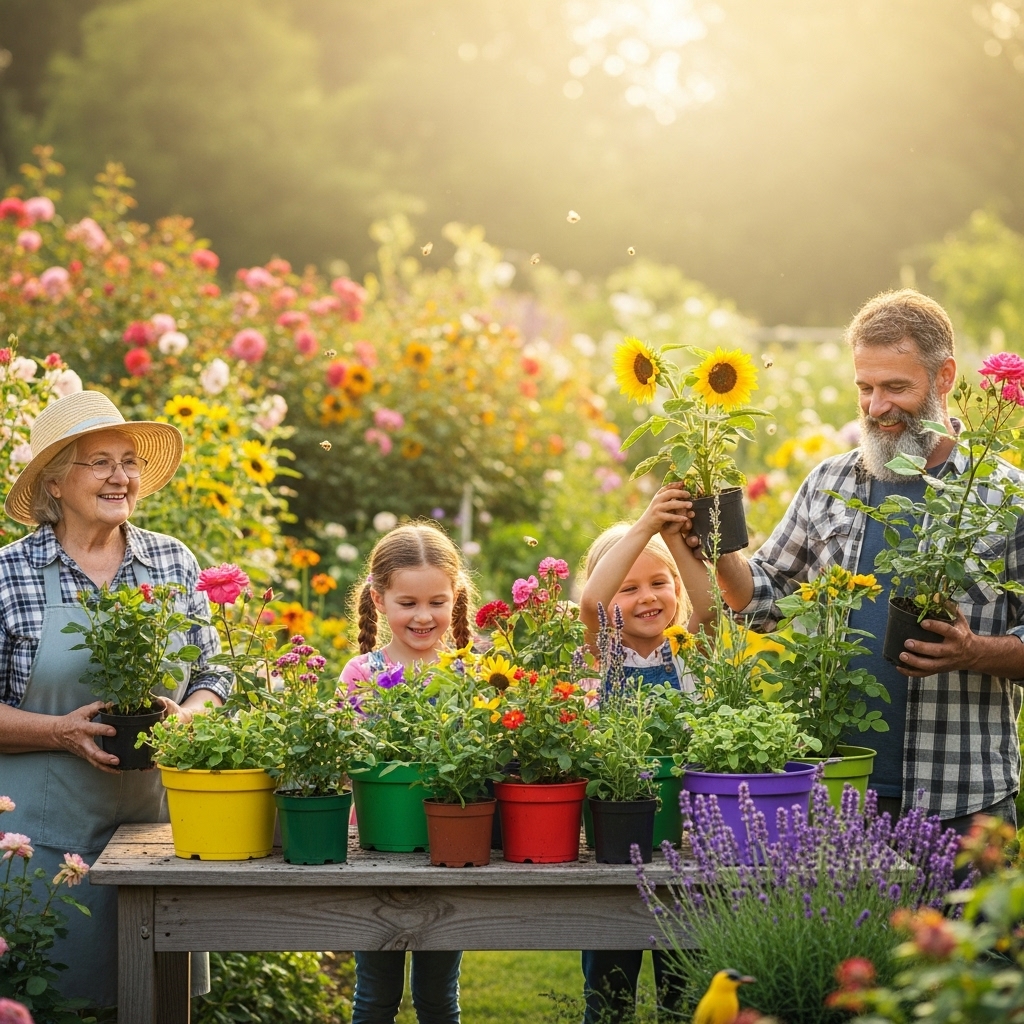
With a solid assessment complete, I turn my attention to planning my plant palette. This part excites me the most! I love to research various plant species, focusing on their colors, textures, and growth habits. I often browse through gardening books and online resources, looking for inspiration and creating a mood board with images of plants that resonate with me.
Choosing the Right Plants
When selecting plants, I keep in mind the overall theme I want to achieve. Am I aiming for a vibrant, tropical oasis or a serene, minimalist garden? I consider factors like bloom time, height, and seasonal interest to ensure that my garden is visually appealing throughout the year. I also pay attention to companion planting, which can help with pest control and improve growth. For example, I often pair marigolds with vegetables to deter pests while adding a pop of color.
Incorporating Hardscaping Elements
In addition to plants, I think about incorporating hardscaping elements that add structure and functionality to my garden. Patios, pathways, and decorative stones can transform an ordinary space into a stunning landscape. I often explore different materials, such as gravel, brick, or natural stone, that complement the overall aesthetic. Each hardscaping feature I choose should enhance the experience of the garden, guiding visitors through the space and inviting them to explore.
Preparing for Action
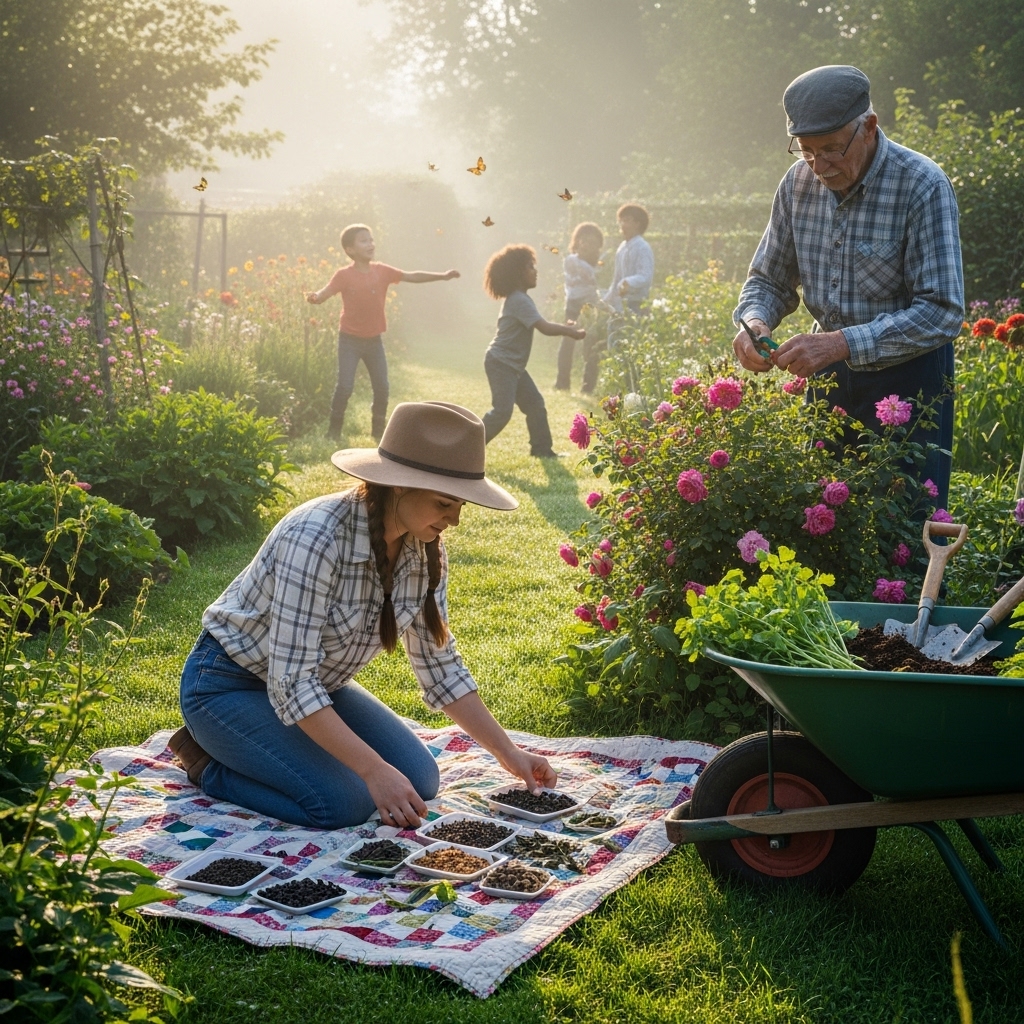
Once I have a clear vision of my plant palette and hardscaping elements, I start preparing for action. This phase can be a little daunting, but I always find it rewarding to see my plans come to life. I create a timeline for the project, breaking it down into manageable tasks. In my experience, having a schedule helps me stay organized and motivated.
Clearing the Weeds
The first task on my list is to clear out the weeds. I arm myself with gloves, a hoe, and a few bags to collect the debris. As I dig into the soil, I often feel a sense of accomplishment with each weed I pull. It’s amazing how quickly the garden begins to take on a new shape. I also make sure to remove any roots, as I’ve learned that leaving them behind can lead to future weed problems.
Preparing the Soil
After the weeds are gone, I turn my attention to preparing the soil. This is the time to amend it with compost and other nutrients. I spread a generous layer of compost over the soil and mix it in thoroughly, ensuring that the soil is enriched and ready to support my new plants. I also consider tilling the soil, as it helps improve drainage and aeration, which are crucial for plant health.
As I embark on this garden transformation journey, I remind myself to take my time and enjoy the process. Each step, from assessing to planning and preparing, brings me closer to my vision of a beautiful, weed-free oasis. Stay tuned as I continue to share my experiences and insights in the next part of this adventure!
Planting Your Garden
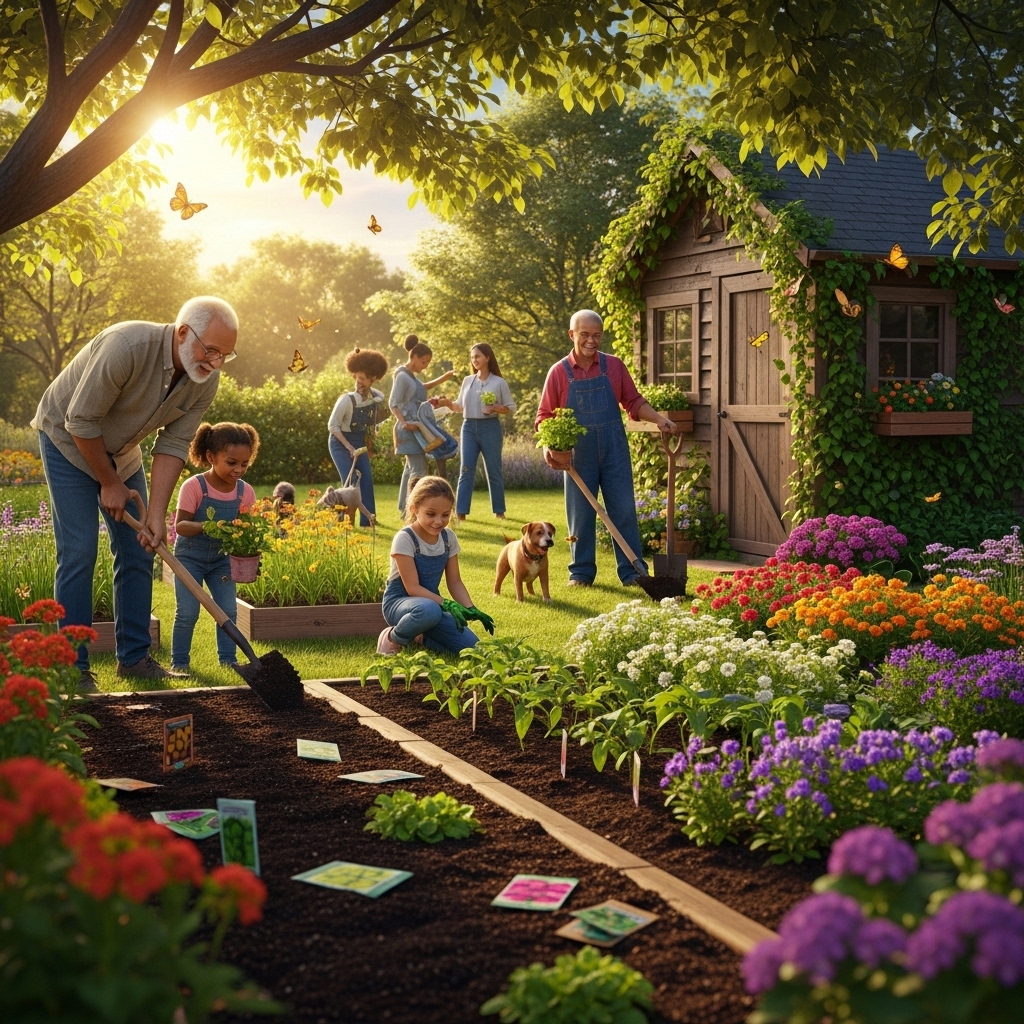
With the soil prepared and the weeds banished, I’m finally ready to start planting! This is the moment I’ve been eagerly anticipating. I gather my chosen plants, ensuring that I have all the necessary tools at hand, like my trowel, watering can, and labels for marking each plant’s spot. I can feel the excitement bubbling up as I envision how each plant will contribute to the overall beauty of my garden.
Understanding Planting Techniques
Before I get my hands dirty, I remind myself of the best practices for planting. Proper technique ensures that my plants not only survive but thrive in their new environment. When planting, I pay attention to the specific requirements of each plant type, such as spacing, depth, and sunlight exposure. For instance, I’ve learned that some plants prefer to be planted deeper than others, while others might need more room to spread out.
I typically start by digging a hole that’s about twice the width of the root ball and just as deep. This gives the roots plenty of room to expand and establish themselves. If the plant is in a pot, I gently remove it and loosen any tightly bound roots before placing it in the hole. As I backfill the soil, I make sure to pack it lightly to eliminate air pockets, which can hinder growth.
Creating Visual Interest
As I place each plant into the ground, I focus on creating layers and visual interest. I often plant taller species towards the back or center of a bed, with mid-height plants beside them, and shorter ones at the front. This layering not only creates a more dynamic look, but it also allows each plant to be seen and appreciated. I enjoy experimenting with various textures and colors, ensuring that there’s something new to catch the eye at every angle.
In addition, I incorporate some of my favorite companion plants to enhance growth and deter pests. For example, I love planting basil next to my tomato plants, as it not only helps with pest control but also creates a delightful fragrance in the garden. I make sure to have a variety of bloom times among my selections, so there’s always something flowering throughout the seasons.
Watering Wisely
Once all the plants are in the ground, I know that watering is crucial for their establishment. I always take the time to give my new plantings a thorough watering immediately after planting. This helps settle the soil around the roots and provides them with the moisture they need to continue growing. I try to be mindful of the weather conditions as well. If it’s particularly sunny or windy, I might water more frequently during the first few weeks to prevent stress on the plants.
In my experience, I find that using a drip irrigation system or soaker hoses can be incredibly efficient for watering. They deliver moisture directly to the root zone without wetting the foliage, reducing the risk of fungal diseases. Watching my plants take root and begin to flourish fills me with joy, and I make it a point to check on them regularly during this critical establishment phase.
Maintaining Your Garden

After the initial planting, the journey doesn’t stop there; maintenance is key to keeping my garden thriving. As the weeks go by, I’ve learned that a little bit of care goes a long way. I make it a habit to check for any signs of pests or disease, as early detection can make a significant difference. I inspect the leaves, stems, and soil for any irregularities or unwanted visitors.
Weed Management
Even though I’ve cleared out the initial weeds, I know that they can make a comeback. I set aside time each week to walk through my garden, pulling any weeds that pop up and preventing them from taking hold. I’ve found that mulching around my plants not only helps retain moisture but also suppresses weed growth. This simple technique has been a game-changer in my garden maintenance routine.
Regular Feeding and Pruning
To keep my plants healthy and robust, I follow a regular feeding schedule. I usually apply organic fertilizers during the growing season, based on the specific needs of my plants. Watching them respond positively to proper nutrition is incredibly satisfying. Additionally, I make it a point to prune back any dead or overgrown stems. Pruning not only encourages new growth but also helps maintain the overall shape and health of the plants.
Throughout this process, I continue to learn and adapt. Gardening is as much about patience and observation as it is about action. Each season brings new insights and opportunities to improve. As I immerse myself in this journey of transformation, I feel grateful for the chance to cultivate beauty in my own backyard.
Final Thoughts
As I reflect on the stages of my garden transformation, I can’t help but feel a sense of accomplishment. From assessing the initial state of the garden to planting and nurturing new life, each step has contributed to the creation of my peaceful outdoor sanctuary. I look forward to sharing more updates on the garden’s progress and the lessons I learn along the way. Whether you’re embarking on a similar journey or simply tending to your own green space, I hope these insights inspire you to cultivate your own slice of paradise.