
Struggling with a cluttered garden shed? I’ve been there too! Let’s explore the best organization strategies that will transform your shed into a functional and inspiring workspace.
Table of Contents
Assessing Your Space: The First Step to Garden Shed Organization
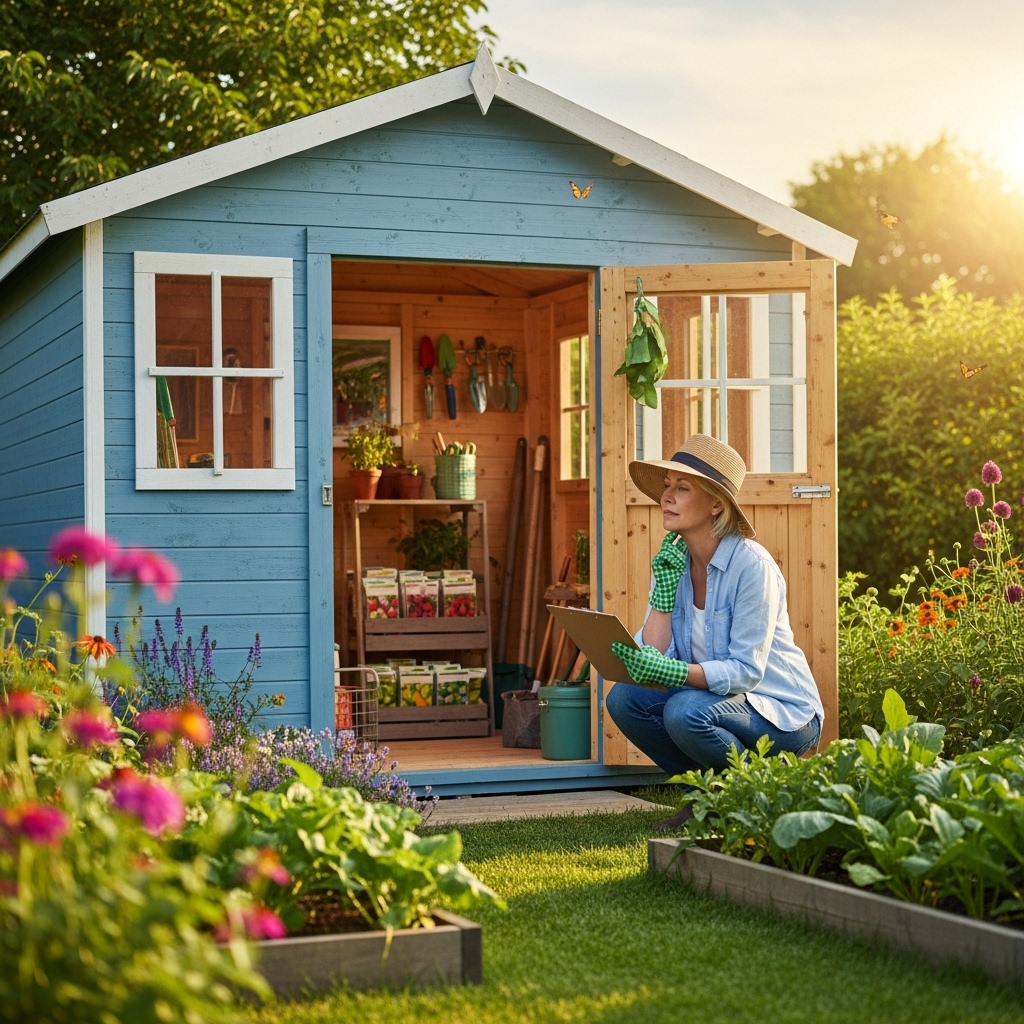
When I first set out to organize my garden shed, I realized that the most crucial step was assessing the space itself. I took a moment to step back and really look at what I had. What items were essential? What was just taking up valuable space? I found that this initial evaluation played a significant role in shaping my organization strategy.
Evaluating Your Inventory
The first task I tackled was listing all the items stored in my shed. I gathered everything from tools and equipment to seeds and pots. I was surprised to find things I had completely forgotten about! This inventory helped me identify duplicates and items that no longer served a purpose. I made three categories: Keep, Donate/Sell, and Trash. This simple act cleared my mind and my space. By the time I finished, I could see what I truly needed to keep on hand and what I could let go of.
Measuring the Space
Next, I measured the dimensions of my shed. Knowing the total area is vital when planning storage solutions. I took into account the height, width, and depth to maximize every inch of available space. It became clear that vertical storage was going to be key. The walls of my shed would be my best friends in this organization journey!
Choosing Storage Solutions
With my inventory and measurements in hand, I began exploring storage solutions. I discovered that there are various methods to store garden tools and supplies, and not all of them require a significant investment. I opted for a combination of DIY solutions and a few store-bought items, which made it more accessible and affordable.
Wall-Mounted Storage
One of my favorite organization strategies involved wall-mounted storage. I installed pegboards to hang tools, which not only kept them easily accessible but also added a fun, creative aspect to the shed. I arranged the tools by frequency of use, ensuring that my most-used items were at eye level. The pegboard also allowed me to customize my setup. I used hooks and baskets to create a personalized storage system that suited my gardening style.
Creating Shelving Units
After dealing with wall-mounted storage, I turned my attention to shelving. I decided to build sturdy wooden shelves in one corner of my shed to store pots, soil, and other larger items. Building the shelves myself not only saved money but also allowed me to customize the height and width to fit my needs. I labeled each shelf to categorize the contents, making it easier to find what I needed when I needed it.
Utilizing Containers and Bins
To further enhance organization, I invested in clear plastic bins. I found that clear bins made it easy to see what was inside without having to open each one. I categorized them by season; for instance, I had a bin for spring planting and another for winter preparations. This system made it effortless to switch gears as the seasons changed. I also labeled each bin to streamline the process even more.
Maximizing Vertical Space
As I organized my shed, I realized that maximizing vertical space was essential. I installed hanging planters on the walls to store smaller items, such as gloves and seed packets. I also added hooks for ladders and garden hoses, keeping the floor space clear for movement. This approach reduced clutter and made the shed feel more open and inviting.
Maintaining a Clean Shed
After all that hard work, I knew I needed a system to maintain my newly organized shed. I decided to set a schedule for regular clean-outs and reorganizing. Every three months, I would go through my items to ensure everything was in its proper place. This system not only kept clutter at bay but also allowed me to reassess my gardening needs regularly.
Personal Touches
Lastly, I couldn’t resist adding some personal touches to my shed. I hung up some garden-themed artwork and even painted the interior in a bright color that made me feel inspired. Adding my personality made the space feel less like a storage area and more like a sanctuary for my gardening endeavors.
Transforming my garden shed into an organized and efficient workspace was an ongoing journey filled with trial and error. However, I learned that with a little planning and creativity, anyone can create a functional space that enhances their gardening experience. As I continue to use and enjoy my shed, I often reflect on how much I wish I had known these tips sooner! The organization not only saves time but also brings joy to my gardening pursuits. Stay tuned as I delve deeper into even more organization strategies in the next part of this series!
Incorporating Gardening Tools into Your Shed Design
As I continued my journey of organizing my garden shed, I realized that the way I incorporated my gardening tools into the shed design played a significant role in functionality. After investing in organization solutions, I thought about how I could create a workspace that felt cohesive and efficient. I wanted a setup that would not only keep the tools tidy but also inspire me to use them more often.
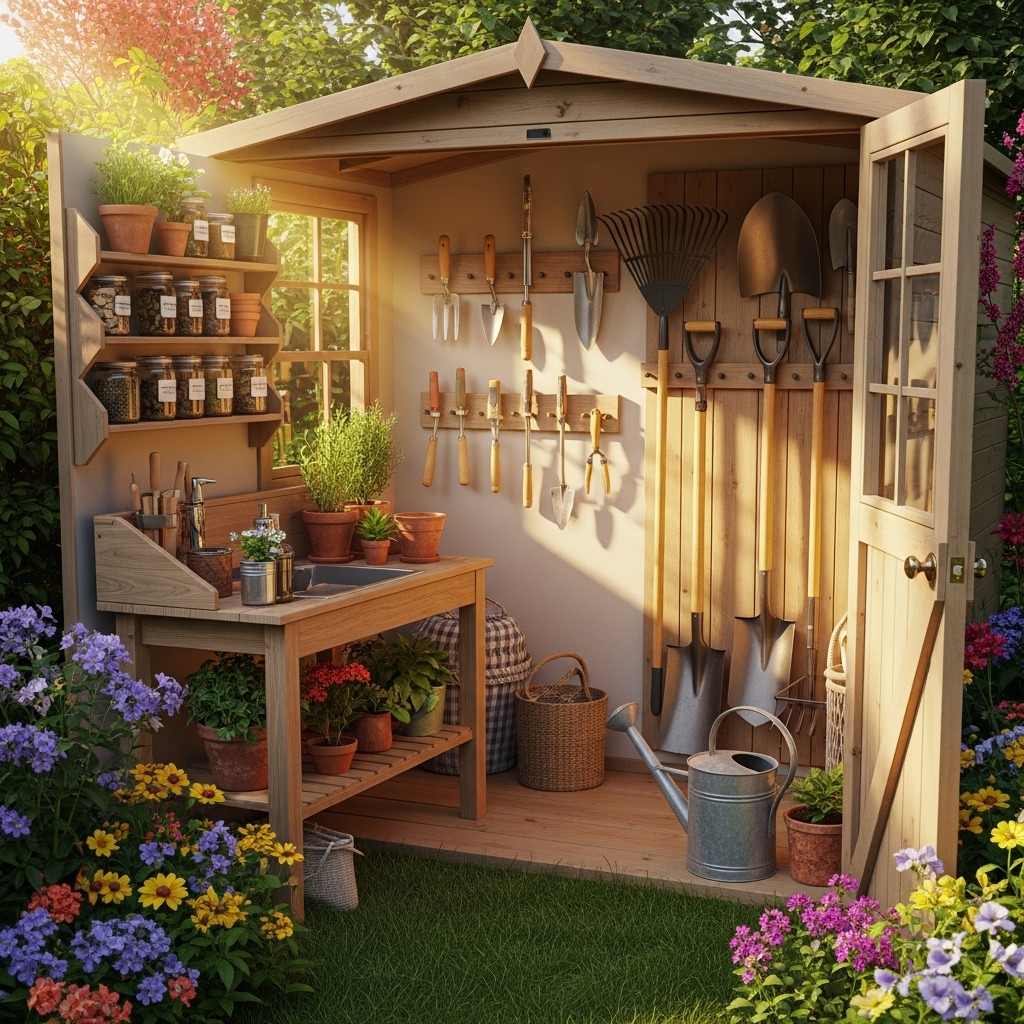
Tool Organization Stations
One of the strategies I employed was to create specific tool organization stations within the shed. I designated different areas for various categories of tools—hand tools, power tools, and gardening accessories were all given their own little domain. For example, I grouped my trowels, pruners, and hand rakes in one area on a magnetic strip, making them easy to grab when I needed them. By creating these stations, I could easily see what I had, which made it less likely that I would purchase duplicates and clutter my shed again.
Incorporating a Potting Bench
Another crucial element I added was a potting bench. I found a weathered but sturdy table that I repurposed for this purpose. The bench serves as a perfect workspace for repotting plants and mixing soil. I also added a small shelf beneath the bench to store potting soil, fertilizers, and gardening gloves, keeping everything within reach while I worked. This not only enhanced my workflow but also made the shed feel like a true gardening hub.
Utilizing Vertical Garden Space
To further maximize my shed’s potential, I decided to take my gardening indoors by using vertical garden space on the exterior of the shed. I installed wall-mounted planters filled with herbs and flowers, which not only beautified the area but also provided me with fresh ingredients for my kitchen. It was a great way to make use of vertical space while also creating a vibrant, inviting environment for my gardening tasks.
Safety First: Organizing Hazardous Materials
With all the organization, I knew I couldn’t overlook the importance of safety, especially when it comes to hazardous materials. I designated a small locked cabinet for items like fertilizers and pesticides. I labeled each container clearly and ensured that these materials were stored out of reach of children and pets. This small step made a big difference in my peace of mind, allowing me to focus on my gardening without worry.
Creating a Gardening Calendar
As I settled into my organized shed, I found it beneficial to create a gardening calendar that I could hang on the wall. This calendar included reminders for planting, watering, and fertilizing various plants throughout the seasons. It was a simple addition, but having a visual guide helped me stay on track and ensured I didn’t miss important gardening tasks. I even marked the calendar with my favorite seasonal sales at local nurseries, making it a practical reference point.
Creating a Workshop Area
During my organization process, I realized that I also needed a space for small DIY projects. I set aside a corner of the shed as a workshop area. Here, I kept my essential tools like a hammer, saw, and drill, along with a small workbench. This area allowed me to tackle projects like building raised garden beds or repairing tools without having to drag materials in and out of the shed constantly.
Lighting and Ventilation
As I worked on the interior of my shed, I quickly learned that proper lighting and ventilation were crucial. I added a few LED lights that turned on automatically when I entered the shed, ensuring I could see everything clearly, even on gloomy days. Additionally, I installed a small window and a couple of vents to allow fresh air to circulate. This made spending time in the shed more pleasant, especially during warmer months.
Inviting Friends and Family to Join
One of the most rewarding aspects of my organized garden shed has been inviting friends and family to share in my gardening adventures. With the space being functional and welcoming, I’ve started hosting small gardening workshops. This not only allows me to share my passion for gardening but also helps others learn about organization strategies in their own spaces. I’ve found that the shed has transformed into a community hub, fostering friendships and collaboration.
Organizing my garden shed has truly been a labor of love. I’ve learned that every little detail counts, from the tools I use to the layout of the space. With every change, I feel more connected to my gardening pursuits, and I can’t wait to see how my organized shed will continue to evolve with my gardening journey.
Final Thoughts
As I reflect on the transformation of my garden shed, I realize that organization is not just about tidiness; it’s about creating a space that nurtures creativity and productivity. Each change I made to improve functionality has enriched my gardening experience, allowing me to enjoy the process even more. I hope my experiences inspire you to embark on your own organizational adventure—because an organized shed can lead to an organized mind and a flourishing garden!