
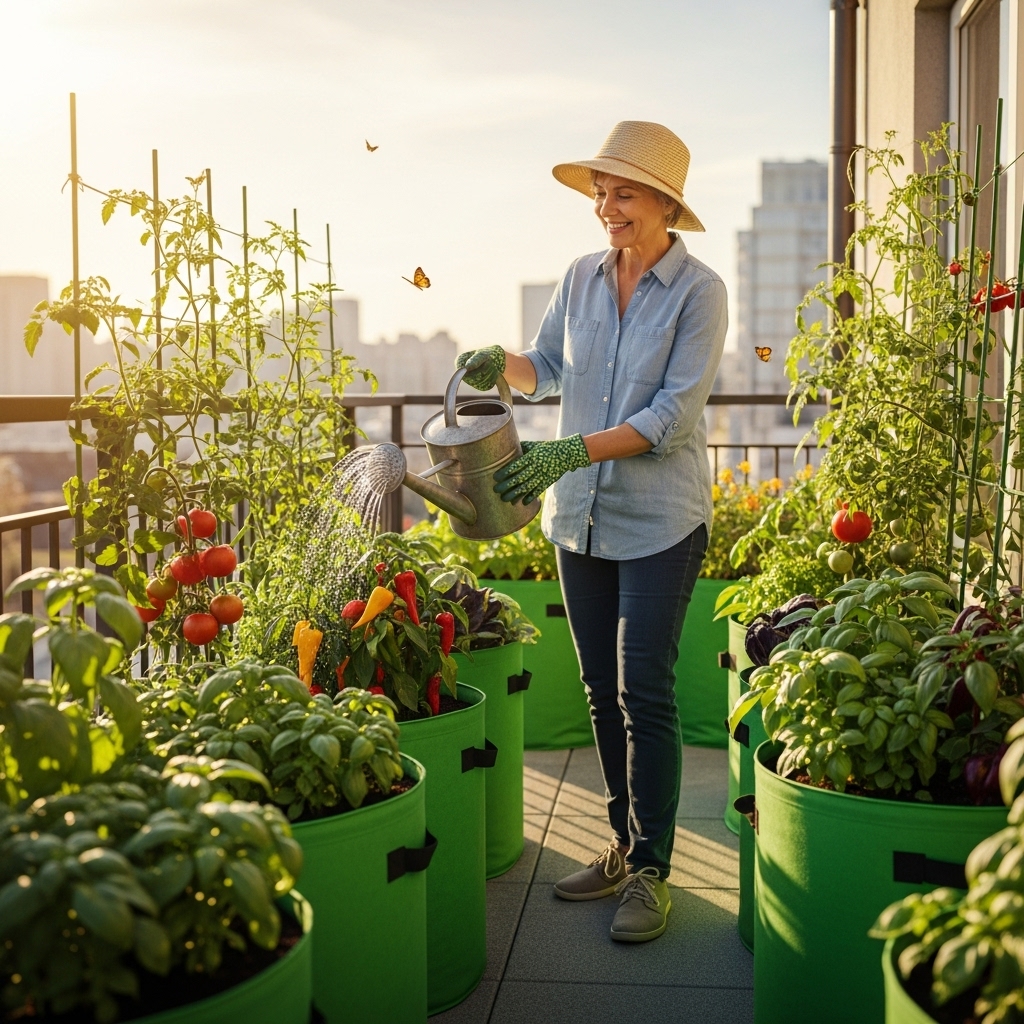
Have you ever dreamed of a bountiful garden but felt limited by space? I’ve discovered the magic of grow bag gardening, a simple yet effective way to cultivate an abundant harvest right in my small backyard or even on a balcony!
Table of Contents
What is Grow Bag Gardening?

When I first stumbled upon grow bag gardening, I was intrigued by the concept. Essentially, it involves using flexible fabric bags to grow plants instead of traditional pots or in-ground gardens. This method has transformed my gardening experience, allowing me to maximize my yields without needing a vast plot of land. The beauty of grow bags lies in their versatility and ease of use, making gardening accessible to anyone, regardless of their space constraints.
The Benefits of Grow Bag Gardening
As I delved deeper into grow bag gardening, I quickly realized that the benefits extend far beyond just saving space. Here are some of the key advantages I’ve experienced:
- Drainage: One of the first things I noticed was how well grow bags drain. The fabric allows excess water to escape, preventing root rot and ensuring my plants thrive.
- Temperature Regulation: The breathable material helps maintain consistent soil temperatures. I’ve found that my plants are less stressed during extreme weather conditions, leading to healthier growth.
- Portability: If there’s one thing I love about grow bags, it’s that I can easily move them around. Whether I want to catch more sunlight or protect my plants from harsh winds, relocating my grow bags is a breeze.
- Soil Quality: Using grow bags gives me control over the soil mix. I can easily customize the soil to suit different plants, ensuring they get the nutrients they need.
- Root Growth: The air-pruning effect of grow bags prevents roots from becoming pot-bound. This means I enjoy healthier, more robust plants with larger root systems.
Choosing the Right Grow Bags
After realizing the benefits, my next step was to choose the right grow bags. I discovered that there are various sizes and materials available, so I took my time exploring my options. Here are some insights into selecting the best grow bags for my needs:
- Material: Most grow bags are made from fabric, but I found that some are made from recycled materials, which is fantastic for eco-conscious gardeners like me. Fabric grow bags are breathable and durable, making them perfect for long-term use.
- Size: The size of the grow bag is crucial depending on what I want to plant. For larger plants like tomatoes or peppers, I typically go for 5 to 10-gallon bags. Smaller bags, around 1 to 3 gallons, are great for herbs or smaller plants.
- Handles: I appreciate grow bags with sturdy handles, making them easier to carry, especially when they’re full of soil and plants.
- Color: While color might not seem important, I learned that darker bags can absorb more heat, which might benefit my plants in cooler climates. Conversely, lighter colors can help keep roots cooler in hot areas.
Preparing Your Grow Bags
Once I had my grow bags, I was eager to get started. Preparing the bags correctly played a huge role in my gardening success. Here’s how I usually go about it:
- Choosing the Right Soil: I’ve found that using high-quality potting soil is essential. I often mix my potting soil with compost to add nutrients and improve soil structure.
- Filling the Bags: I fill the bags to about an inch below the top, allowing space for watering. It’s crucial to pack the soil lightly to ensure good aeration.
- Watering: For the first watering, I thoroughly soak the soil to ensure it’s evenly moist. This helps the plants establish themselves more easily.
Planting in Grow Bags
Now comes the fun part—planting! I’ve discovered that grow bags offer incredible versatility when it comes to planting choices. I typically consider what I want to grow based on my available space and the season:
- Vegetables: Grow bags are perfect for growing a variety of vegetables. I’ve had great success with tomatoes, peppers, and lettuce. The key is to choose companion plants that thrive together.
- Herbs: I love having fresh herbs at my fingertips, and grow bags are ideal for herbs like basil, cilantro, and parsley. I often plant them in smaller bags for easy access.
- Flowers: I enjoy adding a splash of color to my garden with flowers. Marigolds and petunias thrive in grow bags and add beauty alongside my vegetables.
As I continue my journey with grow bag gardening, I find that every season brings new opportunities for learning and growth. The satisfaction of harvesting fresh produce from my small space is unparalleled, and I’m excited to share more about my experiences and tips in the next part of this article!
Maintaining Your Grow Bag Garden
As my garden flourished, I quickly learned that maintenance is key to ensuring that my grow bags remain productive season after season. I’ve developed a routine that helps me keep everything in check, and I’d love to share it with you.
Watering Wisely
One of the most important aspects of maintaining my grow bag garden is proper watering. The fabric of the grow bags allows for excellent drainage, but this means they can dry out more quickly than traditional pots. I’ve found that checking the moisture level in the bags is essential. I usually stick my finger into the soil about an inch deep; if it feels dry, it’s time for a good soak. I tend to water deeply but less frequently, encouraging the roots to reach down into the soil for moisture.
Nourishing the Soil
Fertilization has also become a critical part of my maintenance routine. Since I’m using a limited amount of soil in the grow bags, I’ve learned that nutrients can get depleted quickly, especially during the growing season. I usually apply a balanced liquid fertilizer every couple of weeks. Additionally, I love adding organic compost to the top of the soil, as it not only provides nutrients but also improves soil structure over time. I’ve noticed that my plants respond beautifully to this extra care!
Managing Pests and Diseases
While I relish the opportunity to grow my own food, I’ve also encountered pest challenges along the way. I prefer a proactive approach to manage pests. I’ve found that inspecting my plants regularly helps me catch any issues early. For instance, if I notice aphids or spider mites, I often spray them off with a strong stream of water. If the problem persists, I reach for natural solutions like neem oil, which I find is effective without harming beneficial insects.
To prevent diseases, I always ensure that my plants have adequate spacing within the grow bags. This helps with air circulation, reducing the risk of fungal diseases. I’ve learned the hard way that overcrowding can lead to problems, so giving my plants enough room to breathe has made a noticeable difference.
Seasonal Adjustments
As the seasons change, I’ve found that adjusting my gardening practices is crucial. In the hotter months, I often place my grow bags in partial shade during the peak sun hours, particularly for sensitive plants like lettuce. Conversely, when the temperatures drop, I move my bags to areas that receive maximum sunlight to help keep the soil warm. This adaptability has allowed me to extend my growing season and enjoy a diverse range of crops.
Crop Rotation and Companion Planting
I’ve also started experimenting with crop rotation and companion planting within my grow bags. This concept has not only helped in pest management but also in maximizing the use of soil nutrients. For example, after harvesting my early-season crops like radishes, I plant nitrogen-fixing crops such as beans in the same bags. I find that this practice rejuvenates the soil and sets me up for a successful second harvest.
Additionally, certain plants thrive when grown together. For instance, I’ve discovered that planting basil alongside my tomatoes not only enhances their flavors but also helps repel pests. This synergy has made my gardening experience even more rewarding.
Harvesting and Enjoying the Fruits of My Labor
Nothing compares to the joy of harvesting my homegrown produce. I typically check my grow bags regularly to see what’s ready to pick. For vegetables like tomatoes and peppers, I’ve learned to harvest them at their peak ripeness for the best flavor. I often share my bounty with friends and family, which adds to the joy of gardening. There’s something special about bringing fresh, organic food to the table that I’ve grown myself!
After a successful harvest, I also take some time to assess my plants and their growing conditions. I find that taking notes on what worked and what didn’t helps me plan for the next season. This reflection process not only improves my gardening skills but also enhances my overall enjoyment of the experience.
As I continue to expand my knowledge and skills in grow bag gardening, I can’t help but feel grateful for the community of fellow gardeners I’ve connected with. Sharing tips, tricks, and stories has enriched my journey and inspired me to keep exploring new possibilities in my garden.
Final Thoughts
Grow bag gardening has transformed my relationship with plants and nature. I’ve learned to adapt, experiment, and find joy in the small successes of each season. Whether you have a small balcony or a spacious backyard, I believe that this method can bring you closer to the earth and provide you with the satisfaction of growing your own food.