
Water a spider plant when the top inch of soil feels dry, using distilled or rainwater to avoid chemical damage.
Table of Contents
Spider plants (Chlorophytum comosum) are popular houseplants known for their resilience and air-purifying qualities. Proper watering is crucial to their health, as both overwatering and underwatering can lead to significant issues. This guide will help you master the art of watering your spider plant effectively.
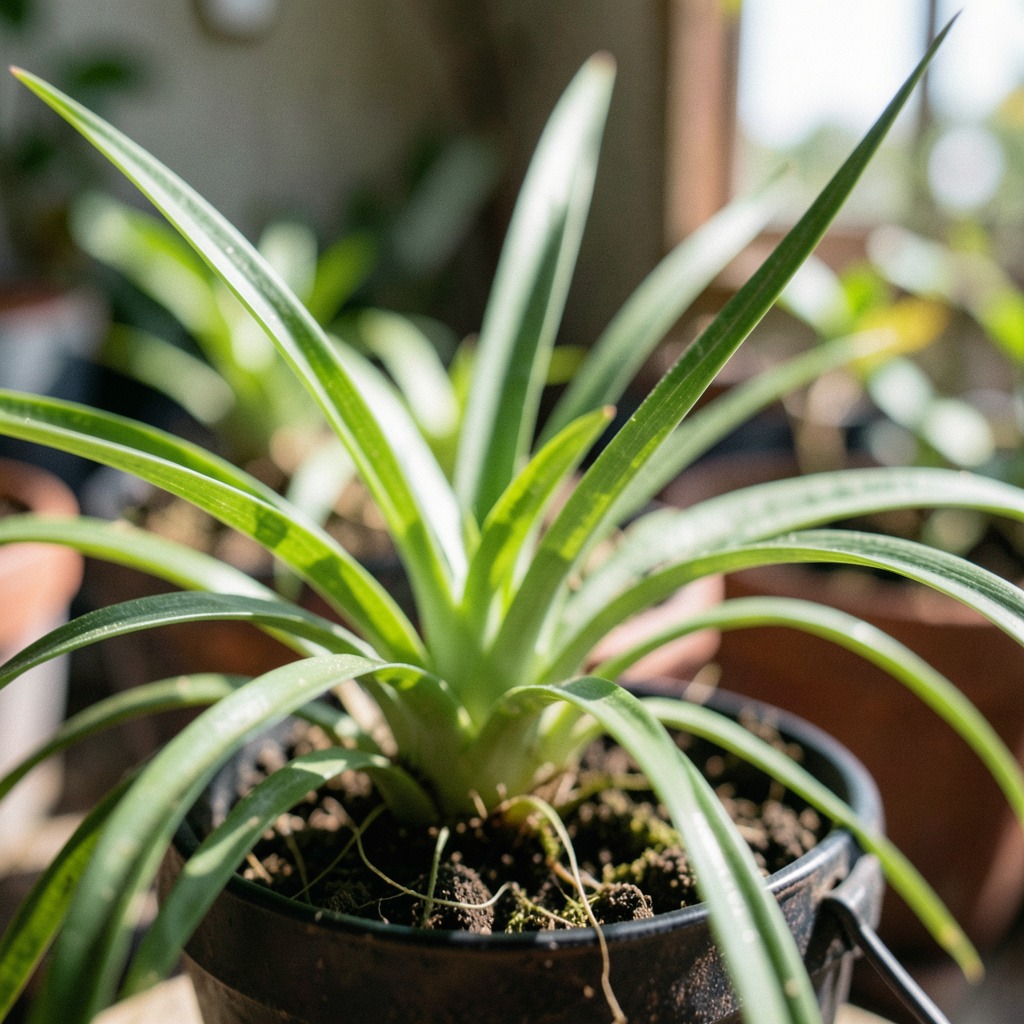
Understanding the Watering Needs of Spider Plants
Spider plants have specific watering requirements that are key to their thriving growth. Maintaining the right soil moisture and using appropriate water types can significantly enhance their health and vitality.
Ideal Soil Moisture Levels for Spider Plants
Spider plants prefer consistently moist soil without being soggy. Here’s a quick guide to ideal moisture levels:
| Soil Moisture Level | Description | Action Required |
|---|---|---|
| Too Dry | Soil is cracked and dusty | Water immediately |
| Optimal | Soil feels slightly damp | Maintain current watering |
| Too Wet | Soil is saturated and waterlogged | Reduce watering frequency |
To check soil moisture, insert your finger about an inch into the soil. If it feels dry, it’s time to water. Overwatering can lead to root rot, while underwatering can cause wilting.
Best Types of Water for Your Spider Plant
Choosing the right water is essential for spider plant care. Here are some options:
- Tap Water: Generally safe for spider plants, but let it sit for 24 hours to allow chlorine to dissipate.
- Filtered Water: A great option if you want to avoid chemicals present in tap water.
- Rainwater: Ideal for spider plants as it is naturally soft and nutrient-rich.
- Distilled Water: Good for sensitive plants, though it lacks minerals.
For optimal growth, consider using a Spider Plant Care Kit to ensure you have the right tools and supplies. Check Price on Amazon.
Incorporating these watering practices will help you meet the specific needs of your spider plant and promote its healthy growth.
How Often to Water Your Spider Plant by Season
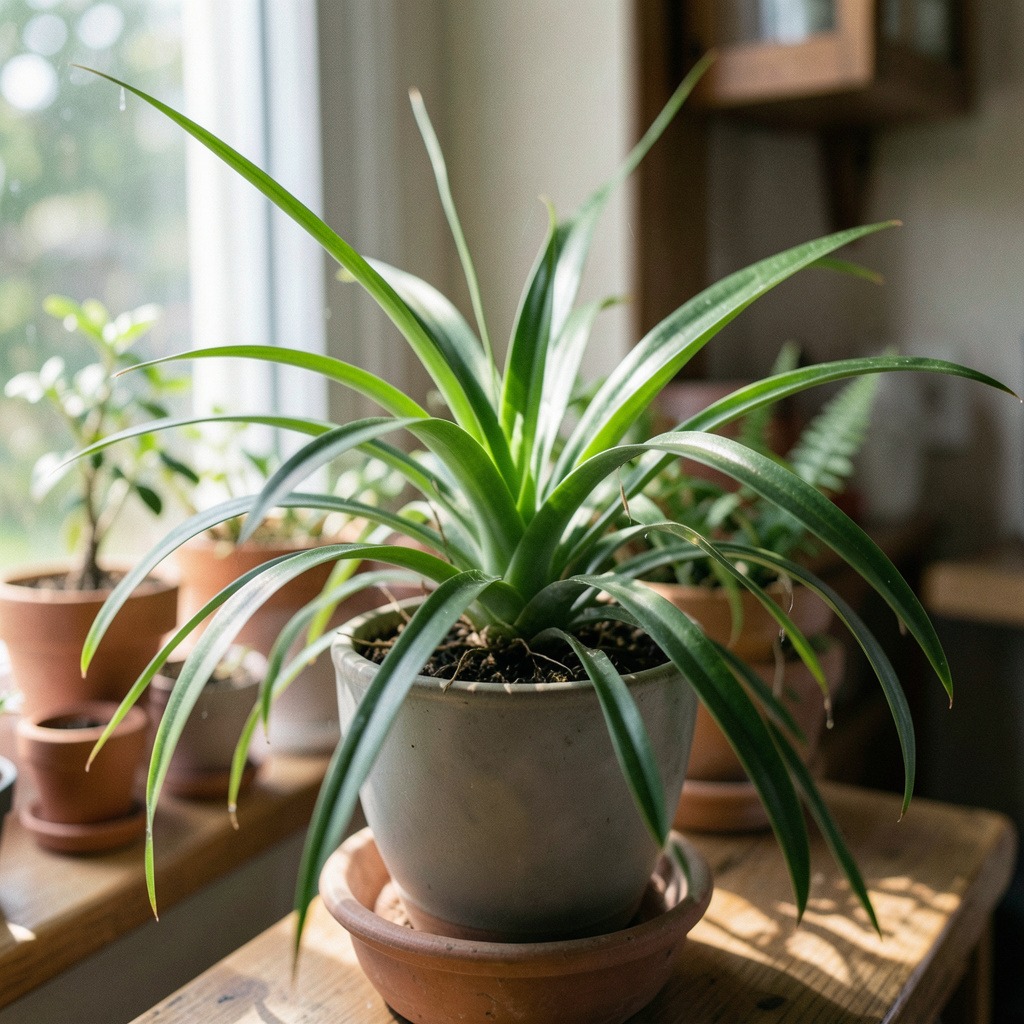
Understanding the seasonal needs of your spider plant (Chlorophytum comosum) is crucial for its health. Temperature and humidity fluctuations directly influence how often you should water. Here’s a detailed guide to help you adjust your watering practices throughout the year.
Spring and Summer Watering Guidelines
During the growing season, spider plants thrive and require more frequent watering. Here’s how to manage their needs:
- Frequency: Water every 1-2 weeks.
- Soil Check: Always check the top inch of soil. If it feels dry, it’s time to water.
- Humidity Considerations: Higher humidity in summer may reduce watering frequency slightly. If your environment is consistently humid, monitor soil moisture closely.
Fall and Winter Adjustments
As temperatures drop and light levels decrease, spider plants enter a period of dormancy. Adjust your watering approach accordingly:
- Frequency: Water every 2-4 weeks, depending on the indoor climate.
- Soil Check: The soil retains moisture longer in cooler months. Always check the soil moisture before watering.
- Temperature Impact: If your home is heated, the dry air may necessitate more frequent watering. Conversely, if temperatures remain low and humidity is high, reduce watering.
Month-by-Month Watering Checklist
To simplify your watering routine, refer to this monthly checklist:
| Month | Watering Frequency | Notes |
|---|---|---|
| January | Every 2-4 weeks | Check soil moisture frequently. |
| February | Every 2-4 weeks | Reduce if humidity is high. |
| March | Every 1-2 weeks | Start increased watering as growth resumes. |
| April | Every 1-2 weeks | Monitor for signs of new growth. |
| May | Every 1-2 weeks | Regular checks are essential. |
| June | Every 1-2 weeks | Higher humidity may allow for less watering. |
| July | Every 1-2 weeks | Keep an eye on moisture levels. |
| August | Every 1-2 weeks | Peak growing season; regular checks needed. |
| September | Every 1-2 weeks | Gradually reduce as temperatures drop. |
| October | Every 2-4 weeks | Prepare for dormancy. |
| November | Every 2-4 weeks | Monitor heat sources that dry out soil. |
| December | Every 2-4 weeks | Check moisture frequently during heating. |
By following this seasonal schedule, you can ensure your spider plant remains healthy and vibrant throughout the year.
Identifying Overwatering and Underwatering Issues

Proper watering is crucial for the health of your water spider plant. Understanding the signs of overwatering and underwatering will help you maintain its vibrant growth.
Signs of an Overwatered Spider Plant
Overwatering is one of the most common issues faced by spider plant owners. Recognizing the symptoms early can prevent serious damage.
- Yellowing Leaves: Leaves may begin to turn yellow and drop off.
- Wilting: Despite being watered, the plant appears limp.
- Root Rot: Check for brown, mushy roots. This indicates rot.
- Foul Odor: A sour smell from the soil suggests decay.
If you notice these signs, act promptly. Remove the plant from its pot, inspect the roots, and prune away any damaged sections. Dust the cut surfaces with powdered cinnamon to prevent fungal issues. Repot in fresh, dry potting mix, ensuring the new container has adequate drainage.
How to Fix Underwatering Issues
Underwatering can also harm your spider plant. Recognizing the symptoms helps you act before damage occurs.
- Drooping Leaves: Leaves will start to droop and may appear crispy.
- Pale Color: A lack of moisture often leads to a washed-out appearance.
- Dry Soil: The soil becomes hard and may repel water.
To remedy underwatering, thoroughly water the plant. If the soil is hydrophobic, use the bottom-watering method. Place the pot in a tray of water and allow the roots to soak up moisture over time. Monitor the plant closely to ensure recovery.
Troubleshooting Common Watering Errors
Here are a few common mistakes and their impacts:
- Inconsistent Watering: Too much or too little water leads to stress. Establish a routine based on seasonal needs.
- Using Tap Water: Tap water may contain chemicals harmful to plants. Consider using filtered or distilled water for best results.
- Ignoring Environmental Changes: Changes in humidity and temperature affect watering frequency. Adjust your schedule accordingly.
Maintaining a healthy spider plant requires attention to its watering needs. For a comprehensive approach to care, consider a Spider Plant Care Kit to ensure you have all the essentials for thriving growth. Check Price on Amazon.
Comparing Top Watering vs. Bottom Watering Techniques
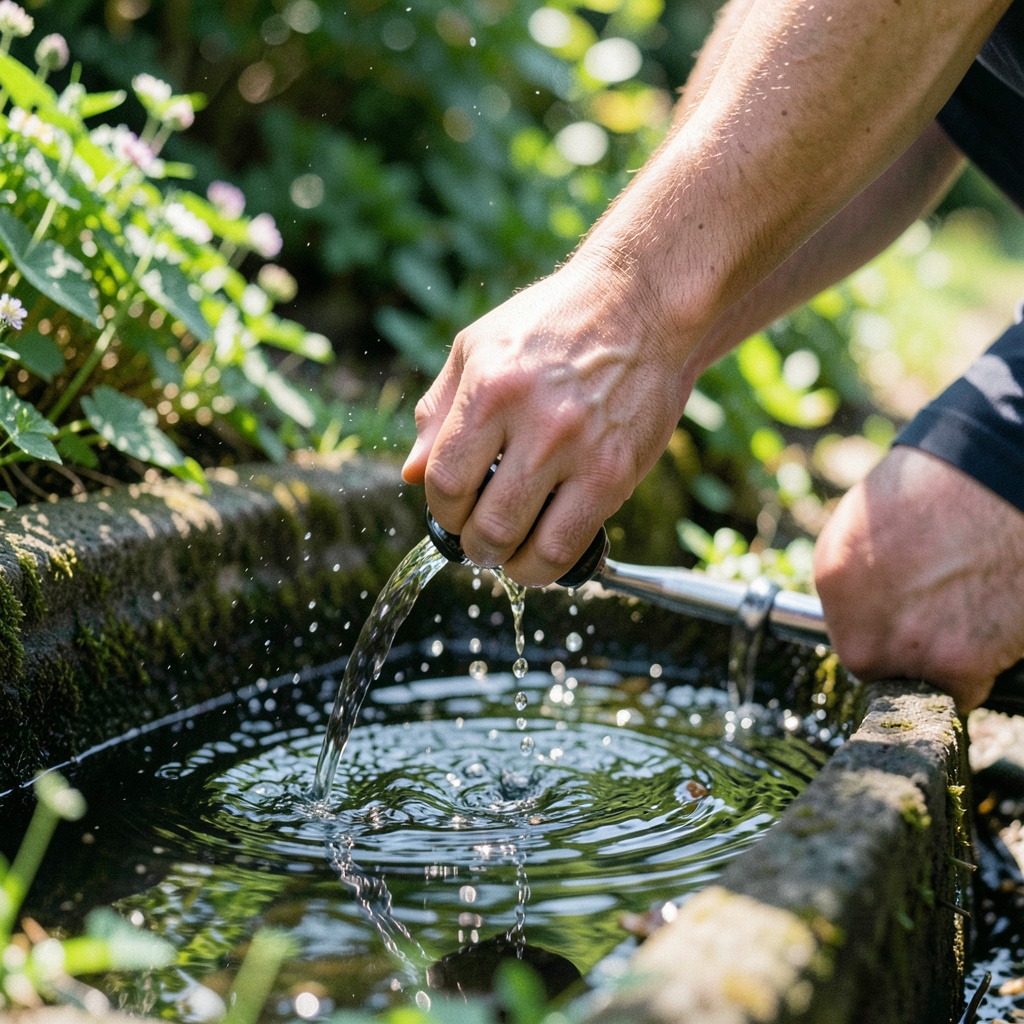
When caring for a spider plant, choosing the right watering technique is crucial. Both top watering and bottom watering have unique advantages and disadvantages that can impact your plant’s health.
Benefits of Top Watering
Top watering involves pouring water directly onto the soil surface. This method has several benefits:
- Immediate Moisture: Water reaches the roots quickly, providing immediate hydration.
- Easier to Monitor: It’s simple to observe how much water you’re applying and to check the soil’s moisture level.
- Allows for Fertilization: You can easily mix in liquid fertilizers when top watering.
However, there are downsides:
- Risk of Overwatering: It’s easy to pour too much water, leading to soggy soil and root rot.
- Soil Compaction: Watering from the top can compact the soil over time, making it harder for roots to grow.
Advantages of Bottom Watering
Bottom watering involves placing the pot in a container of water, allowing the soil to absorb moisture from below. This technique offers distinct advantages:
- Reduced Overwatering Risk: Water moves up through the soil, reducing the chance of overwatering.
- Encourages Deep Root Growth: Roots grow deeper in search of moisture, promoting a healthier plant.
- Less Soil Compaction: This method keeps the top layer of soil loose, benefiting root development.
Yet, it also has potential drawbacks:
- Time-Consuming: It requires more time, as the plant must sit in water for 1-2 hours.
- Difficult to Fertilize: Fertilizing while bottom watering can be challenging, as nutrients may not distribute evenly.
Decision Framework for Watering Techniques
Consider these factors when choosing a watering method for your spider plant:
1. Soil Type: If your soil retains water, bottom watering may be preferable to prevent overwatering.
2. Plant Size: For larger plants, top watering may be easier and more efficient.
3. Routine: If you’re often busy, bottom watering can simplify your schedule, as it allows for more extended intervals between watering.
By understanding the strengths and weaknesses of each method, you can adapt your watering technique to meet the specific needs of your spider plant.
Alternatives to Tap Water for Spider Plants
Choosing the right type of water is crucial for the health of your spider plant. While tap water is commonly used, it may not always provide the best environment for growth. Here, we explore preferred alternatives.
Why Distilled or Rainwater is Preferred
Distilled and rainwater are often recommended for spider plants due to their purity. These water types lack the chemicals and minerals commonly found in tap water, such as fluoride and chlorine, which can harm plant health. Here are the benefits:
- Distilled Water: Free from minerals and chemicals; ideal for sensitive plants.
- Rainwater: Naturally soft and rich in nutrients; collects atmospheric elements beneficial for plants.
Using these alternatives can lead to healthier leaves and improved growth rates.
Other Watering Alternatives
In addition to distilled and rainwater, several other water types can benefit your spider plant. Consider the following options:
| Water Type | Pros | Cons |
|---|---|---|
| Filtered Water | Removes impurities; safer than tap water | May still contain some minerals |
| Bottled Spring Water | Contains natural minerals; convenient | More expensive; potential plastic leaching |
| Reverse Osmosis Water | Very clean; ideal for sensitive plants | Requires a system; can be wasteful |
Understanding the pros and cons of each water type helps you make an informed decision. Using lower-quality water can lead to symptoms like brown leaf tips, indicating a need for change.
Decision Rules for Water Type Selection
1. Assess Water Quality: Test your tap water for contaminants if using it regularly.
2. Consider Plant Sensitivity: If your spider plant shows signs of distress, switch to distilled or rainwater.
3. Evaluate Availability: Choose a water source that is practical for your routine.
By carefully selecting the type of water for your spider plant, you enhance its chances of thriving.
Frequently Asked Questions
These quick answers cover the most common questions about this topic, including key details, practical tips, and common concerns.
Do you water spider plants from top or bottom?
You can water spider plants using either method, but each has its benefits. Top watering involves pouring water directly onto the soil, which allows you to monitor moisture levels easily. However, it can lead to overwatering if you’re not careful. Bottom watering, on the other hand, helps prevent overwatering by allowing the soil to absorb moisture from below, encouraging deeper root growth.
How often do you have to water your spider plant?
The frequency of watering depends on the season. In spring and summer, when the plant is actively growing, water every 1-2 weeks. In fall and winter, reduce watering to every 2-4 weeks as the plant enters dormancy. Always check the top inch of soil; if it feels dry, it’s time to water.
What are the signs of an overwatered spider plant?
Common signs of an overwatered spider plant include yellowing leaves, wilting despite adequate water, and mushy roots. You may also notice a foul odor from the soil, indicating root rot. If you observe these symptoms, it’s crucial to act quickly by inspecting the roots and repotting in fresh, dry soil.
Are coffee grounds good for spider plants?
Coffee grounds can be beneficial for spider plants when used in moderation. They provide nutrients like nitrogen and can help improve soil structure. However, avoid overusing them, as excessive acidity can harm the plant. A light sprinkle mixed into the soil once every few months is usually sufficient.
Does adding sugar to a spider plant help?
Adding sugar to your spider plant is generally not recommended. While sugar can provide energy, it may also encourage pests and fungal growth. Instead, focus on providing balanced fertilizers that supply the necessary nutrients for healthy growth.
How to grow Spider Plant in water?
To grow a spider plant in water, start by taking a healthy cutting with roots attached. Place it in a container filled with water, ensuring the roots are submerged while keeping the leaves above the waterline. Change the water every 1-2 weeks to prevent stagnation and promote healthy growth.
Is your plant showing any symptoms like brown tips or yellow leaves?
Brown tips on spider plant leaves often indicate underwatering or low humidity. Yellow leaves can be a sign of overwatering or nutrient deficiency. Assess your watering routine and environmental conditions to determine the cause and adjust accordingly for optimal health.
When to propagate spider plants?
The best time to propagate spider plants is during the growing season, typically in spring or early summer. This is when the plant is most active and can recover quickly from the propagation process. Look for healthy offsets or “pups” that have developed roots, and gently separate them from the mother plant for propagation.