
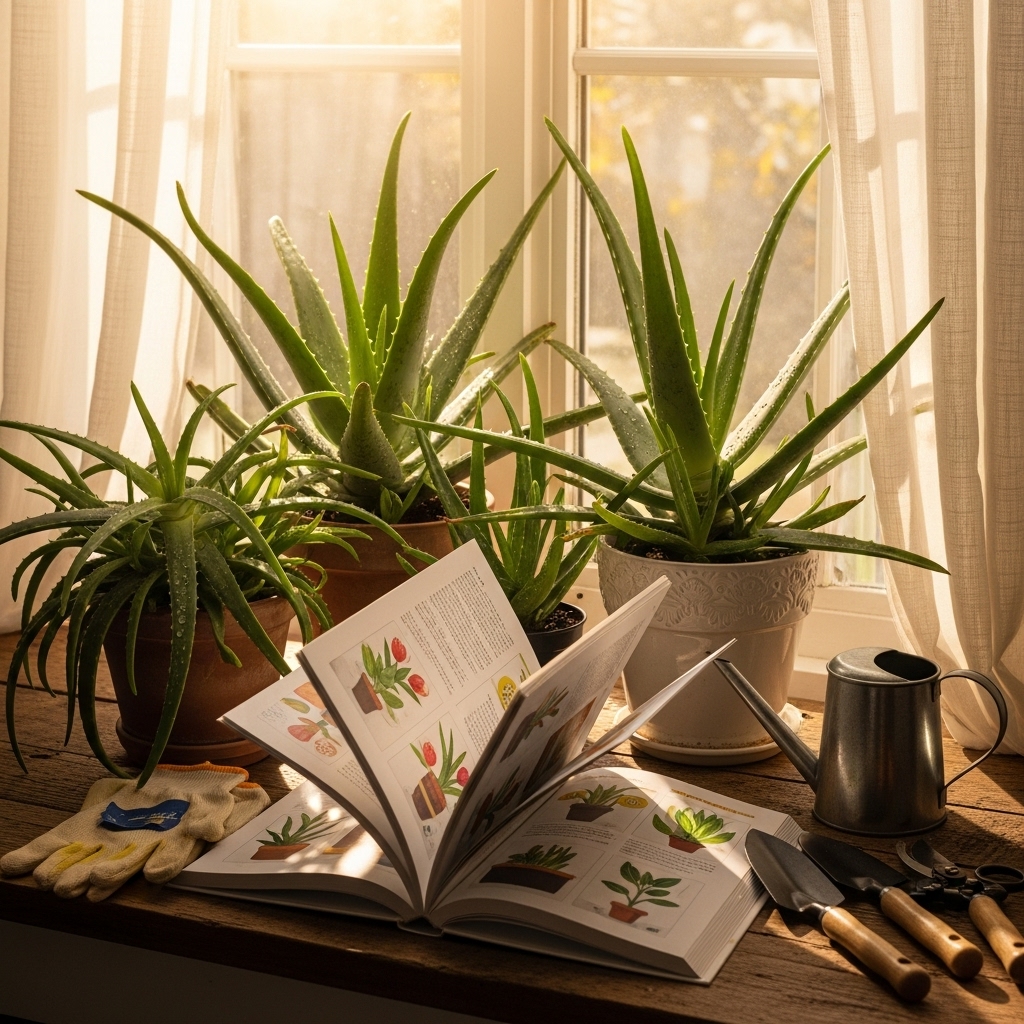
Caring for an Aloe Vera plant involves providing the right amount of light, water, soil, and temperature to ensure it thrives. I’ve found that with a little attention and love, these resilient plants can flourish in any home. For a more comprehensive approach, check out How to Take Care of an Aloe Vera Plant (Easy Guide).
Table of Contents
Overview of Aloe Vera Plant
What is Aloe Vera?
Aloe Vera is a succulent plant that’s well-known for its fleshy leaves and soothing gel. I remember the first time I encountered Aloe Vera; I was amazed at how a simple houseplant could have such a rich history and practical use. This plant is native to the Arabian Peninsula but has become popular worldwide for its medicinal properties and ease of care. Its leaves are filled with a gel-like substance that many people use for skin care, healing burns, and even as a dietary supplement.
Common Varieties of Aloe Vera
There are several varieties of Aloe Vera, but the most common ones I’ve come across include the Aloe Vera Barbadensis Mill, which is the species typically found in health and beauty products. Other varieties, like Aloe Aristata and Aloe Hemprichii, have unique appearances and uses. I’ve enjoyed collecting different types of Aloe, each adding its touch to my indoor garden. The diversity among these plants not only adds aesthetic value but also provides various benefits, depending on the variety. For more on how to care for your flowering Aloe Vera, read the Ultimate Guide to Aloe Vera Flower Care: How, When, and Tips for Blooming Success.
Benefits of Growing Aloe Vera
Growing Aloe Vera at home has numerous benefits that go beyond just its looks. For starters, it’s known for its air-purifying qualities. I’ve noticed that having Aloe Vera around helps my living space feel fresher. Furthermore, the gel from the leaves can be used as a natural remedy for minor cuts, burns, and skin irritations. It’s like having a mini pharmacy right in my home! Beyond its medicinal uses, Aloe Vera is also very low-maintenance, making it perfect for anyone, regardless of gardening experience. Just a little love and attention can lead to a thriving plant that you can cherish for years.
Essential Care Requirements
Light Conditions
One of the first things I learned about caring for Aloe Vera is that it loves light! However, it’s essential to strike a balance. In my experience, a bright, indirect light source works best. I’ve placed my Aloe Vera near a window where it receives plenty of sunlight but is shielded from the harsh afternoon rays. If you notice the leaves beginning to stretch out or lean toward the light source, that’s a sign it needs a bit more brightness. On the other hand, if the leaves start turning brown or crispy, it might be getting too much direct sun.
Temperature Preferences
Aloe Vera is quite adaptable when it comes to temperature, but it thrives best in warmer climates. I keep mine in a room that stays between 60°F to 75°F. They can tolerate a drop in temperature but should not be exposed to frost. I remember one winter when I neglected to move my Aloe Vera plant away from a drafty window, and it suffered a bit. Since then, I’ve made sure to keep it in a cozy spot during the colder months.
Soil Types
Aloe Vera prefers well-draining soil, which is crucial for preventing root rot. Over time, I’ve experimented with different soil mixes and found that a cactus or succulent mix works wonders. The texture allows for proper drainage while providing enough nutrients for the plant. You can even create your own mix by combining regular potting soil with sand or perlite. This creates a loose, airy environment that encourages healthy root growth.
Potting Requirements
The pot you use for an Aloe Vera plant can make a big difference in its health. I always opt for pots with drainage holes to ensure excess water can escape. Terracotta pots are my favorite because they’re porous and help wick moisture away, which is beneficial for succulents. When I repotted my Aloe Vera, I chose a pot that was only slightly larger than the previous one, as these plants do best when they’re slightly root-bound. This helps them focus their energy on growing healthy leaves instead of excessive roots.
Watering Guidelines
How Often to Water Aloe Vera
One of the biggest challenges I faced when I first started caring for Aloe Vera was figuring out how often to water it. It turns out that these plants are true champions of drought! I’ve learned that it’s best to let the soil dry out completely between waterings. Typically, I water my Aloe Vera every 2 to 3 weeks during the growing season (spring and summer) and reduce it to about once a month in the winter. This schedule has worked wonders for me, but I always adjust based on the specific conditions in my home, like humidity and temperature.
Signs of Overwatering
Overwatering can be a real threat to Aloe Vera plants, and I’ve learned this the hard way. When I watered too frequently, I noticed the leaves becoming mushy and discolored. They started to look transparent and could easily be squished between my fingers. If you see these signs, it’s crucial to take action immediately. I recommend checking the soil moisture and allowing it to dry out before watering again. In severe cases, you might even need to repot the plant into fresh, dry soil to save it from root rot.
Signs of Underwatering
On the flip side, underwatering can also affect your Aloe Vera. I’ve had moments when I got so busy that I forgot to check on my plant. The leaves began to wrinkle and shrivel as they lost moisture. If you notice these changes, it’s a good idea to give your plant a good drink. I’ve found that soaking the soil thoroughly until water drains out of the bottom can really help revive my Aloe Vera. Just be careful not to make it a habit of letting it dry out too much!
Fertilization Tips
When to Fertilize
Fertilizing Aloe Vera is another aspect I had to get a handle on. I’ve discovered that these plants don’t require much feeding, but a little boost during their growing season can help them thrive. I usually fertilize my Aloe Vera once in early spring and again in mid-summer. This timing seems to align well with their natural growth cycles. If you notice your plant isn’t growing as well as it should, it might be a good idea to give it a little fertilizer during these times.
Types of Fertilizers to Use
When it comes to choosing fertilizers, I’ve had the best luck with diluted, water-soluble fertilizers specifically formulated for succulents. I typically mix it at half the recommended strength to avoid overwhelming my plant. I remember the first time I used a stronger mix, and my poor Aloe Vera didn’t react well—it was a learning experience! Slow-release fertilizers can also be a good option if you want to set it and forget it for a while.
Organic vs. Synthetic Fertilizers
In my experience, I’ve leaned towards organic fertilizers for my Aloe Vera. I love using compost tea or a diluted fish emulsion. They seem to nourish the plant without the risk of chemical buildup in the soil. Plus, I feel good knowing I’m taking a more eco-friendly approach. However, synthetic fertilizers can also work if that’s your preference. Just be sure to read the labels and use them with care to avoid over-fertilization.
Pest and Disease Management
Common Pests Affecting Aloe Vera
Caring for Aloe Vera plants has its challenges, and pests can be one of them. In my experience, the most common culprits are mealybugs and aphids. I remember discovering tiny white fluffy spots on my plant and panicking a bit. It turned out to be mealybugs! A gentle wash with soapy water took care of the issue. I’ve found that keeping an eye on my plant regularly helps catch these pests before they become a bigger problem.
Identifying Diseases in Aloe Vera
Disease can also affect Aloe Vera, particularly if it’s overwatered or in poor soil. I’ve seen fungal infections manifest as brown spots on the leaves. It’s crucial to act quickly, as these can spread. I’ve found that removing infected leaves and ensuring proper ventilation can help. If the issue persists, I’ve sometimes had to repot the plant in fresh, dry soil to give it a fresh start.
Preventive Measures
Preventing pests and diseases is something that’s become second nature for me. I always make it a point to inspect my Aloe Vera regularly. I’ve also learned to avoid crowding it with other plants, as that can lead to humidity buildup, which pests love. Keeping the area around the plant clean and free of debris can also help. And if I ever introduce a new plant to my home, I make sure to quarantine it for a few weeks to ensure it’s pest-free before placing it near my Aloe Vera.
Propagation Techniques
Offsets (Pups) Propagation
One of the most rewarding experiences I’ve had with my Aloe Vera plants is propagating them through offsets, also known as pups. These little baby plants grow at the base of the mature Aloe and are a fantastic way to expand your collection. When I first noticed pups emerging from my Aloe, I felt a sense of excitement! I knew it was time to help them grow on their own. To propagate, I gently remove the pup by carefully separating it from the mother plant, making sure to keep some roots intact. After that, I let it sit out for a day or two to allow the cut ends to callous over. Then, I pot it in well-draining soil and give it a little water. Watching these little ones grow brings me so much joy!
Leaf Cutting Method
While I’ve had great success with offsets, I’ve also tried propagating Aloe Vera using leaf cuttings. This method is a bit trickier but can be rewarding. I usually select a healthy leaf and cut it into sections, making sure each piece is about 4-6 inches long. I let the cut sections dry out for a day or two until the cut edges form a callous. Then, I place the cuttings in a well-draining potting mix and lightly mist them to encourage moisture. I’ve learned that patience is key here, as it may take a few weeks for roots to develop. But once they do, it’s incredibly satisfying to see them thrive!
Seed Propagation
Seed propagation is another method I’ve explored, although it’s less common for Aloe Vera. I find it fascinating to think about how plants can grow from tiny seeds. If you’re interested in this method, you’ll need to obtain Aloe Vera seeds, which can sometimes be tricky to find. I usually start by planting the seeds in a shallow container filled with a cactus soil mix. I keep the soil moist but not soggy and place the container in a warm, bright spot. The seeds can take a few weeks to germinate, and I’ve often found myself eagerly checking for any signs of growth. Though it requires more time and care, the experience of nurturing seedlings into full-grown plants is truly rewarding. If you’re curious about getting your Aloe Vera to flower, don’t miss out on Your Aloe Vera Can Flower! Here’s the Secret You Need to Know!
Repotting Your Aloe Vera Plant
When to Repot
Repotting is an essential part of keeping your Aloe Vera healthy, and I’ve learned to pay attention to a few signs that indicate it’s time to repot. If you notice that your plant’s roots are growing out of the drainage holes or if the soil dries out too quickly, it might be time for a larger pot. I often wait until spring, as it’s the best time for repotting when the plant is actively growing. I remember my first experience with repotting; I was surprised at how quickly the plant bounced back and started thriving in its new home!
How to Repot Aloe Vera
The actual process of repotting Aloe Vera is quite simple, and I’ve streamlined it over the years. First, I carefully remove the plant from its current pot, gently loosening the soil around the roots. It’s important to be gentle to avoid damaging the root system. After that, I inspect the roots for any signs of rot and trim away any unhealthy parts. Next, I add fresh, well-draining soil to the new pot and place the Aloe Vera in it, ensuring that it sits at the same depth as before. Once it’s properly positioned, I fill in around the roots with more soil and give it a good drink of water. I usually let it settle in for a few days before resuming my normal watering schedule.
Choosing the Right Container
Choosing the right container for your Aloe Vera plant can make a big difference in its health. I have found that terracotta pots are my go-to choice because they allow for excellent airflow and drainage. When selecting a pot, I always look for one that has drainage holes at the bottom to prevent water from pooling. The size is also important; I recommend going for a pot that’s just a couple of inches larger than the previous one to avoid overwhelming the plant. Remember, Aloe Vera likes to be a little root-bound, and a snug fit can help it grow stronger. Over the years, I’ve developed a small collection of pots in different sizes and styles, and it’s fun to switch them up from time to time!
Common Problems and Solutions
Yellowing Leaves
One of the most concerning issues I’ve encountered with my Aloe Vera is yellowing leaves. At first, I was alarmed, thinking something was seriously wrong. I learned that this can be a sign of either overwatering or nutrient deficiencies. When I see yellow leaves, I first check the soil moisture. If it’s too wet, I allow the plant to dry out and adjust my watering schedule. In some cases, I’ve also added a bit of fertilizer if I suspect a nutrient issue. It’s all about observing the plant and adjusting accordingly. Once I took action, I noticed a significant improvement, and the leaves started regaining their vibrant green color.
Leaf Drop
Leaf drop can be another alarming issue, especially if it happens suddenly. I’ve experienced this when my Aloe Vera was stressed from environmental changes, like moving it to a different room or exposing it to drafts. If I notice leaves dropping, I take a moment to evaluate the plant’s surroundings—temperature, light, and humidity levels. Ensuring that it’s in a stable environment often helps to reduce leaf drop. I also try to avoid any sudden changes, as Aloe Vera can be sensitive to these. I’ve found that consistency is key to keeping my plants happy.
Stunted Growth
Stunted growth is something I’ve dealt with a few times, usually due to inadequate light or nutrients. When my Aloe Vera wasn’t growing as expected, I first checked its light conditions. If it wasn’t getting enough sunlight, I would move it to a brighter spot. I’ve also noticed that sometimes, simply repotting the plant into fresh soil can give it the boost it needs. Keeping an eye on growth trends is essential, and making small adjustments has helped me keep my Aloe Vera thriving.
Seasonal Care Tips
Winter Care for Aloe Vera
Winter can be a bit tricky for Aloe Vera. I’ve learned to be extra cautious during the colder months, as they can be susceptible to frost. I always keep my plants indoors, away from any cold drafts. Reducing watering during winter is crucial since the plant goes into a dormant phase. It’s important to allow the soil to dry out completely before watering again. I also ensure they still receive ample sunlight, even if it’s less intense than in the summer. Maintaining a stable environment is key to keeping my Aloe Vera healthy through the winter.
Summer Care for Aloe Vera
In the summer, my Aloe Vera loves the bright light and warmth! I make sure to check the soil more frequently since it tends to dry out quicker during this time. I’ve also noticed that this is when my plant is most active and growing. I often give it a little extra attention, ensuring it gets enough water while avoiding overwatering. I’ve found that summer is the perfect time to consider fertilizing as well, giving my plant that extra boost it needs.
Spring and Fall Maintenance
Spring and fall are transitional seasons, and I’ve learned that they require special care for my Aloe Vera. In spring, I usually take the opportunity to repot if necessary and start fertilizing again as growth picks up. Fall is a time to prepare for the cooler months ahead. I typically reduce watering gradually as the temperatures drop and ensure my plants are still getting enough light. Keeping an eye on any changes in the environment helps me adjust my care routine accordingly.
Frequently Asked Questions (FAQs)
How much sunlight does Aloe Vera need?
Aloe Vera thrives in bright, indirect sunlight. I’ve found that a spot near a window with filtered light works best. Too much direct sunlight can scorch the leaves, while too little can lead to weak growth.
Can Aloe Vera survive indoors?
Absolutely! I’ve successfully grown Aloe Vera indoors for years. As long as it gets enough light and you’re mindful of watering, it can thrive beautifully inside.
How to tell if Aloe Vera is healthy?
Healthy Aloe Vera has firm, plump leaves that are a vibrant green color. I always check for any signs of yellowing or wilting, which could indicate issues with watering or light conditions.
Can Aloe Vera be grown from cuttings?
Yes, Aloe Vera can be propagated from cuttings, although it’s more commonly done through offsets or pups. I’ve had some success with leaf cuttings, but it requires a bit more patience.
Frequently Asked Questions
“`html
What is Aloe Vera?
Aloe Vera is a succulent plant known for its fleshy leaves and soothing gel. It is native to the Arabian Peninsula and is popular worldwide for its medicinal properties and ease of care.
What are the common varieties of Aloe Vera?
The most common varieties of Aloe Vera include Aloe Vera Barbadensis Mill, Aloe Aristata, and Aloe Hemprichii. Each variety has unique appearances and uses, adding diversity to indoor gardens.
How often should Aloe Vera be watered?
Aloe Vera should be watered every 2 to 3 weeks during the growing season (spring and summer) and about once a month in winter, allowing the soil to dry out completely between waterings.
What are the signs of overwatering Aloe Vera?
Signs of overwatering include mushy and discolored leaves that may appear transparent and can easily be squished. If you notice these signs, it’s important to check the soil moisture and allow it to dry out.
What are the signs of underwatering Aloe Vera?
Underwatered Aloe Vera will have leaves that begin to wrinkle and shrivel as they lose moisture. A thorough watering can help revive the plant if you notice these changes.
When should Aloe Vera be fertilized?
Aloe Vera can be fertilized once in early spring and again in mid-summer during its growing season. This helps support its growth and health.
What types of fertilizers are recommended for Aloe Vera?
Diluted, water-soluble fertilizers specifically formulated for succulents are recommended. Organic options like compost tea or diluted fish emulsion are also effective and eco-friendly.
How can pests affect Aloe Vera?
Pests such as mealybugs and aphids can impact Aloe Vera health. Regular inspections and a gentle wash with soapy water can help manage these pests before they become a bigger problem.
What is the best method for propagating Aloe Vera?
Offsets, or pups, are the best method for propagating Aloe Vera. These little plants grow at the base of the mature Aloe and can be separated and potted on their own.
What should be considered when repotting Aloe Vera?
When repotting Aloe Vera, it’s important to look for signs such as roots growing out of drainage holes or soil drying out too quickly. Use a slightly larger pot with drainage holes and fresh, well-draining soil.
“`