
Creating a rain garden is an effective way to manage stormwater runoff while enhancing your landscape. This guide outlines 11 simple steps to help you design, build, and maintain a beautiful and functional rain garden in your yard.
Step 1: Choose the Right Location
Finding the right spot for your rain garden is key. You want a place that collects runoff and allows for proper drainage. Plus, it should be at least 10 feet away from your home’s foundation to prevent any flooding issues.

Consider Proximity to Downspouts
Start by looking at your downspouts. Position your rain garden downhill from them. This allows the water to flow naturally into your garden. Here’s what to keep in mind:
- Distance: Make sure it’s at least 10 feet from your home’s foundation.
- Sunlight: Aim for an area that gets full sun to partial shade. This helps the plants thrive.
- Avoid Septic Fields: Don’t place your garden over septic systems. This can lead to problems.
Identify Low-Lying Areas for Water Collection
Next, scout your yard for low spots. Rain gardens work best in areas where water naturally pools after a storm. Here’s how to find the perfect location:
- Look for Signs: Check where puddles form after it rains.
- Soil Type Matters: If the soil is clay-heavy, it may hold water too well. Consider using a Garden Soil Testing Kit to assess your soil’s drainage capability.
- Measure Drainage Area: If you’re placing it in a low spot, you don’t need to measure the drainage area too precisely. Just ensure it receives water during rainfall.
Visualizing Your Site
Imagine a diagram of your yard. Mark the following:
- Areas where water flows
- Locations of downspouts
- Potential spots for your rain garden
This visual will help you see how everything connects. Choosing the right location is crucial for a thriving rain garden.
Step 2: Measure Drainage Area
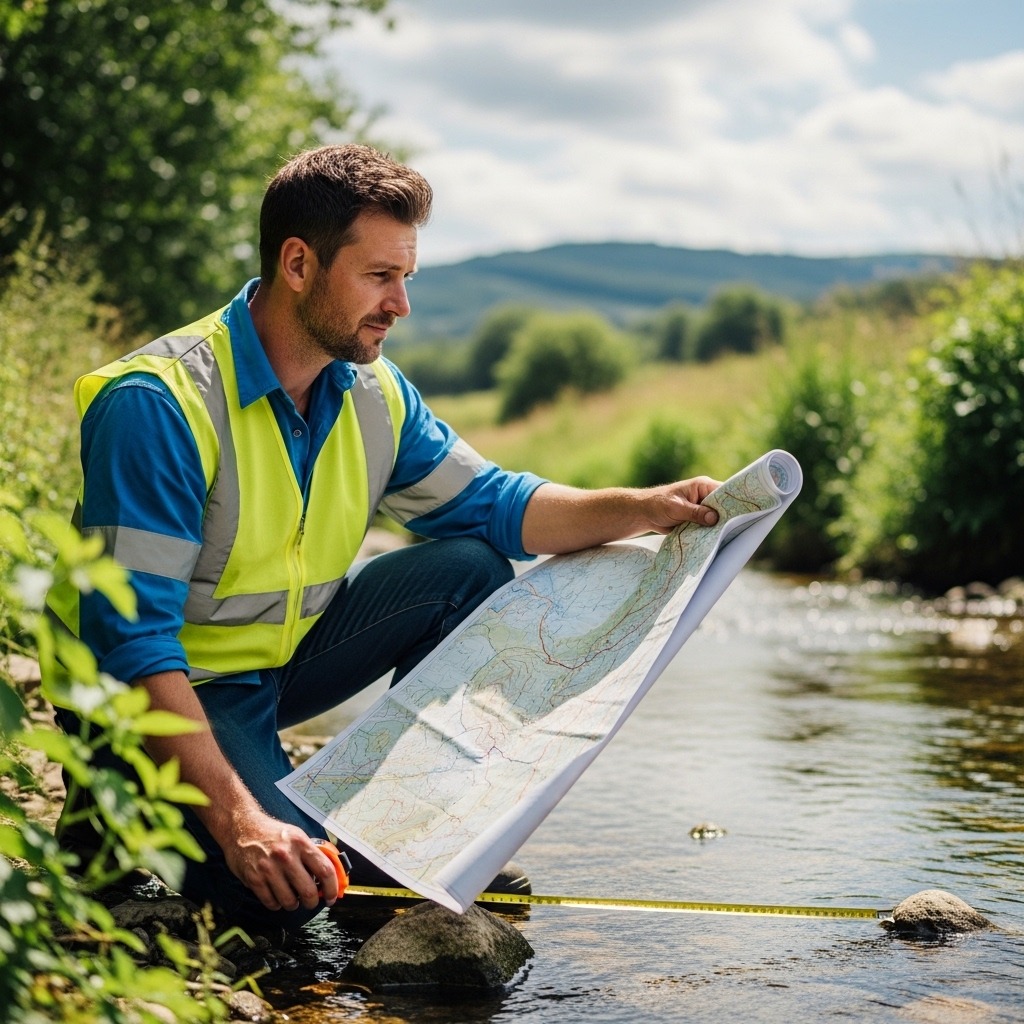
Before you dive into building your rain garden, you need to assess how much water it will need to handle. This step is crucial for sizing your garden correctly.
Table of Contents
Understanding Drainage Calculations
The drainage area is the space that will channel water into your rain garden. To figure out how big your garden should be, start by identifying where the water flows during a rainstorm. Here’s how to get a good estimate:
1. Identify Runoff Sources: Note downspouts, driveways, and patios that contribute to water runoff.
2. Calculate the Area: Measure the total area of these surfaces. For example, if your roof is 1,000 square feet, that’s a significant contributor.
3. Soil Type Matters: Different soils have different drainage capabilities. Here’s a simple table to help you with that:
| Soil Type | Runoff Percentage |
|---|---|
| Sandy | 20% |
| Loamy | 30-35% |
| Clay | 45-60% |
Using a Simple Formula for Size Estimation
Once you know your drainage area and runoff percentage, it’s time to calculate your rain garden size. Use this formula:
Garden Size = Drainage Area x Runoff Percentage
For example, if you have a 1,000 sq ft roof and your soil is loamy (30% runoff), your calculation would look like this:
Garden Size = 1,000 sq ft x 0.30 = 300 sq ft
This means your rain garden should be about 300 square feet to effectively manage that runoff.
Checklist for Measurement
- [ ] Identify all runoff sources.
- [ ] Measure their total area.
- [ ] Determine your soil type.
- [ ] Use the runoff percentages to calculate the garden size.
- [ ] Adjust the size based on your specific yard conditions.
By taking these measurements, you’ll set a solid foundation for your rain garden. With the right size, your garden can thrive while managing stormwater effectively.
Step 3: Design Your Rain Garden
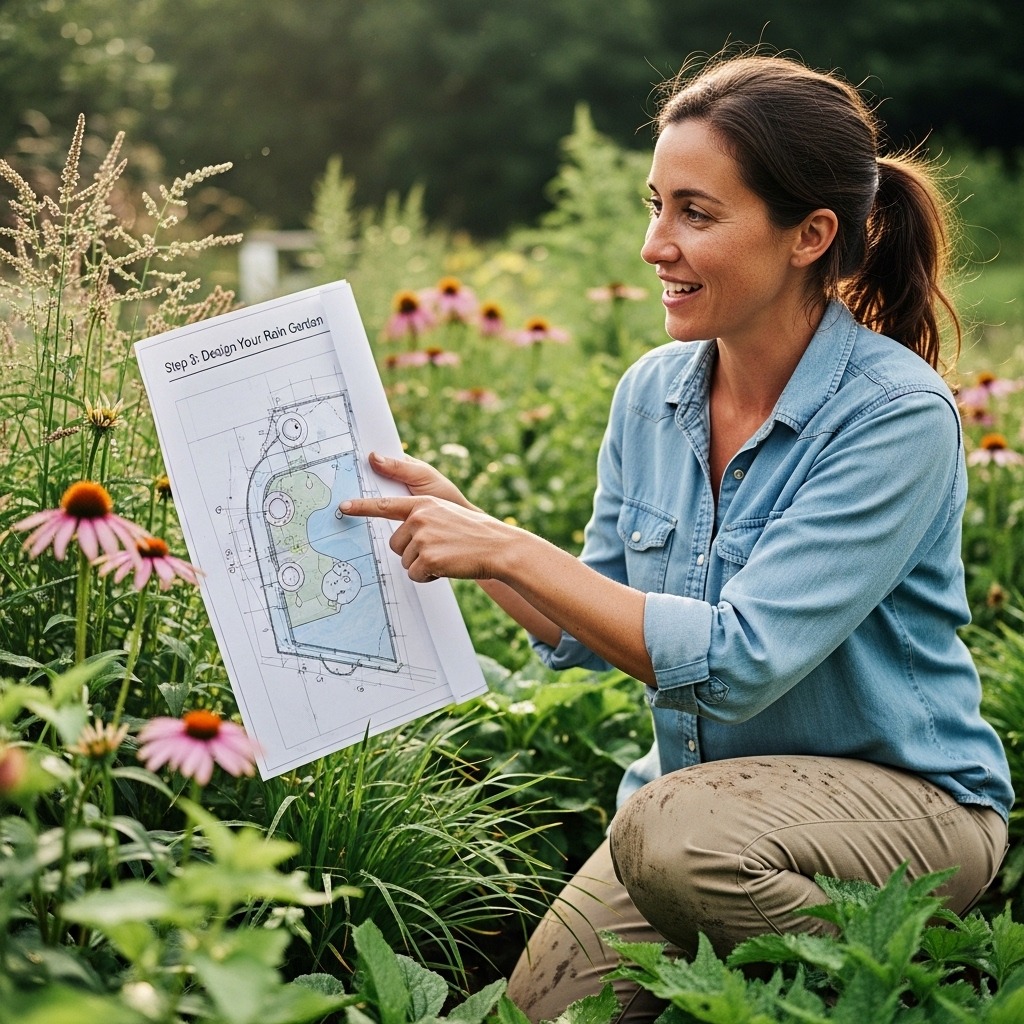
Designing your rain garden is an exciting step! Here, you’ll decide on the shape, size, and plant types. A well-planned garden not only looks good but also functions effectively.
Incorporating Curves for Aesthetics
Curvy designs can make your rain garden more visually appealing. Instead of straight lines, use gentle curves. This helps the garden blend into the landscape.
- Use a garden hose: Lay it out to visualize the shape before digging.
- Consider the flow of water: Curves can help direct runoff towards the center.
- Create a natural look: A non-linear shape mimics nature and can enhance biodiversity.
Choosing a Mix of Plants for Biodiversity
Selecting the right plants is crucial. Native plants are your best friends here. They thrive in local conditions and support local wildlife.
- Mix it up: Aim for a variety of plants. Include native grasses, wildflowers, and shrubs.
- Group plants: Plant in clusters of 5 to 7 for a more natural look.
- Consider moisture needs: Choose some plants that love wet feet and others that prefer drier spots.
Example Plant List
| Plant Type | Moisture Preference | Height |
|---|---|---|
| Blue Flag Iris | Wet | 2-3 ft |
| Sedges | Wet to Moderate | 1-2 ft |
| Coneflower | Moderate | 2-4 ft |
| Butterfly Weed | Dry to Moderate | 1-3 ft |
Design Templates for Different Yard Sizes
To help with your design, here are simple templates based on yard sizes:
- Small Yard (up to 100 sq ft): A kidney shape with 3-5 native plants.
- Medium Yard (100-300 sq ft): An oval shape with a mix of grasses and wildflowers.
- Large Yard (300+ sq ft): A circular design with clusters of diverse plants.
These templates can guide you in creating a functional and beautiful rain garden. Don’t forget to test your soil! A Garden Soil Testing Kit can help ensure your soil is ready for planting. Check Price on Amazon.
Step 4: Select Native Plants
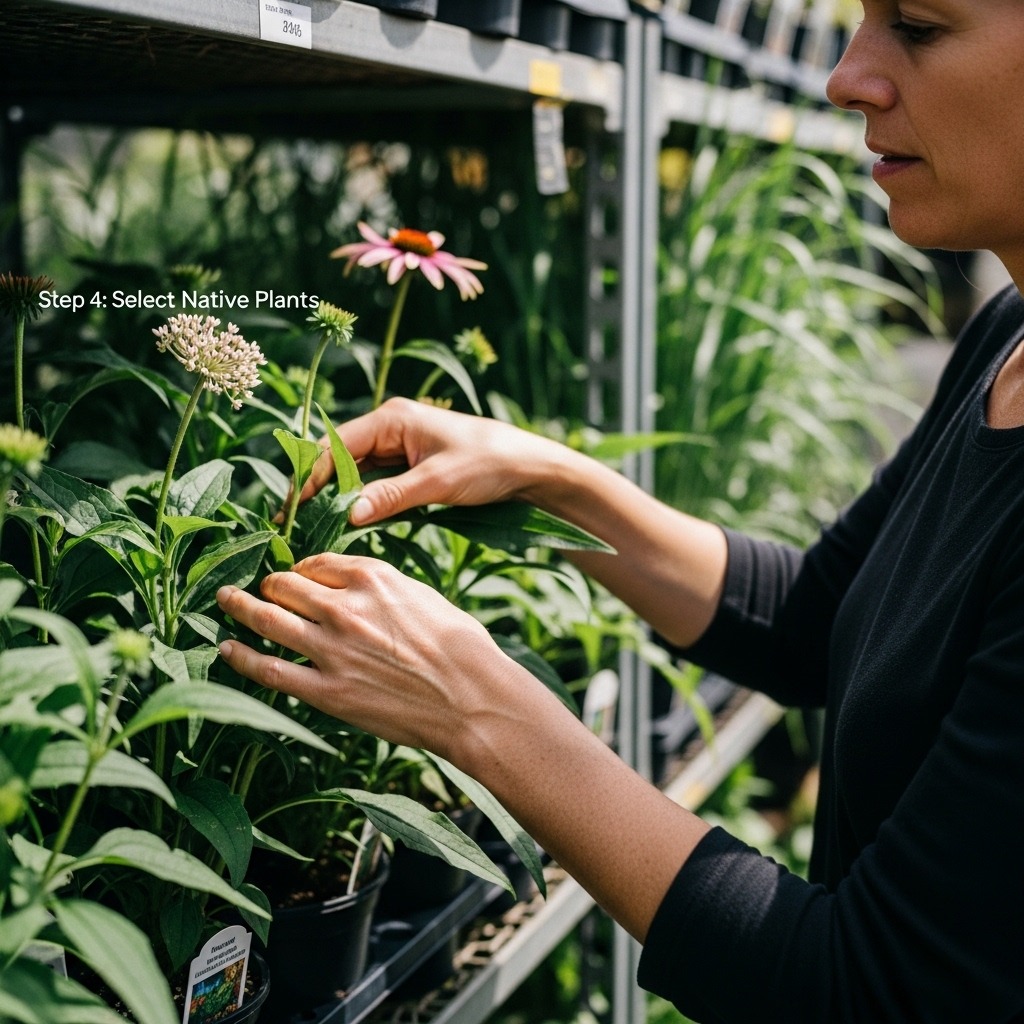
Choosing the right plants is crucial for your rain garden’s success. Native plants are adapted to local conditions. They thrive in your area’s climate and soil. Plus, they support local wildlife and boost biodiversity.
Benefits of Native Plants
Native plants offer several advantages:
- Adaptability: They’re well-suited to your local environment and can handle both wet and dry conditions.
- Wildlife Habitat: These plants provide food and shelter for birds, insects, and other wildlife.
- Low Maintenance: Once established, native plants typically need less water and care than non-native species.
Recommended Species for Different Climates
Here’s a quick list of native plants that work well in various regions:
| Region | Plant Species | Benefits |
|---|---|---|
| Northeast | Purple Coneflower | Attracts butterflies, drought-resistant |
| New England Aster | Blooms late in the season, supports pollinators | |
| Southeast | Black-eyed Susan | Bright flowers, hardy in different soils |
| Swamp Milkweed | Supports monarch butterflies | |
| Midwest | Prairie Dropseed | Great for erosion control, attractive foliage |
| Blue Flag Iris | Thrives in wet conditions, beautiful blooms | |
| West | California Poppy | Drought-tolerant, vibrant colors |
| Western Red Cedar | Provides cover for wildlife |
When selecting plants, consider your specific soil type and moisture levels. Mixing plants that prefer different moisture levels can create a beautiful and resilient garden.
Planting Tips
- Group Plants: Plant in clusters of 3-5 for a more natural look.
- Spacing: Follow the spacing guidelines on plant labels to give them room to grow.
- Watering: Water thoroughly after planting and keep an eye on moisture levels during the first few weeks.
By selecting the right native plants, you’ll create a thriving rain garden that looks good and benefits the environment.
Step 5: Create the Basin
Now it’s time to dig! The basin is where the water will collect, so getting this step right is crucial for your rain garden to function effectively.
Determining the Depth for Effective Drainage
The depth of your basin depends on your soil type. Here’s a quick guide:
- Clay Soil: Aim for about 6 inches. Clay retains water well, so a shallower basin helps prevent flooding.
- Sandy Soil: Dig a deeper basin, around 8-10 inches. Sandy soil drains quickly, so you need more depth to hold water.
- Loamy Soil: A depth of 6-8 inches works best. This balanced soil retains moisture while allowing some drainage.
Excavation Tips for Beginners
Digging a basin might sound daunting, but it’s straightforward. Here are some tips to make it easier:
- Mark the Area: Use stakes and string to outline your basin. This helps visualize the size and shape.
- Use the Right Tools: A shovel and a spade are your best friends here. If the ground is hard, a pickaxe can help break it up.
- Loosen the Soil: Before digging, make sure the soil is loose. This will make it easier to remove.
- Create a Gentle Slope: Ensure the basin slopes gently towards the center. This design helps direct water to the basin efficiently.
Quick Checklist for Basin Creation
- [ ] Mark the basin area with stakes.
- [ ] Assess soil type for depth.
- [ ] Gather tools: shovel, spade, pickaxe.
- [ ] Dig to the appropriate depth.
- [ ] Shape the basin with a gentle slope.
By following these steps, you’re well on your way to creating a functional basin that will manage stormwater effectively!
Step 6: Build the Berm
Now that your basin is ready, it’s time to build the berm. This raised area will help hold water in your rain garden, giving it a chance to soak in rather than run off.
How to Shape the Berm Effectively
1. Use Removed Soil: Take the soil you dug out while creating the basin. This is perfect for your berm.
2. Create a Gentle Slope: Shape the berm with a gentle slope. This not only looks nice but also helps water flow into the garden.
3. Height Matters: Aim for a berm height of about 6-12 inches. Too high can lead to water spilling over, while too low won’t retain enough.
4. Compact the Soil: Once shaped, gently compact the soil. This prevents erosion and keeps your berm sturdy.
Avoiding Erosion and Runoff Issues
Building a strong berm is crucial for keeping your rain garden effective. Here are some tips to avoid common mistakes:
- Avoid Overloading: Don’t add too much soil to the berm. It should be sturdy but not towering.
- Plant Vegetation: Consider planting native grasses or flowers on the berm. Their roots will help stabilize the soil and reduce erosion.
- Water Wisely: When you first plant, water deeply but less frequently. This encourages roots to grow deeper and strengthens the berm.
Quick Checklist for Berm Construction
- [ ] Gather your removed soil.
- [ ] Shape the berm with a gentle slope.
- [ ] Aim for a height of 6-12 inches.
- [ ] Compact the soil gently.
- [ ] Consider planting vegetation on the berm.
By following these steps, you’ll create a functional berm that enhances water retention and keeps your rain garden thriving.
Step 7: Prepare the Soil
Preparing the soil is a crucial step in creating a thriving rain garden. By amending the soil with compost, you can ensure your plants have the nutrients they need while improving drainage.
Importance of Soil Amendments
Soil amendments, like compost, enhance the soil’s structure and nutrient content. Here’s why they matter:
- Improved Drainage: Compost helps sandy soils retain moisture and clay soils drain better.
- Nutrient Boost: It adds essential nutrients that support plant growth.
- Microbial Activity: Compost encourages beneficial microorganisms that help break down organic matter.
Conducting a Soil Test
Before you start mixing in compost, it’s wise to test your soil. Here’s how:
1. Collect Samples: Take soil samples from various spots in your garden.
2. Mix and Dry: Combine them and let them dry.
3. Send to Lab: Send your sample to a local extension service or a soil testing lab. They’ll analyze it for pH, nutrient levels, and drainage capacity.
4. Interpret Results: Look for recommendations on what amendments to add based on your soil type.
For example, if your soil is mostly clay, you might need to mix in a good amount of compost to improve drainage. If it’s sandy, compost will help it retain moisture better.
Quick Checklist for Soil Preparation
- [ ] Conduct a soil test.
- [ ] Gather compost (2-3 inches for mixing).
- [ ] Mix compost thoroughly into the soil.
- [ ] Ensure your soil drains well (it should not pool for more than 24-48 hours).
- [ ] Adjust soil depth as needed (6-12 inches is ideal for most rain gardens).
Preparing your soil properly sets the foundation for a successful rain garden. With the right amendments, your plants will thrive and provide ecological benefits to your space.
Step 8: Plant Your Garden
Now it’s time to bring your rain garden to life with plants! Carefully place your selected plants in the designated areas, following your design plan.
Best Practices for Planting
Here are some tips for planting your rain garden:
- Plant in Groups: Arrange plants in clusters of five to seven. This creates a natural look and helps with pollination.
- Follow Spacing Guidelines: Different plants have varying spacing needs. For example:
- Native Grasses: Space them about 12-18 inches apart.
- Flowering Perennials: These can be spaced around 18-24 inches apart.
- Larger Shrubs: Provide at least 3-4 feet of space between them.
Arranging Plants for Visual Appeal
Creating a visually appealing garden is important. Here’s how to do it:
- Variety is Key: Mix plants with different heights, colors, and textures. This not only looks great but also attracts a variety of wildlife.
- Consider Bloom Time: Choose plants that bloom at different times to ensure your garden has color throughout the seasons.
- Use Focal Points: Place taller plants or unique features in the back or center of your garden to draw the eye.
Remember, proper spacing and grouping of plants can boost their health and effectiveness in managing stormwater runoff. Happy planting!
Step 9: Add Mulch and Water
Now it’s time to wrap things up with mulch and water. Adding mulch helps keep your rain garden healthy and thriving. It retains moisture and suppresses those pesky weeds. Plus, it gives your garden a polished look!
Choosing the Right Mulch
Not all mulch is created equal. Here are some great options for your rain garden:
- Wood Chips: Coarse and fibrous, they stay put and let water through.
- Shredded Bark: A natural option that looks good and helps with moisture retention.
- Straw: Lightweight and easy to spread, but it can blow away in the wind.
Avoid using cypress mulch. It harms the environment by depleting sensitive wetland areas.
Watering Techniques for New Plants
Once your mulch is down, it’s time to hydrate! Here’s how to water effectively:
- Water Deeply: Give your plants a good soak. Aim for about an inch of water each week.
- Check the Soil: Stick your finger into the soil. If it feels dry a couple of inches down, it’s time to water.
- Use a Soaker Hose: This can deliver water slowly and evenly, which is perfect for new plants.
Quick Checklist for Mulching and Watering
- [ ] Choose the right type of mulch.
- [ ] Apply a 2-3 inch layer around plants.
- [ ] Water deeply and regularly for the first few weeks.
- [ ] Monitor soil moisture levels.
By following these simple steps, you’ll keep your rain garden lush and effective at managing stormwater runoff!
Step 10: Maintain Your Rain Garden
Keeping your rain garden healthy is key to its success. Regular maintenance ensures it functions well and looks great. Here’s how to keep your garden flourishing.
Regular Maintenance Tasks
1. Weeding: Check your rain garden weekly. Pull out any weeds that pop up. They compete with your plants for nutrients and water.
2. Watering: Water your plants deeply during dry spells. Aim for about an inch of water per week, especially in the first growing season.
3. Mulching: Refresh your mulch yearly. It helps retain moisture and suppress weeds. Apply a 2-3 inch layer.
4. Monitoring: Observe how water flows during rain. This helps you catch any drainage issues early.
Seasonal Adjustments and Care
Maintaining your rain garden isn’t just about weeding and watering; it changes with the seasons. Here’s a handy checklist based on climate:
| Season | Task | Details |
|---|---|---|
| Spring | Inspect for dead growth | Trim back any dead plants to encourage new growth. |
| Summer | Deep watering | Ensure all plants receive enough water during dry spells. |
| Fall | Clear debris | Remove fallen leaves and other debris to prevent mold. |
| Winter | Plan for next year | Assess your plants and make notes for adjustments next season. |
By following these steps, you’ll ensure your rain garden remains a vibrant part of your landscape, effectively managing stormwater and supporting local ecosystems.
Step 11: Troubleshoot Common Issues
Even the best rain gardens can hit a few bumps along the way. Knowing how to tackle common problems can keep your garden thriving. Let’s dive into identifying issues and finding solutions.
Identifying Signs of Poor Drainage
Poor drainage can lead to a soggy mess in your rain garden. Here are some signs to watch for:
- Standing Water: If water sits in the garden for more than 48 hours, it’s time to investigate.
- Muddy Areas: Consistently muddy spots may indicate that water isn’t draining properly.
- Slow Plant Growth: Plants struggling to thrive could signal waterlogged soil.
To fix drainage issues, consider these steps:
- Aerate the Soil: This helps improve water flow and penetration.
- Add Organic Matter: Mixing in compost can enhance soil structure and drainage.
- Install Drainage Pipes: In severe cases, underground drainage might be necessary.
Common Plant Health Problems and Solutions
Healthy plants are essential for a thriving rain garden. Here are some common issues and how to address them:
- Wilting Plants: This could mean your plants are too dry or too wet. Check the soil moisture and adjust watering accordingly.
- Yellowing Leaves: Often a sign of overwatering or nutrient deficiency. Test the soil and consider fertilizing or adjusting your watering schedule.
- Pest Infestations: Keep an eye out for pests like aphids. Use natural remedies or organic pesticides to treat infestations.
Troubleshooting Checklist
Here’s a quick checklist to help you troubleshoot your rain garden:
1. Check for standing water – Remove or redirect water if needed.
2. Inspect plant health – Look for signs of wilting or yellowing.
3. Test soil moisture – Ensure it’s not too dry or too saturated.
4. Look for pests – Treat any infestations promptly.
5. Evaluate plant placement – Relocate plants if they’re in the wrong zones (dry vs. wet).
Example of a Successful Rain Garden Repair
Let’s say you have a rain garden with persistent standing water. You notice that your plants are wilting and some are even dying. After checking the drainage, you find the soil is compacted.
To fix this, you aerate the soil and add compost. You also install a simple drainage pipe to redirect excess water during heavy rains. Within a few weeks, you’ll notice a significant improvement in plant health. The garden starts to flourish again!
By keeping an eye on these common issues, you can maintain a beautiful and functional rain garden that effectively manages stormwater while supporting local ecosystems.
Frequently Asked Questions
These quick answers cover the most common questions about this topic, including key details, practical tips, and common concerns.
What is a rain garden?
A rain garden is a shallow, planted depression designed to capture and absorb stormwater runoff from roofs, driveways, and other surfaces. It helps prevent flooding and reduces the burden on sewer systems. Rain gardens typically feature native plants and well-prepared soil to facilitate water infiltration.
How does a rain garden help the environment?
Rain gardens reduce stormwater runoff, which often carries pollutants into local waterways. By filtering water through soil and plants, they improve water quality, recharge groundwater, and support local ecosystems. Additionally, they provide habitat for pollinators and wildlife, promoting biodiversity.
What types of plants are best for a rain garden?
Native plants are ideal because they adapt to local conditions and require less maintenance. Suitable plants include grasses, wildflowers, and shrubs that tolerate both wet and dry periods. Examples are blue flag iris, sedges, coneflowers, and milkweed.
How deep should a rain garden be?
Typically, a rain garden should be 6 to 12 inches deep, depending on your soil type. Clay soils may need shallower basins (around 6 inches), while sandy soils can handle deeper basins (up to 10 inches). Proper depth ensures effective water absorption and prevents standing water.
Can I build a rain garden in a small yard?
Yes, rain gardens can be scaled to fit small spaces. Even a small garden of 3-4 feet wide can effectively manage stormwater if designed properly. Focus on creating a shape that fits your yard, uses native plants, and directs runoff efficiently.
When is the best time to plant a rain garden?
The best time to plant is during early spring or fall when the weather is mild and plants can establish roots before extreme temperatures. Avoid planting during the peak of summer or winter, as extreme conditions can stress new plants.
How do I know if my rain garden is working?
You can observe how water drains after a storm. A properly functioning rain garden should drain within 24-48 hours. Check for standing water, soggy soil, or plant health issues. Over time, plants should thrive, and water should infiltrate quickly.
Are there any local regulations for building a rain garden?
Regulations vary by location. Some areas may require permits, especially if the garden impacts drainage or is near septic systems. Check with your local environmental or planning agency before construction to ensure compliance and avoid issues.