
To make homemade garlic powder, start by peeling and slicing fresh garlic cloves. Dehydrate them using a food dehydrator or an oven set at a low temperature until completely dry. Once dried, grind the garlic pieces into a fine powder using a spice grinder or mortar and pestle. Store the powder in an airtight container in a cool, dark place.
Garlic is a culinary marvel that transforms ordinary dishes into extraordinary culinary experiences. As someone who uses garlic in almost every savory dish, I’ve discovered the magic of creating my own homemade garlic powder – a game-changing pantry staple that beats any store-bought alternative. Gone are the days when garlic was considered a exotic ingredient reserved for fancy Continental cuisine. Today, it’s a kitchen essential, and making your own garlic powder is easier than you might imagine.
The Garlic Revolution: From Exotic to Essential
Not long ago, garlic was a novelty in many kitchens. In my well-worn copy of “The Vegetable Expert” from 1985, Dr. D.G. Hessayon advised that garlic “has an important role in Continental but not in British cookery.” How times have changed! Garlic has now become as ubiquitous as onions, transforming from a posh ingredient to an everyday cooking staple.
Why Make Your Own Garlic Powder?
Commercial garlic powders often come with a host of unknowns – mysterious ingredients, long-distance shipping, and questionable processing. By making your own, you gain several advantages:
- Complete control over ingredients
- Guaranteed pure garlic flavor
- Cost-effective solution
- Satisfaction of creating your own pantry staple
- No preservatives or additives
Equipment You’ll Need
Essential Tools
- Dehydrator (recommended)
- Food processor or sharp knife
- Coffee grinder or mortar and pestle
- Clean, dry storage jar
- Kitchen paper towels
Optional But Helpful
- Kitchen scale
- Cutting board
- Gloves (for handling garlic)
Step-by-Step Guide to Homemade Garlic Powder

1. Selecting Your Garlic
Choose fresh, firm garlic heads with no signs of sprouting or soft spots. If possible, source local garlic from farmers’ markets. In my experience in Lithuania, local garlic is incredibly affordable – I can purchase 20 heads for just €2.30!
2. Preparation
Peeling and Slicing
- Separate garlic cloves from the head
- Remove papery outer skin
- Slice garlic as thinly and consistently as possible
Pro Tip: A food processor works wonders for creating uniform, thin slices. If working by hand, use a sharp knife and take your time to ensure even thickness.
3. Dehydrating Process
Setting Up Your Dehydrator
- Spread garlic slices in a single layer across dehydrator trays
- Allow minimal overlap (slices will shrink during drying)
- Avoid stacking slices, which interferes with the drying process
Temperature and Time
- Use the “Fruit & Vegetables” setting (around 58°C)
- Acceptable temperature range: 50-60°C
- Drying time: 12-18 hours
- Tip: It’s perfectly fine to spread the process over two days, turning the machine off at night
4. Checking for Dryness
Your garlic is ready when it:
- Snaps cleanly
- Shows no rubbery “give”
- Breaks easily between your fingers
5. Grinding to Powder
Grinding Methods
- Coffee grinder (recommended)
- Mortar and pestle
- Half-fill grinder in batches
- Grind until you achieve a fine, consistent powder
Cleaning Your Grinder
- Wipe with a dry paper towel
- Grind a handful of rice
- Rice absorbs residual garlic and eliminates odor
- Discard rice and wipe with fresh paper towel
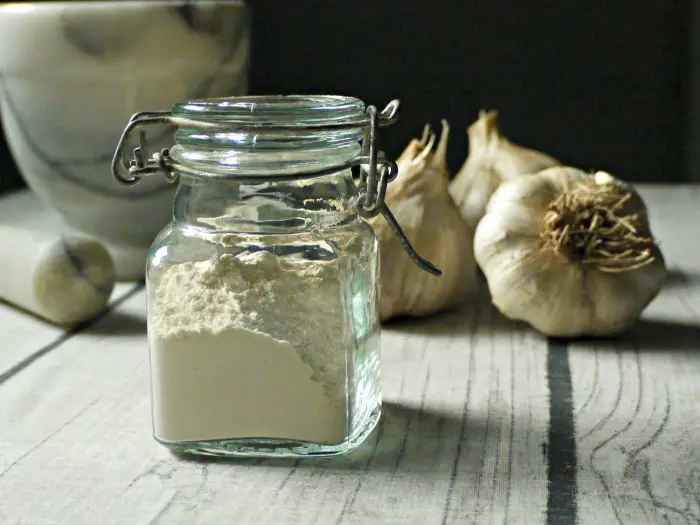
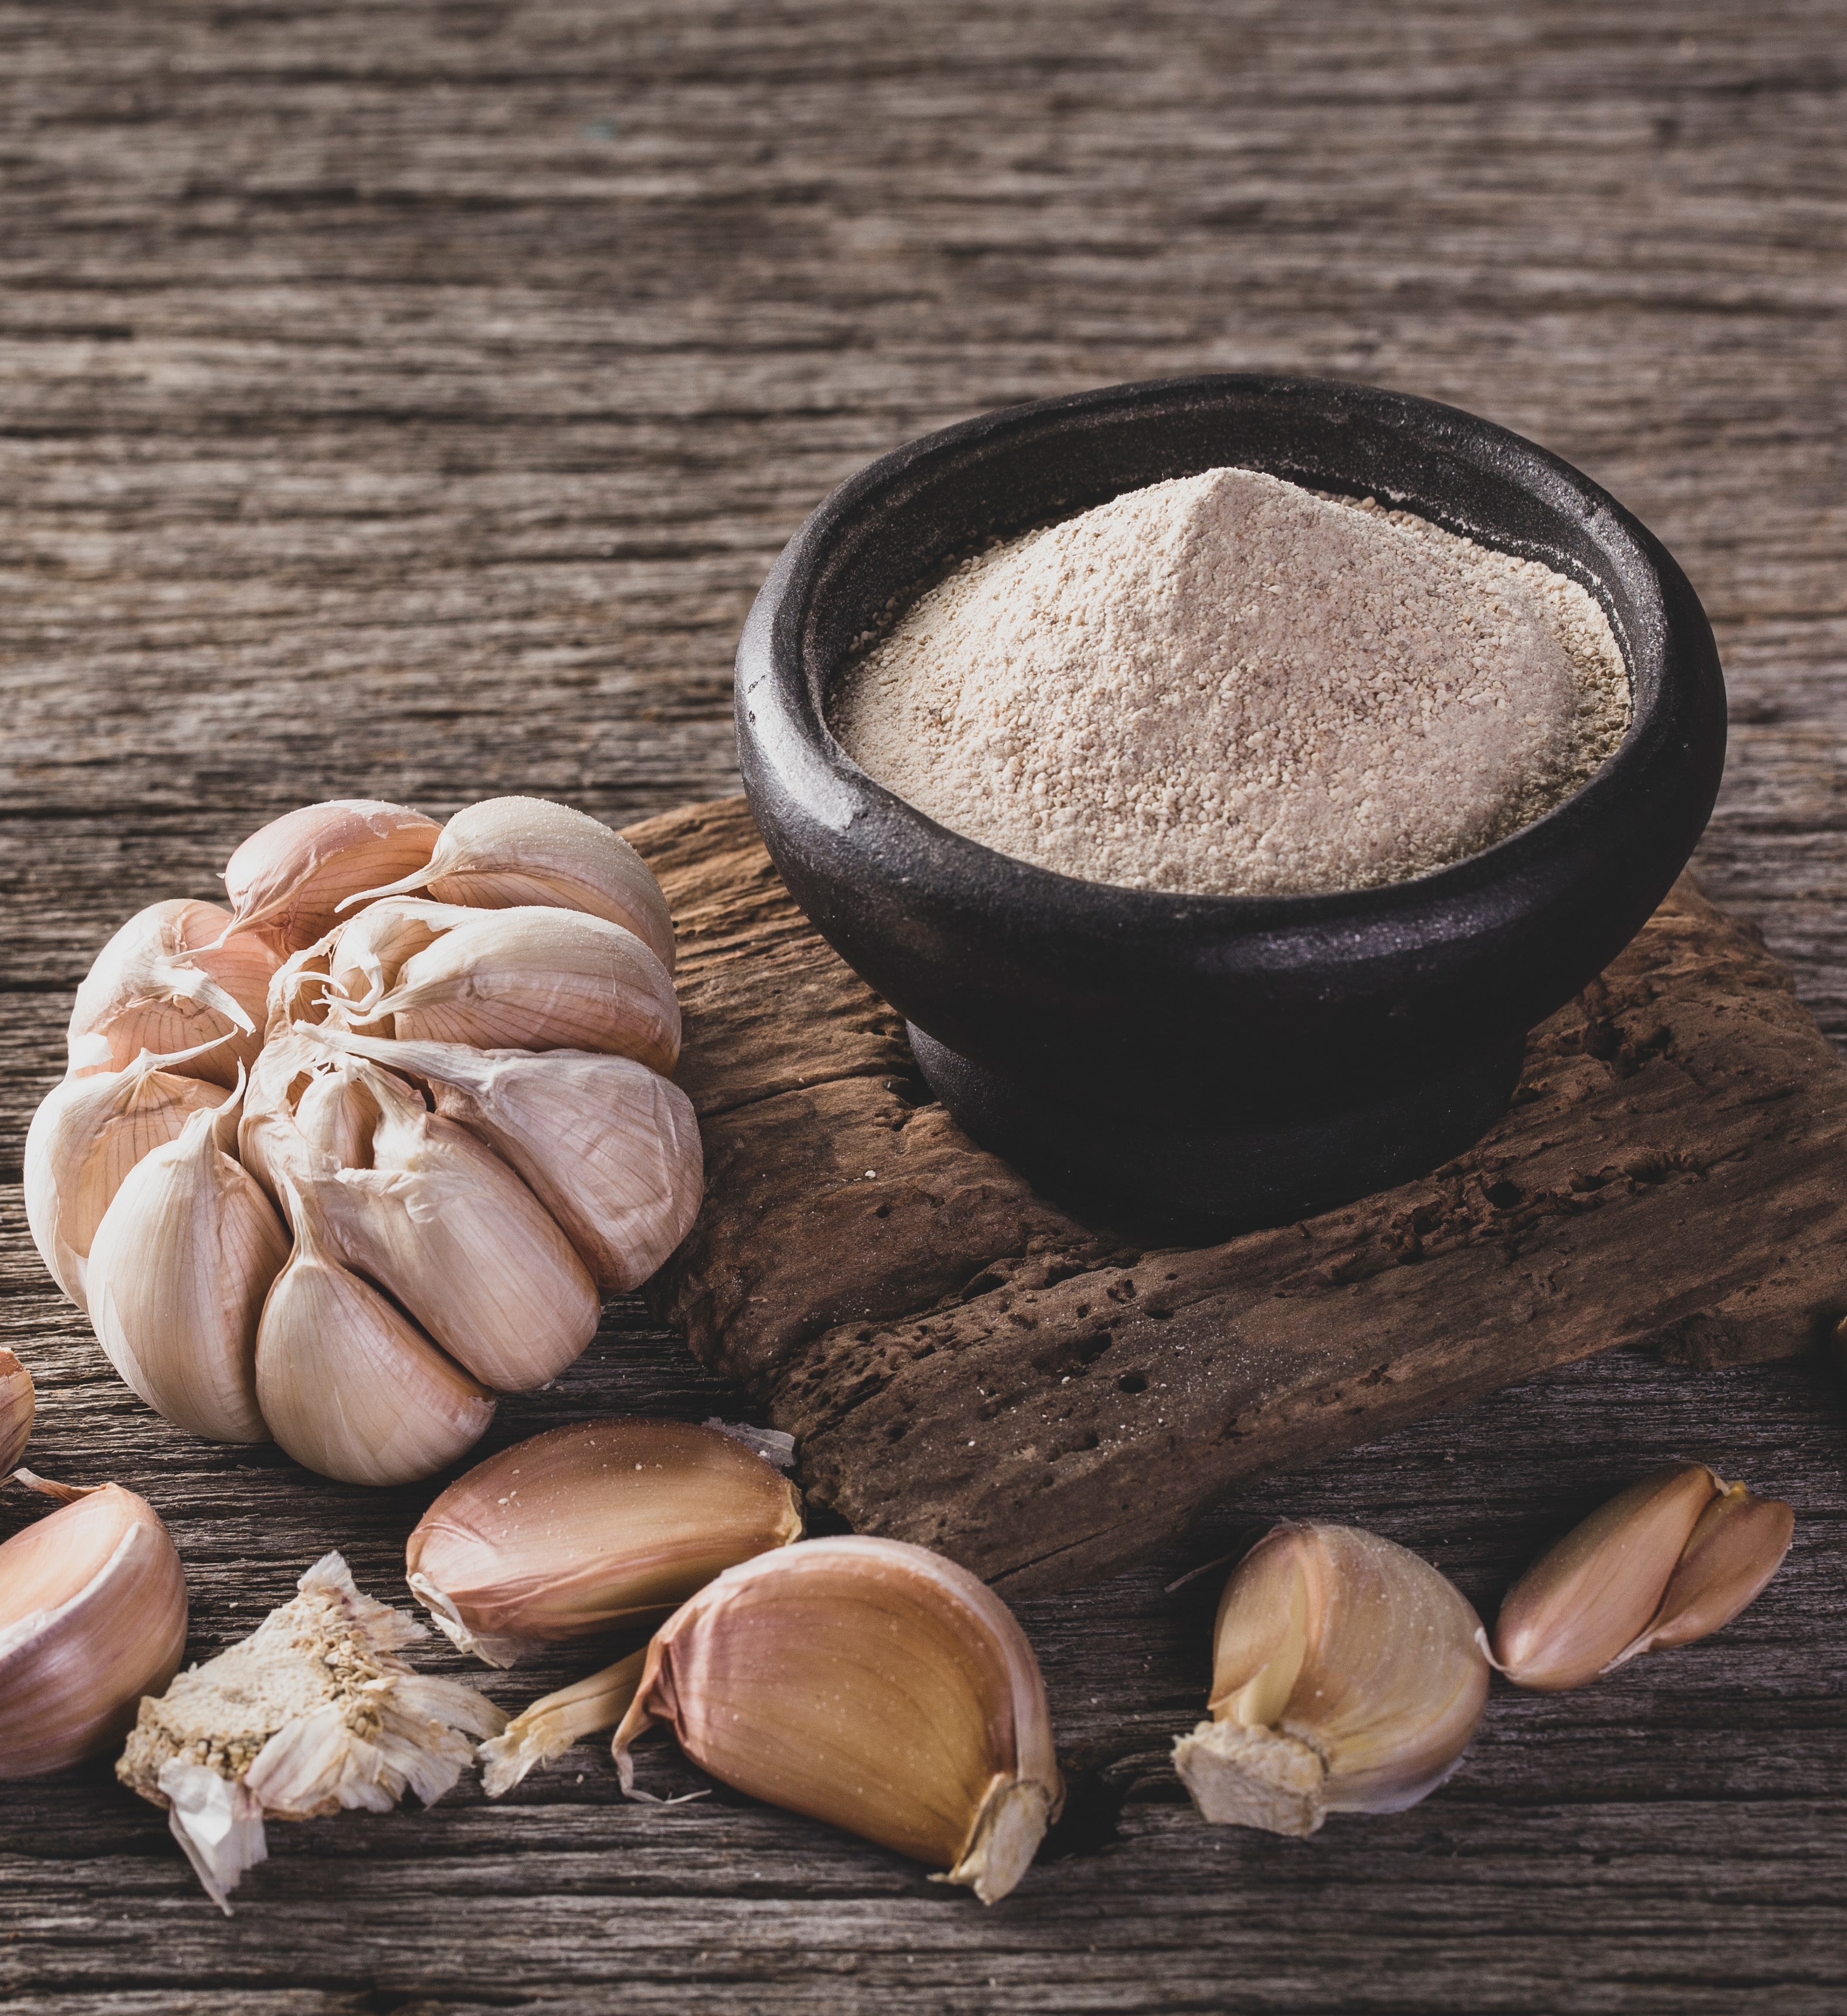
6. Storage
- Transfer to a clean, completely dry jar
- Store in a cool, dark place
- Shelf life: Several months
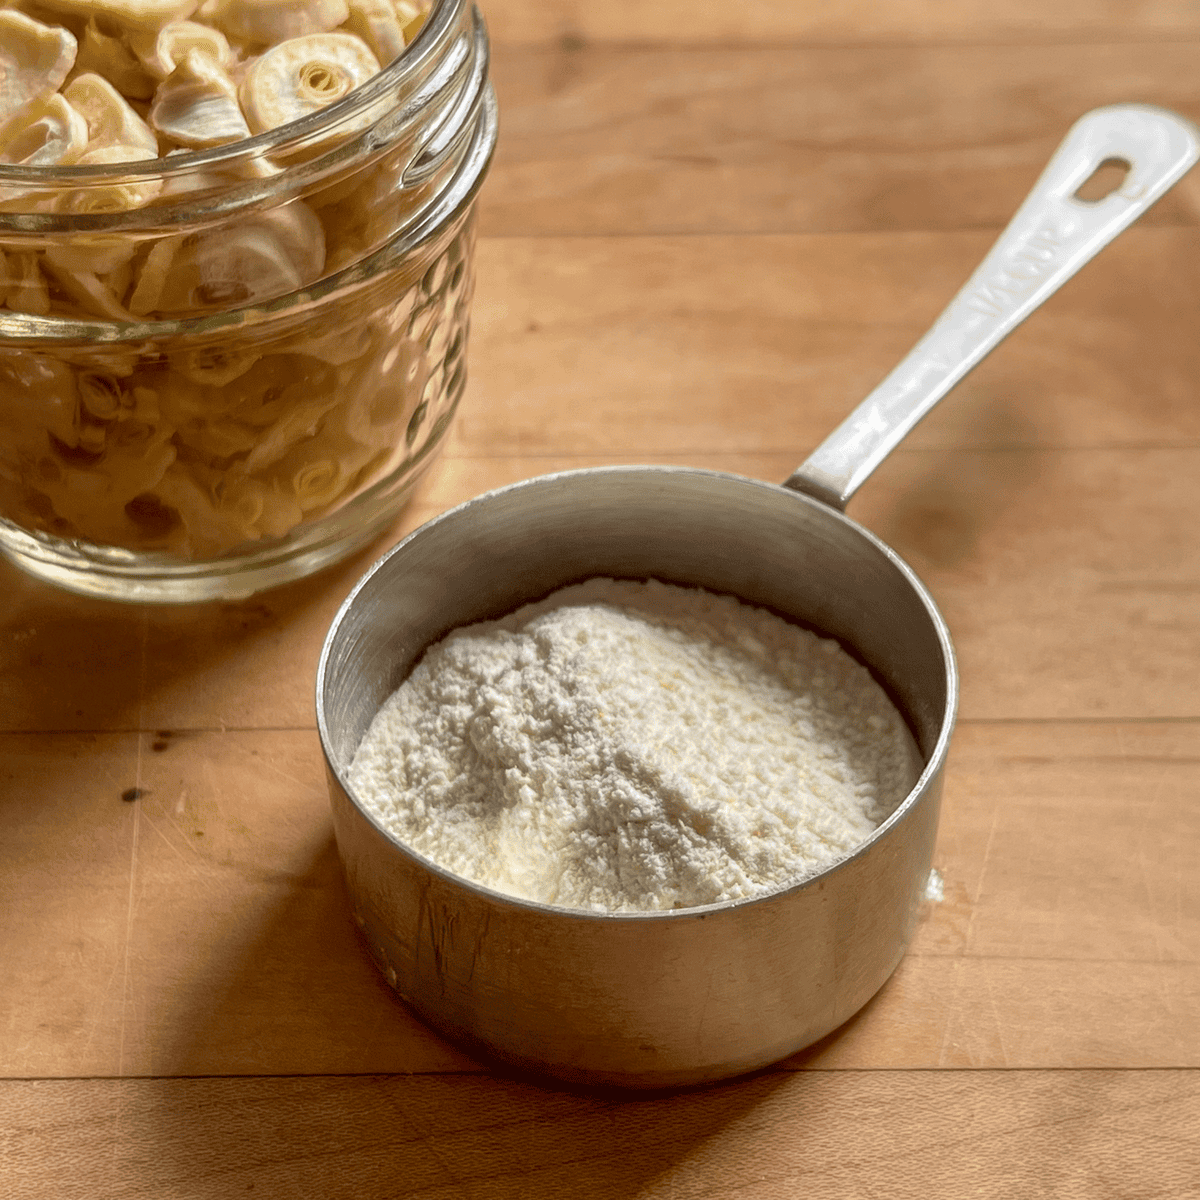
Yield and Conversion
- 500g of garlic (about 10 heads) produces approximately 185g of powder
- 1 teaspoon of garlic powder ≈ 3 medium garlic cloves
Culinary Uses
Homemade garlic powder is incredibly versatile:
- Burger and meatball seasonings
- Fajita mix
- Potato wedge seasoning
- Aioli
- General meat and vegetable seasonings
Bonus: Onion Powder Method
The same process works for onion powder, though yield is lower due to higher water content. Approximately 1 kg of onions produces one jar of powder.
Final Thoughts
Creating homemade garlic powder is more than a cooking technique – it’s a journey into understanding ingredients, reducing processed foods, and elevating your culinary craft. With minimal equipment and some patience, you’ll transform fresh garlic into a pure, potent powder that beats any store-bought alternative.
Frequently Asked Questions
1. Can I Make Garlic Powder Without a Dehydrator?
Yes! While a dehydrator is convenient, alternatives include:
- Oven method (lowest temperature setting)
- Air drying (requires consistent warm, dry environment)
- Check the comments section of the original guide for detailed alternatives
2. How Long Does Homemade Garlic Powder Last?
When stored properly in a cool, dry place, homemade garlic powder can last several months. Ensure it’s completely dry before storing to prevent moisture-related spoilage.
3. Is Homemade Garlic Powder Stronger Than Store-Bought?
Typically, yes. Homemade powder contains 100% pure garlic with no additives, resulting in a more intense, cleaner flavor profile.
4. Can I Use Any Type of Garlic?
Most garlic varieties work well. Experiment with local, organic garlic for best results. Avoid garlic that’s sprouting or shows signs of decay.
5. What’s the Best Way to Slice Garlic Thinly?
A food processor is ideal. If using a knife, ensure it’s sharp and take your time to create uniform, thin slices.
6. Why Might My Garlic Powder Clump?
Incomplete drying is usually the culprit. Ensure garlic is completely dry and crisp before grinding.
7. Can I Add Other Spices to My Garlic Powder?
Absolutely! Once you’re comfortable with the basic process, experiment by mixing in dried herbs or other spices.
8. How Much Money Can I Save?
Significant savings! Especially if you grow your own garlic or buy in bulk from farmers’ markets.
9. Is a Coffee Grinder Necessary?
No. While convenient, a mortar and pestle works perfectly. The key is grinding the completely dried garlic into a fine powder.
10. Can I Make Large Batches?
Yes! A four-tray dehydrator can handle about 500g of garlic at a time. Larger batches mean more efficient use of energy and time.
Conclusion
Embark on your homemade garlic powder adventure. With practice, you’ll create a pantry staple that’s pure, potent, and profoundly satisfying. Happy cooking!