
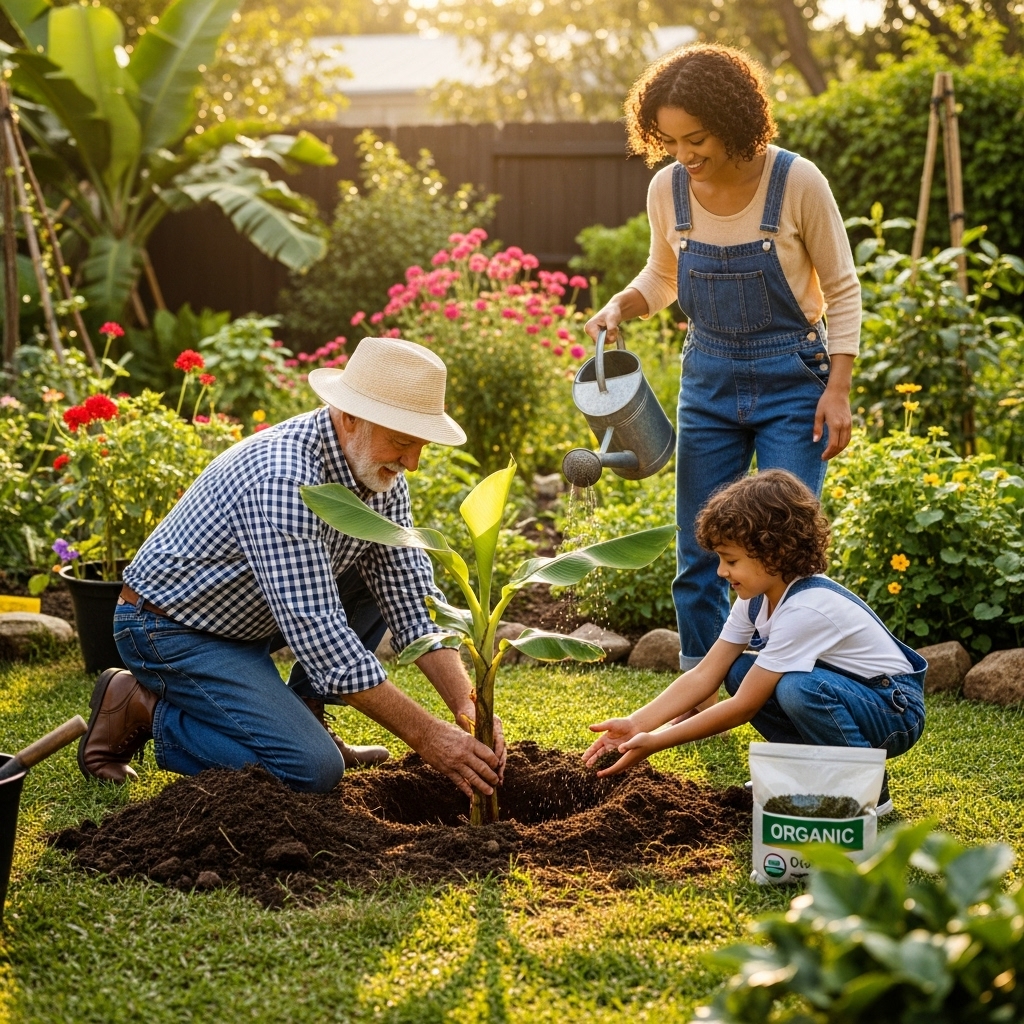
To plant a banana tree for fast growth, choose a warm, sunny location, prepare nutrient-rich soil, and use offsets rather than seeds for quicker results. My own experience with banana trees has shown that the right conditions can lead to rapid growth and a bountiful harvest. How to Plant a Banana Tree for Fast Growth can provide you with more detailed insights.
Understanding Banana Trees
Banana trees might seem like a tropical luxury, but they can thrive in various climates, provided you understand their needs. When I first decided to grow banana trees, I was surprised by how much I learned about their characteristics and care. Here’s what I discovered about these fascinating plants.
Types of Banana Trees
There are several types of banana trees, but generally, they fall into two main categories: dessert bananas and cooking bananas. Dessert bananas, like the well-known Cavendish variety, are sweet and eaten raw, while cooking bananas, such as plantains, are starchy and typically cooked before eating.
While I initially thought all bananas were the same, I learned that each type has unique requirements and growth habits. Dessert bananas tend to grow taller and produce larger fruits, while plantains are shorter and have a different growth pattern. Understanding these differences is crucial when planning to plant your banana tree.
Climate and Environment Requirements
Banana trees thrive in warm, tropical climates. They prefer temperatures between 75°F and 95°F (24°C to 35°C) and require plenty of sunlight. I remember checking the weather patterns in my area before planting my first tree. Even if you live in a slightly cooler region, creating a microclimate or using protective measures can help.
These trees also need well-draining soil and should be protected from strong winds, which can break their tall stems. In my experience, planting them near a wall or a fence provided a nice windbreak without blocking the sunlight. If you live in a cooler climate, consider planting in a greenhouse or using a pot that can be moved indoors during colder months.
Common Varieties and Their Characteristics
Some popular varieties of banana trees include Cavendish, Gros Michel, and Lady Finger. The Cavendish is the most common commercial variety, known for its sweet flavor and appealing size. Gros Michel, on the other hand, was the dominant variety before the Cavendish took over, and it is known for its rich taste and better disease resistance.
Then there’s the Lady Finger banana, which is smaller and sweeter. I tried planting Lady Finger once, and I loved how they grew in clusters. Each variety has unique characteristics that can influence your choice depending on your taste preferences and local growing conditions.
In addition to these, I’ve seen some ornamental varieties that produce beautiful flowers but are not suitable for fruit production. If you’re looking to add aesthetic value to your garden, these can be lovely additions while you wait for your fruiting trees to mature.
Preparing for Planting
Once you understand the basics of banana trees, the next step is preparing for planting. This phase is crucial for ensuring that your banana tree thrives and grows quickly. I learned that doing the groundwork beforehand saves a lot of headaches later on.
Choosing the Right Location
Choosing the right location is key to a successful banana tree. I spent time walking around my yard, looking for a sunny spot that was sheltered from strong winds. Ideally, you want a space that gets at least six hours of direct sunlight daily. Also, consider the proximity to water sources, as bananas need consistent watering.
When selecting a location, I also looked at how the tree would fit into my garden design. The taller banana plants can provide a nice backdrop for shorter flowers, and they can add tropical flair to any landscape.
Soil Requirements
Soil preparation is another important aspect of planting banana trees. They prefer loose, well-draining soil rich in organic matter. I remember mixing compost into my soil to improve its nutrient content. This not only helps with drainage but also provides the necessary nutrients for healthy growth.
If you’re unsure about your soil quality, consider doing a soil test. It can reveal pH levels and nutrient deficiencies. Ideally, banana trees like slightly acidic to neutral soil with a pH of 5.5 to 7.0. I found that adjusting the pH with lime or sulfur could make a significant difference in my plants’ health.
Essential Tools and Materials
Before planting, gather all the necessary tools and materials. Here are some essentials I found helpful:
- Shovel or spade for digging
- Compost or well-rotted manure for enriching soil
- Mulch to retain moisture
- Watering can or hose for irrigation
- Stakes for supporting young plants, if necessary
Having everything on hand made the planting process smoother for me. I learned that being prepared not only saves time but also helps reduce stress on the plants during their crucial early growth stages.
Planting Methods
Planting from Seeds vs. Offsets
When I first started my banana-growing journey, I was faced with the decision of whether to plant from seeds or offsets. Let me tell you, this choice can significantly impact your success. While planting from seeds might seem like an adventurous option, it’s a long process that requires patience. Banana seeds can take weeks to germinate, and even then, the plants take a considerable amount of time to mature and bear fruit.
In contrast, I discovered that offsets, or suckers, are the way to go for quicker results. Offsets are small shoots that grow from the base of the parent plant. They already have a head start on growth, and I found that they established themselves much faster. If you want to enjoy homegrown bananas sooner rather than later, I highly recommend looking for healthy offsets. How Do Kiwi Plants Grow? Complete Growing Guide can provide additional planting insights.
Step-by-Step Guide for Planting Offsets
Once I decided to go with offsets, I was eager to dive into the planting process. Here’s a step-by-step guide that worked wonders for me:
- Choose Healthy Offsets: Look for offsets that are at least 3 feet tall and have a substantial root system. I found that vigorous offsets are more likely to thrive after planting.
- Prepare the Planting Hole: Dig a hole that’s about twice the size of the root ball. The depth should be sufficient to accommodate the roots comfortably. I remember making my holes about 12-18 inches deep and wide.
- Add Nutrients: Before placing the offset into the hole, I mixed in some compost or well-rotted manure. This enriches the soil and gives the young plant a nutrient boost right from the start.
- Position the Offset: Carefully place the offset in the hole, ensuring that the soil line of the offset is level with the surrounding soil. I made sure not to bury it too deep, as this can hinder growth.
- Fill the Hole: Gently backfill the hole with soil, making sure there are no air pockets. I liked to pat down the soil lightly to ensure good contact with the roots.
- Water Generously: After planting, I watered the offset thoroughly to help settle the soil and provide moisture. Consistent watering in the early days is essential for establishing the plant.
- Mulch Around the Base: Adding a layer of mulch helps retain moisture and suppresses weeds. I often used straw or wood chips around my plants.
Following these steps made my planting experience much more straightforward, and I was excited to see how quickly my banana plants would grow.
How to Plant Banana Seeds
If you’re intrigued by the idea of growing bananas from seeds, here’s how you can do it. Keep in mind that it requires some extra time and care. I tried this method once, and while it took longer, it was an interesting experience.
- Soak the Seeds: Start by soaking your banana seeds in warm water for 24 hours. This helps to soften the seed coat and improve germination rates.
- Prepare Seedling Pots: Use small pots filled with a well-draining seed-starting mix. I made sure the soil was moist but not soggy.
- Plant the Seeds: Plant the seeds about half an inch deep in the soil. I spaced them out to give each one room to grow.
- Provide Warmth and Humidity: Cover the pots with plastic wrap or a humidity dome to maintain warmth and moisture. I placed mine in a warm area, and it really helped with germination.
- Water Carefully: Keep the soil consistently moist but not soaked. I checked daily and misted if necessary to maintain humidity.
- Transplanting: Once the seedlings are about 6 inches tall and have developed a few leaves, I carefully transplanted them into larger pots or directly into the ground, following the same steps as I did for offsets.
While this method requires more patience and attention, it’s rewarding to see those little seedlings grow into mature plants.
Optimal Care for Fast Growth
Watering Techniques
After planting, I quickly learned that proper watering is essential for fast growth. Banana trees are heavy feeders and need a lot of moisture, especially in their early stages. I found that I had to water them deeply and regularly, ensuring the soil stayed consistently moist but not waterlogged.
During the hot summer months, I watered my banana trees every other day, making sure to check the soil moisture before adding more water. I learned that overwatering can lead to root rot, so I paid attention to the soil’s texture. Using mulch helped retain moisture and reduced the frequency of watering, which was a lifesaver during particularly hot spells.
Fertilization Guidelines
Fertilizing my banana trees was another key component of their care. Bananas are heavy feeders, and I found that using a balanced fertilizer every couple of months really boosted their growth. I often used a nitrogen-rich fertilizer, as this encouraged leafy growth, which is essential for fruit production later on.
During the growing season, I applied a slow-release fertilizer every 6-8 weeks, and I would also supplement with organic compost. I noticed that my trees responded well to this regimen, becoming lush and vibrant. Just be careful not to over-fertilize, as this can cause more harm than good.
Sunlight and Shade Considerations
Banana trees love sunlight! They thrive in full sun and need at least six hours of direct sunlight each day. However, I learned that too much intense afternoon sun can stress the young plants, especially in warmer climates. I often used shade cloth during the hottest parts of the day when my plants were still young, allowing them to acclimate gradually.
As they matured, I noticed that they could handle full sun without any issues. It’s essential to find a balance so that they get enough light but aren’t overwhelmed by it during their early growth stages.
Pest and Disease Management
Keeping my banana trees healthy also meant being vigilant about pests and diseases. Aphids and spider mites can be a nuisance, and I found that regular inspections helped me catch any problems early. If I noticed any pests, I would spray the leaves with a gentle soap solution, which worked wonders.
Fungal issues, like leaf spot, can also affect banana trees. I made sure to keep the area around my trees clean and free of debris, which helped minimize disease risk. If I found any affected leaves, I would promptly remove them to prevent the spread.
These care techniques turned out to be crucial for my banana trees’ growth. By paying attention to their needs, I was rewarded with lush foliage and the promise of future fruit!
Growth Stages of Banana Trees
Initial Growth Phase
Once I planted my banana offsets, I was eager to see how quickly they would grow. The initial growth phase is exciting but requires patience. In the first few weeks, I noticed the roots starting to establish themselves underground while the leaves began to unfurl above. The leaves are large and can be quite stunning, giving the plants a tropical vibe that I absolutely loved.
During this phase, it’s essential to keep up with my watering routine. I made sure to keep the soil consistently moist, but not soggy. I also noticed that the plants responded well to warm temperatures. I did my best to maintain a warm microclimate, especially at night, using blankets or row covers in cooler weather. This phase usually lasts a few weeks to a couple of months, depending on the conditions, and seeing that first real growth was incredibly rewarding.
Flowering and Fruit Development
After the initial growth phase, I experienced the thrill of flowering. I remember the day vividly; I woke up to find a beautiful flower stalk emerging from the center of one of my trees. This is when the magic truly begins! The flowering stage can take several months, and it’s crucial to continue providing care during this time. I made sure my banana trees received plenty of sunlight and continued my fertilization routine.
One thing I learned is that bananas produce a flower stalk that can grow several feet tall. The flower itself is quite impressive, with a deep purple hue, and it eventually gives way to the fruit. At first, the bananas look like tiny clusters of green fingers, but they grow quickly, and soon I could see them plumping up.
During this stage, I also noticed that the trees benefit from being gently supported. Since the fruit can become heavy, I often used stakes to help hold them up as they matured. This support not only helps the tree but also ensures that the bananas develop evenly.
Harvesting Tips for Maximum Yield
Harvesting is the moment I had been waiting for! When the bananas were plump and started to turn yellow, I knew it was time. I found that the best time to harvest is just before they become fully ripe. The fruit tends to ripen after being cut from the plant, and I learned that picking them slightly early helps prevent spoilage and extends their shelf life.
To harvest, I used a sharp knife to cut the bunch off the tree. I always made sure to wear gloves, as the sap can be sticky and irritating. After harvesting, I let the bananas ripen at room temperature in a cool, dry place, away from direct sunlight. This way, they would develop their flavor fully.
Interestingly, I discovered that banana plants can continue to produce fruit year after year from the same plant. After harvesting, I would leave the remaining stalk in place, as it would eventually die back, allowing the offsets to grow and produce new plants. It’s a continuous cycle that kept my garden vibrant and productive.
These growth stages of banana trees are truly a journey. From the excitement of the first sprouts to the joy of harvesting, each step has its challenges and rewards. I believe that being attentive during these phases greatly influences the quality and quantity of the fruit we eventually enjoy.
Common Challenges and Solutions
Dealing with Weather Conditions
One of the biggest challenges I faced while growing banana trees was dealing with unpredictable weather conditions. Bananas love warmth, but they can be sensitive to extreme temperatures. I remember a particularly chilly winter when I was worried about my plants surviving the frost. To combat this, I learned to use protective covers and mulch around the base to insulate the soil.
During the summer, heavy rains can also pose a problem. I noticed that too much water can lead to issues like root rot. To mitigate this, I ensured my planting area had good drainage and even created slight mounds to help excess water run off. Investing in a raised bed also helped, allowing the roots to breathe while still getting the moisture they needed.
Preventing Root Rot
Root rot was another concern that I had to address early on. I learned that banana trees are susceptible to this condition when the soil stays too wet. To prevent it, I made it a priority to check the soil moisture regularly. If the top inch felt dry, I would water; if it was still damp, I’d hold off.
I also found that mixing perlite or sand into my soil improved drainage, which was a game-changer. This small adjustment allowed the roots to thrive without drowning, promoting healthy growth.
Managing Nutrient Deficiencies
As my banana trees grew, I started to notice some signs of nutrient deficiencies. Yellowing leaves or stunted growth can be indicators that something is off. I remember a few instances where I had to troubleshoot. When I observed yellowing, I often conducted a quick soil test to check nutrient levels.
To remedy deficiencies, I supplemented with organic fertilizers based on the test results. I focused on providing potassium and magnesium, essential nutrients for bananas. After adjusting my fertilization routine, I noticed a marked improvement in the overall health and vibrancy of my plants.
Navigating these challenges taught me a lot about the resilience needed in gardening. Each issue was an opportunity to learn and adapt, ultimately leading to healthier plants and a better harvest.
Frequently Asked Questions
What location is best for planting banana trees?
Banana trees thrive in warm, sunny locations with at least six hours of direct sunlight daily. They prefer temperatures between 75°F and 95°F (24°C to 35°C) and should be sheltered from strong winds.
What are the two main types of banana trees?
The two main categories of banana trees are dessert bananas, like the Cavendish variety, which are sweet and eaten raw, and cooking bananas, such as plantains, which are starchy and typically cooked before eating.
What soil conditions do banana trees require?
Banana trees prefer loose, well-draining soil rich in organic matter, ideally with a pH level between 5.5 and 7.0. Incorporating compost can improve soil quality and drainage.
What is the recommended method for planting banana trees?
For faster results, it’s recommended to plant banana offsets (suckers) rather than seeds. Offsets establish themselves quicker and are more likely to thrive after planting.
How should banana trees be watered?
Banana trees need consistent moisture, especially during their early growth stages. It’s important to water them deeply and regularly, ensuring that the soil remains consistently moist but not waterlogged.
What type of fertilizer is best for banana trees?
Banana trees are heavy feeders and benefit from a balanced, nitrogen-rich fertilizer every couple of months. A slow-release fertilizer can be applied every 6-8 weeks, supplemented with organic compost.
How can pests and diseases be managed in banana trees?
Regular inspections can help catch pests like aphids and spider mites early. A gentle soap solution can be used to spray affected leaves. Keeping the area around the trees clean can help minimize disease risk.
What should be done during the flowering and fruit development stage?
During the flowering stage, it’s crucial to provide plenty of sunlight and continue with fertilization. Additionally, using stakes to support heavy fruit can help ensure even development.
When is the best time to harvest bananas?
The best time to harvest bananas is just before they become fully ripe, as the fruit tends to ripen after being cut from the plant. This helps prevent spoilage and extends their shelf life.
What challenges might arise when growing banana trees?
Common challenges include dealing with unpredictable weather, preventing root rot, and managing nutrient deficiencies. Protective covers, good drainage, and soil testing can help address these issues.
Read Interesting article: Is Konjac a Plant or Seafood? The Real Answer