
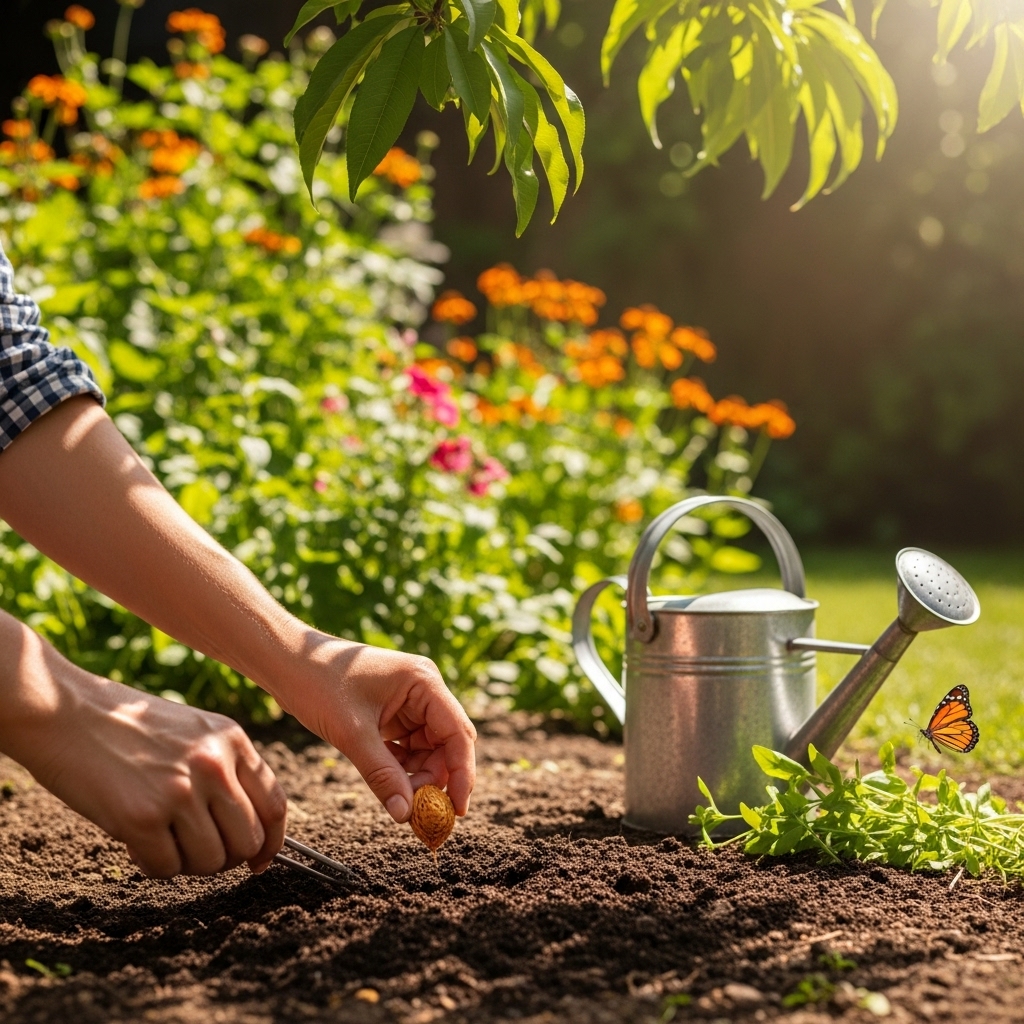
You can plant a peach pit and grow a tree by following a few simple steps, including cleaning and stratifying the pit before planting it in well-prepared soil. I’ve enjoyed nurturing my own peach tree, and watching it grow has been a rewarding experience. Read Interesting article: How to Plant a Peach Tree for Healthy Growth
Table of Contents
Understanding Peach Trees
Growing peach trees can be a delightful adventure. They not only offer delicious fruit but also enhance the beauty of your garden. Over the years, I’ve learned a lot about these trees, from their different types to their unique benefits. Let me share some insights.
Types of Peach Trees
Peach trees are categorized into two main types: clingstone and freestone. Clingstone peaches have flesh that clings to the pit, making them ideal for canning and preserving. On the other hand, freestone peaches are easier to eat fresh, as the flesh comes away from the pit with ease. I remember the first time I tried a fresh freestone peach; it was juicy and sweet, and I couldn’t get enough of it.
Benefits of Growing Peach Trees
One of the greatest benefits of growing peach trees is the rewarding feeling of harvesting your own fruit. There’s something incredibly satisfying about biting into a juicy peach that you’ve nurtured from a pit. Besides the delicious fruit, peach trees also offer beautiful blossoms in the spring, adding color and vibrancy to your garden. I love watching the bees buzz around the flowers, busy at work. Plus, peach trees can provide shade, making your outdoor space more enjoyable. Read Interesting article: Peach Rose Meaning In Relationship – Other Colors Symbolism
Peach Tree Varieties
There are numerous varieties of peach trees to choose from, each with unique flavors, colors, and growing requirements. For example, the ‘Elberta’ variety is known for its sweet, juicy fruit and is a favorite among home gardeners. Meanwhile, the ‘Red Haven’ peach is celebrated for its disease resistance and adaptability. I have a ‘Cresthaven’ peach tree in my backyard, and its large, flavorful peaches are a hit with my family and friends. Choosing the right variety depends on your local climate and what you’re looking for in terms of taste and harvest time.
Preparing to Plant a Peach Pit
Once you’ve decided to grow a peach tree from a pit, the next step is preparation. I’ve found that doing this part right can make all the difference in the growth of your tree.
Choosing the Right Peach Pit
Choosing a healthy peach pit is crucial. I always recommend selecting a pit from a ripe, fresh peach. Look for pits that are plump and free from blemishes or damage. Another tip is to consider the peach variety; if you loved the flavor of the peach, chances are the tree will produce similar fruit. I once tried using a pit from a store-bought peach, only to find it didn’t germinate well, so now I stick with fresh, locally sourced peaches.
Gathering Necessary Supplies
Before planting, gather the necessary supplies. You’ll need a pot or container with good drainage, potting soil, and possibly some mulch. I like to use organic potting soil, as it provides the nutrients needed for strong growth. Additionally, having a plastic bag or container for the stratification process is essential. I remember my first attempt at planting; I was so excited I almost skipped this step, but I’m glad I didn’t!
Preparing the Soil
Preparing the soil is another critical step. The ideal soil for peach trees is well-draining and rich in organic matter. You can improve your garden soil by mixing in compost or aged manure. I usually spend time amending my soil each spring, and I’ve seen great results. If you’re using a pot, make sure the potting mix is light and airy to prevent waterlogging, which can harm the young roots.
Steps to Plant a Peach Pit
Now that you’re prepared, let’s get into the actual steps to plant your peach pit. I remember the excitement I felt as I watched my first seedling emerge from the soil!
How to Clean and Dry the Peach Pit
Cleaning the peach pit is the first step after you’ve harvested it. I usually rinse the pit under running water to remove any remaining fruit residue. After cleaning, let it dry for a few days in a cool, dry place. This helps to prevent mold and ensures a healthy start for the seed. I’ve learned that being patient during this process pays off in the long run.
Stratification Process: Why and How
Stratification is a crucial process that mimics winter conditions, helping to break the seed dormancy. I like to place my dried pit in a damp paper towel, then put it in a plastic bag and store it in the refrigerator for about 60 days. This cold treatment is essential for germination. I remember my first time trying this; I was a little anxious, wondering if it would work, but when I saw the first signs of growth, it was all worth it!
Planting the Peach Pit
After stratification, it’s time to plant the pit. Choose a pot that’s at least 6-8 inches deep. Fill it with your prepared soil, making a small hole for the pit. I place the pit with the pointed end facing down. This encourages the roots to grow downwards, which is crucial for a healthy tree. I always double-check to ensure it’s placed correctly, as I’ve had a few mishaps in my early gardening days!
Optimal Depth and Spacing for Planting
When planting the peach pit, make sure to cover it with soil about 1-2 inches deep. I’ve learned that planting too deep can hinder growth, while too shallow can expose the pit to drying out. If you’re planting multiple pits, give them enough space—about 3 feet apart—so they have room to grow. I once planted them too close, and it ended up being a bit of a struggle to manage their growth. Spacing is key!
Care and Maintenance of the Peach Seedling
Once you’ve successfully planted your peach pit and watched it sprout, the next big step is caring for your seedling. I can’t emphasize enough how crucial this phase is for the future health of your peach tree. I remember the early days of nurturing my seedling, and the joy it brought me to see it thrive. Let’s dive into some important aspects of care and maintenance.
Watering Guidelines
Watering your peach seedling properly is vital for its development. I’ve learned that young trees need consistent moisture but not soggy soil. I usually check the soil by sticking my finger about an inch deep; if it feels dry, it’s time to water. I aim to water deeply but infrequently, allowing the roots to stretch further into the soil. This way, I encourage the roots to become strong and resilient. In warmer months, I find myself watering a bit more often, especially if there’s been no rain. I remember once underestimating the heat, and my seedling showed signs of stress. Keeping an eye on the weather and adjusting my watering routine was key!
Fertilizing Your Peach Tree
Fertilizing can be a game-changer when it comes to the growth of your peach tree. I usually start fertilizing my peach seedling in the spring, using a balanced fertilizer. This gives the young tree the nutrients it needs to grow strong. I’ve experimented with both organic and synthetic fertilizers, and I found that organic options, like compost or well-rotted manure, work wonders for my garden. I try to avoid over-fertilizing, as it can harm the tree rather than help it. I remember one year, I got a bit too enthusiastic and ended up with excessive leaf growth at the expense of fruit development. Finding that balance is essential for me!
Sunlight Requirements
Sunlight is another critical factor. Peach trees thrive in full sun, so I make sure my seedling gets at least 6 to 8 hours of sunlight each day. When I first started, I made the mistake of placing it in a partially shaded spot, thinking it would do better. Instead, it struggled to grow. Once I moved it to a sunnier location, it flourished! I often find myself checking the sunlight patterns throughout the day, ensuring my peach tree is soaking up those rays. If you’re growing in a container, rotating the pot every so often can help keep the tree evenly illuminated.
Pest and Disease Management
As with any plant, pests and diseases can pose a threat to your peach seedling. I remember my first encounter with aphids; they seemed to appear out of nowhere! I quickly learned the importance of vigilance. Regularly inspecting my seedling for any signs of pests or diseases is now a part of my routine. If I spot something unusual, I act fast. Sometimes, a simple spray of water can dislodge pests. Other times, I’ve resorted to natural insecticides. I’ve found that introducing beneficial insects, like ladybugs, can also help keep pests at bay. Prevention is better than cure, so I make sure to keep the area around my tree clean and free of debris, which can harbor pests.
Transplanting Your Peach Tree
As your peach seedling grows, it may eventually outgrow its pot, and it will be time to consider transplanting it into the ground or a larger container. I remember when my seedling started to look cramped; it was both exciting and a bit nerve-wracking to think about moving it!
When to Transplant
The ideal time to transplant your peach tree is in the spring or fall when the weather is cooler. I’ve found that this helps reduce stress on the tree. I usually wait until my seedling is at least a foot tall before considering transplanting. The roots should be well-developed, which I can often tell by gently checking the bottom of the pot for roots peeking out. Timing can make all the difference; transplanting during extreme heat or cold can hinder growth.
Choosing the Right Location
When selecting a location for transplanting, I look for a spot that receives full sun and has well-draining soil. I also keep in mind the future size of the tree, giving it enough space to spread out. I usually avoid areas where water tends to pool, as peach trees don’t like ‘wet feet’. I remember once planting in a spot that seemed perfect, only to discover it flooded after heavy rains. Learning from that experience, I now consider drainage a top priority!
Transplanting Steps
When it’s time to transplant, I gather my supplies: a shovel, the new planting hole, and a watering can. I start by digging a hole that’s about twice the size of the root ball. I gently remove the seedling from its pot, being careful not to disturb the roots too much. Placing it in the center of the hole, I backfill with soil and water thoroughly to eliminate air pockets. After transplanting, I keep an eye on it, ensuring it gets adequate water as it settles into its new home. I remember after my first transplant, the excitement of seeing new growth in a matter of weeks!
Growing a Healthy Peach Tree
Once your peach tree has been transplanted and is settling into its new home, the next phase is all about nurturing it for healthy growth. I’ve experienced firsthand how proper care during this stage can set the foundation for a bountiful harvest. Let’s explore some important practices that contribute to the overall health and vitality of your peach tree.
Pruning Techniques
Pruning may seem intimidating at first, but I’ve found it to be a crucial part of maintaining my peach tree. I usually start pruning in late winter or early spring before new growth begins. This helps shape the tree and encourages stronger branches. I’ve learned to remove any dead, damaged, or crossing branches to allow better airflow and sunlight penetration. The first time I pruned my tree, I felt nervous about cutting it back, but seeing the new growth afterward reassured me that I made the right choice. I recommend using sharp, clean pruning shears to make clean cuts, which helps prevent disease.
There’s also the importance of thinning the fruit. Once my peach tree starts producing, I leave about 6 to 8 inches between developing peaches. This not only encourages larger and healthier fruit but also helps prevent branches from breaking under the weight of too many peaches. It’s a bit of a balancing act, but I find it rewarding to see my efforts lead to abundant fruit down the line!
Pollination Needs
Peach trees can be self-pollinating, which is great news for those of us with limited space. However, I’ve discovered that having more than one variety can increase fruit set and improve overall yield. I remember when I planted my second peach tree; the difference was remarkable! The bees loved the flowers, and my trees thrived with cross-pollination. If you’re considering adding another variety, be sure it blooms around the same time as your existing tree for the best results.
If you live in an area with fewer pollinators, you might want to hand-pollinate your peach trees. I’ve done this by gently shaking the branches during blooming or using a small brush to transfer pollen between flowers. It might sound a bit extra, but I’ve seen it work wonders for boosting my harvest.
Harvesting Peaches: When and How
After all the hard work and care, the moment we’ve all been waiting for arrives: harvesting the peaches! I usually start checking for ripeness about 3 to 4 months after flowering. The best way to tell if a peach is ready to harvest is by its color, firmness, and aroma. I find that a ripe peach will have a beautiful golden hue and give slightly when gently squeezed.
When it’s time to pick, I carefully twist the peach off the branch to avoid damaging the tree. I’ve learned that using a gentle touch is key; bruised peaches won’t store well and can spoil quickly. After harvesting, I like to let my peaches sit at room temperature for a day or two to fully ripen before enjoying them. There’s nothing quite like the taste of a sun-warmed peach right off the tree!
After harvesting, I also make it a point to clean up any fallen fruit around the tree. This helps reduce the risk of pests and diseases taking root in my garden. It’s all about being proactive, and I’ve seen how these small steps can keep my peach tree healthy for years to come.
Frequently Asked Questions
What are the two main types of peach trees?
Peach trees are categorized into two main types: clingstone and freestone. Clingstone peaches have flesh that clings to the pit, making them ideal for canning, while freestone peaches are easier to eat fresh as the flesh comes away from the pit easily.
What is the first step to grow a peach tree from a pit?
The first step to grow a peach tree from a pit is to clean and dry the pit. This involves rinsing the pit under running water to remove any fruit residue and letting it dry for a few days in a cool, dry place.
What is stratification and why is it important?
Stratification is a process that mimics winter conditions to help break the seed dormancy, which is crucial for germination. The dried pit is placed in a damp paper towel, stored in a plastic bag, and kept in the refrigerator for about 60 days during this process.
What type of soil is best for planting a peach pit?
The ideal soil for peach trees is well-draining and rich in organic matter. Amending garden soil with compost or aged manure can improve its quality for peach tree growth.
How deep should you plant a peach pit?
When planting a peach pit, it should be covered with soil about 1-2 inches deep. Planting too deep can hinder growth, while planting too shallow can expose the pit to drying out.
What are some care and maintenance tips for a peach seedling?
Watering consistently but avoiding soggy soil is vital. Fertilizing with a balanced fertilizer in spring, ensuring the seedling receives 6 to 8 hours of sunlight daily, and regularly inspecting for pests and diseases are also important care practices.
When is the best time to transplant a peach tree?
The ideal time to transplant a peach tree is in the spring or fall when the weather is cooler. It is recommended to wait until the seedling is at least a foot tall and the roots are well-developed.
What should you do if your peach tree is struggling with pests?
If you notice pests on your peach tree, regularly inspect for signs and act quickly. Simple methods like spraying water can dislodge pests, and introducing beneficial insects like ladybugs can help control pest populations.
How can you tell when peaches are ready to be harvested?
Peaches are ready to be harvested about 3 to 4 months after flowering. Signs of ripeness include a beautiful golden hue, firmness that gives slightly when gently squeezed, and a strong aroma.
What should you do after harvesting peaches?
After harvesting peaches, it’s important to clean up any fallen fruit around the tree to reduce the risk of pests and diseases. Additionally, letting harvested peaches sit at room temperature for a day or two can enhance their flavor.