
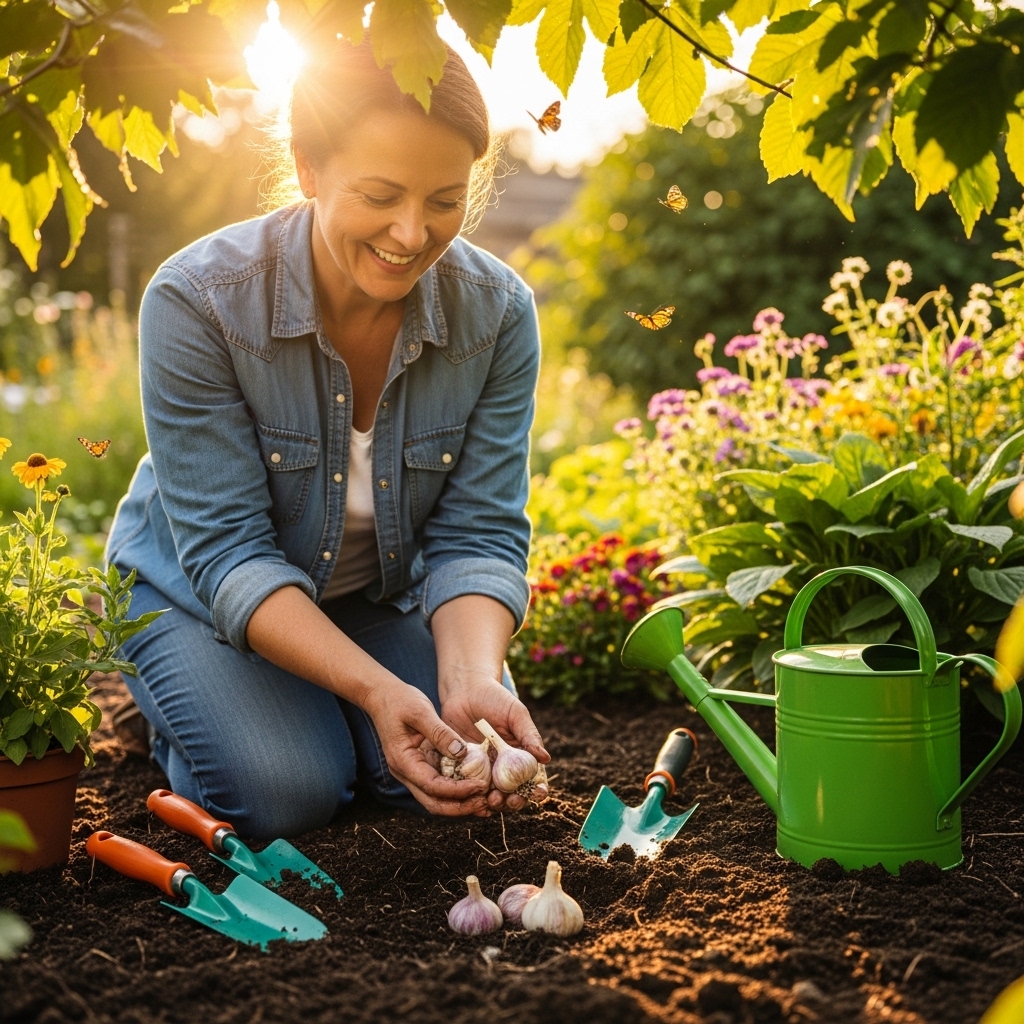
The right way to plant garlic bulbs is to choose high-quality bulbs, break them apart into individual cloves, and plant them at the appropriate depth and spacing based on your climate. From my experience, following these steps ensures a bountiful harvest. Read Interesting article: What to Plant in September (Best Crops + Flowers)
Table of Contents
Understanding Garlic: An Overview
Garlic is one of those ingredients that I believe can elevate almost any dish, bringing a depth of flavor that’s hard to replicate. Beyond its culinary uses, garlic has a fascinating background and numerous health benefits that make it a favorite among gardeners. Understanding garlic better can enhance our appreciation for this remarkable bulb.
Types of Garlic Bulbs
When I first started gardening, I was surprised to learn that there are two main types of garlic: hardneck and softneck. Hardneck garlic varieties have a stiff central stalk and typically produce fewer but larger cloves, perfect for colder climates. I’ve found that they also tend to have a stronger flavor. On the other hand, softneck garlic is more commonly found in grocery stores, has a milder flavor, and can be stored for longer periods. Both types have their unique characteristics, and experimenting with different varieties is part of the fun of growing garlic!
Health Benefits of Garlic
Not only is garlic delicious, but it also boasts a wide range of health benefits. I remember reading about its ability to boost the immune system, reduce blood pressure, and even lower cholesterol levels. It’s rich in antioxidants and has anti-inflammatory properties, which is why I try to incorporate it into my diet regularly. Whether you’re roasting it, adding it to sauces, or using it in marinades, garlic can be a powerhouse for your health.
When to Plant Garlic
Timing is crucial when it comes to planting garlic. I’ve learned that planting at the right time can significantly affect your yield. Garlic is typically planted in the fall, around 4-6 weeks before the ground freezes, allowing it to establish roots and prepare for a robust spring growth. However, I’ve also tried spring planting, which can work, but the yield may be less favorable. Read Interesting article: How to Plant and Grow Garlic Successfully
Best Planting Seasons
For me, fall is the ideal season for planting garlic. In most regions, this means late September to early November. During this time, the soil is still warm enough for the bulbs to develop roots, but not so warm that they start sprouting too soon. I always keep an eye on the weather, though, as the first frost can vary from year to year. If you’re unsure, a good rule of thumb is to plant when the daytime temperature is consistently below 60°F. This gives the bulbs the right conditions to thrive.
Climate Considerations
I’ve noticed that climate plays a significant role in garlic planting. If you live in a warmer climate, you might have the option to plant garlic in the spring, but it does require careful monitoring. Hardneck varieties tend to perform better in colder climates, while softneck varieties can adapt to a broader range of temperatures. I’ve found that knowing your local climate can help you choose the right garlic variety for your garden.
Preparing to Plant Garlic
Preparation is key to successful garlic planting. I remember the first time I tried to plant without properly preparing—I ended up with stunted bulbs. Taking time to set the stage for your garlic can make all the difference in your harvest.
Choosing the Right Location
Garlic loves a sunny spot, so I always look for a location that gets at least 6-8 hours of sunlight every day. I’ve found that a well-draining area is crucial, as garlic doesn’t like to sit in water. Raised beds or plots with good drainage are ideal. I once planted garlic in a low-lying area, and it suffered due to excess moisture. Learning from that experience, I now prioritize location when planting.
Soil Requirements
Garlic thrives in fertile, loamy soil. I often mix in organic matter, like compost, to enrich the soil. This not only provides nutrients but also improves drainage, which is essential for garlic health. I use a soil pH test kit to ensure my soil is within the 6.0 to 7.0 range, which is optimal for garlic growth. I remember the first time I neglected to check the soil pH; my garlic didn’t grow as well, and I learned my lesson.
Preparing the Soil
Before planting, I always take the time to prepare the soil properly. This involves tilling the soil to a depth of about 12 inches to aerate it and break up any compacted areas. I then mix in compost and a balanced fertilizer to ensure my garlic has the nutrients it needs. I also try to remove any weeds or debris, as these can compete with my garlic for resources. Preparing the soil might take extra effort, but it pays off when I see healthy garlic plants flourishing.
Steps to Plant Garlic Bulbs
Now that we’ve gone over preparation, it’s time to dive into the actual planting process. I remember my first time planting garlic—it felt like a mini adventure that I wanted to share with everyone!
Selecting Quality Bulbs
The first step in planting garlic is selecting high-quality bulbs. I always choose organic, disease-free bulbs from reputable sources. I’ve learned that using store-bought garlic can lead to disease or poor growth, so I prefer to buy from local farmers’ markets or specialty gardening stores. The key is to look for firm bulbs that are free from blemishes. It’s worth the investment to ensure a successful harvest. Read Interesting article: How to Plant Garlic for Bigger Heads (Easy Guide)
Breaking Apart the Bulbs
After selecting my bulbs, I gently break them apart into individual cloves. I usually do this about a day before planting, allowing the cloves to air dry a bit. I try to leave the papery outer skins on, as this helps protect them from moisture and disease. I remember the first time I didn’t, thinking it would help them grow faster. I ended up losing quite a few to rot. Now, I’m careful to keep the skins intact.
Planting Depth and Spacing
When it’s time to plant, I make sure to space the cloves about 4-6 inches apart and plant them 2-3 inches deep with the pointed end facing up. I’ve found that this depth helps them establish roots while keeping them protected from the cold. I also try to mark the rows to keep everything organized, making it easier to tend to them later on. This step is important because I’ve learned that proper spacing allows for better air circulation, which can prevent disease.
Garlic Care After Planting
Once I’ve planted my garlic, I quickly learned that the care it receives afterward is just as crucial as the planting process. It’s amazing how a little attention can lead to a thriving crop. I remember my first year of growing garlic; I thought I could just plant it and forget about it. I soon realized that garlic, like any plant, needs some TLC.
Watering Guidelines
Watering is one of the first aspects I focus on after planting. Garlic needs consistent moisture, especially during its early growth stages. I try to keep the soil evenly moist, but not soggy. Too much water can lead to rot, which is something I’ve unfortunately experienced in the past. I usually water my garlic once a week, giving it a good soaking, but I adjust based on rainfall. In dry spells, I’ve learned to check the soil moisture a couple of inches down; if it feels dry, it’s time to water.
Fertilization Tips
Once the garlic starts to grow, I pay attention to its nutrient needs. I typically use a balanced fertilizer or organic compost a few weeks after planting, which helps to give my garlic a healthy boost. I remember one year when I neglected to fertilize early enough, and my garlic plants didn’t grow as robustly as I’d hoped. Now, I fertilize again in the spring when the shoots are about 6 inches tall. This consistency has made a noticeable difference in the size and quality of my garlic bulbs.
Weed Control
Weeds can be a real nuisance in the garden, and I’ve found that garlic is no exception. They compete for nutrients and moisture, which can stunt the growth of my garlic plants. To manage weeds, I regularly check my garden beds and pull out weeds by hand. I also use mulch around the garlic to suppress weed growth and retain moisture. I remember the first time I let weeds take over; my garlic struggled to thrive. Since then, I’ve made it a priority to keep my garden tidy.
Pest and Disease Management
Unfortunately, garlic isn’t immune to pests and diseases, which I learned the hard way. I’ve encountered pests like aphids and whiteflies, which can be problematic. An organic insecticidal soap has worked well for me in controlling these pests. I also make it a point to monitor my plants for any signs of disease, such as yellowing leaves or unusual spots. If I notice any issues, I act quickly. Sometimes, simply removing the affected leaves can prevent the problem from spreading. I remember a time when I ignored early signs of disease, and it cost me some of my garlic crop. Now, I’m much more vigilant.
Harvesting Garlic
As summer rolls around, I find myself eagerly anticipating the harvest. There’s something so rewarding about digging up garlic bulbs that I’ve nurtured from planting to maturity. I’ve learned to watch for signs that my garlic is ready to be harvested, as timing can greatly impact the quality.
Signs of Readiness
One of the first clues that my garlic is ready is the yellowing of the leaves. When about one-third of the leaves have turned yellow, I know it’s time to check on my bulbs. I’ve made the mistake of waiting too long in the past, which can lead to bulbs splitting in the ground. I usually dig up a few bulbs to assess their size and readiness. The skins should be firm and papery, and the cloves should be well-formed. I remember the excitement of my first harvest when I unearthed a perfect bulb. It felt like a small victory!
How to Harvest Properly
When I’m ready to harvest, I use a garden fork to carefully loosen the soil around the bulbs. I take care not to damage them, as bruised bulbs can spoil quickly. After lifting them out, I shake off the excess soil and lay them out in a single layer in a shaded area to dry. I always avoid washing them before drying, as moisture can lead to mold. I remember the first time I harvested and didn’t allow them to dry properly; many of them rotted. Now, I’m patient and let them cure for a couple of weeks before moving them to storage.
Storing and Using Garlic
Once I’ve harvested my garlic, I find that knowing how to store and use it properly can significantly enhance my culinary experiences. Garlic is such a versatile ingredient, and I love finding new ways to incorporate it into my meals.
Proper Storage Techniques
Storing garlic correctly is essential to ensure it stays fresh and flavorful. After the garlic has dried for a couple of weeks, I usually trim the roots and cut back the stems, leaving about an inch of stem attached to each bulb. This helps in storage and adds a rustic feel when I display them. I’ve learned that garlic should be stored in a cool, dry place with good air circulation—so I avoid sealed containers or plastic bags, which can lead to mold. Instead, I use mesh bags or baskets, which allow air flow.
For long-term storage, I prefer to keep my garlic in a dark, well-ventilated spot, like a pantry or cupboard. I’ve tried keeping it in the fridge, but I found that the moisture can lead to sprouting. If I notice any sprouts, I simply remove them before using the garlic, as they can be bitter. I also like to use up the garlic within six months for the best flavor, although it can last longer if stored properly.
Ways to Use Fresh Garlic
Using fresh garlic is one of my favorite parts of cooking. There’s something special about the aroma that fills the kitchen when I chop or crush garlic. I’ve discovered so many ways to incorporate garlic into my meals that I could write a whole list! Here are some of my favorite uses:
- Roasting: Roasting garlic brings out its sweet, rich flavor. I often slice the top off a whole bulb, drizzle it with olive oil, and wrap it in foil before roasting it in the oven. The result is a creamy, spreadable delight that I love on toast or mixed into mashed potatoes.
- Sautéing: A quick sauté with garlic is my go-to for adding flavor to vegetables. I usually heat some olive oil in a pan and toss in minced garlic, allowing it to become fragrant before adding my veggies. It’s a simple but effective way to elevate any dish.
- In marinades: I frequently use garlic in marinades for meats and fish. Its bold flavor pairs well with various herbs and spices, creating a delicious base that enhances the overall taste. I typically mix minced garlic with lemon juice, olive oil, and herbs to marinate chicken before grilling.
- In sauces: Garlic is a must-have ingredient in many sauces. Whether it’s a tomato sauce for pasta or a garlic butter sauce for seafood, I find that it adds depth and richness to any recipe. I remember the first time I made homemade marinara; the garlic made all the difference!
- In salads: I sometimes use raw garlic in dressings for salads. I’ve learned that a little raw garlic goes a long way, so I usually start with a small amount and adjust to taste. It adds a zesty kick that I enjoy.
Garlic truly is a versatile ingredient that can enhance the flavor of so many dishes. I love experimenting with it and discovering new ways to enjoy the fruits of my labor from the garden.
Common Mistakes to Avoid When Planting Garlic
Throughout my garlic-growing journey, I’ve made my fair share of mistakes. Thankfully, each misstep has taught me valuable lessons that I want to share so you can avoid them.
Planting Too Early or Late
Timing is everything when it comes to planting garlic. I’ve learned the hard way that planting too early can expose the cloves to frost, while planting too late can prevent them from establishing strong roots. I recommend keeping a close eye on local weather patterns and soil temperatures to ensure you’re planting at the right time. If I’m ever in doubt, I try to stick to the recommended planting windows for my region.
Ignoring Soil Quality
Soil quality is another area where I initially stumbled. In my excitement to plant garlic, I sometimes overlooked the importance of nutrient-rich, well-draining soil. I’ve found that taking the time to improve my soil with organic matter and ensuring the right pH can make a world of difference in my garlic’s growth and overall health. Now, I always prioritize soil preparation before planting.
Over-Watering or Under-Watering
Watering was a tricky balance for me at first. I’ve experienced both extremes—over-watering led to rot, while under-watering caused stunted growth. I’ve learned that keeping the soil consistently moist but not soggy is crucial. During dry spells, I check my soil regularly to ensure it’s not drying out too much, and I adjust my watering schedule based on rainfall and temperature.
Frequently Asked Questions
What are the two main types of garlic bulbs?
The two main types of garlic bulbs are hardneck and softneck. Hardneck garlic varieties have a stiff central stalk, produce fewer but larger cloves, and are better suited for colder climates, while softneck garlic is more commonly found in stores, has a milder flavor, and can be stored longer.
When is the best time to plant garlic?
The best time to plant garlic is in the fall, about 4-6 weeks before the ground freezes, typically from late September to early November. However, spring planting is also possible in warmer climates, though yields may be less favorable.
What soil conditions are optimal for growing garlic?
Garlic thrives in fertile, loamy soil with a pH range of 6.0 to 7.0. Mixing in organic matter, like compost, can enrich the soil and improve drainage, which is crucial for garlic health.
How deep should garlic cloves be planted?
Garlic cloves should be planted 2-3 inches deep with the pointed end facing up, and spaced about 4-6 inches apart to ensure proper air circulation and root establishment.
What are some key care tips for garlic after planting?
After planting garlic, it is important to provide consistent moisture, use balanced fertilizer a few weeks after planting, control weeds, and monitor for pests and diseases to ensure healthy growth.
How can you tell when garlic is ready to harvest?
Garlic is ready to harvest when about one-third of the leaves have turned yellow. It’s advisable to dig up a few bulbs to check their size and readiness, ensuring the skins are firm and papery.
What is the proper method for harvesting garlic?
To harvest garlic, use a garden fork to carefully loosen the soil around the bulbs, avoiding damage. After lifting them out, shake off the excess soil and lay them in a single layer in a shaded area to dry.
What are the best storage techniques for garlic?
Garlic should be stored in a cool, dry place with good air circulation, such as a pantry or cupboard. After drying for a couple of weeks, trim the roots and cut back the stems, avoiding sealed containers to prevent mold.
How can fresh garlic be used in cooking?
Fresh garlic can be used in various ways, including roasting, sautéing, in marinades, in sauces, and in salad dressings. It enhances the flavor of dishes and adds a delightful aroma to cooking.
What are some common mistakes to avoid when planting garlic?
Common mistakes include planting at the wrong time, neglecting soil quality, and over-watering or under-watering. Timing is crucial, and ensuring nutrient-rich, well-draining soil is essential for successful growth.