
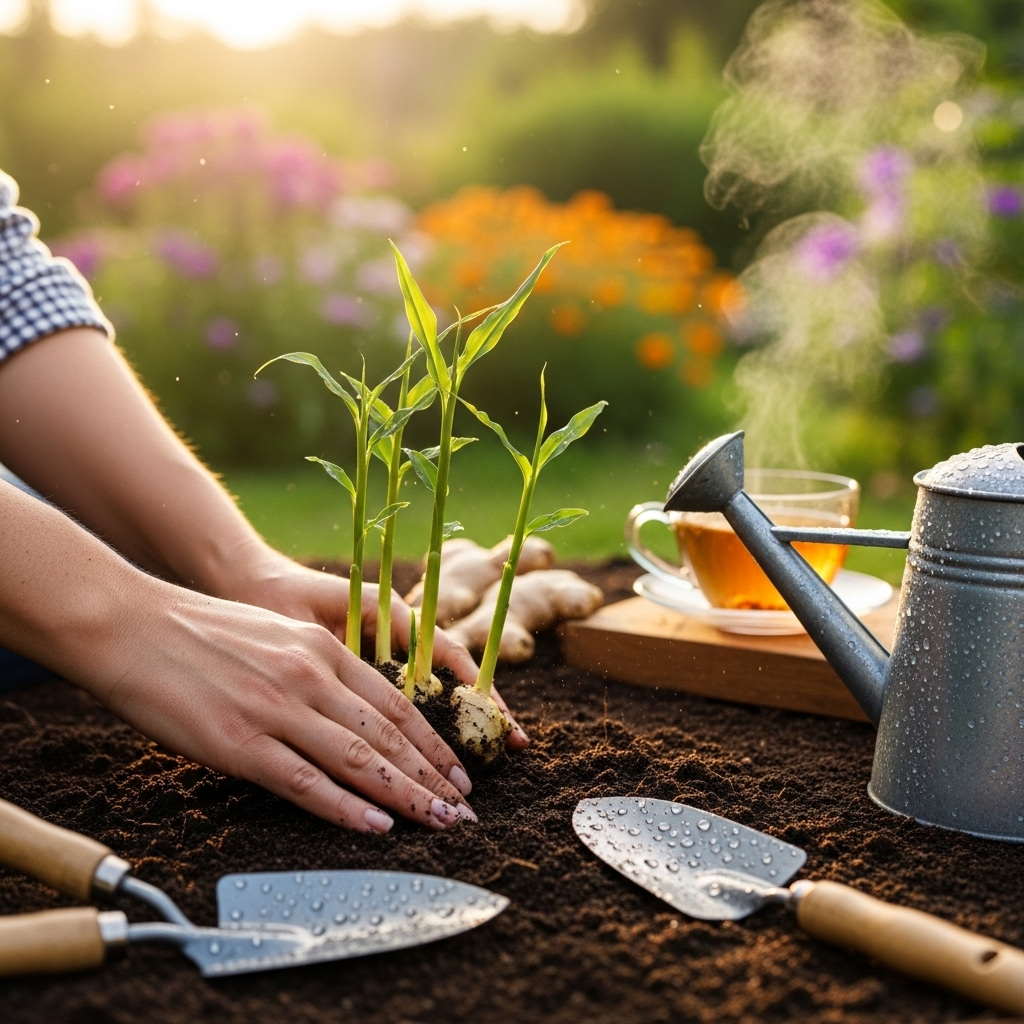
To plant ginger root for fast sprouting, choose a healthy rhizome, cut it into pieces, and plant it in rich, well-draining soil during warm weather. I’ve seen that with the right conditions, ginger can sprout quickly and thrive beautifully. If you’re looking for detailed steps, check out How to Plant Ginger Root for Fast Sprouting.
Understanding Ginger: A Brief Overview
What is Ginger Root?
Ginger root, scientifically known as Zingiber officinale, is a flowering plant that belongs to the family Zingiberaceae. The part that we commonly use is actually the rhizome, which is the underground stem of the plant. Ginger has a unique, spicy flavor and is a staple in many kitchens around the world. I remember the first time I grated fresh ginger into a stir-fry; the aroma was intoxicating, and the taste was a game-changer for my dishes. Not only is it delicious, but it also has a rich history in traditional medicine.
Health Benefits of Ginger
Many people know ginger for its culinary uses, but it’s also packed with health benefits that are hard to ignore. I often turn to ginger for its anti-inflammatory properties; it has been known to help with nausea, digestion, and even pain relief. Studies suggest that ginger can help reduce muscle soreness and may even be beneficial for those suffering from arthritis. Personally, I’ve found that sipping ginger tea can soothe an upset stomach and provide a warm, comforting feeling during cold days. It’s no wonder that ginger is cherished in so many cultures, both for its flavor and its health benefits.
Common Varieties of Ginger
When I first started exploring ginger, I was surprised to learn that there are several varieties, each with its unique flavor profile and uses. The most common type I use is the fresh culinary ginger, which has a strong, spicy flavor perfect for cooking and baking. Then there’s the dried ginger, which is often ground into powder and used in spice mixes or baked goods. Another variety is the baby ginger, which is harvested earlier and is milder and less fibrous. I’ve found that baby ginger is delightful when pickled or used in salads. Understanding these varieties can really enhance your cooking and inspire you to try new recipes!
When to Plant Ginger Root
Best Time of Year for Planting
Timing can make all the difference when it comes to planting ginger. I’ve discovered that the best time to plant ginger is in the spring, once the risk of frost has passed. Ginger loves warm weather, and it thrives in temperatures between 70°F and 85°F. I remember the excitement of planting my first batch of ginger on a sunny day in late April; I was so eager to see those beautiful green shoots break through the soil. If you’re in a warmer climate, you might even plant it earlier, but for most regions, spring is ideal.
Climate Considerations for Ginger Growth
Ginger is quite particular about its climate. I’ve noticed that it flourishes in humid environments, which is why it’s commonly grown in tropical regions. If you live in a drier climate, consider using a humidifier or misting your plants regularly. Ginger also prefers indirect sunlight, so placing it in a spot that gets bright, filtered light works well. I learned this the hard way when I placed my ginger in direct sunlight, and it started to wilt. Finding that sweet spot of warmth and humidity is key for healthy growth.
Signs of Healthy Ginger Seed Rhizomes
Choosing the right ginger rhizome is crucial for success. When I select rhizomes, I look for ones that are plump, firm, and have a smooth skin. Healthy ginger seed rhizomes should have at least a few ‘eyes’ or buds, which are the points from which the shoots will grow. I remember feeling a sense of satisfaction when I found a particularly robust rhizome with many eyes; it felt like a promise of a bountiful harvest. Avoid any rhizomes that are shriveled or have signs of mold, as these are less likely to sprout successfully.
Preparing to Plant Ginger Root
Choosing the Right Ginger Rhizome
When it comes to planting ginger, the first step is selecting the right rhizome. I remember my excitement the first time I went to a garden center to find ginger. I learned to look for rhizomes that feel firm and heavy in my hand. The best ones should have plenty of eyes, which are the little bumps where new shoots will sprout. I’ve noticed that the fresher the rhizome, the better the chances are for a successful plant. If you can, choose organic ginger; it often has fewer chemicals and can result in healthier plants. It’s like sourcing a good ingredient for a recipe—you want the best quality for the best outcome.
Soil Requirements for Ginger
The right soil can make all the difference in growing ginger. I’ve found that ginger prefers rich, loamy soil that drains well. It’s crucial to avoid heavy clay or overly compacted soil, as this can lead to root rot. To prepare my soil, I usually mix in organic compost or well-rotted manure, which adds nutrients and improves the texture. I once tried planting ginger in regular garden soil without any amendments, and while it did grow, the results were far less impressive. I recommend testing the pH level of the soil too; ginger thrives in slightly acidic to neutral soil, with a pH between 6.0 and 7.0. Getting the soil right is like setting the stage for a great performance—it sets everything up for success.
Container vs. Ground Planting
Deciding whether to plant ginger in containers or directly in the ground is another important consideration. I started growing ginger in containers because it allowed me to control the environment better and move the plants as needed. Containers should be at least 12 inches deep, as ginger roots grow horizontally. I’ve seen my ginger thrive in pots filled with a good potting mix, and the mobility means I can easily shift them to catch the best light. However, if you have a suitable garden space and the right climate, planting directly in the ground can yield more robust plants. Just ensure the area has good drainage and that you follow the same soil requirements. Whether in a pot or the ground, ginger needs room to stretch out and grow!
Step-by-Step Guide to Planting Ginger Root
Step 1: Cutting the Ginger Rhizome
When I cut my ginger rhizome, I make sure to leave at least one or two eyes on each piece. I’ve learned that cutting the rhizome into two-inch sections works well, as this size allows for effective sprouting. A tip I picked up along the way is to let the cut pieces rest for a day or two before planting. This way, the cut ends can callous over, which helps prevent rot when they’re put into the soil. There’s something satisfying about preparing the rhizome just right, knowing it’s the first step towards a thriving plant.
Step 2: Pre-soaking and Preparing the Rhizomes
Pre-soaking the ginger rhizomes is a step I never skip. I usually soak them in water for about 24 hours before planting. This helps to kickstart the sprouting process and also keeps them hydrated. I’ve learned that soaking can make a huge difference in how quickly the ginger takes off once it’s planted. After soaking, I let them dry out for a bit before putting them in the soil. It’s a little ritual that adds a sense of anticipation to the planting process.
Step 3: Planting Depth and Spacing
When I’m ready to plant, I make sure to plant my ginger pieces about two to four inches deep in the soil. Spacing is also important; I usually give them about 12 inches apart. This spacing allows the plants to grow without competing too much for nutrients. I remember my first attempt when I planted them too close together, and they ended up crowded, which stunted their growth. Giving ginger room to breathe is essential for vibrant, healthy plants.
Step 4: Watering Techniques for Fast Sprouting
Watering ginger is a balancing act. I’ve found that keeping the soil consistently moist but not waterlogged is key. After planting, I give the soil a good drink and then monitor it closely. I usually water every few days, especially if the top inch of the soil feels dry. One trick I’ve learned is to use a spray bottle for delicate watering, which helps avoid displacing the rhizomes. The excitement of seeing those first shoots emerge from the soil makes all the effort worthwhile!
Optimal Growing Conditions for Ginger
Light Requirements for Ginger Plants
Ginger loves bright, indirect light. I’ve noticed that placing my pots in a spot where they receive filtered sunlight works best. Too much direct sunlight can scorch the leaves, so I tend to keep my ginger plants near a window with sheer curtains or in a shaded area outside. If I find they’re leaning toward the light, that’s a sign I need to rotate them regularly. Observing how they respond to light has been a rewarding part of my gardening experience.
Temperature and Humidity Preferences
The ideal temperature for growing ginger is between 70°F and 85°F, and I’ve found that it thrives in humidity. I like to mist my ginger plants regularly or place a tray of water nearby to boost the humidity level. If I’m growing ginger indoors during dry winter months, I even use a small humidifier. It’s fascinating to see how these small adjustments can lead to healthier, happier plants. Paying attention to their needs reminds me of nurturing relationships—they flourish with a little extra care.
Fertilization Tips for Healthy Growth
Feeding my ginger plants has become one of my favorite parts of the growing process. I typically use a balanced, slow-release fertilizer every four to six weeks. I’ve learned that ginger loves nutrients, especially nitrogen, to support its leafy growth. I also like to add a layer of organic mulch around the base of the plants, which not only helps retain moisture but also breaks down over time to enrich the soil. Watching my plants grow lush and green is incredibly satisfying, and I believe that a little extra care in fertilization goes a long way!
Common Problems and Solutions
Pests and Diseases Affecting Ginger
As much as I love growing ginger, I’ve learned that it can be susceptible to a few pesky pests and diseases. One of the main culprits is the ginger borer, a small beetle that can cause significant damage. I remember the first time I found these little guys munching on my plants; I felt a wave of panic. What helped was using neem oil, a natural pesticide that is safe and effective. I sprayed it on the affected areas and noticed a significant decrease in their presence. Another issue I’ve faced is root rot, often caused by overwatering. I always make sure to check for good drainage and adjust my watering habits to prevent this problem. Remembering to inspect my plants regularly has become part of my routine, and it’s gratifying to catch these issues early on!
Signs of Overwatering or Underwatering
Watering can be tricky, and I’ve certainly had my fair share of overwatering and underwatering mishaps with my ginger plants. One of the signs that I’ve overwatered is yellowing leaves, which can be alarming. I’ve learned that if the soil is constantly soggy, I need to adjust my watering schedule. On the flip side, underwatering presents its own issues. If I notice that the leaves are wilting or crispy at the edges, it’s time to give my ginger a drink. I check the top inch of the soil regularly; if it feels dry, I know it’s time to water. Finding that perfect balance has been a journey, but it’s worth it when I see my ginger thriving!
How to Revive a Stunted Ginger Plant
Reviving a stunted ginger plant can be a bit of a challenge, but I’ve found that it’s often possible with a few adjustments. If my ginger isn’t growing as expected, I first check the basics: light, soil, and water. I’ve realized that sometimes, simply relocating the plant to a brighter spot or adjusting its watering routine can do wonders. If the soil seems depleted, I add some organic fertilizer or compost to give it a nutrient boost. Additionally, I’ve had success by gently loosening the soil around the roots to improve their access to oxygen and water. With a little patience and care, I’ve seen my ginger plants bounce back, reminding me that gardening is all about learning and adapting.
Harvesting Ginger Root
When to Harvest Ginger
Harvesting ginger is one of the most exciting parts of the journey for me. I usually start checking my plants around 8 to 10 months after planting. By this time, the leaves will begin to yellow and die back, which is a clear sign that the roots are mature and ready for harvest. I remember my first harvest; I could hardly contain my excitement as I gently dug around the base of the plant, pulling up the fresh rhizomes. If you want young ginger, you can harvest earlier, around 4 to 6 months, when the roots are still tender and have a milder flavor. It’s all about personal preference, and I love experimenting with different harvest times!
How to Properly Harvest Without Damage
Care is essential when it comes to harvesting ginger. I’ve learned to use a garden fork or my hands to carefully loosen the soil around the rhizomes, being sure not to damage them. It’s so easy to accidentally break off a piece, which can be disheartening. Once I’ve loosened the soil, I gently lift the rhizome out, taking care to leave some of the plant intact for future growth if I want to keep it going. After harvesting, I rinse off the soil and allow the rhizomes to dry slightly in a cool, shaded area. I’ve found that this helps to prevent rot during storage.
Post-Harvest Care and Storage Tips
After the excitement of harvesting, I’ve learned that how I store my ginger can significantly impact its shelf life. I typically store fresh ginger in a cool, dry place, either in a paper bag or wrapped in a towel to keep it from drying out. If I want to store it longer, I’ve found that placing it in the fridge is a great option. Just make sure to keep it in a breathable container to prevent moisture buildup. I love using my freshly harvested ginger in recipes, but if I have too much, I also like to freeze some for later use. This way, I always have that spicy, fresh flavor on hand, even in the colder months!
Frequently Asked Questions
What is ginger root?
Ginger root, scientifically known as Zingiber officinale, is a flowering plant from the family Zingiberaceae. The part commonly used is the rhizome, which is the underground stem of the plant. Ginger is known for its unique, spicy flavor and its uses in both culinary and traditional medicine.
When is the best time to plant ginger root?
The best time to plant ginger is in the spring, once the risk of frost has passed. Ginger thrives in warm weather and prefers temperatures between 70°F and 85°F.
What are the ideal soil conditions for growing ginger?
Ginger prefers rich, loamy soil that drains well. It’s crucial to avoid heavy clay or overly compacted soil, as this can lead to root rot. The ideal soil pH for ginger is between 6.0 and 7.0.
How should ginger rhizomes be prepared before planting?
Before planting, ginger rhizomes should be cut into pieces with at least one or two eyes on each piece. It’s beneficial to let the cut pieces rest for a day or two to allow the cut ends to callous over. Additionally, pre-soaking the rhizomes in water for about 24 hours helps kickstart the sprouting process.
What light conditions do ginger plants require?
Ginger loves bright, indirect light. It’s important to avoid direct sunlight, which can scorch the leaves. Placing ginger plants in a location with filtered sunlight is ideal.
How often should ginger be watered?
Ginger should be watered consistently to keep the soil moist but not waterlogged. It’s recommended to check the top inch of the soil; if it feels dry, it’s time to water, usually every few days.
What are some common problems when growing ginger?
Common problems include pests like the ginger borer and diseases such as root rot, often caused by overwatering. Regular inspection of the plants helps catch these issues early.
When is the right time to harvest ginger?
Ginger is typically ready to be harvested around 8 to 10 months after planting when the leaves begin to yellow and die back. For younger ginger with a milder flavor, it can be harvested earlier, around 4 to 6 months.
How should ginger be harvested without causing damage?
To harvest ginger, use a garden fork or hands to carefully loosen the soil around the rhizomes, avoiding damage. Gently lift the rhizome out, leaving some of the plant intact for future growth if desired.
What are the best storage tips for fresh ginger?
Fresh ginger should be stored in a cool, dry place, either in a paper bag or wrapped in a towel to prevent drying out. For longer storage, placing it in the fridge in a breathable container is recommended to avoid moisture buildup.
Read Interesting article: How to Plant Ginger Plants at Home Successfully
Read Interesting article: Is Konjac a Plant or Seafood? The Real Answer