
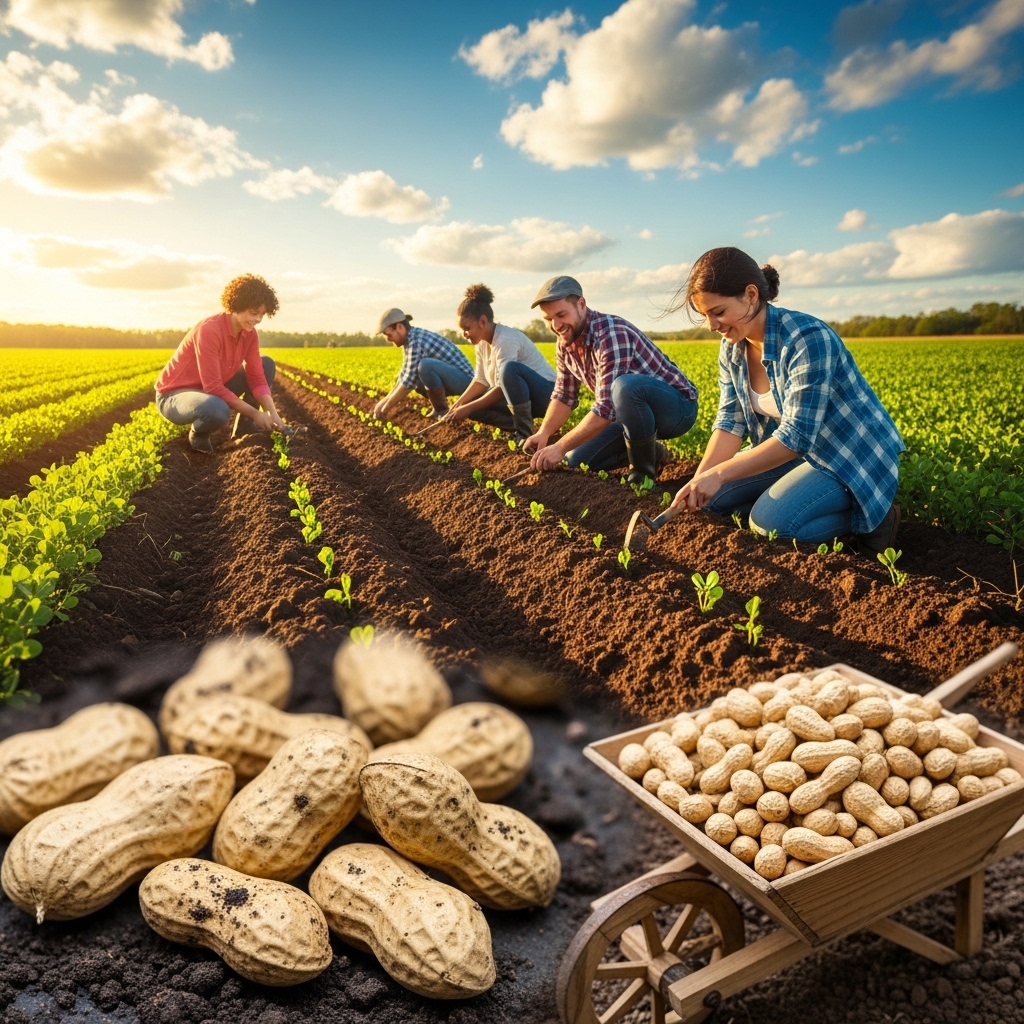
The best way to plant peanuts is to choose a sunny spot with well-drained soil, plant them in late spring after the last frost, and keep them watered throughout the growing season. I’ve found that with the right care, growing peanuts can be a rewarding experience for both new and seasoned gardeners. Read Interesting article: How to Plant Peanut Plants (Complete Guide)
Table of Contents
Overview of Peanut Planting
What Are Peanuts?
Peanuts, scientifically known as Arachis hypogaea, are unique legumes that are often categorized with nuts due to their culinary uses. Unlike most nuts that grow on trees, peanuts develop underground, which is part of what makes them so fascinating. I remember my first experience with peanuts; I was amazed to learn they are not just a snack but a whole gardening adventure! They are originally from South America and thrive in warm climates, making them a popular crop in various parts of the world. If you’re interested in their growth, check out What Does a Peanut Plant Look Like? Identification Guide.
Benefits of Growing Peanuts
Growing peanuts offers numerous benefits that I’ve come to appreciate over the years. First, they are an excellent source of protein, healthy fats, and vitamins, making them a nutritious addition to our diets. Besides the health aspect, peanuts enrich the soil through nitrogen-fixing properties, which help improve soil quality for future crops. When I first started planting peanuts, I loved the idea that while I was growing something delicious, I was also contributing positively to my garden’s ecosystem. Plus, peanuts are relatively easy to grow, making them an ideal plant for beginner gardeners.
Choosing the Right Variety
Types of Peanuts
There are several types of peanuts, each with its unique characteristics and uses. The four main varieties are Virginia, Runner, Spanish, and Valencia peanuts. Virginia peanuts are large and often used for roasting, while Runner peanuts are small and have a higher oil content, making them perfect for peanut butter. Spanish peanuts are smaller and have a reddish-brown skin, commonly used in candy and snacks. Lastly, Valencia peanuts are often sold as “sweet peanuts” and are great for boiling and snacking. I’ve tried planting different varieties, and honestly, each one brings something special to the table.
Factors for Selecting Peanut Varieties
When deciding which peanut variety to grow, consider factors like climate, soil quality, and your personal preferences. For instance, if you live in a hot, humid area, Virginia or Runner varieties might thrive best. I remember the first time I chose my variety based on what I loved to eat, and it made the entire growing process more enjoyable. Additionally, think about the space you have available; some varieties may require more room than others, especially when it comes to their spreading habits. It’s all about picking what’s right for your gardening style!
When to Plant Peanuts
Ideal Growing Season
Peanuts are warm-season crops, so timing is crucial. I usually aim to plant peanuts after the last frost, ideally between late spring to early summer. This timing allows the soil to warm up, which is essential for the seeds to germinate properly. I’ve made the mistake of planting too early, and it resulted in poor germination rates. Checking the local frost dates can help ensure you’re planting at the right time.
Climate Requirements
Peanuts thrive in a warm climate with temperatures ranging from 70°F to 85°F. They require a full sun location, so I always choose a spot in my garden that gets plenty of sunlight throughout the day. If you live in an area with shorter growing seasons, consider starting your peanuts indoors or selecting a faster-maturing variety. I learned that the right climate can make all the difference in the growth rate and health of the plants.
Soil Temperature Considerations
Soil temperature plays a significant role in peanut planting. Ideally, the soil should be at least 65°F before planting. Using a soil thermometer can help you gauge the temperature accurately. I remember waiting impatiently for the soil to warm up, but it was definitely worth it! If the soil is too cold, the seeds may rot instead of germinating, leading to disappointment. Patience is key when it comes to planting peanuts!
Preparing the Soil
Soil Type and Quality
When it comes to growing peanuts, the soil you choose can make a world of difference. I’ve learned that peanuts prefer sandy loam or well-drained soils, which allow for good drainage and aeration. Heavy clay soils can retain too much moisture, which can suffocate the roots. In my experience, I’ve had great success by mixing in some sand or compost to improve soil texture and drainage. I remember the first time I tilled my garden; the sight of that rich, crumbly soil gave me such a sense of accomplishment. I could almost feel the peanuts thriving in there!
Soil pH Levels
Peanuts thrive in slightly acidic to neutral soil, with a pH between 5.8 and 7.0. I didn’t realize how important this was until I tested my soil for the first time. If the pH is too low, it can inhibit nutrient uptake, which can stunt plant growth. I found it really helpful to use a soil pH test kit, which was simple and straightforward. If your soil pH is out of range, you can amend it using lime to raise pH or sulfur to lower it. I’ve seen firsthand how adjusting the soil pH can lead to healthier plants and better yields, so it’s definitely worth the effort!
Soil Amendments and Fertilization
Before planting, I like to enrich my soil with organic matter, such as compost or well-rotted manure. This not only improves soil structure but also provides essential nutrients that help the plants establish strong roots. I remember when I first started gardening, I was hesitant to add too many amendments, fearing I’d overdo it. But I learned that a balanced approach works best. A good all-purpose fertilizer can also be beneficial during the planting stage. I usually apply a slow-release fertilizer to give my peanut plants a steady supply of nutrients throughout the growing season.
Planting Peanuts
Seed Preparation
Preparing your seeds properly can set you up for a successful peanut harvest. I’ve often soaked my peanut seeds in water for about 8 hours before planting. This helps kickstart the germination process, and I always notice that they sprout faster. Just be careful not to soak them for too long, as too much moisture can lead to rot. After soaking, I usually let them dry slightly before planting, which keeps them from clumping together in the soil. It’s a small step, but I’ve found that it makes a noticeable difference.
Planting Techniques
When planting peanuts, I’ve discovered that planting them directly in the ground is the best method. I dig rows that are about 3 to 4 inches deep and space them about 30 inches apart. I like to plant the seeds about 2 to 4 inches apart within the row, and I always make sure to cover them with soil afterward. One tip I’ve picked up is to gently pat down the soil after planting; it helps ensure good seed-to-soil contact, which is crucial for germination. I remember how satisfying it felt to see those rows of planted peanuts stretching across my garden!
Spacing and Depth Guidelines
Proper spacing is key to giving your peanut plants the room they need to spread out. I usually aim for about 12 to 18 inches between rows, which allows for easy access during the growing season. If you crowd them too closely, you might end up with stunted plants or poor yields. I learned this the hard way during my first attempt, where I crammed too many seeds into a small area. Now, I take my time to measure and space them out properly, and it’s made a huge difference in the overall health of my peanut plants.
Caring for Peanut Plants
Watering Requirements
Once my peanuts are in the ground, I make sure to keep a close eye on their watering needs. Peanuts require consistent moisture, especially during their flowering and pod development stages. I typically water them deeply once a week, but if the weather is particularly hot or dry, I increase the frequency. I’ve found that mulching around the plants helps retain moisture and prevent weeds, which is a double win! I remember one summer when I got caught up in other projects and neglected my watering schedule. My plants showed me just how much they needed that care!
Pest and Disease Management
Pests and diseases can be a real challenge when growing peanuts. I’ve encountered issues with aphids and root-knot nematodes in the past. To manage pests, I use beneficial insects like ladybugs and lacewings whenever possible. I also keep an eye out for signs of disease, such as wilting leaves or discolored stems. Crop rotation has been a game-changer for me; it helps break the cycle of pests and diseases. I’ve learned that prevention is key, so I make it a point to monitor my plants regularly.
Weed Control Strategies
Weeds can really compete with peanut plants for nutrients and water, so I’ve developed a few strategies to keep them at bay. I usually start with a good layer of mulch right after planting, which not only suppresses weeds but also keeps the soil temperature stable. Hand weeding is also effective, and I often find a little time to pull weeds once a week. I remember the sense of satisfaction I felt when I cleared out a patch of stubborn weeds; it felt like a small victory in my gardening journey!
Fertilizing During Growth
As my peanut plants grow, I provide them with additional nutrients based on their needs. I like to apply a balanced fertilizer about halfway through the growing season to support healthy growth and pod development. This way, my plants have the energy they need to produce those delicious peanuts. I’ve discovered that a little extra care goes a long way towards a bountiful harvest!
Harvesting Peanuts
Signs of Ready Peanuts
Harvesting peanuts can be one of the most exciting parts of the gardening journey. I remember the thrill of waiting for my plants to signal that they were ready for harvest. Typically, peanuts are ready about 120 to 150 days after planting. The first sign I look for is the yellowing of the leaves; when they start to turn yellow and drop off, I know the time is near. I also like to gently dig up a few plants to check the pods. If the pods are plump and the skin has turned a nice beige color, it’s a good indication that my peanuts are ready to be harvested. It’s such a satisfying feeling to finally uncover those hidden treasures beneath the soil!
Harvesting Techniques
When it comes to harvesting, I’ve learned that careful handling is key to preserving my peanut crop. I usually use a garden fork or a shovel to loosen the soil around the roots gently. I try to lift the entire plant out of the ground, being careful not to break off the pods. Once I get the plants out, I shake off any excess dirt and hang them upside down in a warm, dry place. This way, they can continue drying out, which is crucial for achieving that perfect crunch later on. During my first attempt, I didn’t realize how important this step was, and I ended up with some soggy peanuts. Now, I pay extra attention to drying them properly.
Post-Harvest Processing
Once I’ve harvested my peanuts, it’s time for some post-harvest processing. I like to leave the plants hanging for about two weeks to ensure they dry thoroughly. After that, I remove the pods from the plants, which can be a fun little task. I usually sit down with a bowl and start shelling them, finding it quite therapeutic. I make sure to check for any damaged or spoiled peanuts during this process, because they can affect the overall quality. After shelling, I rinse the peanuts gently to get rid of any dirt, then I lay them out to dry completely again. This step is crucial to prevent mold and spoilage. I’ve noticed that taking my time here pays off when it comes to flavor and texture.
Storing Peanuts
Best Storage Practices
Storing peanuts properly is essential to keep them fresh and flavorful. I’ve found that the best method is to keep them in a cool, dry place. Ideally, I store my peanuts in an airtight container or a breathable bag in a pantry or cupboard. I avoid storing them in the refrigerator, as the moisture can lead to mold. I usually label the containers with the date I harvested them, so I can keep track of how long they’ve been stored. The last thing I want is to bite into a stale peanut after all that hard work! I’ve learned that, when stored correctly, peanuts can last for several months.
How to Prepare Peanuts for Long-term Storage
For long-term storage, I often consider roasting my peanuts. Roasting not only enhances their flavor but also helps to extend their shelf life. I usually spread the shelled peanuts on a baking sheet and roast them in the oven at 350°F for about 10-15 minutes, stirring occasionally to ensure they don’t burn. Once they’re nice and golden, I let them cool completely before storing them. I remember the first time I roasted my peanuts; the aroma filled my kitchen, making it hard to resist snacking right away! After they cool, I store them in an airtight container, and they can last for up to a year. I love knowing that I can enjoy my homegrown peanuts long after the growing season has ended.
Common Issues and Troubleshooting
Pests and Insects
Even after all the hard work in growing and harvesting, there can still be challenges ahead. I’ve had my fair share of encounters with pests that can threaten my peanut plants. Aphids and root-knot nematodes are the most common culprits. When I notice wilting leaves or stunted growth, I usually take a closer look. To manage these pests, I often introduce beneficial insects like ladybugs into my garden, which help keep aphid populations in check. Additionally, I’ve found that regular monitoring and prompt action can make all the difference. The sooner I address a pest problem, the better my chances of saving my plants.
Diseases Affecting Peanuts
Diseases can also be a concern when growing peanuts. Two of the most common are leaf spot and southern blight. I’ve faced issues with leaf spot in the past, which shows up as dark spots on the leaves. When I see this, I make sure to remove affected leaves and improve air circulation by spacing my plants properly. I’ve learned that practicing crop rotation is beneficial, as it helps reduce the likelihood of diseases taking hold in the soil. Keeping my garden clean and free from debris has also helped reduce disease issues.
Environmental Stress Factors
Environmental factors can impact my peanut plants significantly. Heat stress can be a real danger, especially during peak summer months. I make it a point to monitor soil moisture levels carefully during these times. If I notice my plants wilting, I increase my watering frequency and check for any signs of dehydration. On the flip side, excessive rain can also be problematic, leading to root rot. I’ve learned to adapt my care based on the weather conditions, which has been key to maintaining healthy plants. Gardening is all about being in tune with the environment, and I’ve found that being proactive can save a lot of headaches later!
Frequently Asked Questions
What is the best way to plant peanuts?
The best way to plant peanuts is to choose a sunny spot with well-drained soil, plant them in late spring after the last frost, and keep them watered throughout the growing season.
What are peanuts, and where do they originate?
Peanuts, scientifically known as Arachis hypogaea, are unique legumes that develop underground. They are originally from South America and thrive in warm climates.
What are the benefits of growing peanuts?
Growing peanuts is beneficial as they are an excellent source of protein, healthy fats, and vitamins. Additionally, peanuts enrich the soil through nitrogen-fixing properties and are relatively easy to grow, making them ideal for beginner gardeners.
What are the main types of peanuts?
The four main varieties of peanuts are Virginia, Runner, Spanish, and Valencia peanuts. Each has its unique characteristics and uses, such as roasting or making peanut butter.
When is the ideal time to plant peanuts?
Peanuts should ideally be planted after the last frost, between late spring to early summer, when the soil temperature is at least 65°F.
What soil type is best for growing peanuts?
Peanuts prefer sandy loam or well-drained soils that allow for good drainage and aeration. Heavy clay soils can retain too much moisture, which can suffocate the roots.
How should I water my peanut plants?
Peanuts require consistent moisture, especially during their flowering and pod development stages. It is recommended to water them deeply once a week, increasing frequency during hot or dry weather.
What signs indicate that peanuts are ready for harvest?
Peanuts are typically ready for harvest about 120 to 150 days after planting. Signs include yellowing leaves that start to drop off and plump pods with a beige skin color.
What are the best practices for storing peanuts?
Peanuts should be stored in a cool, dry place, ideally in an airtight container or breathable bag. Avoid storing them in the refrigerator to prevent moisture buildup.
What common pests and diseases affect peanut plants?
Common pests include aphids and root-knot nematodes, while diseases such as leaf spot and southern blight can also affect peanuts. Regular monitoring and crop rotation can help manage these issues.