
You can successfully plant 2-5 seed potatoes in a 5-gallon bucket, depending on the variety and growing conditions, providing ample space for each plant to thrive and produce a good yield.
Table of Contents
Growing potatoes in a bucket is an ideal solution for gardeners with limited space. This method not only maximizes yield but also simplifies the planting and harvesting process. Follow these 9 essential steps to ensure a successful crop.
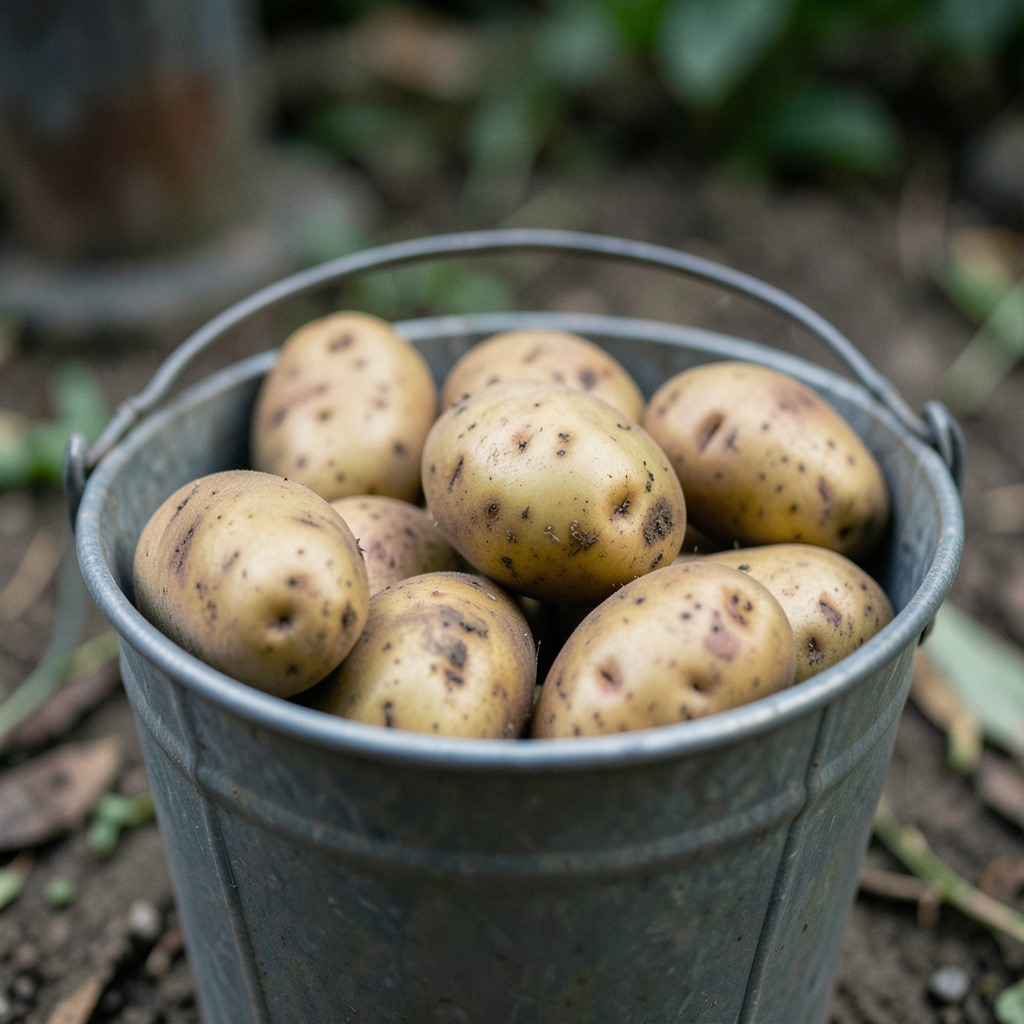
Understand the Benefits of Planting Potatoes in a Bucket
Planting potatoes in a bucket offers numerous advantages, making it an ideal choice for beginners and urban gardeners alike. This method optimizes limited space while ensuring ease of maintenance and control over growing conditions.
Space-Saving Solutions for Urban Gardening
Growing potatoes in buckets allows you to maximize yield in minimal space. Here are key benefits:
- Efficient Use of Space: Buckets can fit in small areas such as balconies, patios, or even kitchens.
- Vertical Gardening: Stacking or using multiple buckets can further enhance space efficiency, allowing more plants in a smaller footprint.
- Customizable Sizes: You can choose different bucket sizes to suit your available space and the number of potatoes you wish to grow.
Easy Maintenance and Pest Control
Bucket gardening simplifies the overall maintenance process:
- Controlled Environment: You have direct control over soil quality, drainage, and exposure to pests. This minimizes the risk of diseases that affect traditional garden beds.
- Simplified Watering: Buckets allow for more precise watering, reducing the chances of overwatering or underwatering.
- Pest Management: Elevated buckets can deter certain pests, making it easier to manage infestations without chemical treatments.
Perfect for Beginners: A Simple Approach
For novice gardeners, planting potatoes in buckets is straightforward:
- Less Physical Labor: No need for heavy tilling or digging. Just fill the bucket with the right soil mix.
- Clear Instructions: Following a simple planting process can help new gardeners feel accomplished quickly.
- Visual Progress: The transparent nature of buckets allows you to monitor growth easily without disturbing the plants.
For those interested in getting started, consider using a 5-Gallon Food-Grade Bucket for Gardening. This size is perfect for accommodating a few seed potatoes while ensuring proper growth conditions.
Choosing the Right Bucket for Potato Planting
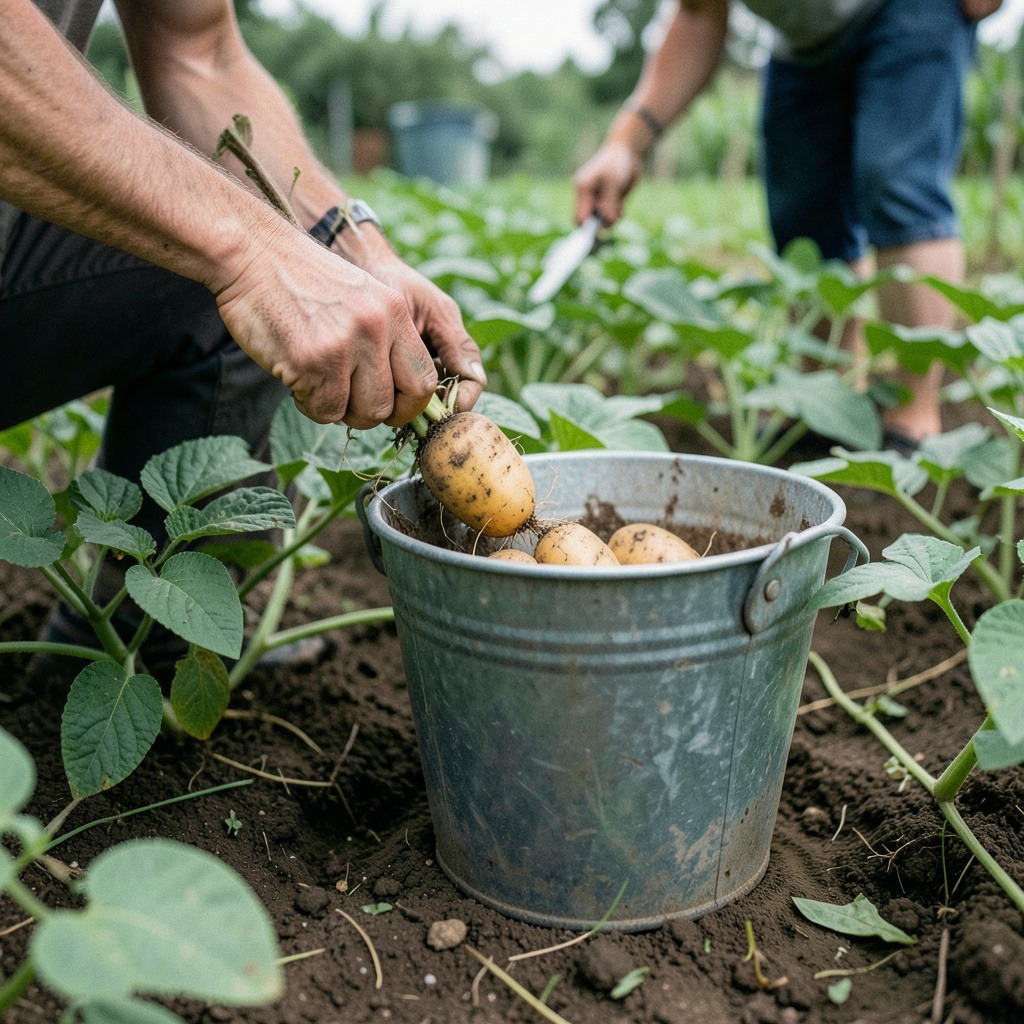
Selecting the appropriate bucket is crucial for growing potatoes successfully. The right size, material, and drainage will significantly impact your harvest.
Ideal Bucket Size and Volume
For optimal growth, choose a bucket that holds between 3 to 5 gallons of soil. A 5-gallon bucket is ideal for accommodating several seed potatoes while providing ample room for growth. Ensure that the bucket is at least 12 inches deep to allow for proper root development.
Materials: Food-Grade vs. Non-Food-Grade
When selecting a bucket, prefer food-grade plastic. Food-grade buckets are safe for growing edible plants. They minimize the risk of harmful chemicals leaching into the soil. Look for buckets labeled with recycling numbers 1, 2, 4, or 5.
Comparison of Bucket Materials:
| Material | Safety for Plants | Durability | Cost |
|---|---|---|---|
| Food-Grade Plastic | High | High | Moderate |
| Non-Food-Grade Plastic | Moderate | Moderate | Low |
| Wood | High | Moderate | High |
Preparing the Bucket: Drilling Drainage Holes
Proper drainage is vital to prevent waterlogging and root rot. Ensure your bucket has at least one drainage hole, ideally 1/4 inch wide. For larger buckets, drill two or three holes to enhance drainage.
Checklist for Bucket Preparation:
- Select a 5-gallon food-grade bucket.
- Drill multiple 1/4 inch drainage holes in the bottom.
- Clean the bucket thoroughly to remove any residues.
- Fill with a quality soil mix suitable for potatoes.
By following these guidelines, you’ll set the stage for a successful potato-growing experience in buckets.
Selecting Seed Potatoes for Your Bucket Garden
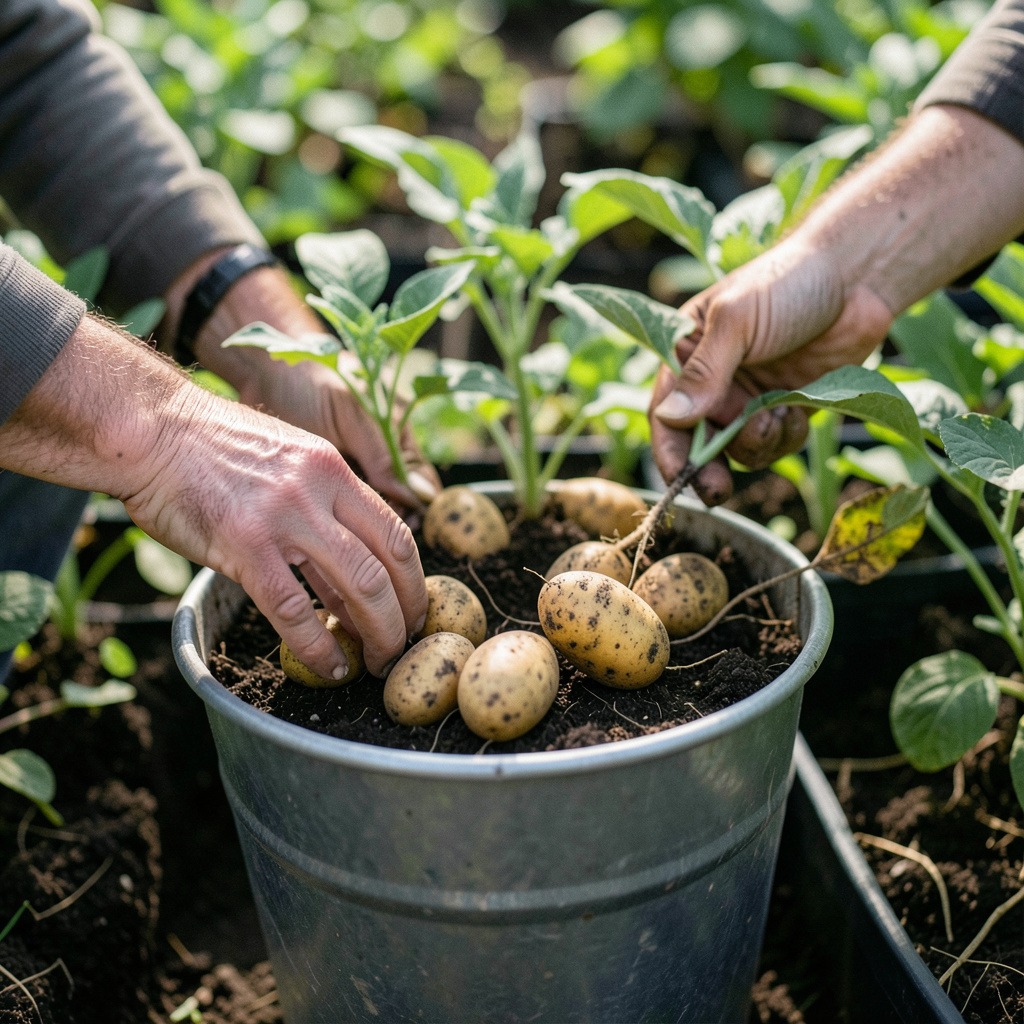
Choosing the right seed potatoes is crucial for a successful bucket garden. The selection will influence growth, yield, and overall plant health. Here’s how to pick the best varieties and prepare them for planting.
Best Potato Varieties for Containers
Certain potato varieties thrive in containers. Here are a few recommendations:
- Yukon Gold: Compact and high-yielding, perfect for small spaces.
- Red Pontiac: Known for its adaptability and disease resistance.
- Fingerling Potatoes: Unique shape and flavor, ideal for limited space.
- Cherry Tomatoes: A smaller variety that grows well in buckets.
Selecting these varieties allows you to maximize your yield while accommodating the limited space of a bucket.
Chitting: Preparing Your Seed Potatoes
Chitting is the process of encouraging seed potatoes to sprout before planting. This step enhances growth and can lead to an earlier harvest. Here’s how to do it:
1. Choose a Cool, Dry Location: Select a place with good ventilation.
2. Place Seed Potatoes in Egg Cartons: Position them with the eyes facing upward.
3. Wait 4-6 Weeks: Keep them in a cool space until sprouts emerge.
Chitting boosts your plants’ vigor and helps them establish more effectively once planted.
Organic vs. Non-Organic Seed Potatoes
When selecting seed potatoes, consider whether to go organic or non-organic. Each type has its pros and cons:
- Organic Seed Potatoes:
- Grown without synthetic pesticides or fertilizers.
- Often more resilient and flavorful.
- Non-Organic Seed Potatoes:
- Typically less expensive.
- May have a higher yield but could contain chemical residues.
Choosing organic seed potatoes can lead to healthier plants and tastier potatoes. However, if budget is a concern, non-organic options may still provide satisfactory results.
By focusing on these aspects of seed potato selection, you can set the foundation for a fruitful bucket gardening experience. For planting, consider using a 5-Gallon Food-Grade Bucket for Gardening to ensure quality and safety for your crops.
Preparing the Soil for Potatoes in a Bucket
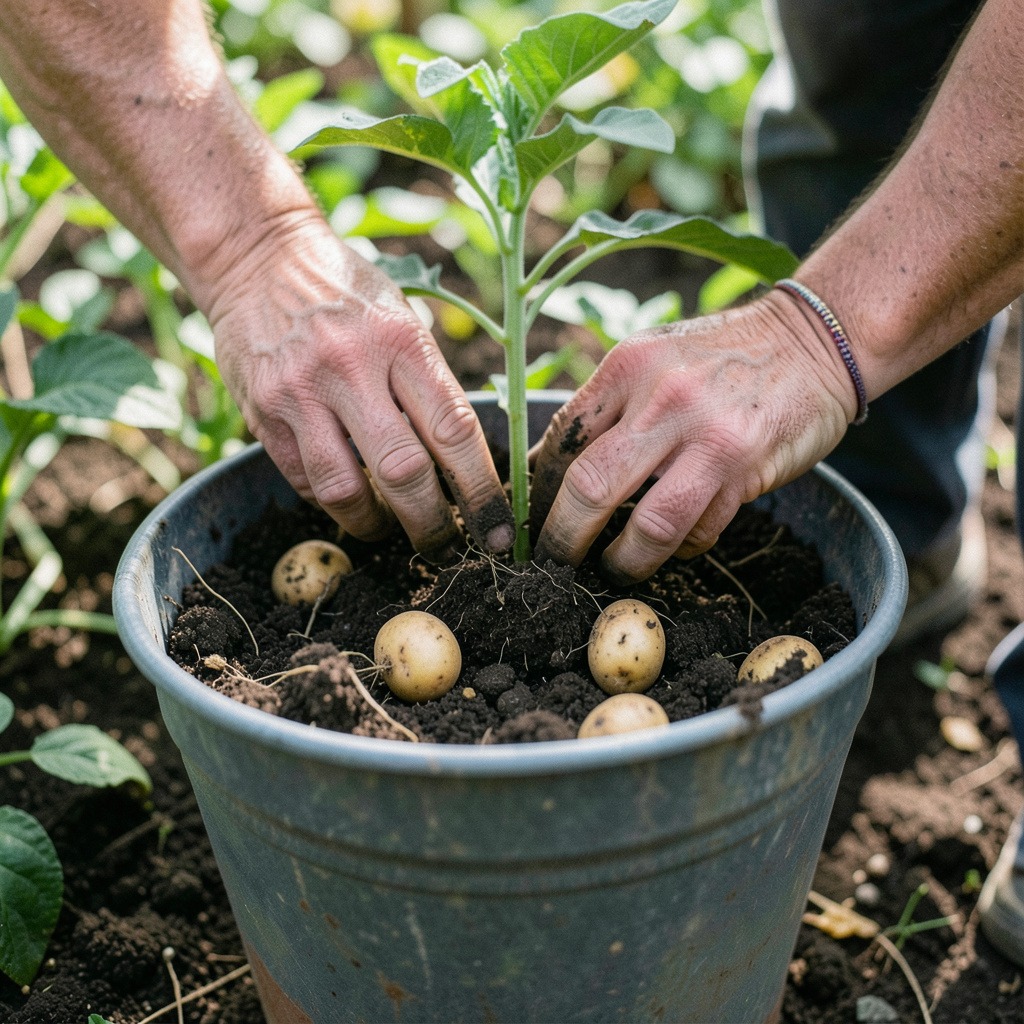
Creating the right soil mix is crucial for successful potato growth in buckets. Proper drainage and nutrient composition directly influence tuber development and overall plant health.
Creating a Well-Draining Potting Mix
To facilitate healthy potato growth, your potting mix must be well-draining yet nutrient-rich. Use the following ratios to create an ideal soil blend:
- Peat Moss or Coconut Coir: 40%
- Compost: 40%
- Perlite or Vermiculite: 20%
This blend ensures adequate aeration, prevents waterlogging, and retains essential nutrients.
Checklist for Soil Preparation:
- Select a large bucket (at least 12 inches deep) with drainage holes.
- Combine peat moss or coconut coir with compost for nutrients.
- Add perlite or vermiculite to enhance drainage.
- Mix thoroughly to ensure even distribution of materials.
Nutrient Requirements for Optimal Growth
Potatoes thrive in nutrient-rich environments. Include high-quality compost, which improves soil structure and moisture retention. Aim for compost that has aged for at least six months to prevent burning the plants.
Example Nutrient-Rich Amendments:
- Bone Meal: Provides phosphorus for tuber development.
- Kelp Meal: Adds trace minerals and promotes plant vigor.
Adjusting Soil pH for Potatoes
Potatoes prefer a slightly acidic to neutral pH, ideally between 5.5 and 7.0. Test your soil pH using a kit available at garden centers. If adjustments are necessary:
- To Lower pH: Incorporate sulfur or peat moss.
- To Raise pH: Use lime.
Quick Soil pH Adjustment Guide:
- Test soil pH with a meter or kit.
- For acidic needs: Add sulfur (1-2 lbs per 100 sq ft).
- For alkaline needs: Add lime (1-2 lbs per 100 sq ft).
By carefully preparing the soil mix and adjusting nutrient levels, you can create an optimal environment for your potato plants to thrive in bucket gardening.
The Step-by-Step Process for Planting Potatoes in a Bucket
Planting potatoes in a bucket is a straightforward method that allows you to grow fresh potatoes even in limited spaces. Follow these steps to ensure a successful planting process.
Step 1: Preparing Your Seed Potatoes
Before planting, prepare your seed potatoes for optimal growth. This process, known as chitting, encourages sprouting.
- Select Seed Potatoes: Choose disease-free seed potatoes from a reputable source. Aim for early, mid, or late-season varieties based on your climate.
- Chit Your Potatoes: Place seed potatoes in a light, cool area for 4-6 weeks. This promotes the growth of “eyes” or sprouts.
- Cut and Cure: If your seed potatoes are large, cut them into pieces, ensuring each piece has at least one eye. Allow the cut pieces to cure for 24 hours to prevent rot.
Step 2: Filling Your Bucket with Soil
Selecting the right soil is crucial for healthy potato growth. Use a mix that retains moisture but also drains well.
- Choose the Right Bucket: A 5-gallon bucket works for two seed potatoes, while a 10-gallon bucket can accommodate up to five.
- Soil Mix: Fill the bucket with a nutrient-rich potting mix. Aim for a blend of compost, peat moss, and vermiculite or perlite.
- Ensure Drainage: Drill holes in the bottom of the bucket for excess water drainage. This is vital to prevent root rot.
Step 3: Planting and Spacing Your Seed Potatoes
Proper planting depth and spacing are essential for maximizing yield.
- Planting Depth: Create a layer of soil about 4-6 inches deep in the bucket. Place the seed potatoes with the sprouts facing up.
- Spacing: Space the seed potatoes at least 6 inches apart to allow for adequate growth.
- Hilling: As the potato plants grow, add more soil around the base, covering the stems but leaving a few leaves exposed. This technique, known as hilling, protects developing tubers from sunlight and encourages more tuber production.
By following these steps, you’ll create a supportive environment for your potato plants, leading to a successful harvest in your bucket garden.
Care and Maintenance of Your Bucket-Grown Potatoes
Proper care and maintenance are crucial for the success of your bucket-grown potatoes. This includes monitoring watering needs, following a fertilization schedule, and managing pests effectively.
Watering Needs: Striking the Right Balance
Potatoes in buckets require consistent moisture. However, overwatering can lead to rot. Here’s how to manage watering:
- Check Soil Moisture: Insert your finger into the soil. If the top inch is dry, it’s time to water.
- Watering Schedule: Aim for watering every 2-3 days in warm weather, less often in cooler conditions.
- Drainage: Ensure your bucket has drainage holes to prevent waterlogging.
Fertilization Schedule for Optimal Growth
Fertilization supports robust growth. Follow this schedule for best results:
- Initial Fertilization: Use a balanced fertilizer when you plant your seed potatoes.
- Mid-Growth Fertilization: Apply a nitrogen-rich fertilizer when plants reach about 6 inches in height. This encourages leafy growth.
- Final Boost: Two weeks before harvest, switch to a potassium-rich fertilizer to enhance tuber development.
Identifying and Managing Common Potato Pests
Pests can threaten your potato plants. Implement these strategies to manage them effectively:
- Common Pests: Look for aphids, potato beetles, and cutworms.
- Organic Management:
- Handpicking: Remove pests manually.
- Neem Oil: Spray neem oil to deter pests naturally.
- Chemical Management:
- Insecticidal Soap: Use this for a quick knockdown of pests.
- Comparison: Organic methods are safer for beneficial insects, while chemical options may yield faster results.
Maintenance Checklist
| Task | Frequency |
|---|---|
| Check soil moisture | Every 2-3 days |
| Fertilize | Every 4-6 weeks |
| Inspect for pests | Weekly |
| Water | As needed |
| Hill soil | Every 2-3 weeks |
By maintaining optimal watering, feeding, and pest management, you will create a thriving environment for your bucket-grown potatoes.
Harvesting Techniques for Potatoes Grown in Buckets
Harvesting potatoes grown in buckets requires careful observation and technique. Proper timing and method ensure the best yield and quality.
When to Harvest: Signs of Readiness
Identifying when your bucket-grown potatoes are ready for harvest is crucial. Look for the following signs:
- Yellowing Leaves: As the plant matures, the leaves will start to yellow and die back. This indicates that the plant is diverting energy from leaf growth to tuber development.
- Size of Tubers: If you can check the size of the potatoes, they should be about 1-2 inches in diameter. Firm and well-formed tubers are a good sign.
- Time Frame: Most potato varieties take between 70 and 120 days to mature. Keeping track of your planting date can help determine the right time for harvesting.
Harvesting Techniques: How to Avoid Damage
When harvesting, gentle handling is vital to prevent damaging the tubers. Follow these steps:
1. Prepare Your Tools: Use a garden fork or spade. Ensure your tools are clean to avoid introducing diseases.
2. Loosen the Soil: Start by gently loosening the soil around the base of the plant. Work from one side to avoid disturbing the tubers.
3. Lift Carefully: Once the soil is loose, lift the plant carefully by the base. Avoid pulling directly on the stems to prevent breakage.
4. Inspect and Clean: After lifting, inspect the tubers for any damage. Clean them gently with your hands, removing excess soil without scrubbing.
Post-Harvest Care: Storing Your Potatoes Safely
Proper storage conditions can significantly extend the shelf life of your harvested potatoes. Consider these tips:
- Ideal Storage Conditions: Store potatoes in a cool, dark, and dry place. A temperature range of 45 to 50 degrees Fahrenheit is optimal.
- Avoid Refrigeration: Do not store potatoes in the refrigerator. Cold temperatures can alter their flavor and texture.
- Separation from Ethylene Producers: Keep potatoes away from onions and other fruits that release ethylene gas, which can cause sprouting.
By following these harvesting techniques and storage tips, you can maximize the yield and quality of your bucket-grown potatoes.
Troubleshooting Common Issues in Bucket Potato Gardening
Growing potatoes in a bucket can be rewarding, but it also presents certain challenges. Common pests, diseases, and environmental factors can affect your crop. Understanding these issues and knowing how to address them is crucial for a successful harvest.
Common Pests and How to Manage Them
Pests can quickly become a problem in bucket gardening. Here are some common pests you might encounter and strategies to manage them:
| Pest | Signs of Infestation | Management Strategies |
|---|---|---|
| Aphids | Curling leaves, sticky residue | Spray with insecticidal soap or neem oil. |
| Whiteflies | Tiny white flies, yellowing leaves | Use yellow sticky traps and insecticidal soap. |
| Spider Mites | Fine webbing, speckled leaves | Increase humidity, spray with water or neem oil. |
Diseases to Watch For and Their Solutions
Diseases can also pose a risk to your potato plants. Here’s what to look for and how to combat these conditions:
| Disease | Symptoms | Solutions |
|---|---|---|
| Potato Blight | Dark spots on leaves, wilting | Remove infected leaves, apply fungicides. |
| Scab | Rough patches on tubers | Ensure good soil drainage and avoid overwatering. |
| Root Rot | Yellowing leaves, mushy roots | Use well-draining soil and avoid waterlogging. |
Environmental Challenges and Preventative Measures
Environmental factors can significantly impact your bucket-grown potatoes. Here are some potential challenges and how to mitigate them:
| Challenge | Symptoms | Preventative Measures |
|---|---|---|
| Insufficient Sunlight | Stunted growth, leggy plants | Position buckets in a sunny location or use grow lights if indoors. |
| Excessive Heat | Wilting, leaf scorch | Provide shade during the hottest part of the day and ensure adequate watering. |
| Poor Drainage | Root rot, yellowing leaves | Choose buckets with drainage holes and use a well-draining soil mix. |
By understanding these common issues and implementing these strategies, you can effectively manage pests, diseases, and environmental challenges in your bucket potato garden.
Comparing Bucket Gardening with Traditional Ground Planting
Growing potatoes in buckets offers distinct advantages and disadvantages compared to traditional ground planting. Understanding these differences can help you choose the best method for your gardening needs.
Space Efficiency: Bucket vs. Ground
Bucket gardening is particularly beneficial for those with limited space. Buckets allow you to grow potatoes on patios, balconies, or even indoors. Here’s a comparison:
| Feature | Bucket Gardening | Ground Planting |
|---|---|---|
| Space Requirement | Minimal, suitable for small areas | Requires larger garden space |
| Accessibility | Easy to manage and reach | May require bending or kneeling |
| Design Flexibility | Portable and customizable | Fixed location |
Ease of Access and Maintenance
Maintaining potatoes in buckets can be simpler for beginners and those with mobility issues. The following points highlight this aspect:
- Watering: Buckets allow for controlled watering, reducing the risk of overwatering.
- Pest Management: Buckets can deter certain pests, as they are elevated off the ground.
- Soil Control: You can easily adjust the soil quality in buckets to meet the needs of your potato plants.
Yield Potential and Quality Comparisons
While bucket gardening offers convenience, traditional ground planting may yield larger quantities. Here’s how they compare:
- Yield: Ground planting typically produces higher yields due to more extensive root systems. However, buckets can still provide a satisfactory harvest.
- Quality: Potatoes grown in buckets often have a cleaner harvest, free from soil-borne diseases.
This comparison can help you decide which method aligns with your gardening goals and space availability.
Frequently Asked Questions
These quick answers cover the most common questions about this topic, including key details, practical tips, and common concerns.
How many potatoes do I plant in a 5-gallon bucket?
You can plant 2 to 5 seed potatoes in a 5-gallon bucket, depending on the variety and the growing conditions. For optimal growth, ensure that each potato has enough space to develop without overcrowding, which can lead to competition for nutrients and water.
What month is the best month to plant potatoes?
The best time to plant potatoes is typically in early spring, around 2 to 4 weeks before the last expected frost. This timing allows the potatoes to take advantage of the cool temperatures and adequate moisture that promote healthy growth.
Do potatoes grow better in pots or in the ground?
Potatoes can thrive in both pots and the ground, but growing in pots offers advantages like better control over soil quality and drainage. Container gardening is especially beneficial for limited spaces, while traditional ground planting may yield larger crops due to unrestricted root growth.
How long do bucket potatoes take to grow?
Bucket potatoes usually take between 70 to 120 days to mature, depending on the variety and growing conditions. Keep an eye on the plant’s leaves; when they start to yellow and die back, it’s a sign that the potatoes are ready for harvest.
What common problems occur when growing potatoes in buckets?
Common issues include pest infestations, such as aphids and spider mites, and diseases like potato blight. Additionally, improper watering can lead to root rot. Regularly check your plants for signs of distress and maintain a consistent watering schedule to prevent these problems.
Can I grow potatoes indoors in buckets?
Yes, you can grow potatoes indoors in buckets as long as they receive adequate light. Use grow lights if natural sunlight is insufficient. Ensure proper drainage and maintain a consistent watering routine to create a healthy growing environment.
How can I store my harvested potatoes?
Store harvested potatoes in a cool, dark, and dry place, ideally at temperatures between 45 to 50 degrees Fahrenheit. Avoid refrigeration, as cold temperatures can alter their flavor and texture. Keep them away from onions and other ethylene-producing fruits to prevent sprouting.