
To plant a Japanese maple, choose a suitable location, dig a hole, prepare the soil, position the tree, and water thoroughly to ensure successful growth.
Table of Contents
Japanese maples are beloved for their beauty and adaptability. However, proper planting is crucial for their long-term success. This guide outlines eight essential steps to effectively plant and care for your Japanese maple, ensuring a thriving addition to your garden.
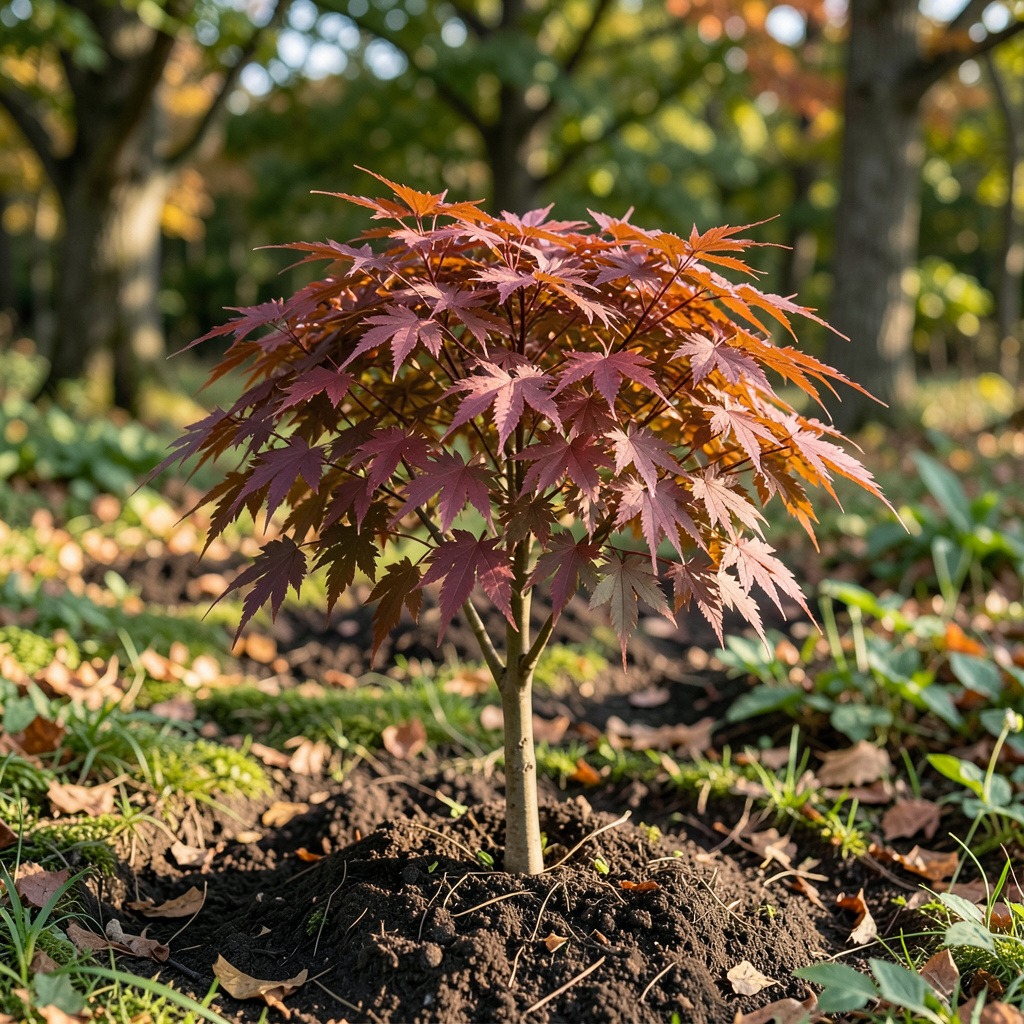
Understanding Japanese Maples and Their Benefits
Japanese maples (Acer palmatum) are small, deciduous trees known for their stunning foliage and graceful forms. They thrive in various landscapes, providing both aesthetic appeal and ecological benefits.
The Allure of Japanese Maples
Japanese maples are celebrated for their vibrant colors, especially in spring and fall. Their leaves range from deep reds to bright greens, creating a dynamic focal point in any garden. The intricate lobed shapes of the leaves add texture and interest. Furthermore, their relatively small size makes them suitable for urban environments and smaller gardens.
Common Uses in Landscaping
These trees serve multiple purposes in landscaping:
- Focal Points: Their unique shapes and colors draw attention, making them excellent centerpieces.
- Layering: Japanese maples can be underplanted with smaller perennials, enhancing garden depth and dimension.
- Screening: Depending on the cultivar, they can offer privacy when planted strategically.
Ecological Benefits
Japanese maples contribute positively to the environment. They provide shade, reducing heat in urban areas, and they attract beneficial wildlife, such as birds and pollinators. Their root systems help prevent soil erosion and maintain soil health.
Choosing the Right Cultivar
Selecting the right cultivar is crucial for successful planting. Here are a few popular options:
- Acer palmatum ‘Bloodgood’: Known for its deep red leaves and resilience, it thrives in various conditions.
- Acer palmatum ‘Sango Kaku’: This cultivar features striking coral bark and vibrant green leaves that turn golden-yellow in the fall.
- Acer palmatum ‘Green Lace’: Renowned for its delicate, lacy leaves, this variety is ideal for shaded areas.
When choosing a cultivar, consider your local climate and the specific light and soil conditions of your garden. This decision will influence the health and beauty of your Japanese maple for years to come.
1. Choosing the Right Location for Your Japanese Maple
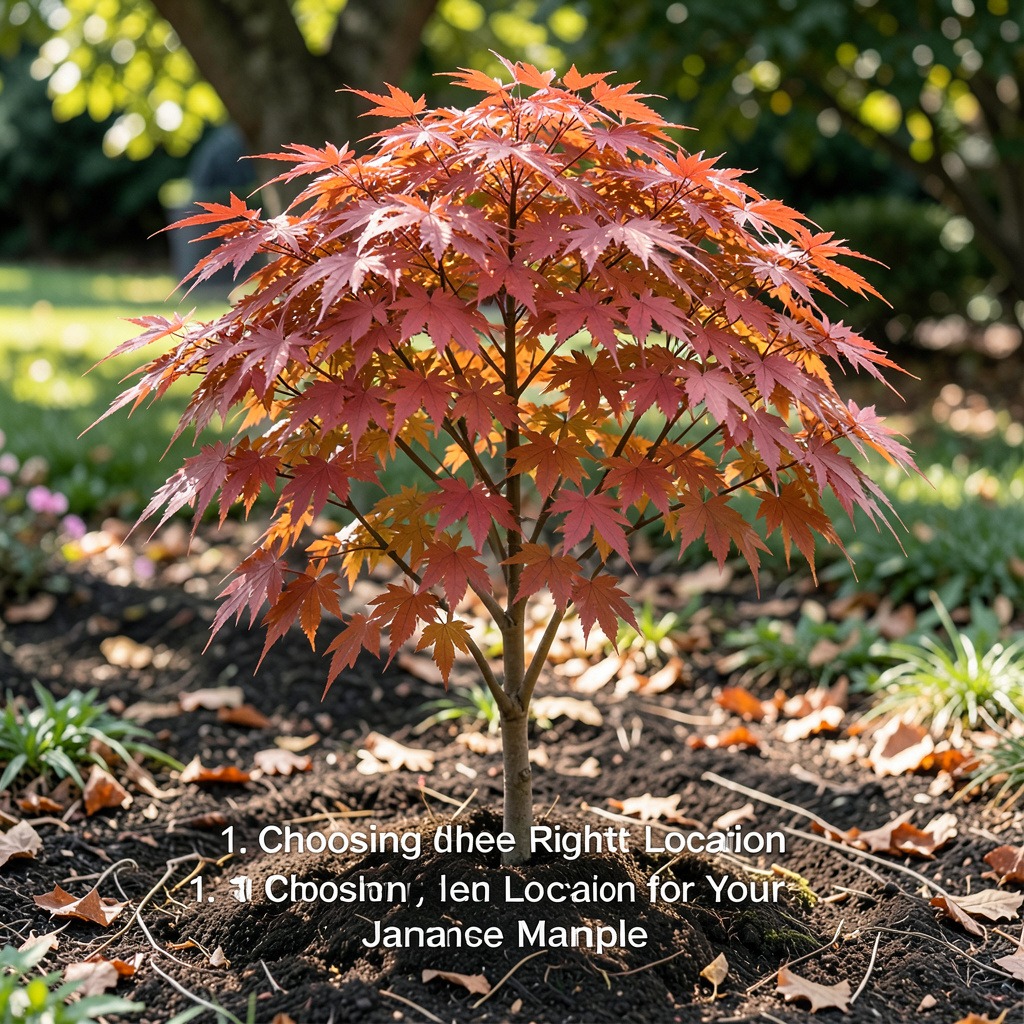
Selecting the ideal planting site for your Japanese maple is crucial for its growth and longevity. Factors such as sunlight, protection from wind, and soil drainage play significant roles in ensuring your tree thrives.
Sunlight Requirements
Japanese maples require specific sunlight conditions to flourish. Generally, they prefer:
- Morning Sunlight: A few hours of direct sunlight in the morning helps promote vibrant leaf colors.
- Afternoon Shade: Protection from harsh afternoon sun prevents leaf scorch, especially in hotter climates.
Before planting, assess the sunlight in your chosen location. For example, if you have a red-leaf variety, it can typically tolerate more sun than green-leaf cultivars. Always research the specific sunlight needs of your selected variety.
Wind Protection
Wind can damage Japanese maples, especially young trees. To protect your tree:
- Locate Windbreaks: Plant near structures, fences, or other trees that provide shelter.
- Consider Microclimates: Areas that are naturally shielded from strong winds will benefit your maple.
For instance, if you live in a windy area, positioning your tree near a building can provide necessary protection.
Soil Drainage Considerations
Proper soil drainage is essential for Japanese maples. They thrive in well-draining soil to avoid waterlogged roots. Follow these guidelines for optimal drainage:
- Soil Type: Aim for loamy soil rich in organic matter that retains moisture but drains excess water.
- Planting Depth: When digging your planting hole, create one that is twice as wide as the root ball and only about two-thirds as deep. This elevates the root ball, promoting better drainage.
Planting Site Evaluation Checklist
Use the following checklist to evaluate your potential planting site:
- Sun Exposure: Does the area receive morning sun with afternoon shade?
- Wind Protection: Is there a natural or artificial windbreak nearby?
- Soil Drainage: Does the soil drain well, and is it rich in organic material?
- Accessibility: Is the site accessible for regular care, such as watering and pruning?
By carefully considering these factors, you can ensure a favorable environment for your Japanese maple, enhancing its growth and beauty for years to come.
2. Preparing the Planting Site
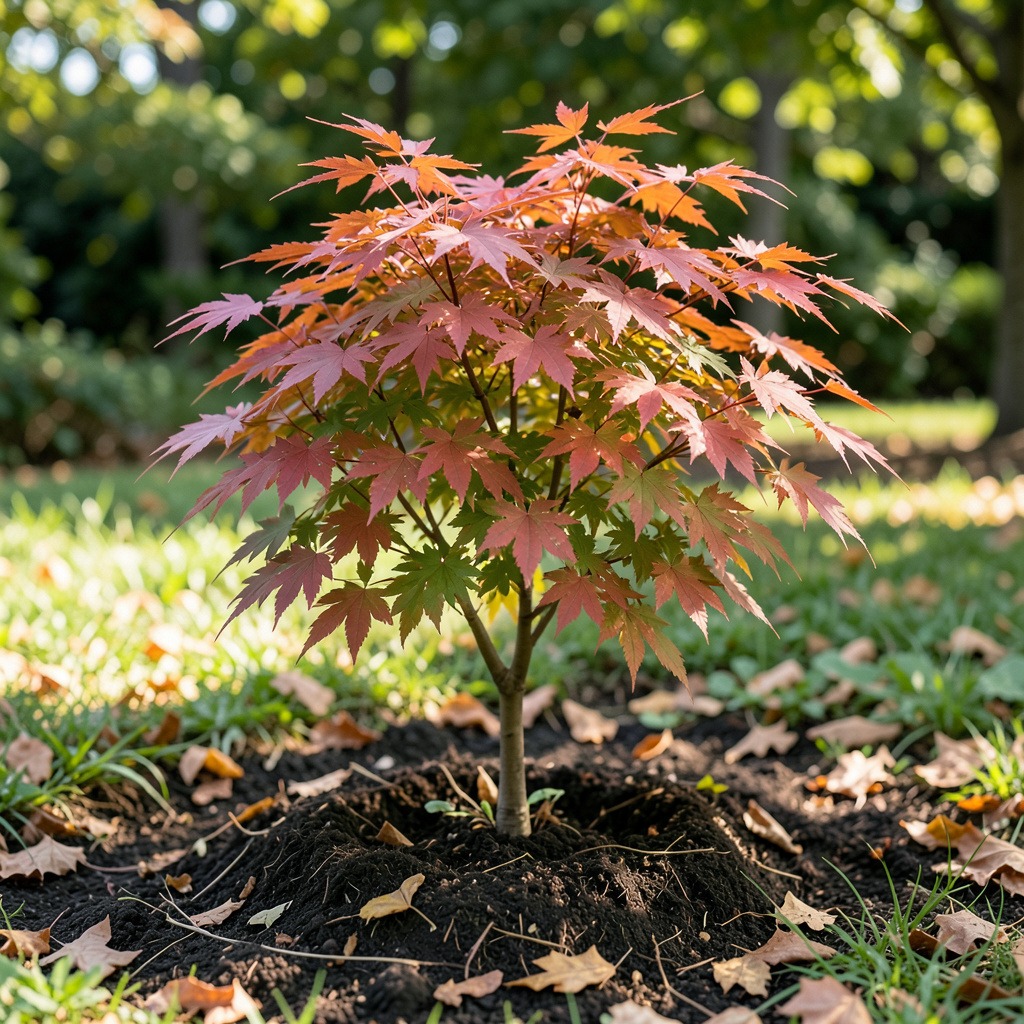
To ensure the successful growth of your Japanese maple, preparing the planting site is crucial. This process involves clearing debris, testing the soil, and making necessary amendments to create an optimal environment for the tree.
Clearing the Area
Begin by removing any unwanted growth such as weeds, grass, and debris from the planting site. This can be done by:
- Pulling out vegetation by hand.
- Using a rake to gather and remove debris.
- Applying herbicides if necessary, but wait at least two weeks before planting to ensure all vegetation is dead.
Aim to clear an area approximately 3 feet in diameter. This space will protect the trunk from damage caused by lawn equipment.
Soil Testing and Amendment
Assessing your soil’s condition is vital for the health of your Japanese maple. Follow these steps:
1. Conduct a Soil Test: Use a home testing kit to determine pH levels and nutrient content.
2. Check Drainage: Dig a small hole and fill it with water. If it drains quickly, drainage is adequate; if not, amendments may be necessary.
3. Amendment Guidelines:
- If the soil is sandy and lacks fertility, incorporate organic materials such as compost or well-rotted manure.
- Avoid amending with overly rich soils that can cause root circling. Instead, use topsoil or pine bark soil conditioner to enhance drainage without overwhelming the tree’s roots.
Creating a Planting Berm
A planting berm can help improve drainage and control moisture levels. Here’s how to create one:
1. Shape the Berm: Form a mound of soil that gently elevates the root ball above the surrounding ground.
2. Size Consideration: Ensure the berm is wide enough to accommodate the root ball while allowing for future growth.
3. Leveling: The top of the berm should be level with the soil surrounding it, preventing water from pooling around the trunk.
By following these steps to prepare your planting site, you create a foundation for a healthy, thriving Japanese maple.
3. Digging the Perfect Hole
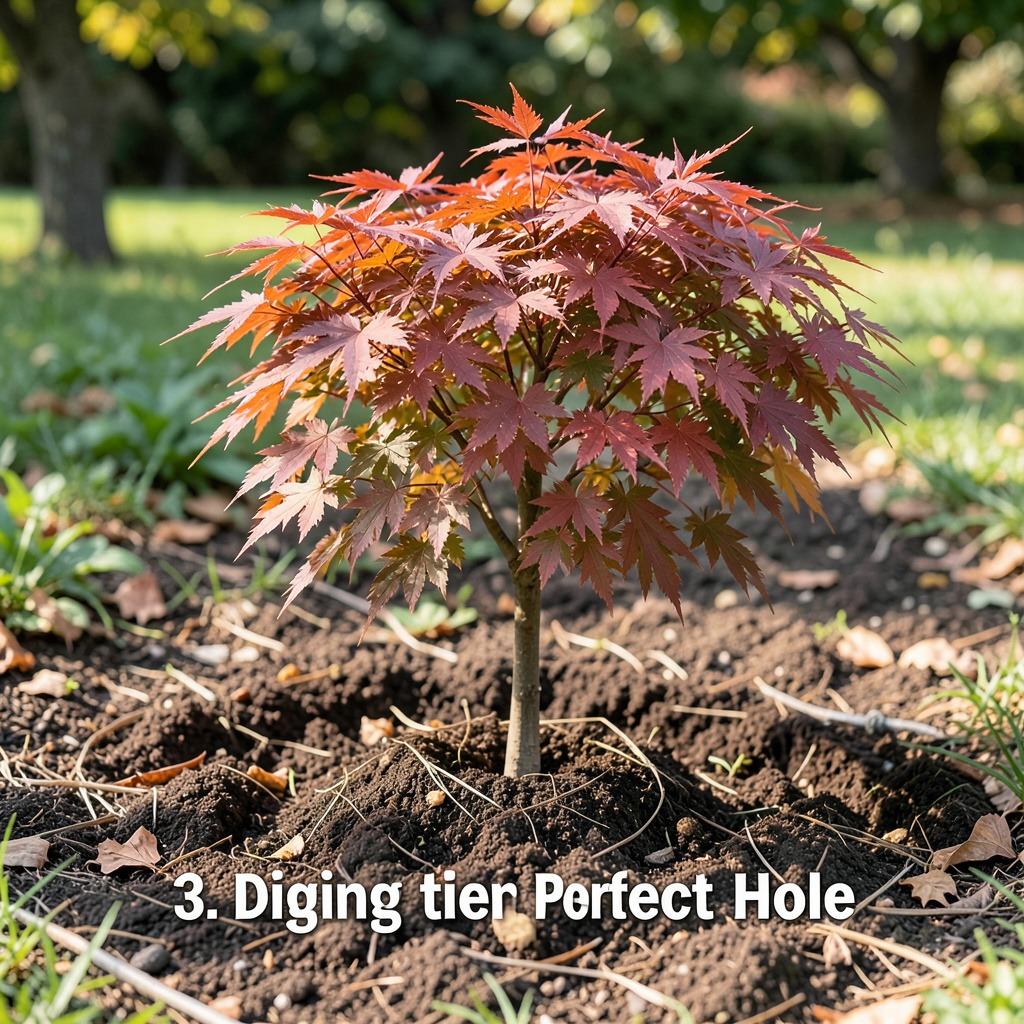
Digging the right hole is crucial for the successful planting of your Japanese maple. The dimensions you choose will influence root development and the tree’s overall health. Follow these guidelines to ensure optimal growth.
Determining Hole Size
When preparing to plant your Japanese maple, consider the following size recommendations:
- Width: Dig a hole that is at least twice as wide as the root ball. This allows for ample space for roots to spread and access nutrients.
- Depth: The hole should be no deeper than the root ball itself. Ideally, it should be about 2/3 the depth of the root ball.
These dimensions facilitate proper drainage and prevent the tree from sitting in overly wet soil, which Japanese maples cannot tolerate.
Depth Considerations
The depth of the hole can be adjusted based on the environmental conditions:
- Dry Areas: If planting in a dry location, consider digging slightly deeper. This helps the tree access moisture while still keeping the root ball elevated.
- Wet Areas: In areas prone to sogginess, dig a shallower hole. Elevate the root ball above ground level using additional soil to ensure proper drainage.
Avoiding Common Digging Mistakes
Here are key mistakes to avoid to ensure a successful planting:
- Digging Too Deep: Avoid planting the tree deeper than it was originally growing. This can stress the roots and hinder growth.
- Neglecting to Loosen Soil: If the soil is compacted, loosen it before placing the root ball in the hole. This encourages healthy root expansion.
- Ignoring Existing Soil Quality: Use original or amended soil to backfill around the root ball. Ensure the soil is well-draining and nutrient-rich.
Checklist for Digging the Perfect Hole
- [ ] Dig a hole twice as wide as the root ball.
- [ ] Ensure depth is no deeper than the root ball.
- [ ] Adjust depth according to local moisture levels.
- [ ] Loosen compacted soil before planting.
- [ ] Backfill with original or amended soil, packing it lightly around the root ball.
By following these guidelines, you will create an ideal environment for your Japanese maple, promoting healthy growth and longevity.
4. Positioning Your Japanese Maple
Proper positioning of your Japanese maple is crucial for its health and aesthetic appeal. This involves not only the orientation of the tree but also ensuring it sits at the correct depth in the hole.
Correct Positioning Techniques
When placing your Japanese maple in the hole, follow these guidelines:
- Root Ball Level: Ensure the top of the root ball is slightly above ground level. This promotes good drainage and prevents “wet feet,” which Japanese maples do not tolerate well.
- Orientation to Sunlight: Position the tree so that its branches can grow toward the sun. Observe the area for light patterns throughout the day and adjust accordingly.
- Angle Adjustment: You do not have to plant the tree straight in the hole. If a different angle enhances the tree’s appearance or sunlight exposure, feel free to adjust.
Assessing Root Ball Orientation
Understanding the orientation of the root ball is essential. Here’s how to assess it:
1. Identify the Front: Determine which side of the tree looks most appealing. This is often the side with the most developed branches or the healthiest foliage.
2. Sunlight Exposure: Ensure that the tree’s front faces the direction that receives the most sunlight during the day. This will encourage balanced growth.
3. Check for Damage: Inspect the root ball for any damaged roots. Position the tree so that any injured roots are below the soil line to promote recovery.
Establishing a Visual Aesthetic
A visually pleasing placement enhances your landscape. Consider the following:
- Focal Points: Position the tree to create a focal point in your garden or yard. This could be towards a pathway, sitting area, or view from a window.
- Height and Spread: Keep in mind the mature height and spread of the cultivar you’ve chosen. Ensure there is enough space for the tree to grow without obstruction.
- Surrounding Plants: Take into account the plants around the Japanese maple. Ensure its placement complements other flora in terms of color and height.
Checklist for Tree Positioning
- [ ] Place the root ball slightly above ground level.
- [ ] Orient the tree toward the sunniest area.
- [ ] Adjust the angle for visual appeal.
- [ ] Identify the tree’s front and ensure it faces the best view.
- [ ] Check for damage and position accordingly.
- [ ] Consider surrounding plants and their compatibility.
By following these detailed steps, you will ensure that your Japanese maple is positioned optimally for growth and visual impact.
5. Filling the Hole and Watering
Successfully filling the hole and properly watering your Japanese maple are crucial steps in ensuring its health and longevity. These practices help establish the root system and promote strong growth.
Backfilling Methods
After positioning your Japanese maple, begin backfilling the hole. Use the original soil if possible, as it contains essential nutrients. If you do not have enough original soil, supplement with quality topsoil. Follow these steps for effective backfilling:
- Fill Around the Root Ball: Add soil around the root ball, making sure it remains slightly above ground level. This elevation aids in drainage.
- Pack the Soil: Firmly pack the soil using your foot or hands. This prevents air pockets that can hinder root growth.
- Create a Mound: Form a slight mound around the base of the tree to facilitate drainage. This design helps avoid water pooling around the roots.
Watering Tips
Watering is vital for your Japanese maple’s successful establishment. Follow these guidelines for effective watering:
- Initial Watering: Water the tree immediately after planting. Soak the area until thoroughly saturated. This helps settle the soil around the roots.
- Watering Schedule:
- Weeks 1-4: Water three times a week.
- Weeks 5-8: Reduce to twice a week.
- Post-Establishment: After the first summer, monitor rainfall. Water only during dry spells.
Monitoring for Air Pockets
Air pockets can impede root growth and water absorption. To check for them:
- Observe Soil Settling: After watering, look for areas that sink or remain dry.
- Repack If Necessary: If you notice any air pockets, gently add more soil and pack it down around the roots.
By following these watering techniques and backfilling methods, you can create an optimal environment for your Japanese maple to thrive.
6. Seasonal Care Needs for Japanese Maples
Proper care throughout the seasons is essential for the health and vibrancy of your Japanese maple. Regular attention to watering, fertilizing, and mulching will ensure your tree thrives.
Watering Schedule
Japanese maples prefer consistent moisture without becoming waterlogged. Follow this watering schedule for optimal results:
- Weeks 1-4: Water three times a week.
- Weeks 5-8: Reduce to twice a week.
- Post-Establishment: After the first summer, rely on rainfall. Water during dry spells only.
Monitor the soil’s moisture level. If it feels dry an inch below the surface, it’s time to water. This practice helps establish a strong root system.
Fertilization Tips
Fertilizing your Japanese maple supports healthy growth. Use a balanced, slow-release fertilizer in early spring. This timing allows the tree to absorb nutrients as it wakes from dormancy.
- Spring: Apply fertilizer as new leaves emerge.
- Late Summer: A light application can promote fall color but avoid fertilizing in late fall, as this can encourage new growth that may be damaged by winter cold.
Consider using organic fertilizers. They improve soil health and provide nutrients gradually, minimizing the risk of root burn.
Mulching Advantages
Mulching serves multiple purposes for your Japanese maple:
- Moisture Retention: It helps retain soil moisture, reducing the need for frequent watering.
- Temperature Regulation: Mulch moderates soil temperature, protecting roots from extreme heat or cold.
- Weed Control: It suppresses weeds that can compete for nutrients and water.
Apply a 2-3 inch layer of organic mulch, such as wood chips or shredded bark, around the base of the tree. Keep mulch a few inches away from the trunk to prevent rot.
Seasonal Care Calendar
| Season | Watering Frequency | Fertilization | Mulching |
|---|---|---|---|
| Spring | 2-3 times per week | Apply slow-release | Refresh mulch layer |
| Summer | 2-3 times per week | Light application in late summer | Maintain mulch layer |
| Fall | Reduce to once a week | None | Maintain mulch layer |
| Winter | As needed during dry spells | None | Check mulch integrity |
By following this care calendar, you can ensure your Japanese maple remains healthy and vibrant throughout the year.
7. Pruning and Maintenance Techniques
Pruning Japanese maples is essential for their health and aesthetic appeal. Proper techniques ensure robust growth and shape the tree effectively. Here are the best practices for pruning your Japanese maple.
When to Prune
Timing is critical for successful pruning. The best time to prune Japanese maples is during late winter or early spring, just before new growth begins. This timing minimizes stress and encourages healthy regrowth. Avoid pruning in late summer or fall, as this can stimulate new growth that may not harden off before winter.
Pruning Techniques
Different cultivars may require specific approaches. Here are some effective techniques:
- Thinning Cuts: Remove select branches to improve air circulation and light penetration. Focus on branches that cross each other or grow inward.
- Heading Cuts: Shorten branches to encourage bushier growth. This technique is effective for maintaining shape, especially in younger trees.
- Removal of Dead or Diseased Wood: Cut away any dead or damaged branches to promote overall health and prevent disease spread.
For example, if you have a weeping cultivar, prioritize thinning cuts to maintain its graceful form while allowing light to reach lower branches.
Avoiding Mistakes in Pruning
To ensure effective pruning, keep these common mistakes in mind:
- Over-Pruning: Avoid removing more than 25% of the tree’s canopy in one season. This can lead to stress and poor growth.
- Improper Cuts: Always make cuts at a slight angle and above a node to encourage proper healing. Straight cuts can lead to water pooling, increasing rot risk.
- Ignoring the Tree’s Natural Shape: Each cultivar has a unique growth habit. Respect this by maintaining its natural form rather than forcing it into a specific shape.
By applying these techniques, you can enhance the beauty and longevity of your Japanese maple.
8. Common Problems and Solutions for Japanese Maples
After planting your Japanese maple, various issues may arise that can affect its health and growth. Identifying these problems early and knowing how to address them is crucial for maintaining a thriving tree.
Identifying Pests and Diseases
Japanese maples can encounter several pests and diseases. Common culprits include:
- Aphids: Small, sap-sucking insects that can lead to leaf curling.
- Scale insects: These pests appear as small bumps on branches and can weaken the tree.
- Powdery mildew: A fungal disease that manifests as a white powder on leaves, especially in humid conditions.
Regularly inspect your tree for these signs. Early detection is vital for effective management.
Preventative Measures
To safeguard your Japanese maple from pests and diseases, consider the following strategies:
- Maintain Healthy Soil: Ensure the soil is rich in organic matter and well-drained. This promotes strong root systems.
- Proper Watering: Water deeply but infrequently to encourage deep root growth. Avoid overwatering, which can lead to root rot.
- Prune Regularly: Remove dead or crowded branches to improve air circulation and reduce humidity around the foliage.
Treatment Options
If you notice issues, act quickly. Here are treatment options for common problems:
| Problem | Treatment | Notes |
|---|---|---|
| Aphids | Spray with insecticidal soap or neem oil. | Apply in the early morning or late evening. |
| Scale Insects | Use horticultural oil to suffocate the insects. | Repeat treatment every 1-2 weeks. |
| Powdery Mildew | Apply fungicidal spray; ensure good airflow. | Water at the base to keep leaves dry. |
Example Scenario: If you find aphids on your Japanese maple, consider using neem oil. This natural option not only targets aphids but is also safe for beneficial insects when applied correctly.
By understanding these common problems and implementing appropriate solutions, you can significantly enhance the health and longevity of your Japanese maple.
Frequently Asked Questions
These quick answers cover the most common questions about this topic, including key details, practical tips, and common concerns.
What is the best soil for Japanese maples?
Japanese maples thrive in well-draining, loamy soil rich in organic matter. Aim for a pH level between 5.5 and 7.0. Avoid heavy clay or overly sandy soils, as they can retain too much water or drain too quickly. Amending your soil with compost or pine bark can help improve its structure and nutrient content.
How often should I water my Japanese maple?
Water your Japanese maple deeply but infrequently. In the first four weeks after planting, water three times a week. After that, reduce to twice a week for the next month. Once established, water only during dry spells. Monitor the soil moisture; if it feels dry an inch below the surface, it’s time to water.
Can Japanese maples be grown in containers?
Yes, Japanese maples can thrive in containers, making them suitable for small spaces or patios. Choose a large pot with good drainage and use a quality potting mix. Ensure the container is at least 18-24 inches deep to accommodate root growth. Regular watering and fertilizing are essential for container-grown trees.
What are the signs of a healthy Japanese maple?
A healthy Japanese maple exhibits vibrant leaf color, strong growth, and a balanced shape. Leaves should be free from discoloration or spots, and the tree should have a sturdy trunk with well-distributed branches. Regular inspections for pests or diseases will help maintain its health.
How do I protect my Japanese maple from pests?
To protect your Japanese maple from pests like aphids or scale insects, regularly inspect the tree for signs of infestation. Use insecticidal soap or neem oil for treatment. Maintaining healthy soil and proper watering also strengthens the tree, making it less susceptible to pests.
What is the best way to prune a Japanese maple?
Prune your Japanese maple in late winter or early spring before new growth begins. Focus on removing dead, damaged, or crossing branches to improve air circulation. Use thinning cuts to maintain the tree’s natural shape. Avoid over-pruning, as removing more than 25% of the canopy can stress the tree.
When should I fertilize my Japanese maple?
Fertilize your Japanese maple in early spring when new leaves start to emerge. Use a balanced, slow-release fertilizer to provide essential nutrients. A light application in late summer can enhance fall color, but avoid fertilizing in late fall to prevent stimulating new growth that may not survive winter.
What should readers know about environmental conditions for optimal growth?
Japanese maples prefer partial shade with morning sunlight and protection from harsh afternoon sun. They thrive in well-draining, loamy soil and need consistent moisture without becoming waterlogged. Planting in a sheltered area can protect them from strong winds, which can damage their delicate branches.