
To plant a live oak tree, choose a suitable location, prepare the soil, dig a proper hole, and follow specific watering and care guidelines to ensure healthy growth and longevity.
Table of Contents
Planting a live oak tree can enhance your landscape while providing numerous environmental benefits. This guide outlines eight essential steps for successful live oak planting, covering everything from soil preparation to ongoing care, ensuring your tree thrives for years to come.
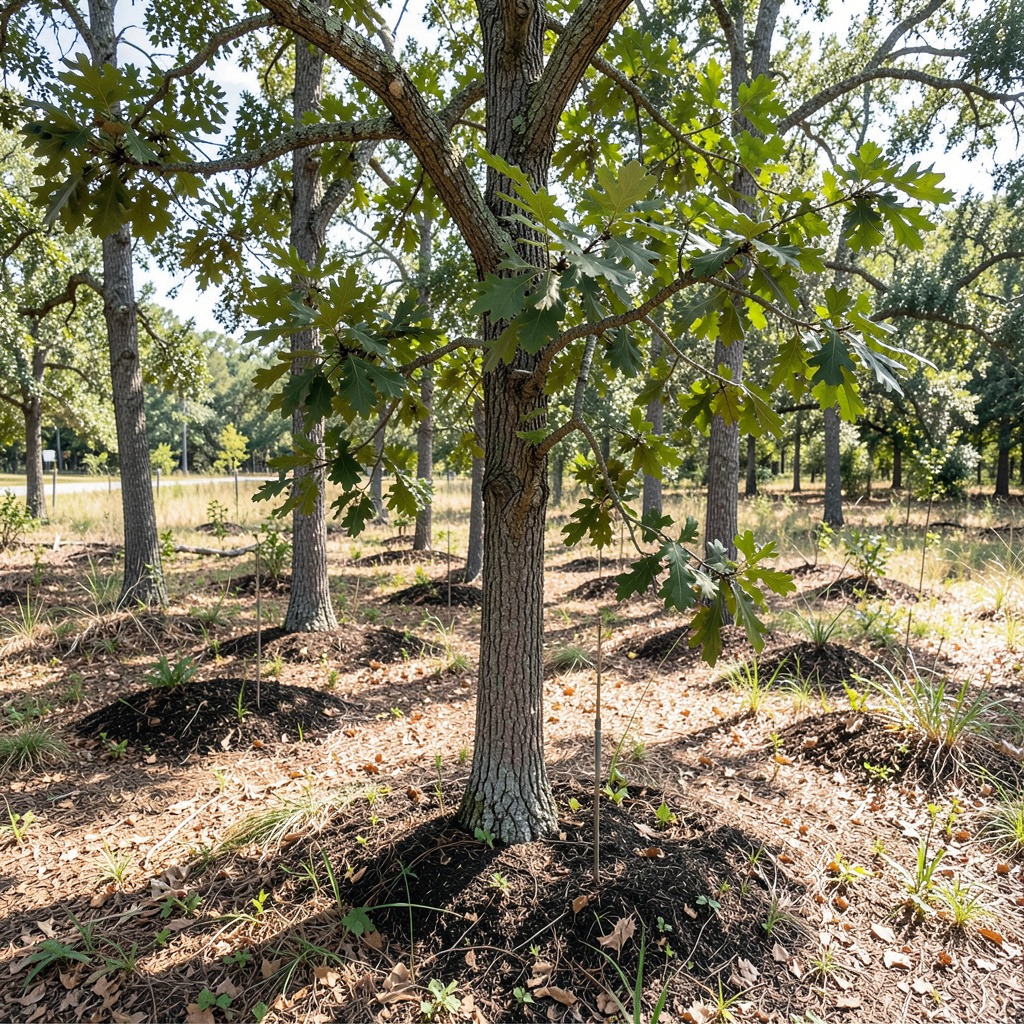
Understand the Benefits of Planting Live Oaks
Planting live oaks offers significant ecological and aesthetic advantages. These majestic trees not only enhance the beauty of landscapes but also play a critical role in supporting local ecosystems.
Ecological Advantages
Live oaks provide essential habitats for wildlife. Their broad canopies create shelter and nesting sites for various bird species. Additionally, these trees support a range of insects and mammals, contributing to biodiversity.
- Wildlife Habitat: Live oaks attract species such as squirrels, woodpeckers, and various songbirds.
- Soil Stability: Their extensive root systems prevent soil erosion, maintaining healthy landscapes.
- Air Quality Improvement: Live oaks help filter pollutants from the air, enhancing local air quality.
Aesthetic and Property Value Benefits
Incorporating live oaks into your landscape can significantly boost property values. Their majestic stature and year-round greenery provide visual appeal.
- Shade Provision: Live oaks offer substantial shade, reducing cooling costs in homes during hot months.
- Landscape Design: Their unique form and size make them focal points in any garden design.
- Increased Property Value: Properties with mature live oaks often see a value increase of 15% or more.
Maintenance and Care Considerations
To maximize the benefits of planting live oaks, proper care and maintenance are crucial. Here’s a brief overview of care requirements:
- Watering: Establish a consistent watering schedule, especially during the first few years after planting.
- Pest Management: Monitor for common pests like oak leaf rollers and treat promptly to prevent infestations.
- Pruning: Regularly prune to maintain a healthy structure and promote growth.
By understanding the advantages of live oaks, you can make informed decisions about incorporating them into your landscape while enhancing both environmental health and property aesthetics.
Choose the Right Time for Planting Live Oaks
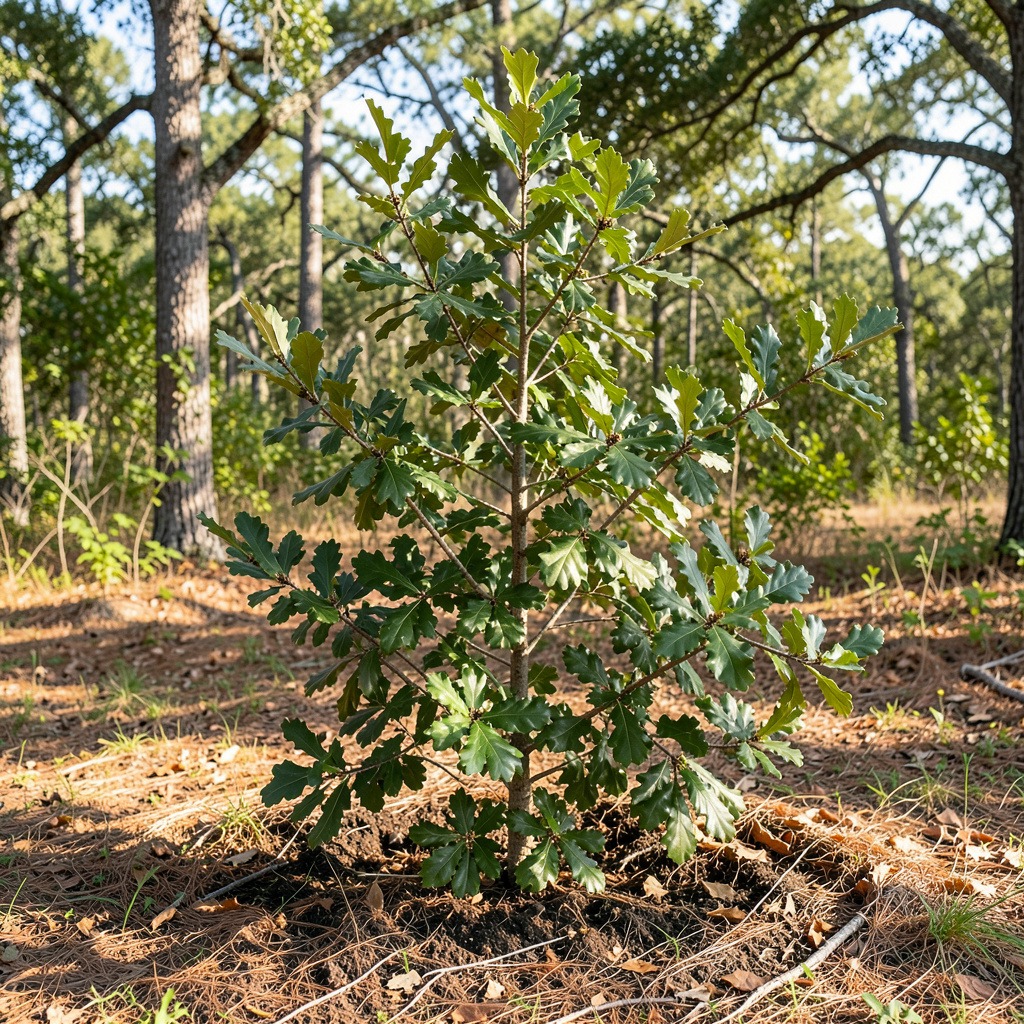
Timing is crucial when planting live oaks. Understanding the dormancy period and regional climate can significantly influence your tree’s growth and survival.
Dormant Season Considerations
The ideal time to plant live oaks is during their dormant season, typically from fall to early spring. During this period, the tree conserves energy, allowing it to establish roots before the growing season begins.
Checklist for Dormant Season Planting:
- Timing: Aim for late fall to early spring.
- Temperature: Ensure ground temperatures are consistently above freezing.
- Weather Conditions: Avoid planting during heavy rainfall or extreme drought.
Regional Climate Variations
Different USDA hardiness zones experience varying climatic conditions that affect the best planting times for live oaks.
| USDA Zone | Recommended Planting Time |
|---|---|
| 8 and above | Late fall to early spring |
| 7 | Late winter to early spring |
| 6 | Late winter, after frost risk |
| 5 and below | Early spring, once thawed |
Decision Rule: Always check local climate conditions. If you live in a warmer region, planting in fall can lead to quicker establishment. Conversely, cooler climates may benefit from planting in spring when the risk of frost has passed.
By aligning your planting schedule with these seasonal and regional guidelines, you can increase the likelihood of successful live oak growth.
Preparing the Soil for Live Oak Planting
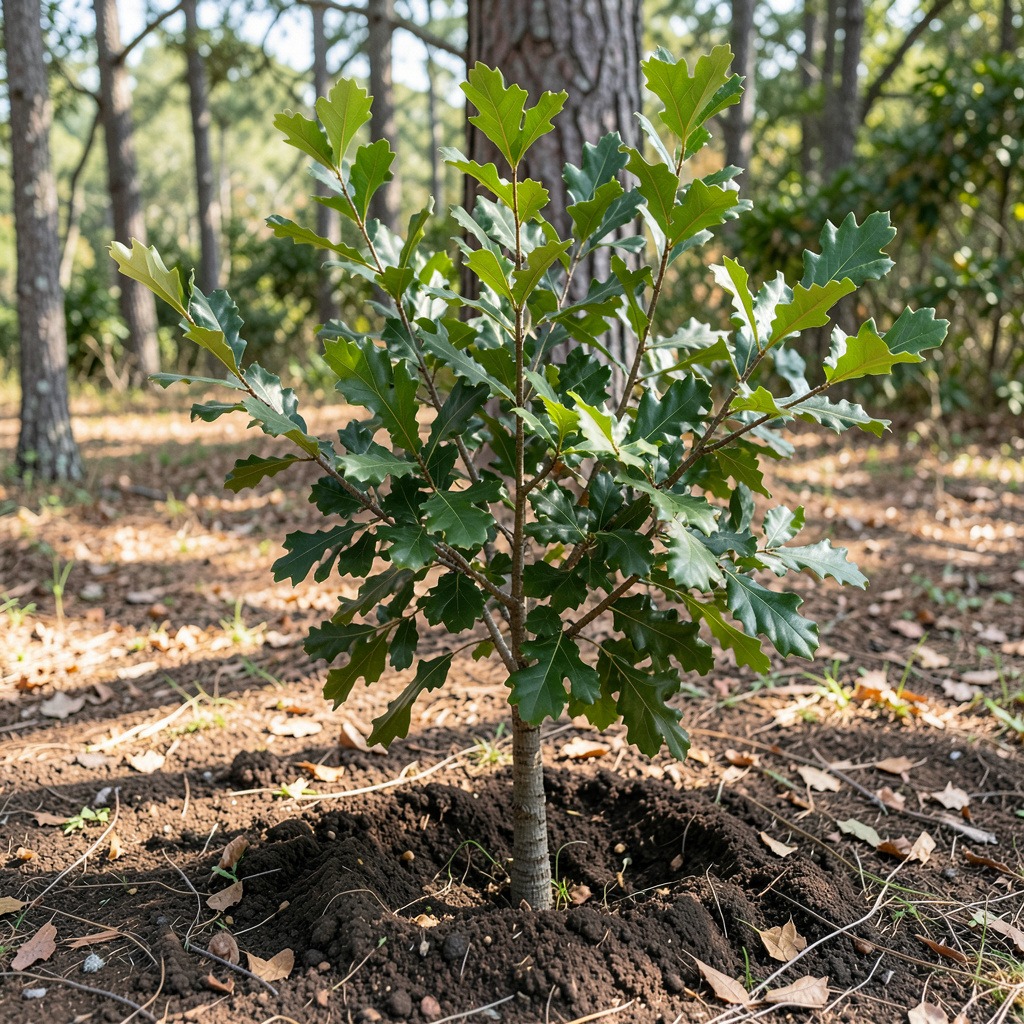
Proper soil preparation is essential for the successful planting of live oak trees. The right soil conditions ensure robust growth and longevity. This section outlines necessary soil characteristics, amendments, and drainage requirements for optimal planting.
Ideal Soil Composition
Live oaks thrive in well-drained, nutrient-rich soils. The ideal soil should consist of:
- Loamy Texture: A balanced mixture of sand, silt, and clay.
- Organic Matter: Incorporate compost or well-rotted manure to enhance fertility.
- Drainage Capacity: Ensure the soil drains well to prevent root rot.
A recommended soil amendment mix might include:
- 50% native soil
- 30% compost
- 20% peat moss or pine bark
Importance of pH Levels
The pH level of your soil significantly influences nutrient availability. Live oaks prefer a slightly acidic to neutral pH range of 6.0 to 7.0. Regular testing can help maintain optimal levels. Adjustments can be made using:
- Sulfur: Lowers pH for acidic conditions.
- Lime: Raises pH for alkaline conditions.
Soil Type Comparison Table
| Soil Type | Suitability for Live Oaks | Notes |
|---|---|---|
| Sandy Soil | Moderate | Drains quickly, may require more amendments. |
| Clay Soil | Low | Poor drainage; amend heavily with organic matter. |
| Loamy Soil | High | Ideal choice; retains moisture and nutrients. |
| Silt Soil | Moderate | Retains moisture well; ensure good drainage. |
Checklist for Soil Preparation
- [ ] Test soil pH.
- [ ] Amend soil with compost and organic matter.
- [ ] Ensure the planting hole is at least twice the width of the root ball.
- [ ] Maintain proper drainage by avoiding planting in low-lying areas.
- [ ] Water the area thoroughly before planting to promote soil settling.
By following these guidelines, you can create an optimal environment for your live oak to flourish.
Digging the Perfect Hole for Your Live Oak
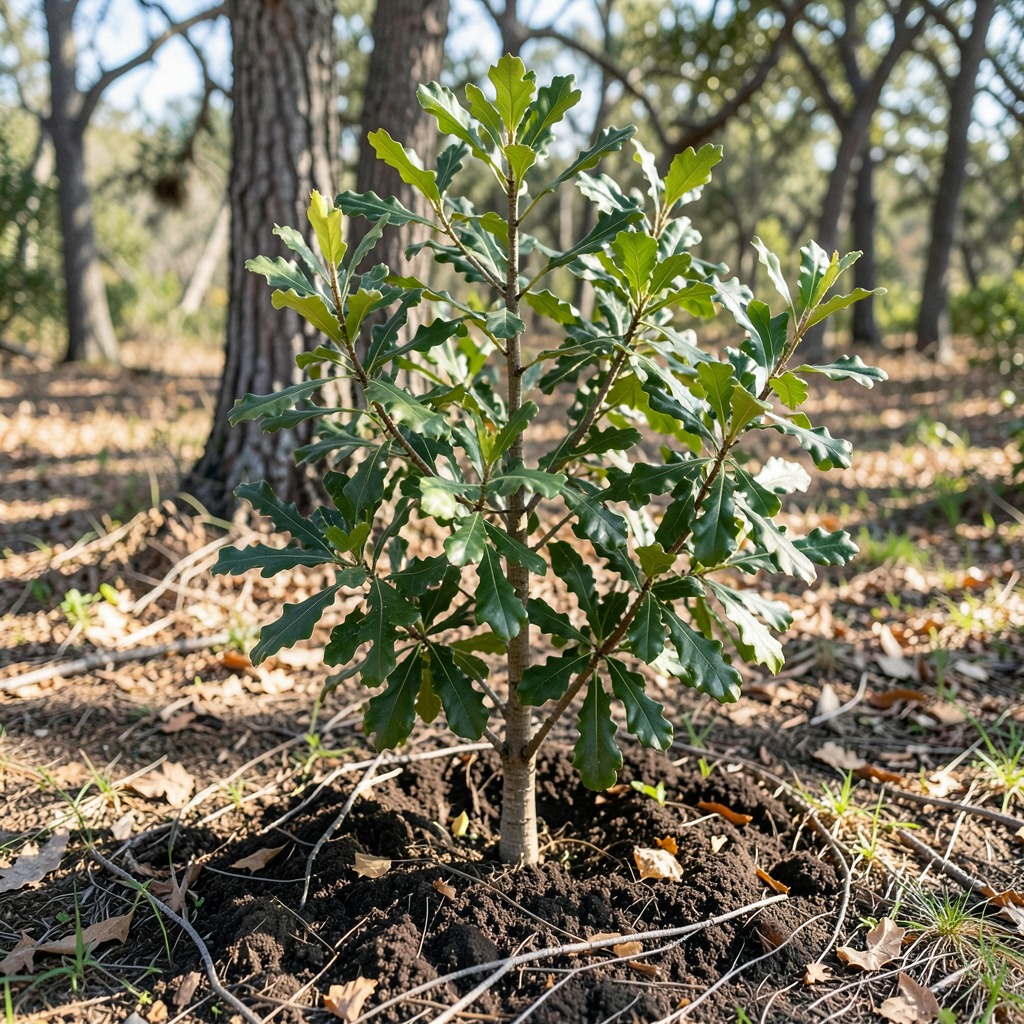
Creating the right planting hole is crucial for your live oak’s successful establishment. A properly sized hole promotes healthy root growth and minimizes transplant stress. Follow these steps to dig the ideal hole.
Determine Hole Size
1. Measure the Root Ball: Start by measuring the width of the live oak’s root ball. This measurement will guide you in digging the hole.
2. Calculate Hole Dimensions: The hole should be at least twice as wide as the root ball. This allows roots to spread easily into the surrounding soil.
3. Depth Consideration: The hole should be deep enough to accommodate the root ball without burying the trunk. Aim for a depth equal to the height of the root ball.
Digging the Hole
1. Mark the Area: Use stakes and string or a garden hose to outline the hole’s perimeter.
2. Begin Digging: Start digging within the marked area. Remove soil carefully to avoid damaging the root ball.
3. Loosen the Soil: Once you reach the appropriate depth, loosen the soil at the bottom of the hole. This facilitates root penetration.
Final Preparations
- Check for Drainage: Ensure the hole has good drainage. Avoid digging in low areas where water tends to collect.
- Inspect Soil Quality: If the soil is compacted or poor in nutrients, consider amending it with compost.
- Water the Hole: Water the hole thoroughly before placing the tree. This helps settle the soil and provides moisture for the roots.
Checklist for Digging the Perfect Hole
- [ ] Measure the root ball width.
- [ ] Dig a hole at least twice the width of the root ball.
- [ ] Ensure the depth matches the height of the root ball.
- [ ] Loosen the soil at the bottom.
- [ ] Verify good drainage.
- [ ] Amend the soil if necessary.
- [ ] Water the hole before planting.
Watering Techniques for Newly Planted Live Oaks
Proper watering is crucial for the successful establishment of newly planted live oak trees. Inadequate or excessive watering can hinder growth and lead to root issues. Here are the best practices for ensuring your live oak thrives.
Signs of Overwatering
Recognizing the signs of overwatering is essential for maintaining your live oak’s health. Watch for:
- Yellowing Leaves: Leaves turning yellow often indicate too much water.
- Soggy Soil: Soil that remains wet for extended periods may signal overwatering.
- Root Rot: A foul smell or mushy roots can indicate root rot, a direct result of excess moisture.
Best Watering Practices
To promote healthy growth, follow these watering guidelines:
1. Initial Watering: Water the tree thoroughly after planting. Ensure the soil is damp but not soaked.
2. Watering Frequency:
- First Month: Water every 2-3 days.
- Months 2-3: Transition to once a week.
- After 3 Months: Water every 10-14 days, adjusting based on rainfall.
3. Watering Method:
- Use a soaker hose or drip irrigation to deliver water directly to the root zone.
- Avoid overhead watering to reduce the risk of fungal diseases.
4. Adjust for Climate: Tailor your schedule based on local climate conditions. In hotter, drier climates, you may need to increase watering frequency.
Watering Checklist
- [ ] Water thoroughly at planting.
- [ ] Monitor soil moisture regularly.
- [ ] Adjust frequency based on weather conditions.
- [ ] Avoid water accumulation around the trunk.
- [ ] Use mulch to retain soil moisture and regulate temperature.
By following these best practices, your newly planted live oak will have the moisture it needs to establish a strong root system and thrive in its new environment.
Ongoing Care for Healthy Live Oak Growth
Proper ongoing care is essential for the longevity and health of your live oak tree. Regular maintenance practices such as fertilization, pest management, and pruning play a crucial role in ensuring your tree thrives.
Fertilization Guidelines
Live oak trees require specific nutrients for optimal growth. Implement a fertilization schedule to support their needs.
- Timing: Fertilize in early spring before new growth begins.
- Type: Use a balanced, slow-release fertilizer (e.g., 10-10-10) to provide essential nutrients.
- Application: Spread fertilizer evenly around the root zone, avoiding direct contact with the trunk.
Pest Management Strategies
To maintain the health of your live oak, monitor for pests that can cause significant damage. Implement these strategies:
- Regular Inspections: Check leaves and branches for signs of pests, such as webbing or discoloration.
- Natural Predators: Encourage beneficial insects like ladybugs and lacewings to manage pest populations.
- Targeted Treatments: If infestations occur, use organic insecticides or neem oil as a first line of defense.
Pruning Best Practices
Pruning is vital for shaping your live oak and promoting healthy growth. Follow these guidelines:
- Timing: Prune during the late winter to early spring when the tree is dormant.
- Technique: Remove dead or crossing branches first. Aim to maintain a balanced shape with an open canopy for sunlight penetration.
- Health Checks: Inspect for diseases, such as oak wilt, and remove affected branches immediately to prevent spread.
Checklist for Ongoing Care
- [ ] Fertilize in early spring.
- [ ] Inspect for pests monthly.
- [ ] Prune during dormancy.
- [ ] Monitor soil moisture and adjust watering as needed.
- [ ] Mulch to retain moisture and suppress weeds.
Example Case Study: Successful Live Oak Maintenance
A homeowner in Florida successfully maintained a live oak by implementing a consistent care routine. They fertilized annually with an organic blend, monitored for pests, and pruned regularly. This proactive approach resulted in a robust tree that not only thrived but also attracted local wildlife, enhancing the landscape’s biodiversity.
By adhering to these ongoing care practices, you will ensure your live oak remains a stunning centerpiece in your landscape for many years to come.
Common Mistakes When Planting Live Oaks
Planting a live oak tree requires careful attention to detail. Many novice planters make common mistakes that can hinder the tree’s growth and overall health. Understanding these pitfalls is crucial for successful planting.
Incorrect Hole Size
One of the most frequent errors is digging a hole that is either too small or too deep.
- Action Step: The hole should be at least twice as wide as the root ball but no deeper than the root ball’s height. This allows the roots to spread out while avoiding water accumulation.
Poor Soil Preparation
Failing to prepare the soil can lead to poor drainage and nutrient absorption.
- Action Step: Loosen the soil at the bottom of the hole and mix in organic matter. This improves aeration and provides essential nutrients.
Water Mismanagement
Both over-watering and under-watering can jeopardize the tree’s health.
- Common Scenario: New planters often water daily, thinking it helps. In reality, this can drown the roots. Instead, water deeply once a week, adjusting based on rainfall.
Neglecting Sunlight Requirements
Live oaks thrive in full sun. Planting in shaded areas can stunt their growth.
- Decision Rule: Ensure the planting site receives at least six hours of direct sunlight daily.
Ignoring Local Climate Conditions
Planting without considering local climate can result in failure to thrive.
- Caveat: Live oaks are best suited for USDA hardiness zones 8-10. Check your zone before planting.
Example of a Planting Blunder
A homeowner in Texas once planted a live oak in an area with partial shade. Despite regular watering, the tree struggled to grow. After relocating it to a sunnier spot, the tree flourished. This illustrates the importance of choosing the right location and conditions for planting.
By avoiding these common mistakes, you can ensure your live oak tree establishes a strong foundation for years of growth and beauty.
Comparing Live Oaks with Other Oak Species
Live oaks offer unique benefits for landscaping compared to other oak species. Understanding these differences can help you make an informed choice when planting.
Growth Characteristics
Live oaks are known for their broad, spreading crowns and massive branches. They typically reach heights of 40-80 feet with a similar spread. In contrast, other species like white oaks tend to grow more upright and can have a narrower crown. Here’s a quick comparison:
| Oak Species | Height Range | Crown Spread | Notable Features |
|---|---|---|---|
| Live Oak | 40-80 feet | Wide (up to 100 ft) | Evergreen, great shade provider |
| White Oak | 50-80 feet | Moderate (50-80 ft) | Deciduous, excellent for wildlife |
| Red Oak | 60-75 feet | Narrower (40-60 ft) | Fast growth, vibrant fall color |
Environmental Benefits
Both live oaks and other oak species contribute positively to the environment. However, live oaks have a few distinctive advantages:
- Soil Stabilization: Their extensive root systems help prevent soil erosion.
- Wildlife Habitat: Live oaks provide shelter and food for various species, especially in southern regions.
In contrast, while white oaks also support wildlife, they are more susceptible to certain pests, which can affect their longevity and health.
Planting Considerations
When planting live oaks versus other oaks, consider the following:
- Soil Requirements: Live oaks thrive in well-drained soils with a pH of 6.0 to 7.0. Other oaks may have different preferences.
- Watering Needs: Live oaks are drought-tolerant once established, while red oaks require more consistent moisture.
Decision Rule: If you live in a warm, humid environment and seek a low-maintenance tree, live oaks are ideal. For cooler climates or more diverse wildlife needs, consider white or red oaks.
Summary of Pros and Cons
Here’s a quick overview of the pros and cons of live oaks compared to other oak species:
| Aspect | Live Oak | Other Oak Species |
|---|---|---|
| Pros | Evergreen, drought-tolerant | Fast growth, wildlife support |
| Cons | Slow growth initially | More maintenance required |
Understanding these distinctions can guide you in selecting the right oak for your landscape.
Frequently Asked Questions
These quick answers cover the most common questions about this topic, including key details, practical tips, and common concerns.
When’s the best time to plant a Live Oak tree?
The ideal time to plant a live oak tree is during its dormant season, which typically runs from late fall to early spring. This period allows the tree to establish roots before the growing season begins. In warmer regions, fall planting can lead to quicker establishment, while in cooler areas, it’s best to wait until spring when frost risk has passed.
How far apart should live oaks be planted?
When planting live oaks, they should be spaced at least 40 to 60 feet apart. This distance allows each tree to grow to its full size without competing for sunlight and nutrients. If you’re planting a row or cluster, consider the mature width of the trees to ensure they have enough room to thrive.
Where do live oaks grow best?
Live oaks thrive in USDA hardiness zones 8-10, where the climate is warm and humid. They prefer well-drained, loamy soil with a slightly acidic to neutral pH. Ideal locations are those that receive full sun, with at least six hours of direct sunlight daily. Avoid areas with heavy shade or poor drainage to ensure optimal growth.
What are the pros and cons of planting a Live Oak tree?
Pros: Live oaks are evergreen, providing year-round shade and beauty. They are drought-tolerant once established and support diverse wildlife, enhancing local ecosystems. Their extensive root systems also help prevent soil erosion.
Cons: Live oaks can be slow-growing in their early years, requiring patience. They may also be susceptible to pests and diseases, such as oak wilt, which necessitates regular monitoring and care.
How often should I water a newly planted live oak?
Initially, water your newly planted live oak every 2-3 days for the first month to help establish its roots. After that, reduce the frequency to once a week for the next couple of months. Once established, water every 10-14 days, adjusting based on rainfall and local climate conditions. Always ensure the soil is moist but not soggy.
What common diseases affect live oak trees?
Live oaks can be affected by several diseases, including oak wilt, which can be fatal if not managed. Other common issues include powdery mildew and leaf spot diseases. Regular inspections for signs of pests and diseases are crucial. Prompt treatment with organic pesticides or fungicides can help manage these issues effectively.
Are you planting from a container sapling or starting from acorns/seeds?
When planting live oaks, you can choose between starting from a container sapling or planting acorns. Container saplings offer a faster establishment, while acorns require more time and care to germinate and grow. If using acorns, ensure they are from a healthy source and plant them in the fall for best results.