
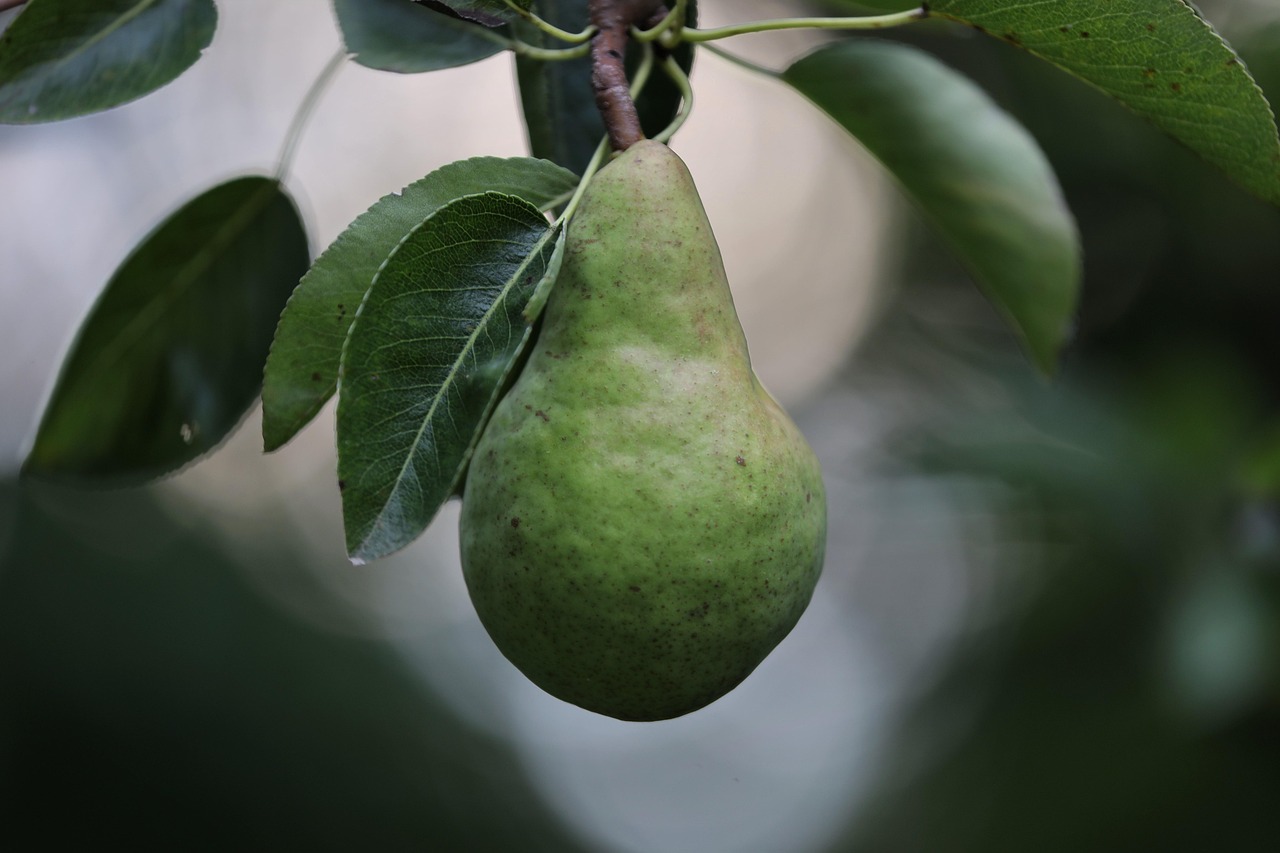
Pear tree pruning is essential for promoting healthy growth and maximizing fruit yield. A well-structured pruning diagram can guide gardeners in making appropriate cuts throughout the seasons, ensuring the trees remain productive and aesthetically pleasing.
Pear trees are a popular choice among gardeners due to their beautiful blossoms and delicious fruit. However, to achieve optimal growth and fruit production, proper pruning techniques must be applied. Pruning not only shapes the tree but also helps in managing its health by removing dead or diseased branches. Furthermore, it allows for better sunlight penetration and air circulation, which are crucial for fruit development.
Understanding the different types of pruning is vital for anyone looking to maintain a pear tree. There are two main types: winter pruning and summer pruning. Winter pruning is typically done when the tree is dormant, while summer pruning occurs after the growing season has started. Each type serves distinct purposes and timings, and knowing when to apply each method can significantly affect the tree’s performance and fruiting capabilities.
Types of Pear Tree Pruning
When it comes to pruning pear trees, there are specific techniques that can be employed to enhance growth and fruit production. Below are some recommended practices categorized by the season.
| Type of Pruning | Best Time to Prune | Purpose |
|---|---|---|
| Winter Pruning | Late Winter (Dormant Season) | Encourages new growth and shapes the tree |
| Summer Pruning | Mid-Summer (Growing Season) | Controls tree size and improves light exposure |
| Maintenance Pruning | As Needed Throughout the Year | Removes dead or diseased branches |
Winter pruning involves cutting back the previous year’s growth and removing any crossing branches that may impede growth. It is an excellent opportunity to create a strong framework for the tree. Gardeners should aim to leave a well-defined central leader with several lateral branches that will bear fruit in the coming season.
Summer pruning, on the other hand, focuses on controlling the size of the tree and enhancing light penetration to the inner branches. This method can reduce excess vigor in young trees, helping them set more fruit. It is generally less severe than winter pruning, allowing for minor adjustments to be made without stressing the tree.
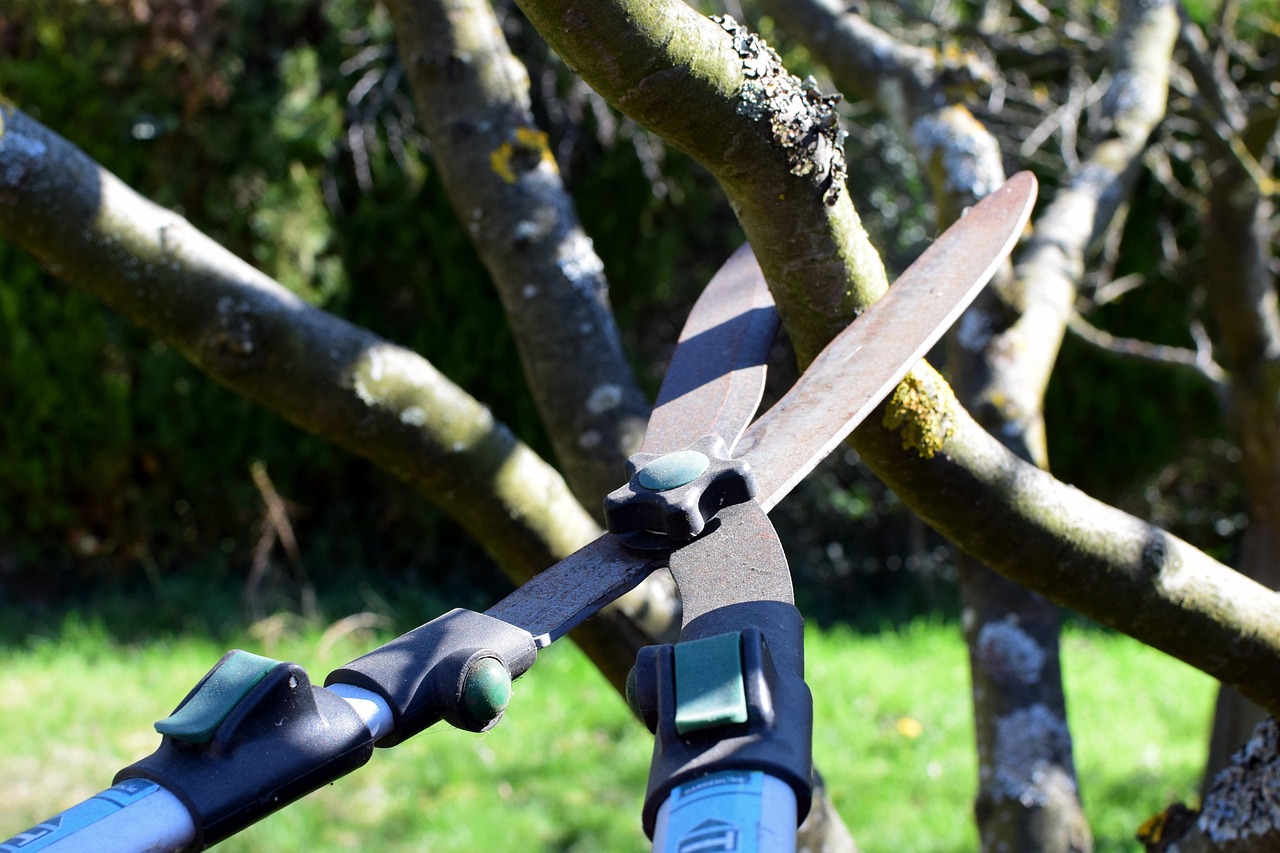
Tools Needed for Pruning
To effectively prune pear trees, having the right tools is essential. Here are some of the basic tools that every gardener should consider:
- Pruning Shears: Ideal for making clean cuts on small branches.
- Loppers: Suitable for larger branches that are too thick for shears.
- Saws: Used for cutting thick limbs; a hand saw or a pole saw may be necessary.
- Gloves: Protect your hands while handling sharp tools and branches.
- Safety Glasses: Keep your eyes safe from flying debris during cuts.
Using sharp tools is crucial as dull blades can crush branches rather than making clean cuts, potentially harming the tree. Regularly maintain your tools by sharpening them before each pruning session.
The Benefits of Proper Pruning
Proper pruning not only enhances the appearance of pear trees but also offers several benefits that contribute to healthier trees and better fruit production. Here are some compelling reasons to prioritize effective pruning:
- Improved Air Circulation: Pruning allows air to circulate freely through the branches, reducing the risk of fungal infections.
- Increased Sunlight Exposure: Removing excess foliage ensures that sunlight reaches all parts of the tree, which is essential for photosynthesis.
- Bigger and Healthier Fruit: With proper pruning, trees can allocate resources more effectively, resulting in larger, tastier pears.
- Enhanced Tree Structure: A well-pruned tree is structurally sounder, reducing the risk of branches breaking under the weight of fruit or during storms.
The benefits extend beyond just aesthetics and fruit production. Well-maintained trees often have longer lifespans, making them a worthwhile investment for any gardener. As you delve deeper into the art of pear tree pruning, consider how these practices can lead to greater yields and overall satisfaction with your gardening efforts.
As you prepare to prune your pear trees, it’s essential to familiarize yourself with these techniques and tools. Understanding when and how to prune will set you on the path towards a thriving and fruitful pear tree. Each season presents its own challenges and opportunities, so staying informed will empower you to take effective action throughout the year.
Understanding the Growth Cycle of Pear Trees
To effectively prune your pear trees, it is crucial to understand their growth cycle. Knowing when specific growth phases occur will help you time your pruning efforts appropriately. The growth cycle of a pear tree generally follows four key stages: bud break, flowering, fruit set, and ripening.
1. Bud Break
This phase marks the beginning of the growing season. Buds begin to swell and eventually burst open, signaling new growth. Bud break usually occurs in early spring, depending on the climate and specific variety of pear tree.
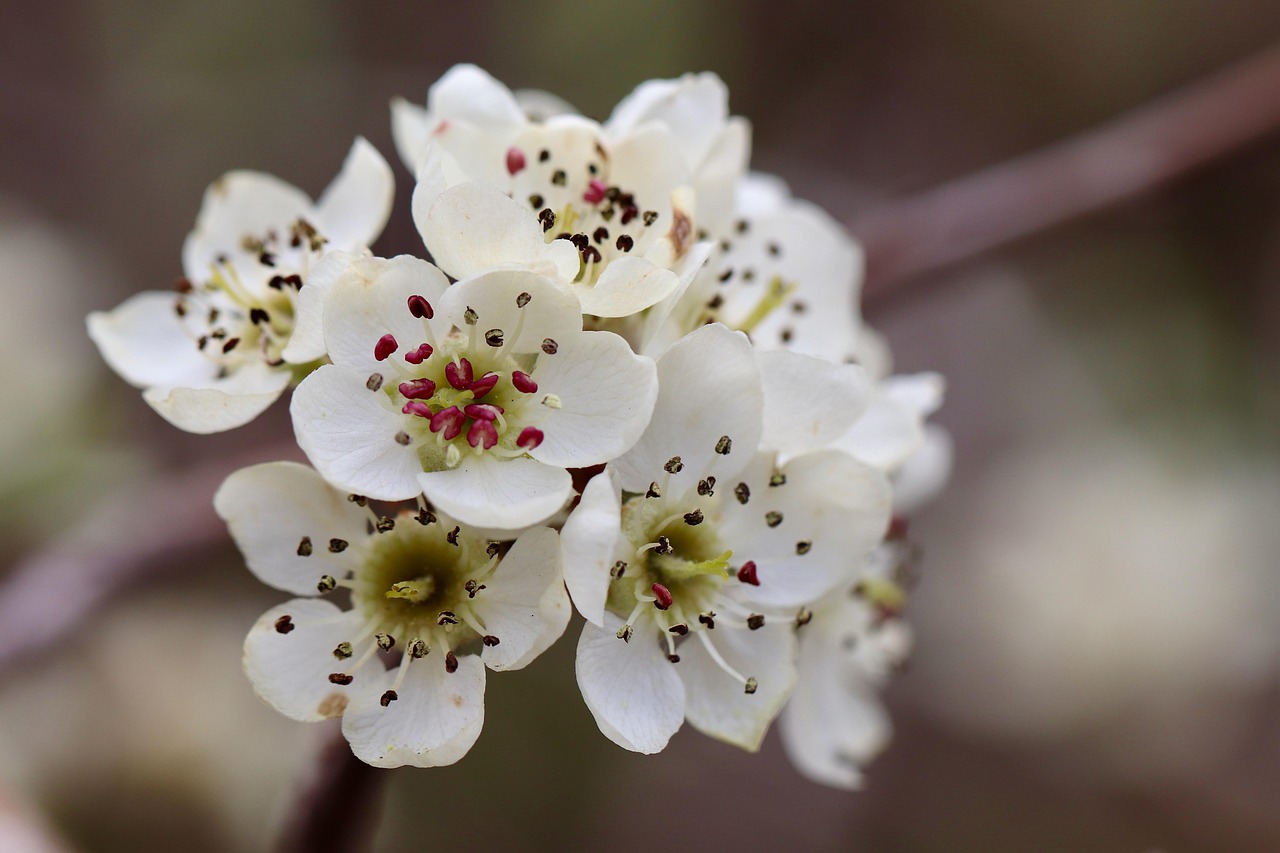
2. Flowering
After bud break, flowers begin to bloom. This stage can last several weeks, during which pollination occurs. Healthy flowers are critical for fruit set, so ensuring that your tree has good air circulation and access to sunlight is vital during this stage.
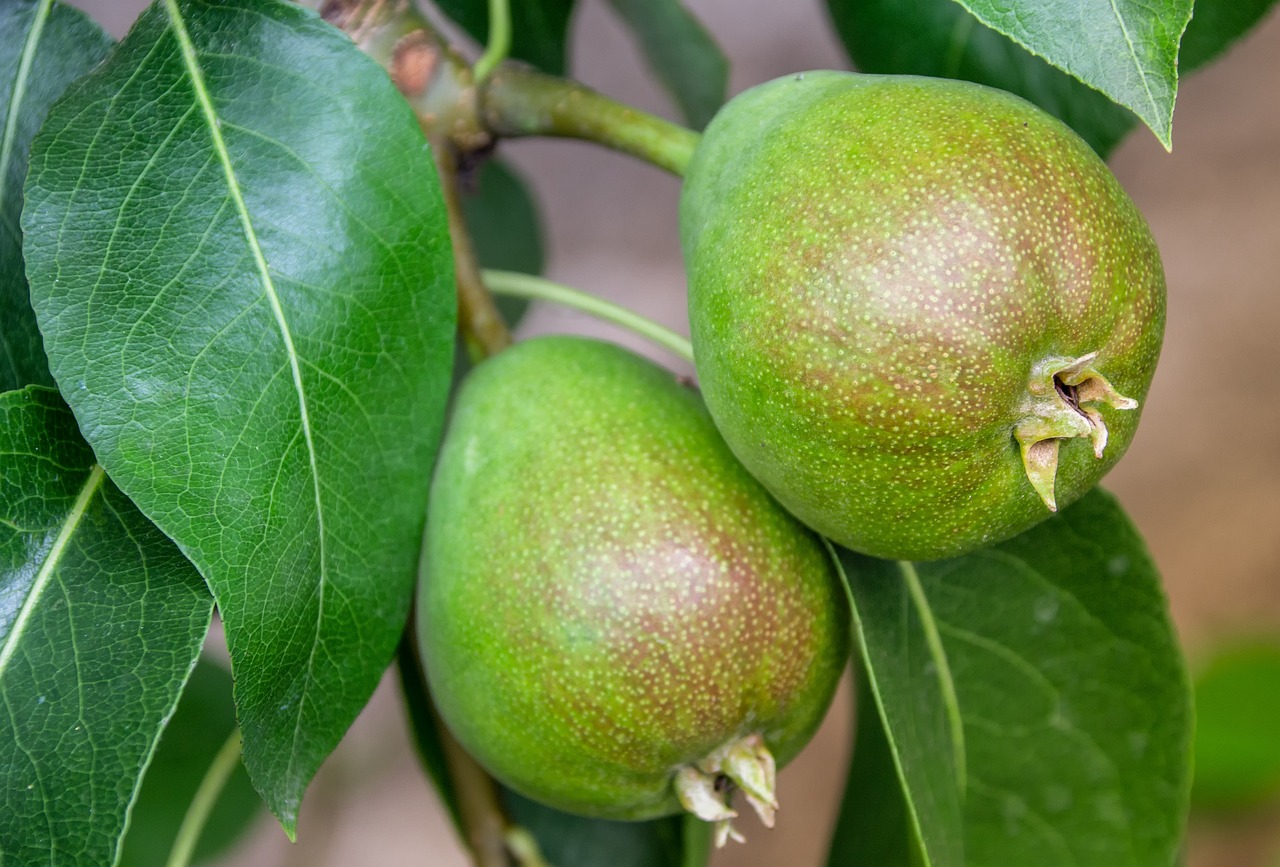
3. Fruit Set
Once pollination is successful, the flowers will develop into small fruit. This transition is delicate, and any stress during this period can affect fruit development. Adequate water and nutrients are essential to support the young fruit as they grow.
4. Ripening
As summer progresses, the fruit grows larger and begins to ripen. This stage continues until late summer or early fall, depending on the variety. Proper pruning earlier in the season helps facilitate this growth by ensuring that the tree concentrates its energy on developing fruit rather than excess foliage.
The Importance of Timing in Pruning
Timing is everything when it comes to pruning pear trees. Each phase in the growth cycle requires different care and attention. Incorrect timing can lead to poor fruit production or even damage to the tree. Here is a guide on when to perform various pruning tasks:
| Pruning Task | Recommended Timing | Purpose |
|---|---|---|
| Winter Pruning | Late January to Early March | Shape the tree and remove dead wood |
| Summer Pruning | June to July | Manage tree size and improve light exposure |
| Post-Harvest Pruning | After Harvest (Late Summer – Early Fall) | Remove any damaged branches and prepare for winter |
Each of these pruning tasks plays a significant role in maintaining overall tree health. By adhering to the recommended timings, gardeners can ensure that their pear trees thrive throughout the seasons.
Common Mistakes in Pear Tree Pruning
Even experienced gardeners can make mistakes when pruning pear trees. Understanding what not to do can save time and effort while promoting healthier trees. Here are some common pitfalls to avoid:
- Pruning Too Late: Waiting too long into the growing season can stress the tree and reduce fruit yield.
- Over-Pruning: Removing too many branches can lead to shock and hinder growth. Always aim for balance.
- Poor Tool Maintenance: Using dull tools can damage branches and create entry points for diseases.
- Ignoring Tree Shape: Not considering the natural shape of the tree can lead to uneven growth and weak structure.
Avoiding these mistakes will lead to more productive and healthier pear trees. Take your time when pruning, and always assess the tree’s needs before making cuts.
Specific Techniques for Effective Pruning
Different pruning techniques can be applied based on the desired outcome. Here are some specific methods to consider:
Crown Thinning
This technique involves selectively removing branches from the center of the tree. The goal is to increase light penetration and air circulation, which helps promote healthy growth.
Crown Raising
Crown raising is achieved by removing lower branches. This technique allows for easier access under the tree and promotes upward growth of remaining branches.
Crown Reduction
Crown reduction focuses on shortening the height of the tree while maintaining its overall shape. This method is particularly useful for trees that have grown too tall for easy maintenance.
Heading Back
Heading back involves cutting branches back to a bud or lateral branch. This encourages dense growth and helps shape the tree. It is often used in conjunction with other techniques.
Each technique serves a unique purpose and can be combined based on the specific needs of your pear tree. Understanding these methods will enable you to make informed decisions during your pruning sessions.
Pear Tree Pruning Diagram Overview
A pear tree pruning diagram can visually represent where cuts should be made throughout the seasons. While diagrams may vary based on specific varieties and growth patterns, common elements include:
- Main Leader: The central trunk that should remain intact for proper structure.
- Lateral Branches: Side branches that should be spaced evenly around the main leader for balanced growth.
- Fruit Spurs: Short branches where fruit will develop; these need careful attention during pruning.
A well-illustrated diagram can serve as a guide, helping gardeners visualize their pruning strategy effectively. With practice, understanding how to interpret these diagrams will become second nature.
Creating a Pear Tree Pruning Diagram
A pear tree pruning diagram is an essential tool for any gardener looking to enhance their tree’s growth and fruit production. Creating a clear and effective diagram involves understanding the tree’s structure and the specific pruning techniques to be used during different seasons.
Elements of a Pruning Diagram
When designing a pruning diagram, there are key elements that should be included. Each component plays a crucial role in illustrating how to maintain the health and productivity of the tree.
- Main Leader: The primary vertical branch that serves as the backbone of the tree.
- Scaffold Branches: These are the main branches that extend from the leader and should be evenly spaced to create a balanced structure.
- Fruit Spurs: Short branches where pears will form; these should be preserved during pruning.
- Water Shoots: Vigorous vertical shoots that can sap energy from the tree; these should be removed.
- Dead or Diseased Wood: Any wood that appears dead or infected should be identified for removal.
Incorporating these elements into your pruning diagram will help you visualize how to maintain the overall health and shape of your pear tree.
Step-by-Step Guide to Drawing Your Diagram
Creating a pruning diagram can be a straightforward process. Here’s a step-by-step guide to help you through it:
- Observe Your Tree: Take a close look at your pear tree. Note its structure, including the main leader, scaffold branches, and fruit spurs.
- Sketch the Basic Structure: Start with a basic outline of your tree. Focus on the main leader and the primary branches.
- Add Details: Include details like fruit spurs, water shoots, and any branches that need to be removed. Use different colors or line styles to differentiate between healthy and unhealthy wood.
- Label Components: Clearly label each part of your diagram. This will make it easier for you to reference during actual pruning sessions.
- Review and Revise: Before finalizing your diagram, review it to ensure accuracy. Make any necessary adjustments based on your observations.
This process not only helps in creating an effective diagram but also enhances your understanding of pear tree anatomy and growth patterns.
Using Technology for Pruning Diagrams
In today’s digital age, technology can enhance traditional gardening methods. There are various software programs and applications available that can assist in creating detailed pruning diagrams. Here are some options to consider:
- Garden Planning Software: Programs like SmartGardener or GrowVeg allow users to design their garden layout, including trees, with customizable features.
- Diagramming Tools: Software like Lucidchart or Microsoft Visio can be used to create precise diagrams with various shapes and symbols.
- Mobile Apps: Applications such as PlantSnap or Gardenize let users document their trees and track growth over time, which can help with future pruning decisions.
Utilizing these technological tools can streamline the process of creating pruning diagrams, making it easier to keep track of your pear tree’s needs throughout the seasons.
Seasonal Pruning Techniques Illustrated
The effectiveness of your pruning efforts can be greatly enhanced by understanding specific techniques for each season. Here’s how you can illustrate seasonal pruning in your diagram:
Winter Pruning Techniques
Your winter pruning diagram should focus on shaping the tree and enhancing structural integrity. Key points to illustrate include:
- Cuts on Last Year’s Growth: Show where to cut back last year’s growth to promote new shoots.
- Removing Crossing Branches: Indicate which branches should be removed to prevent crowding and improve air circulation.
Summer Pruning Techniques
A summer pruning diagram should focus on managing size and maximizing light exposure. Important elements include:
- Selective Thinning: Highlight branches that can be thinned out to allow sunlight to penetrate deeper into the canopy.
- Heading Cuts: Illustrate where to make heading cuts to encourage bushier growth without losing height.
Post-Harvest Pruning Techniques
Your post-harvest diagram should emphasize maintenance tasks to prepare the tree for winter. Key aspects include:
- Cleansing Cuts: Show where to remove any dead or diseased wood after harvest.
- Sustaining Structure: Indicate any minor adjustments needed to maintain the shape of the tree before winter dormancy.
By illustrating these seasonal techniques in your diagram, you will have a comprehensive visual guide that assists in applying the right methods at the right times throughout the year.
The Role of Environmental Factors
The success of pear tree pruning can also depend on environmental factors such as climate, soil quality, and local pest populations. Understanding these influences is vital for effective management. Here are some considerations:
- Climate Conditions: Different climates will affect when your trees bloom and when it is best to prune. For instance, warmer climates may require earlier pruning.
- Soil Quality: Healthy soil promotes strong growth. Poor soil may necessitate more aggressive pruning to maintain tree health.
- Pest Management: Keeping an eye on pest populations is crucial. Pests can stress trees, requiring adjustments in your pruning strategy.
Taking these environmental factors into account when creating your pruning diagram will help ensure that your pear trees remain healthy and productive year after year.
Advanced Pruning Techniques for Pear Trees
While the basic pruning techniques discussed earlier provide a solid foundation for maintaining pear trees, advanced methods can further enhance tree health and fruit yield. These techniques require more experience and understanding of tree growth patterns but can lead to impressive results.
Espalier Pruning
Espalier pruning is a method used to train a tree to grow flat against a wall or trellis. This technique maximizes space, making it ideal for small gardens. Here’s how to implement espalier pruning:
- Choose the Right Location: Select a sunny wall or fence that provides adequate support.
- Start Early: Begin training your tree while it is young. This will make it easier to shape.
- Use Support Structures: Install wires or trellises to guide the branches into the desired shape.
- Regular Maintenance: Continuously prune to maintain the shape and remove any unwanted growth.
Espaliered pear trees not only look attractive but also produce fruit more efficiently due to increased sunlight exposure and air circulation.
Thinning Cuts
Thinning cuts involve removing entire branches rather than just shortening them. This technique can be beneficial for older trees that are becoming too dense. Key points to consider when using thinning cuts include:
- Target Weak or Crossing Branches: Identify branches that are weak or growing inwards towards the center of the tree.
- Improve Airflow: Thinning helps to open up the canopy, allowing better airflow and light penetration.
- Encourage New Growth: Removing older branches can stimulate new wood growth, leading to improved fruit production.
Implementing thinning cuts can rejuvenate an older pear tree and enhance its overall productivity.
Pest and Disease Management in Relation to Pruning
Pest and disease management is an integral part of maintaining healthy pear trees. Pruning can play a significant role in controlling these issues. Here are some strategies to consider:
Identifying Pests
Common pests that affect pear trees include:
- Pear Psylla: Small insects that suck sap from leaves, causing leaf drop and poor fruit quality.
- Codling Moth: Larvae burrow into fruit, leading to decay and loss.
- Aphids: These pests can cause curling leaves and transmit diseases.
Regularly inspect your trees for signs of infestation, as early detection is crucial for effective management.
Disease Prevention
Common diseases that can affect pear trees include:
- Fire Blight: A bacterial infection that causes wilting and blackening of blossoms and shoots.
- Pear Scab: A fungal disease that leads to dark spots on leaves and fruit.
- Crown Gall: A bacterial disease causing galls on roots and stems.
Proper pruning can help mitigate the spread of diseases by improving air circulation and reducing overcrowding. Remove any infected branches immediately and disinfect pruning tools between cuts to prevent contamination.
Final Thoughts
Pruning pear trees is not just a seasonal chore; it is an art form that requires knowledge, patience, and practice. Understanding the growth cycle of pear trees, the timing of pruning, and the various techniques available ensures healthier trees with abundant fruit. The information provided in this article equips you with the necessary skills to create effective pruning diagrams and apply advanced techniques for optimal results.
Moreover, being aware of environmental factors, pest management strategies, and disease prevention will contribute significantly to the long-term success of your pear cultivation efforts. With attention to detail and regular maintenance, your pear trees will thrive, offering both beauty and delicious fruit for years to come.
By implementing these insights into your gardening routine, you can enjoy the satisfaction of nurturing healthy pear trees that produce high-quality fruit. Remember that each tree is unique, so adapt these practices according to your specific conditions and goals. Happy pruning!