
Aloe Vera is a popular succulent known for its medicinal properties and ease of care. Propagating Aloe Vera can be a rewarding experience, and with the right method, it is simple and effective. This article will guide you through an easy technique to propagate Aloe Vera successfully.
Table of Contents
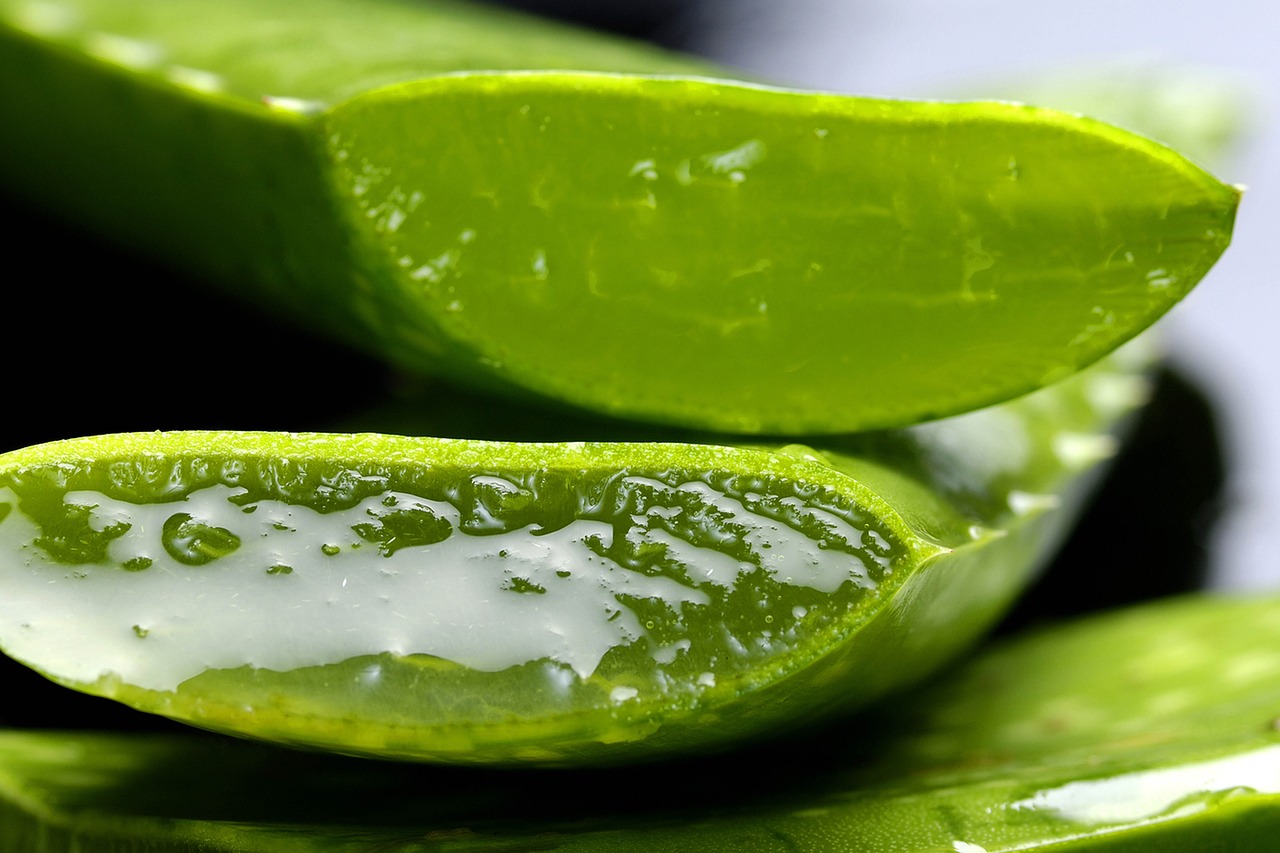
Aloe Vera plants are not only beautiful additions to home decor but also serve various purposes, from soothing sunburns to enhancing skin health. These plants grow in a rosette pattern, producing offsets or “pups” that can be easily separated and replanted. Understanding how to propagate Aloe Vera will allow you to expand your collection or share these beneficial plants with friends and family.

The propagation process is best undertaken during the warmer months when the plant is actively growing. This ensures that the pups have the best chance of survival once they are separated from the mother plant. Additionally, Aloe Vera requires minimal care, making it an ideal choice for both novice and experienced gardeners.
Understanding Aloe Vera Propagation
Before starting the propagation process, it is essential to know a few key facts about Aloe Vera. These plants are not only resilient but also require specific conditions to thrive. Below is a table that outlines some important characteristics of Aloe Vera that will aid in successful propagation:
| Characteristic | Detail |
|---|---|
| Light Requirements | Bright, indirect sunlight |
| Soil Type | Well-draining cactus soil |
| Watering Frequency | Every 2-3 weeks (allow soil to dry out) |
| Temperature Range | 60°F to 75°F (15°C to 24°C) |
Knowing these characteristics can significantly improve your chances of successfully propagating Aloe Vera. The plant thrives in environments that mimic its natural habitat, which consists of arid conditions with plenty of light. Therefore, providing the right light and soil conditions will help ensure a healthy growth process for both the mother plant and its pups.
Now that you understand the basics, let’s explore the propagation method in detail. The most common way to propagate Aloe Vera is through offsets or pups. These are small plants that grow at the base of the mother plant. They develop their own root system and can be separated once they reach a certain size.
Here are the steps you will need to follow to propagate Aloe Vera using pups:
- Identify Healthy Pups: Look for pups that are at least a few inches tall and have developed their own roots.
- Prepare Tools: Gather a sharp knife or scissors, a clean pot, and well-draining soil.
- Separate the Pup: Carefully cut the pup away from the mother plant, ensuring to include some roots.
- Allow to Heal: Let the separated pup sit in a dry place for a couple of days. This helps prevent rot.
- Plant the Pup: Once healed, plant the pup in the prepared pot with well-draining soil.
- Water Sparingly: After planting, water lightly and allow it to dry out before watering again.
This simple method can help you successfully propagate your Aloe Vera plants. Following these steps will ensure that your new plants thrive and grow healthily. In the next sections, we will explore additional tips and care instructions for your newly propagated Aloe Vera.
Care Tips for Newly Propagated Aloe Vera
After successfully propagating your Aloe Vera pups, it is important to provide them with the right care to ensure they grow strong and healthy. Proper care includes monitoring their environment, watering practices, and addressing potential pests. Below, we will explore essential care tips for your newly propagated Aloe Vera plants.
Watering Your Aloe Vera
One of the most common mistakes when caring for Aloe Vera is overwatering. These plants are succulents and store water in their leaves, making them drought-resistant. Here are some guidelines for proper watering:
- Check Soil Moisture: Before watering, stick your finger about an inch into the soil. If it feels dry, it’s time to water.
- Use Room Temperature Water: Cold water can shock the plant. Room temperature water is more suitable.
- Water Sparingly: In general, water your Aloe Vera every two to three weeks. Adjust frequency based on humidity and temperature.
- Drainage is Key: Ensure that the pot has drainage holes to prevent root rot.
Providing Adequate Light
Aloe Vera thrives in bright, indirect sunlight. Here are some tips for optimizing light exposure:
- Choose the Right Spot: Place your Aloe Vera near a window that receives filtered sunlight.
- Avoid Direct Sunlight: While Aloe Vera tolerates some direct light, too much can scorch its leaves.
- Rotate the Plant: Every few weeks, rotate the pot to ensure all sides receive equal light, promoting even growth.
Soil Considerations
The type of soil used plays a crucial role in the health of your Aloe Vera. A well-draining soil mix is essential for preventing root rot. Consider the following:
- Cactus or Succulent Mix: Use a commercially available cactus or succulent mix designed for good drainage.
- Homemade Mix: If you prefer a DIY approach, combine potting soil with sand and perlite in equal parts.
- Avoid Heavy Soils: Do not use garden soil or heavy potting mixes, as they retain too much moisture.
Pest Management
Even healthy Aloe Vera plants can encounter pests. Early detection and management are vital to keeping your plants thriving. Here are some common pests and ways to handle them:
- Mealybugs: These pests appear as white, cottony masses. Remove them using a cotton swab dipped in rubbing alcohol.
- Aphids: Small green or black insects that can be washed off with a gentle stream of water.
- Spider Mites: Look for fine webbing on the plant. Increase humidity around the plant or use insecticidal soap to eliminate them.
Fertilizing Your Aloe Vera
Aloe Vera does not require frequent fertilization. However, providing nutrients during the growing season can promote healthy growth. Consider these tips:
- Use a Balanced Fertilizer: A diluted all-purpose fertilizer can be applied every four to six weeks during spring and summer.
- Avoid Fall and Winter Fertilization: During dormant months, refrain from fertilizing as the plant does not actively grow.
- Follow Label Instructions: Always adhere to the recommended dilution rates on fertilizer packaging to avoid over-fertilization.
By following these care tips, your newly propagated Aloe Vera will be well on its way to becoming a thriving plant. In the next section, we will discuss troubleshooting common issues that may arise during propagation and care.
Troubleshooting Common Issues
Even with proper care, Aloe Vera plants can face various challenges that may hinder their growth. Understanding these issues and how to address them is essential for successful propagation and care. This section will cover common problems encountered with Aloe Vera and how to resolve them.
Yellowing Leaves
Yellowing leaves are a common sign of stress in Aloe Vera plants. Several factors can contribute to this issue:
- Overwatering: Excess moisture can lead to root rot, causing leaves to yellow. Make sure to let the soil dry out between waterings.
- Underwatering: Conversely, inadequate water can also cause yellowing. Ensure the plant receives enough moisture without becoming waterlogged.
- Pests: Infestations from pests like aphids or mealybugs can stress the plant, leading to yellow leaves. Regularly check for pests and treat them promptly.
Brown Tips or Edges
If you notice brown tips or edges on your Aloe Vera leaves, it could indicate a few different problems:
- Low Humidity: Aloe Vera prefers moderate humidity levels. If your environment is too dry, the leaf tips may turn brown. Consider misting the plant occasionally or placing a humidity tray nearby.
- Excessive Sunlight: While Aloe Vera enjoys bright light, too much direct sunlight can scorch the leaves. Move the plant to a location with filtered light.
- Nutrient Deficiency: A lack of essential nutrients can also cause browning. Using a balanced fertilizer during the growing season can help remedy this issue.
Leggy Growth
Leggy growth occurs when the plant stretches towards the light, resulting in elongated stems and sparse leaves. This can be addressed by:
- Increasing Light Exposure: Move your Aloe Vera to a brighter location with more indirect sunlight to encourage bushier growth.
- Rotation: Regularly rotating the plant can help ensure even light distribution, preventing one-sided growth.
Root Rot
Root rot is a serious condition that arises from overwatering and poor drainage. To manage root rot effectively:
- Inspect the Roots: Carefully remove the plant from its pot and examine the roots. Healthy roots should be firm and white, while rotting roots appear mushy and brown.
- Trim Affected Areas: Use sterilized scissors to cut away the rotten roots.
- Repot in Fresh Soil: Place the healthy portions of the plant in new, well-draining soil. Ensure that the pot has adequate drainage holes.
- Adjust Watering Schedule: After repotting, allow the soil to dry out completely before watering again.
Pest Infestations
Pests can cause significant damage to Aloe Vera plants if not addressed quickly. Here are some preventative measures and treatment options:
- Regular Inspections: Check your plants weekly for signs of pests, such as webbing or sticky residue.
- Natural Remedies: Use insecticidal soap or neem oil as a natural treatment for pest infestations without harming the plant.
- Maintain Cleanliness: Keep the area around your plants clean to minimize pest attraction.
Being proactive about these common issues will help ensure your Aloe Vera remains healthy and vibrant. The next section will delve into advanced propagation techniques for those looking to expand their knowledge and skills further.
Advanced Propagation Techniques
For those who have mastered the basics of Aloe Vera propagation, exploring advanced techniques can be both exciting and rewarding. These methods allow you to experiment with different propagation styles and can lead to even more robust plant growth.
Leaf Cuttings
While pups are the most common and successful method for propagating Aloe Vera, leaf cuttings can also be effective if done correctly. Here’s how to propagate using leaf cuttings:
- Select a Healthy Leaf: Choose a mature, healthy leaf from the mother plant. Avoid leaves that show signs of damage or disease.
- Cut the Leaf: Using a clean, sharp knife, cut the leaf at the base. The cutting should be several inches long.
- Allow to Callous: Place the leaf cutting in a dry area for a few days to allow the cut end to callous over. This step is crucial to prevent rot when planted.
- Prepare Soil: Use a well-draining cactus soil mix for planting.
- Plant the Cutting: Insert the calloused end of the cutting into the soil, ensuring it is stable.
- Water Sparingly: Mist the soil lightly and allow it to dry out before watering again. Roots will develop over time.
Division of Larger Plants
If your Aloe Vera plant has grown significantly, division is another effective propagation method. This involves separating a large plant into multiple smaller plants:
- Remove from Pot: Gently remove the entire plant from its pot.
- Separate Roots: Carefully detach sections of the plant, ensuring each division has a healthy root system.
- Repot Divisions: Plant each division in its own pot with fresh, well-draining soil.
- Water Appropriately: Follow the watering guidelines discussed earlier to help them acclimate.
Final Thoughts
Propagating Aloe Vera can be a fulfilling and enjoyable experience. With its minimal care requirements and ability to thrive in a variety of conditions, Aloe Vera is an excellent choice for both novice and experienced gardeners. By mastering propagation techniques, you can expand your collection while enjoying the many benefits this remarkable plant offers.
The key takeaways from this guide include understanding the importance of proper care, recognizing common issues, and exploring advanced propagation methods. Regular watering, adequate light, and maintaining soil health are fundamental to growing thriving Aloe Vera plants. Additionally, being proactive about potential problems will help you ensure your plants stay healthy and vibrant.
As you continue your journey with Aloe Vera propagation, remember that patience is vital. Each plant has its unique growth rate and requirements. By applying the knowledge gained from this article, you can confidently propagate Aloe Vera and enjoy the satisfaction of nurturing new plants from your original specimens.
Engaging with this process not only enhances your gardening skills but allows you to share the joys of Aloe Vera with others, creating a community of plant enthusiasts who appreciate this versatile and resilient species.