
Propagating pine trees from cones is a rewarding process that involves collecting mature cones, extracting seeds, and then germinating them. Beginners can successfully grow pine trees by following a few simple steps, ensuring they understand the requirements for seed preparation and planting.
Understanding Pine Tree Propagation

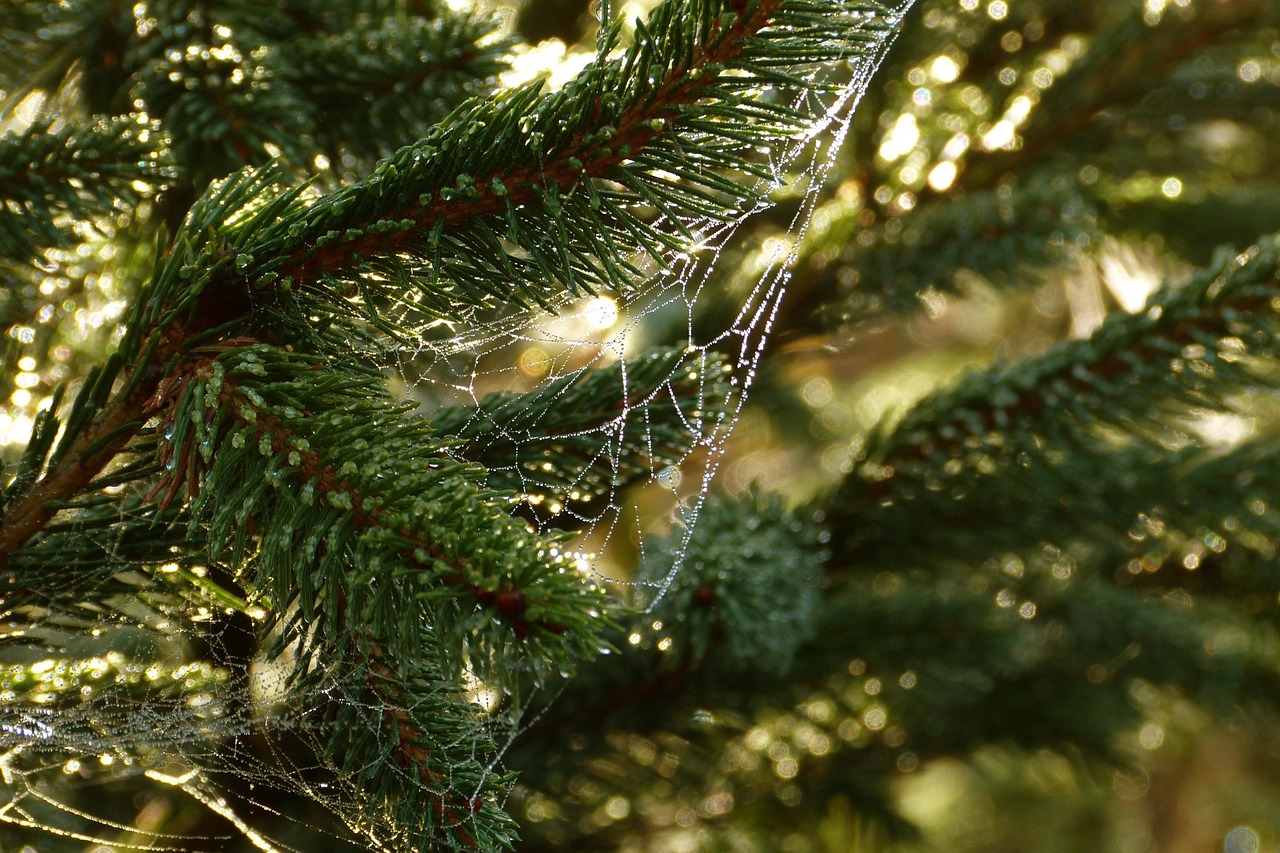
Pine trees, belonging to the Pinaceae family, are coniferous trees known for their needle-like leaves and distinct cones. These trees are not just valued for their timber; they also play a vital role in ecosystems and provide habitat for various wildlife. For gardening enthusiasts and nature lovers, propagating pine trees from cones offers a chance to cultivate these majestic plants from seeds, allowing for the creation of new trees that can thrive in your local environment.
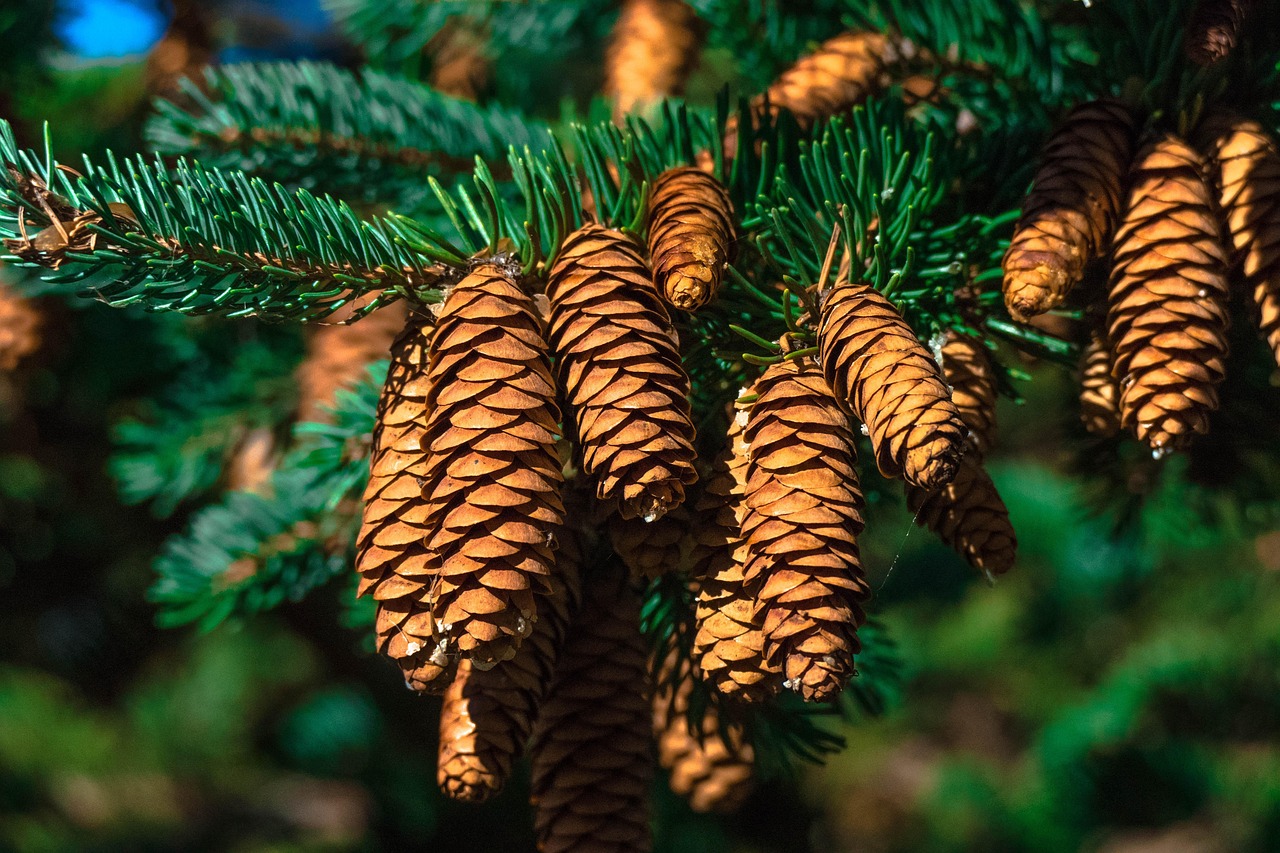
The propagation process begins with the collection of mature pine cones. It is essential to identify the right time to gather these cones, as they must be fully developed and dry to ensure optimal seed production. Depending on the species, this can occur in late summer to early fall. Once collected, the cones will need to be processed to extract the seeds.
Choosing the Right Pine Cone
Not all pine cones are suitable for propagation. It is crucial to select healthy, mature cones. Here are some tips for choosing the right ones:
- Look for cones that have a brown color and are closed tightly.
- Avoid cones that appear moldy or damaged.
- Select cones from healthy trees that show no signs of disease.
After selecting your pine cones, the next step is to prepare them for seed extraction. This involves drying the cones to release the seeds contained within. Proper drying will help open up the cone scales, making it easier to collect the seeds.
Extracting Seeds from Pine Cones
To extract seeds from dried pine cones, follow these steps:
- Place the dried cones in a warm area for several days to ensure they fully open.
- Once opened, gently shake or tap the cones to release the seeds.
- Collect the seeds carefully to avoid damaging them.
After gathering the seeds, it is important to check their viability. This can be done by soaking them in water for 24 hours. Viable seeds will sink, while non-viable seeds will float. Discard any floating seeds before proceeding.
Preparing Seeds for Germination
Pine seeds require specific conditions for successful germination. Pre-treatment methods like stratification can improve germination rates. Stratification mimics natural winter conditions, which many pine species require before they can sprout. Here is a simple table outlining stratification times for various pine species:
| Pine Species | Stratification Time (Weeks) |
|---|---|
| Eastern White Pine | 4-6 |
| Scots Pine | 2-4 |
| Lodgepole Pine | 2-3 |
| Ponderosa Pine | 3-4 |
To stratify your seeds, place them in a damp paper towel or sand and store them in a refrigerator for the recommended time. After stratification, your seeds will be ready for planting.
Understanding these initial steps in propagating pine trees from cones sets a solid foundation for beginners. From choosing and preparing seeds to knowing how to germinate them effectively, each step plays a crucial role in the overall success of growing healthy pine trees.
Germinating Pine Seeds
Once the seeds have been stratified, it is time to move on to the germination process. This stage is critical, as it determines whether your efforts will lead to healthy seedlings. Germination requires specific conditions, including moisture, temperature, and light. Understanding these needs will help you create an optimal environment for your seeds to sprout.
Setting Up for Germination
To successfully germinate pine seeds, you will need the following materials:
- Seed-starting mix or a light potting soil
- Seed trays or small pots
- Plastic wrap or humidity dome
- A spray bottle for watering
- A warm location or heat mat
Begin by filling your seed trays or pots with the seed-starting mix. It is important to use a light medium that allows for good drainage and air circulation. Once filled, gently water the soil until it is evenly moist but not soggy.
Planting the Seeds
Now that your setup is ready, it’s time to plant the seeds. Follow these steps for effective planting:
- Make small holes in the soil about half an inch deep.
- Place one seed in each hole.
- Cover the seeds lightly with soil and gently press down to ensure good contact.
After planting, cover the trays or pots with plastic wrap or a humidity dome. This will help maintain moisture levels, which is essential for germination. Place the containers in a warm area with indirect sunlight. Ideal temperatures for germination range from 65°F to 75°F (18°C to 24°C).
Watering and Monitoring
Maintaining proper moisture levels is vital during germination. Use a spray bottle to mist the soil surface gently. Avoid overwatering, as this can lead to mold and rot. Check the soil daily; it should remain consistently moist but not saturated.
Germination times can vary based on the species of pine. Generally, expect seeds to begin sprouting within two to four weeks after planting. During this period, ensure that the environment remains stable with adequate warmth and moisture.
Caring for Seedlings
Once your seeds have germinated, it is important to provide proper care for the young seedlings. This includes adequate light, water, and nutrition.
Providing Adequate Light
Pine seedlings require plenty of light to grow strong and healthy. If you are growing them indoors, consider using grow lights positioned about 2-4 inches above the seedlings. Here are some tips for providing light:
- Ensure seedlings receive at least 12-16 hours of light per day.
- Rotate trays or pots regularly to prevent leaning towards the light source.
- If using natural sunlight, place seedlings in a south-facing window.
Watering and Fertilizing Seedlings
As seedlings grow, their water requirements will increase. It is essential to monitor the moisture level closely:
- Water when the top inch of soil feels dry.
- Use room temperature water to avoid shocking the plants.
- Avoid letting seedlings sit in water to prevent root rot.
After about three weeks, consider introducing a diluted liquid fertilizer every two to four weeks. This will provide essential nutrients to support healthy growth.
Transplanting Seedlings
As your pine seedlings grow, they may outgrow their initial containers. When they develop their first set of true leaves, it is time to transplant them into larger pots. Here are steps for successful transplanting:
- Prepare larger pots with fresh potting mix.
- Gently remove seedlings from their initial containers by grasping them by their leaves.
- Place them in the new pots and fill around the roots with soil.
- Water thoroughly after transplanting.
This careful approach will help ensure your pine seedlings thrive as they continue their journey toward becoming mature trees.
Transplanting and Caring for Young Pine Trees

After successfully transplanting your pine seedlings into larger pots, the next critical phase involves nurturing them as they continue to grow. Providing the right care at this stage will significantly influence their overall health and development. This section will cover essential aspects of caring for young pine trees, including light requirements, watering, and pest management.
Providing the Right Environment
Pine trees thrive in environments that mimic their natural habitats. Here are some important factors to consider:
- Light: Young pine trees require full sun exposure for healthy growth. Aim to provide at least 6-8 hours of direct sunlight each day. If growing indoors, ensure they are placed near a south-facing window or under grow lights.
- Temperature: Pine trees prefer cooler temperatures. Ideally, maintain daytime temperatures between 65°F to 75°F (18°C to 24°C) and slightly cooler at night.
- Air Circulation: Ensure adequate airflow around the plants to prevent mold and mildew. Avoid overcrowding seedlings.
Watering Techniques
Watering practices play a crucial role in the health of young pine trees. As they grow, their water requirements will change. Here are some tips for effective watering:
- Check the soil moisture regularly by sticking your finger about an inch into the soil. Water only when the top layer feels dry.
- When watering, apply water evenly and thoroughly until it drains from the bottom of the pot. This encourages deep root growth.
- Consider using a moisture meter for more precise monitoring, especially if you are unsure about moisture levels.
Be cautious not to overwater, as this can lead to root rot. Proper drainage is essential; ensure your pots have adequate holes at the bottom.
Nutrient Needs
As your pine trees grow, they will benefit from additional nutrients. Here’s how to provide them:
- Use a balanced slow-release fertilizer suitable for evergreen trees. Follow the package instructions for application rates.
- Consider organic options like compost or well-aged manure to enrich the soil naturally.
- Avoid over-fertilizing, which can harm the plants. It is better to under-fertilize than to risk nutrient burn.
Pest Management
Pine trees can be susceptible to various pests and diseases. Early detection and management are key to preventing significant damage. Here are some common pests to watch for:
- Pine Bark Beetles: These pests can bore into the bark, causing damage. Look for signs of sawdust around the base of the tree.
- Aphids: Small, sap-sucking insects that can weaken your plants. You may notice sticky residue or black sooty mold.
- Spider Mites: These tiny pests thrive in dry conditions and can cause needle discoloration. Look for fine webbing on the foliage.
If you notice any signs of infestation, consider using insecticidal soap or neem oil as environmentally friendly treatment options. Regularly inspecting your plants will help catch problems early.
Preparing for Outdoor Planting
Once your pine trees have grown strong enough, typically after several months in pots, you may want to consider transplanting them outdoors. Here are some steps to follow:
- Select a suitable location with well-draining soil and full sunlight.
- Prepare the planting hole, making it twice as wide as the root ball but no deeper than the root ball itself.
- Gently remove the tree from its pot, taking care not to damage the roots.
- Place the tree in the hole, backfill with soil, and water thoroughly to eliminate air pockets.
Caring for young pine trees requires attention and patience. By providing them with proper light, water, nutrients, and pest management, you will set them on a path toward healthy growth and longevity.
Challenges and Tips for Successful Pine Tree Propagation
While propagating pine trees from cones can be a fulfilling experience, it does come with its share of challenges. Understanding common issues and knowing how to address them can significantly improve your success rate. Below are some typical challenges you might encounter, along with helpful tips to overcome them.
Common Challenges
- Low Germination Rates: Some pine species may have seeds that do not germinate well. Factors like improper stratification or low seed viability can contribute to this issue. To improve germination rates, ensure you follow the correct stratification process and select seeds from healthy cones.
- Pest Infestations: As previously mentioned, pests can be a significant threat to young seedlings. Regular inspections and prompt treatment are essential in keeping your plants healthy.
- Environmental Stress: Sudden changes in temperature or humidity can shock young trees. Try to maintain consistent conditions to avoid stressing the plants.
- Overwatering or Underwatering: Striking the right balance in watering is crucial. Overwatering can lead to root rot, whereas underwatering can hinder growth. Always check the soil moisture before watering.
Tips for Success
To enhance your chances of successful pine tree propagation, consider these practical tips:
- Research Specific Species: Different pine species have unique requirements for germination and growth. Familiarize yourself with the specific needs of the species you are propagating.
- Practice Patience: Growing trees from seed takes time. Be patient during the germination and early growth stages, as establishing strong roots is essential for long-term success.
- Network with Others: Joining gardening or horticulture forums can provide valuable insights from experienced growers. Sharing experiences can help you troubleshoot issues more effectively.
- Document Your Progress: Keep a journal of your propagation efforts, noting what works and what doesn’t. This record can be invaluable for future projects.
Final Thoughts
Propagating pine trees from cones is an engaging and rewarding endeavor that connects you to nature while providing you with beautiful trees for your landscape. By understanding the steps involved—from seed collection and germination to caring for young seedlings—you equip yourself with the knowledge needed for success. Remember to be patient, as growing trees from seed is a long-term commitment that requires care and attention.
As you embark on this journey, embrace the learning process. Each seedling presents an opportunity for growth not just for the trees themselves but also for your gardening skills. Celebrate each milestone, whether it’s the first sprout emerging from the soil or successfully transplanting a tree into your garden. With dedication and proper care, you will see your efforts flourish into healthy pine trees that contribute beauty and ecological benefits to your surroundings.
In conclusion, with the right knowledge and approach, anyone can successfully propagate pine trees from cones. Whether for personal enjoyment or environmental restoration, growing these magnificent trees offers lasting rewards for both you and the planet.