
Gel wood stain is a thick, pigmented finish that sits on the wood surface, offering rich color and ease of application.
Table of Contents
Gel wood stain is a unique finishing option that combines the qualities of traditional stains and paints. Understanding its pros and cons can help you determine when to use it, ensuring optimal results in your woodworking projects.

What is Gel Wood Stain?
Gel wood stain is a thick, viscous finishing product designed to enhance the appearance of wood surfaces. Its unique formulation allows it to sit on top of the wood rather than soaking in, providing a distinctive finish that differs from traditional wood stains.
Characteristics of Gel Wood Stain
Gel stains contain a higher concentration of binders and pigments. This composition results in a product that is thicker than liquid stains. The thickness reduces the likelihood of drips, making gel stains particularly suitable for vertical surfaces. Key characteristics include:
- Surface Application: Gel stain remains on the surface, allowing for even color distribution.
- Hiding Imperfections: Gel stains effectively conceal flaws, such as scratches and uneven grain.
- Rich Color: With heavy pigmentation, gel stains deliver deep, vibrant hues.
Comparison with Liquid and Oil Stains
Understanding how gel wood stain compares to liquid and oil-based stains is essential for selecting the right product for your project:
| Feature | Gel Wood Stain | Liquid Stain | Oil-Based Stain |
|---|---|---|---|
| Application | Sits on top of the wood | Soaks into the wood | Penetrates wood grain |
| Finish | Glossy and uniform | Natural wood grain visible | Varies (depends on formulation) |
| Best Uses | Vertical surfaces, furniture | Floors, intricate details | Outdoor applications, durability |
| Drying Time | Slower drying | Fast drying | Moderate drying |
The choice between gel stains and traditional options often depends on the desired finish. For instance, gel stains are perfect for woods like birch and maple, which can be difficult with liquid stains. They provide a consistent color that enhances, rather than masks, the wood’s character.
By following best practices and understanding the unique behaviors of gel wood stain, you can achieve professional results in your woodworking projects. For those seeking a reliable product, consider General Finishes Gel Stain for a quality finish.
Pros of Gel Wood Stain

Gel wood stain offers several advantages, making it a popular choice among woodworkers and DIY enthusiasts. Its unique properties enhance both application and finish on various wood types.
Ease of Application
Gel stains are thicker than traditional liquid stains, allowing for easier control during application. This viscosity helps prevent drips and spills, especially on vertical surfaces. Many users find that gel stains can be applied with a brush or cloth without the fear of uneven absorption.
- Less Messy: The thick consistency minimizes drips, making it ideal for overhead projects.
- User-Friendly: Suitable for beginners and experienced users alike.
Rich and Even Color
One of the standout features of gel wood stain is its ability to provide a rich, even color. Unlike traditional stains that may highlight imperfections, gel stains mask flaws effectively.
- Uniform Finish: Gel stains create a consistent color across the surface.
- Deep Pigmentation: The heavy pigment content results in a vibrant finish that enhances wood grain without overwhelming it.
Ideal for Blotch-Prone Woods
Certain wood types, like pine or birch, are prone to blotching when stained with traditional methods. Gel wood stain performs exceptionally well on these woods, offering a more uniform appearance.
- Blotch Prevention: The thicker formula helps achieve an even color without blotchiness.
- Versatile Application: Works well on both horizontal and vertical surfaces, making it suitable for a variety of projects.
Practical Example
Consider a DIY project using birch plywood. Applying a gel wood stain can minimize blotches while enhancing the wood’s natural beauty. Many users have reported that using gel stain on birch transformed their projects from average to stunning, showcasing the wood’s character without imperfections.
When choosing a gel wood stain, products like General Finishes Gel Stain stand out for their quality and performance, providing excellent results for both novice and expert woodworkers.
Cons of Gel Wood Stain
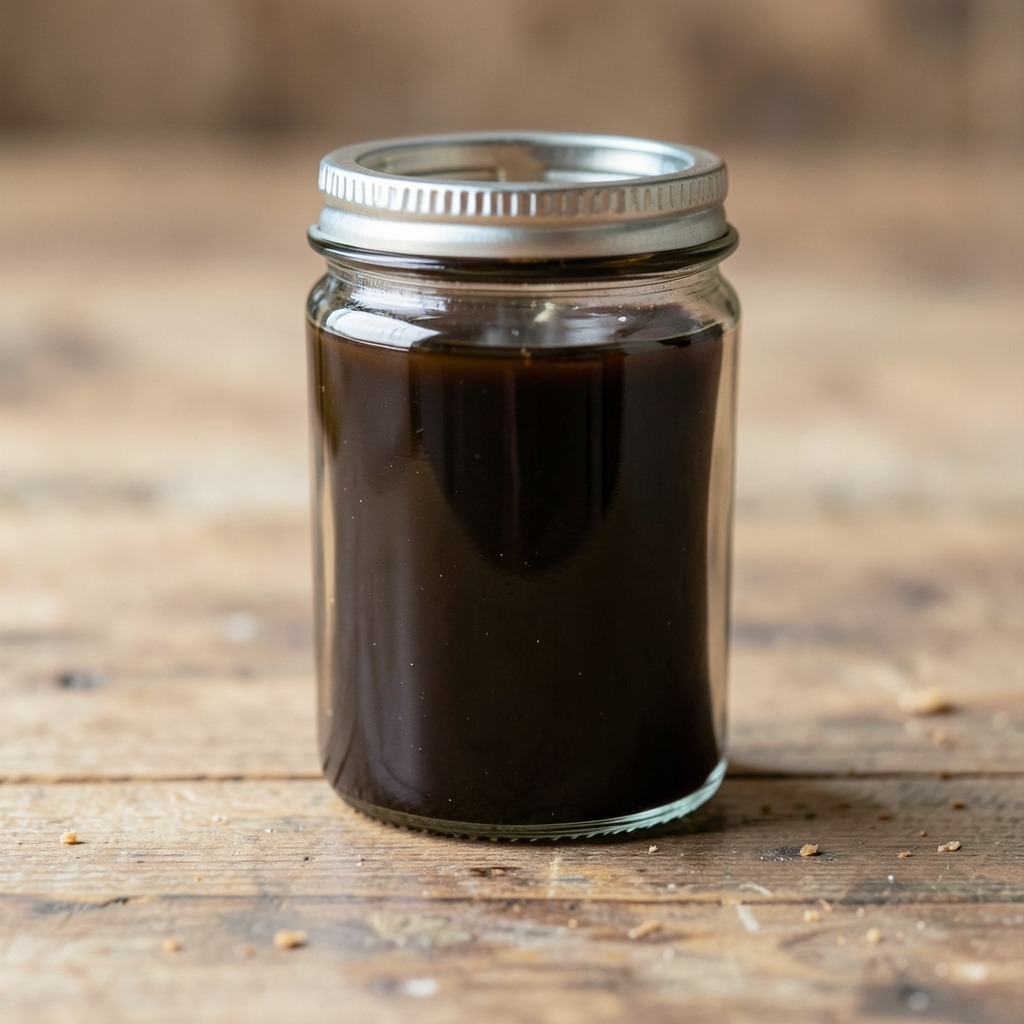
While gel wood stain offers unique advantages, it also comes with several drawbacks. Understanding these cons is essential for making an informed choice.
Longer Drying Times
Gel wood stains typically require more time to dry compared to traditional liquid stains. This extended drying period can disrupt workflow and delay project completion. On average, gel stains may take anywhere from 6 to 12 hours to dry, depending on environmental conditions.
- Tip: Plan your project timeline accordingly. Allow ample drying time between coats to achieve the desired finish.
Less Penetration into Wood Grain
Unlike traditional wood stains, gel stains do not penetrate deeply into the wood grain. They sit on the surface, which can limit the stain’s ability to enhance the natural beauty of the wood.
- Example: Using gel stain on porous woods like pine may result in a less vibrant finish compared to liquid stains that soak in and highlight the grain.
Potential for Uneven Finish
Due to their thicker consistency, gel stains can sometimes lead to an uneven finish. This issue is especially prevalent on wood types that do not absorb stain uniformly.
- Caveat: When applying gel stain, be mindful of the amount used. Applying too much can create drips or puddles, leading to a splotchy appearance.
Quick Checklist for Gel Stain Application
- Ensure the wood surface is clean and smooth.
- Apply in thin, even coats.
- Allow sufficient drying time between applications.
- Use a quality gel stain like General Finishes Gel Stain for optimal results.
By being aware of these potential drawbacks, you can better navigate the challenges of using gel wood stain in your projects.
When and How to Use Gel Wood Stain

Gel wood stain is an excellent choice for specific projects where traditional stains may not perform as well. This section outlines the best scenarios for using gel stain and provides a step-by-step application process.
Best Projects for Gel Stain
Gel stain is ideal for various applications, particularly where traditional stains may fail. Consider using gel stain in the following scenarios:
- Vertical Surfaces: Gel stain adheres well to vertical applications, making it perfect for cabinets and doors.
- Hardwoods: Use gel stain on dense wood types like oak, cherry, or maple, where liquid stains may not penetrate evenly.
- Covering Imperfections: Gel stain effectively conceals scratches or blemishes on wood surfaces.
- Furniture Restoration: It’s great for refinishing old furniture, as it provides a rich color without requiring extensive sanding.
Step-by-Step Application Process
Follow these steps for a successful gel stain application:
1. Prepare the Surface:
- Ensure the wood is clean and free from dust, grease, or old finish.
- Sand the surface lightly with fine-grit sandpaper for better adhesion.
2. Gather Your Tools:
- Use high-quality gel stain.
- Have a clean, lint-free cloth or foam brush for application.
- Keep a clean rag for wiping excess stain.
3. Apply Gel Stain:
- Stir the gel stain thoroughly to ensure even pigment distribution.
- Using your cloth or brush, apply a thin, even coat of gel stain. Work in manageable sections.
4. Wipe Excess Stain:
- After a few minutes, use a clean rag to wipe away any excess stain. This step is crucial for achieving a uniform finish.
5. Allow Drying Time:
- Let the first coat dry completely. This may take 6 to 8 hours, depending on humidity and temperature.
6. Inspect and Apply Additional Coats:
- Check the color. If a deeper shade is desired, apply additional coats following the same application process. Ensure each coat dries thoroughly.
7. Final Touches:
- For added protection, consider applying a clear topcoat once the final stain coat is dry. This enhances durability and sheen.
Quick Checklist for Gel Stain Application
- Clean and smooth the wood surface.
- Apply in thin, even coats.
- Allow sufficient drying time between applications.
- Use a quality gel stain like General Finishes Gel Stain for optimal results.
By following these guidelines, you can effectively utilize gel wood stain in your projects, achieving beautiful, lasting results.
Common Mistakes and How to Avoid Them
When using gel wood stain, DIYers often encounter specific pitfalls that can affect the final appearance and durability of their projects. Understanding these mistakes and how to rectify them ensures a smooth and successful staining experience.
Mistakes to Avoid
1. Applying Too Much Stain
Excess stain can lead to a sticky surface. Gel stain is thick, so a little goes a long way. Apply in thin, even coats to prevent this issue.
2. Rushing the Drying Time
Gel stain requires adequate drying time between coats. Rushing can cause uneven finishes. Always check the manufacturer’s recommendations for drying times.
3. Skipping Surface Preparation
Failing to sand the wood before application can lead to poor adhesion. Always ensure the wood is clean and smooth for the best results.
4. Using Dirty Brushes
Using unclean brushes can introduce contaminants, causing streaks. Always use clean brushes specifically for staining.
5. Neglecting to Test Stain Color
Not testing the stain on a small, inconspicuous area can result in disappointment with the final color. Always conduct a test patch first.
Tips for Successful Application
- Choose the Right Wood
Some woods, like pine or maple, may not absorb gel stain evenly. Opt for woods with a more porous surface for better results.
- Use Proper Application Tools
Foam brushes or lint-free cloths provide a smoother finish. Avoid using bristle brushes, which can leave marks.
- Work in Controlled Conditions
Temperature and humidity can affect drying times. Aim for a temperature between 70°F and 80°F with low humidity for optimal conditions.
- Apply a Topcoat for Protection
Once the stain is fully dry, consider applying a clear topcoat for increased durability and a polished finish.
Real-Life Example
Imagine you’re staining a wooden table with gel stain. You apply the first coat without sanding and notice that the stain isn’t adhering well. When you check, you find the surface is rough with dust. In this scenario, sanding the surface smooth and testing the stain on a hidden area first would have ensured a more uniform finish.
Following these tips can significantly enhance the appearance of your gel-stained projects, providing a beautiful and lasting result.
Conclusion: Is Gel Wood Stain Right for Your Project?
Choosing the right wood stain can significantly impact the final appearance of your project. Gel wood stain offers unique advantages and disadvantages that may influence your decision.
Key Advantages of Gel Stain
- Easy Application: Gel stain’s thick consistency allows for easy application on vertical surfaces without drips.
- Even Color: It provides a uniform finish, making it ideal for covering imperfections.
- Versatility: Gel stain works well on various wood types and can enhance the natural beauty of wood grain when desired.
Potential Drawbacks of Gel Stain
- Surface Penetration: Unlike traditional stains, gel stain sits on top of the wood, which may not showcase the grain as effectively.
- Drying Time: Gel stains often require longer drying times compared to liquid stains.
- Application Sensitivity: It can be tricky to apply correctly, requiring practice to avoid common mistakes, such as uneven coverage.
Decision-Making Framework
When considering gel wood stain, evaluate the following factors:
- Project Type: If you need a stain for vertical surfaces or want to hide imperfections, gel stain might be ideal.
- Wood Type: Some woods absorb stains differently. Test on scrap or hidden areas first.
- Desired Finish: If you prefer a rich, deep color without showing the grain, gel stain is a better choice.
Real-World Example: A homeowner refinishing kitchen cabinets found that gel stain effectively covered previous paint marks. They achieved a professional-looking finish with minimal prep work.
By weighing these pros and cons, you can make an informed decision about whether gel wood stain is suitable for your specific project needs.
Frequently Asked Questions
These quick answers cover the most common questions about this topic, including key details, practical tips, and common concerns.
What is gel stain and how is it different from regular stain?
Gel stain is a thick, pigmented finish that sits on the surface of the wood rather than soaking in. Unlike regular stains, which penetrate the wood grain, gel stains provide a more uniform color and are less likely to highlight imperfections. This makes gel stains ideal for vertical surfaces and blotch-prone woods.
Can gel stain be used on all types of wood?
Yes, gel stain can be used on a wide range of wood types, but it works best on dense or blotch-prone woods like birch and pine. Its thick consistency helps achieve an even finish on these surfaces, preventing uneven absorption that can occur with traditional stains.
How long does gel stain take to dry?
Gel stain typically takes longer to dry than liquid stains, usually requiring 6 to 12 hours before it can be handled. Factors such as humidity and temperature can affect drying times, so it’s important to allow sufficient time between coats for the best results.
When should you use gel stain instead of liquid stain?
Use gel stain when working on vertical surfaces, covering imperfections, or when staining woods that are prone to blotching. Liquid stains are better for projects that require deep penetration into the wood grain, such as flooring or intricate details.
What common mistakes should you avoid when using gel stain?
Common mistakes include applying too much stain, which can lead to a sticky surface, and skipping surface preparation, which affects adhesion. Rushing the drying time and using dirty tools can also result in uneven finishes. Always test your stain on a small area before full application.
How does gel stain compare to oil stain?
Gel stain sits on the surface of the wood, providing a uniform finish and is less likely to highlight imperfections. In contrast, oil stains penetrate deeper into the wood, enhancing the natural grain. Gel stains are often easier to apply on vertical surfaces without drips, while oil stains may offer more durability for outdoor projects.
What are alternatives to gel stain?
Alternatives to gel stain include liquid stains, oil-based stains, and water-based stains. Each type has its own characteristics and ideal applications. For example, liquid stains penetrate more deeply and are better for showcasing the wood grain, while water-based stains dry quickly and are easier to clean up.