
Rainy days don’t have to be dull! I absolutely love transforming indoor spaces into magical realms, and creating an enchanting indoor fairy garden is the perfect way to spark creativity and bring a little whimsy into our homes.
Gathering Your Supplies
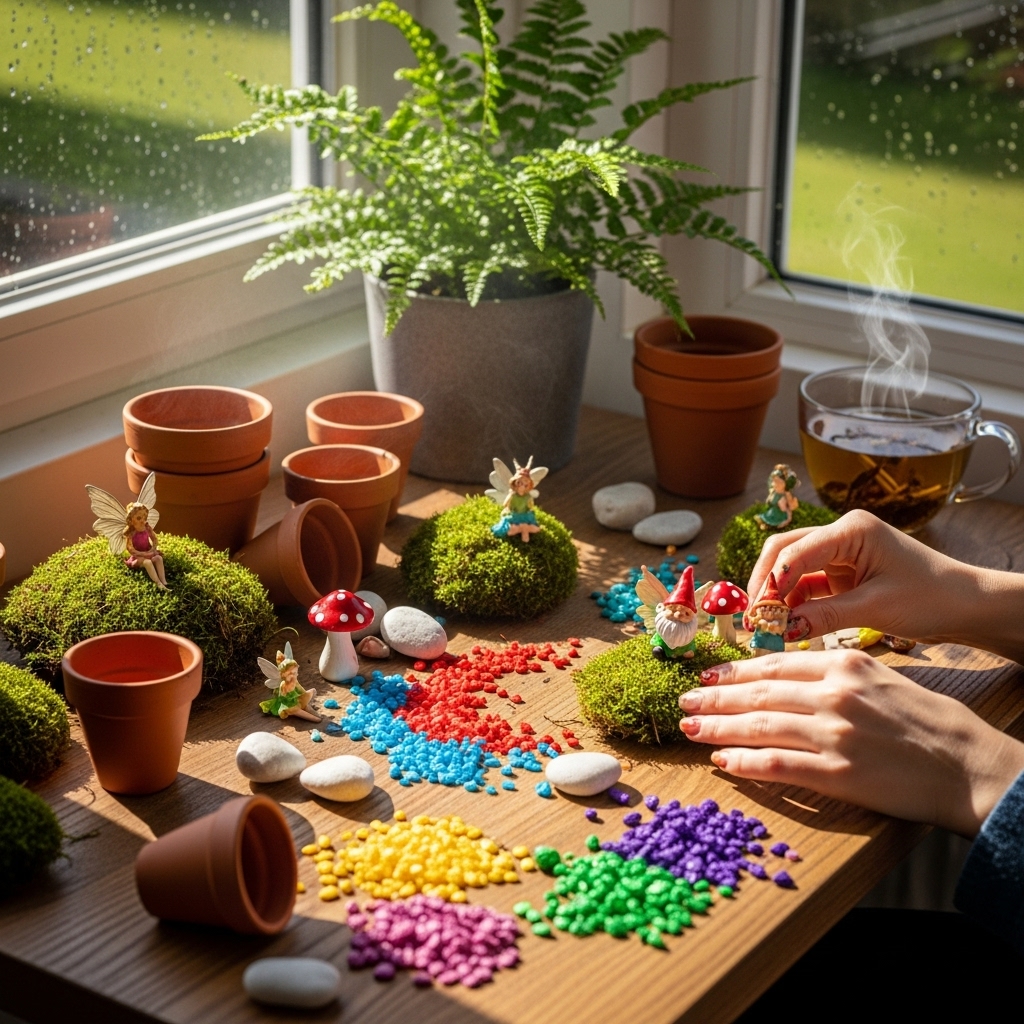
As I prepare to dive into this delightful project, the first step is gathering the right supplies. The beauty of an indoor fairy garden is that it can be customized to reflect our personal style and preferences. I like to start by making a checklist of materials, which not only keeps me organized but also builds excitement for the creative process ahead. Here’s what I typically gather:
Container Choices
The base for my fairy garden can set the tone for the entire creation. I often look around my home for containers that can double as miniature landscapes. Some of my favorites include:
- Terrariums: These glass containers come in various shapes and sizes, allowing for beautiful visibility of the plants and decorations inside.
- Flower Pots: I love using clay or ceramic pots, which can be painted or decorated to add character.
- Wooden Boxes: These can give a rustic vibe, and I often find them in craft stores or even repurpose old crates I have lying around.
Plants and Foliage
Choosing the right plants is crucial for creating an enchanting atmosphere. I always opt for small, manageable plants that thrive indoors. Some of my go-to options include:
- Sedums: These succulent varieties are hardy and come in various colors, making them ideal for a fairy garden.
- Moss: I adore the lush, green carpet that moss provides, and it’s perfect for creating a soft, magical floor.
- Miniature Pothos or Ivy: These trailing plants can create a whimsical look and are easy to care for.
Decorative Elements
To bring the fairy garden to life, I love incorporating various decorative elements. This is where I get to let my imagination run wild! Here are some items I often include:
- Fairy Figurines: I usually choose a variety of whimsical fairy figures to populate my garden. They can be found at craft stores or online.
- Miniature Furniture: Tiny benches, tables, and swings can create cozy spots for the fairies. I often DIY my own using popsicle sticks or bits of leftover wood.
- Natural Elements: I love gathering small pebbles, twigs, and pinecones from my backyard or local park to add to the garden’s natural feel.
- Lighting: I sometimes include tiny LED fairy lights to create a magical glow, especially if I plan to display the garden in the evening.
Designing Your Fairy Garden
Now that I have my supplies ready, it’s time to get into the fun part: designing the fairy garden! I find this is where the real magic happens. I usually start with a blank canvas, arranging my container and thinking about how I want the garden to look.
Creating a Layout
Before I start placing anything, I often sketch a rough layout on paper. This helps me visualize where everything will go. I consider factors such as:
- Height Variation: I like to create layers by placing taller plants at the back and shorter ones at the front. This adds depth to the garden.
- Focal Points: I choose one or two standout features, like a beautiful fairy figurine or a striking plant, to draw the eye.
- Pathways: I like to create pathways using small stones or pebbles to guide the viewer’s eye through the garden.
Planting and Arranging
Once I’m happy with the layout, it’s time to plant! I carefully add soil to the container, making sure to leave enough space for each plant. Then, I start placing the plants according to my sketch. I dig small holes for each one, gently placing their roots into the soil. I find that adding a little moss around the base of each plant can really enhance the overall look.
After all the plants are in place, I sprinkle decorative stones or sand on top to create a finished look. This not only adds to the aesthetics but also helps retain moisture for the plants.
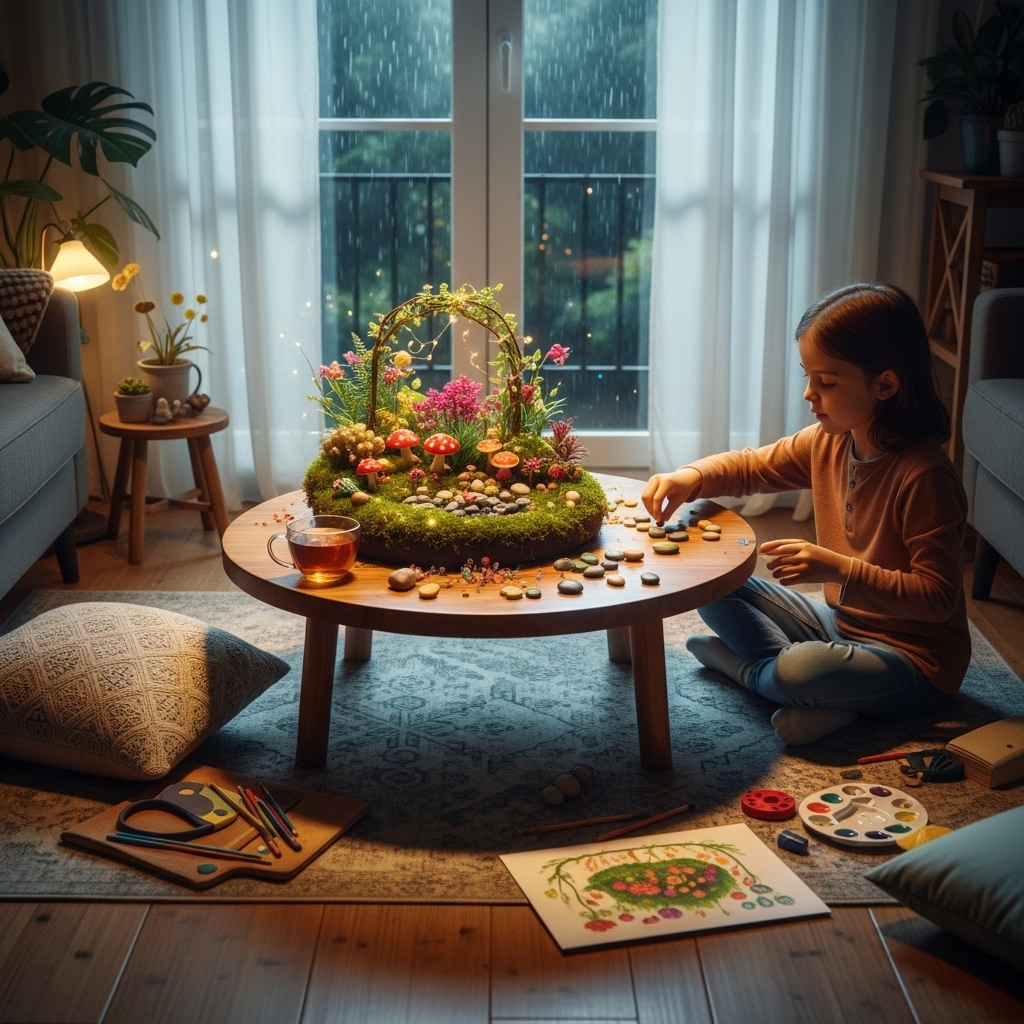
Bringing It All Together

With the plants arranged and the base set, it’s time to add the decorative elements. I take my time with this part, carefully placing fairy figurines and miniature furniture throughout the garden. I often move things around until it feels just right. I find that adding a small bench here or a fairy standing by a tiny pond can really pull the whole scene together.
Lastly, I might string some fairy lights around the edges or within the plants to create a magical glow. It’s these little touches that truly make the fairy garden feel enchanting!
As I finish up, I step back and admire my work. There’s something incredibly satisfying about creating a little world filled with magic and imagination, especially on a rainy day. I can’t wait to share the final touches and how to care for this whimsical space in the next segment!
Maintaining Your Fairy Garden
Now that my enchanting fairy garden is complete, the next step is ensuring it remains vibrant and magical over time. I’ve learned that a little care goes a long way in keeping the garden healthy and beautiful. Here’s how I maintain mine:
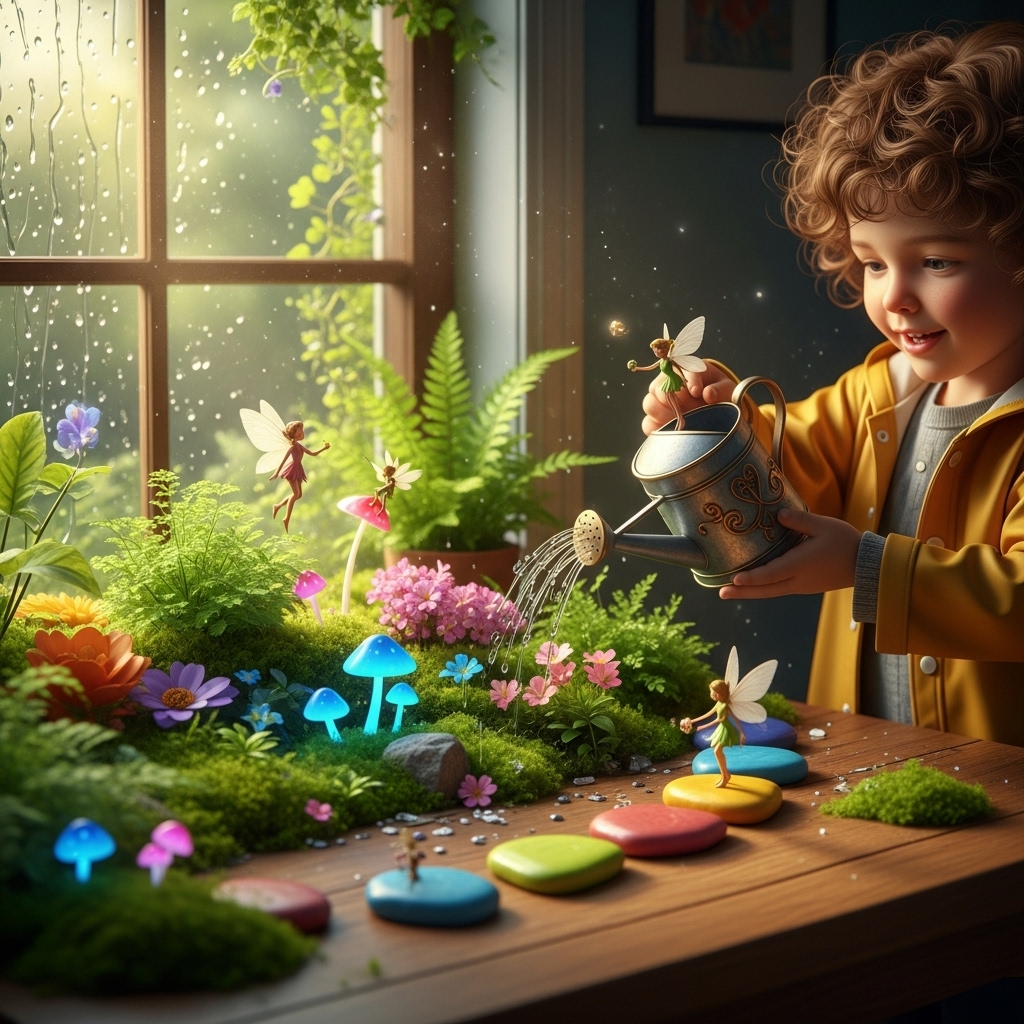
Watering Wisely
One of the most important aspects of plant care is watering. I always check the soil moisture before adding more water. If the top inch feels dry, it’s time to hydrate. I tend to use a spray bottle or a small watering can for gentle watering, making sure not to drown the plants. Too much water can lead to root rot, which I definitely want to avoid!
During warmer months, I find that I might need to water more frequently, while in cooler months, the plants might require less. I keep an eye on the moss, as it’s a good indicator of moisture. If it starts to dry out, I know it’s time to give everything a drink.
Pruning and Trimming
As the plants grow, I like to spend a little time pruning them to keep the garden looking tidy. Regular trimming helps prevent overcrowding and ensures that each plant has enough space to thrive. I usually snip off any dead leaves or spent flowers, which not only keeps the garden looking fresh but also encourages new growth.
I also enjoy shaping my plants. For example, if a succulent starts to stretch too much towards the light, I might trim it back to promote a fuller appearance. This little act can dramatically enhance the overall aesthetic of my fairy garden.
Seasonal Changes
One thing I love about maintaining an indoor fairy garden is how I can change its theme with the seasons. I like to switch out plants according to what’s blooming and vibrant during different times of the year. For instance, I might introduce colorful fall foliage, like miniature pumpkins, in autumn or fresh spring flowers to celebrate the season of renewal.
Additionally, I often swap out decorative elements to reflect seasonal themes. I’ll add tiny snowflakes or a miniature snowman during winter, or some beach-themed decorations in summer. This not only keeps my fairy garden fresh but also allows me to express my creativity throughout the year!
Finding Inspiration
When I’m feeling a little stuck on ideas, I turn to various sources for inspiration. I love browsing social media platforms like Pinterest or Instagram, where countless beautiful fairy gardens spark my imagination. I take note of the different styles and elements that resonate with me, and I often save pictures to refer back to later.
Books about gardening or fairy tales can also inspire me. I find that reading stories about magical worlds can motivate me to create something special in my own little garden. Sometimes, I’ll even take a walk through botanical gardens or local parks, observing how plants interact in nature and thinking about how I can replicate that magic in my indoor space.
Sharing the Joy

One of the most rewarding aspects of creating and maintaining my fairy garden is sharing it with others. I love inviting friends and family over to see my creation. It’s amazing to watch their eyes light up as they explore the tiny world I’ve crafted. I often host craft days where we can create mini fairy gardens together—it’s a wonderful way to bond and share ideas!
I also enjoy taking photos of my garden to share on social media. I find that sharing updates and progress can inspire others to start their own fairy gardens. Plus, it’s always fun to connect with others who share the same passion. Sometimes, I even participate in local gardening clubs or online communities where we swap tips and stories about our creations.
Personal Reflections
Creating and maintaining an indoor fairy garden has become more than just a hobby for me; it’s a form of therapy. The act of nurturing plants, arranging decorations, and letting my imagination run wild provides me with a sense of peace and fulfillment. Whenever I feel overwhelmed or stressed, I retreat to my little garden and find solace in its beauty.
Each time I glance at my fairy garden, I’m reminded of the joy that creativity can bring. It’s a space that reflects my personality, interests, and love for nature. Most importantly, it serves as a reminder to embrace whimsy and magic in our everyday lives.
As I continue to care for and evolve my fairy garden, I look forward to the new adventures and stories that will unfold in this enchanting little world. I can’t wait to share more about the specific themes and projects I have in mind for future gardens, as well as any new discoveries I make along the way!
Final Thoughts
This journey of creating and maintaining my indoor fairy garden has been nothing short of magical. I hope that by sharing my experiences, I’ve inspired you to embark on your own whimsical adventure. Whether you’re a seasoned gardener or just starting, there’s a world of fun waiting for you inside your home. So grab your supplies, unleash your creativity, and let the enchantment begin!