
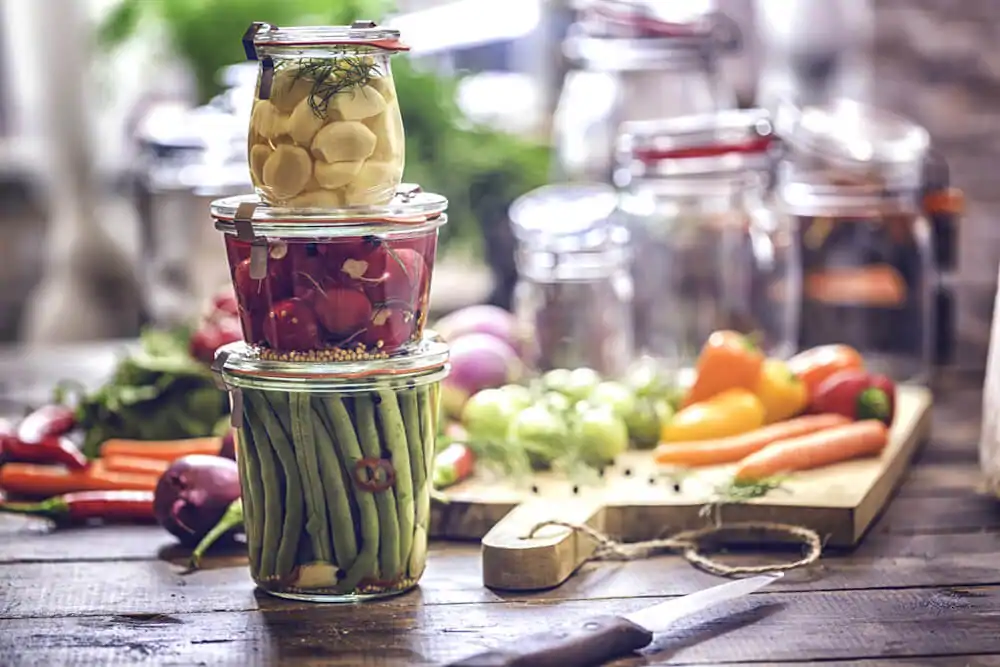
To preserve your vegetables effectively, consider methods like freezing, canning, or pickling. Start by selecting fresh, high-quality produce and wash them thoroughly. Blanching vegetables before freezing helps maintain flavor and color. For canning, use sterilized jars and follow safe canning practices. Pickling adds flavor and extends shelf life; ensure proper acidity levels for safety.
Imagine biting into a sun-ripened tomato in the dead of winter, or adding the bright flavors of summer zucchini to a hearty stew in the fall. Preserving vegetables allows you to savor the taste of your garden (or the local farmers’ market) long after the growing season ends. It’s a fantastic way to reduce food waste, save money, and ensure you have access to healthy, delicious produce throughout the year.
This comprehensive guide will walk you through various methods of preserving vegetables, from the simple to the more involved, equipping you with the knowledge and confidence to stock your pantry with homegrown goodness.
Why Preserve Vegetables? The Benefits Are Abundant!
Before we delve into the “how,” let’s briefly touch on the “why.” Preserving vegetables offers a multitude of advantages:
- Reduce Food Waste: Prevent perfectly good produce from ending up in the compost bin simply because you can’t consume it all before it spoils.
- Save Money: Enjoy lower food bills by taking advantage of seasonal gluts and preserving the bounty for later use.
- Eat Healthier: Access fresh, flavorful vegetables throughout the year, ensuring a consistent supply of vitamins and minerals.
- Control Ingredients: Preserve your own food and avoid the preservatives, additives, and excessive salt often found in commercially processed products.
- Embrace Sustainability: Reduce your environmental impact by minimizing transportation and packaging associated with store-bought produce.
- Connect with Your Food: Gain a deeper appreciation for the growing cycle and the effort involved in producing your food.
Choosing the Right Preservation Method: Matching the Technique to the Vegetable
Different vegetables lend themselves better to certain preservation methods. Here’s a breakdown to help you decide which technique is best for your needs:
- Freezing: Ideal for vegetables with high water content, like peas, beans, corn, and leafy greens.
- Canning: Perfect for tomatoes, pickles, jams, and other acidic vegetables. Requires careful attention to safety protocols.
- Dehydrating: Works well for herbs, root vegetables (like carrots and potatoes), and mushrooms.
- Fermenting: Suitable for vegetables like cabbage (sauerkraut), cucumbers (pickles), and carrots. Promotes gut health!
- Root Cellaring: A traditional method best for hardy root vegetables like potatoes, onions, and carrots.
- Pickling: A versatile method applicable to a wide variety of vegetables, from cucumbers and beets to peppers and onions.
Essential Equipment for Preserving Vegetables: Setting Yourself Up for Success
While some methods require more specialized equipment than others, here are some basics you’ll likely need:
- Sharp Knives and Cutting Boards: For preparing the vegetables.
- Large Bowls: For washing and soaking the vegetables.
- Colander or Salad Spinner: For draining and drying the vegetables.
- Measuring Cups and Spoons: For accurate measurements, especially for canning recipes.
- Canning Jars and Lids: Specifically designed for safe canning.
- Canning Pot: A large pot with a rack for processing jars of food.
- Jar Lifter: A tool for safely lifting hot jars out of the canning pot.
- Food Dehydrator: For dehydrating vegetables at a consistent temperature.
- Freezer Bags or Containers: For storing frozen vegetables.
- Fermentation Crocks or Jars: For fermenting vegetables.
Diving into the Methods: Step-by-Step Guides
Let’s explore some of the most common and effective vegetable preservation techniques in more detail:
1. Freezing: A Quick and Easy Option
Freezing is one of the simplest ways to preserve vegetables.
- Selecting and Preparing Vegetables: Choose fresh, ripe vegetables that are free from blemishes. Wash them thoroughly and trim away any damaged or undesirable parts.
- Blanching: Blanching involves briefly boiling or steaming vegetables before freezing. This process stops enzymatic activity that can cause loss of color, flavor, and texture during freezer storage. The blanching time varies depending on the vegetable. Consult reliable resources for specific blanching times.
- Cooling and Drying: After blanching, immediately plunge the vegetables into ice water to stop the cooking process. Drain them well and pat them dry with paper towels.
- Packaging and Freezing: Pack the vegetables into freezer bags or airtight containers, leaving a little headspace for expansion. Label the bags with the date and contents. Freeze the vegetables in a single layer on a baking sheet before transferring them to their final storage location. This prevents them from clumping together.
- Storage: Properly frozen vegetables can last for 8-12 months.
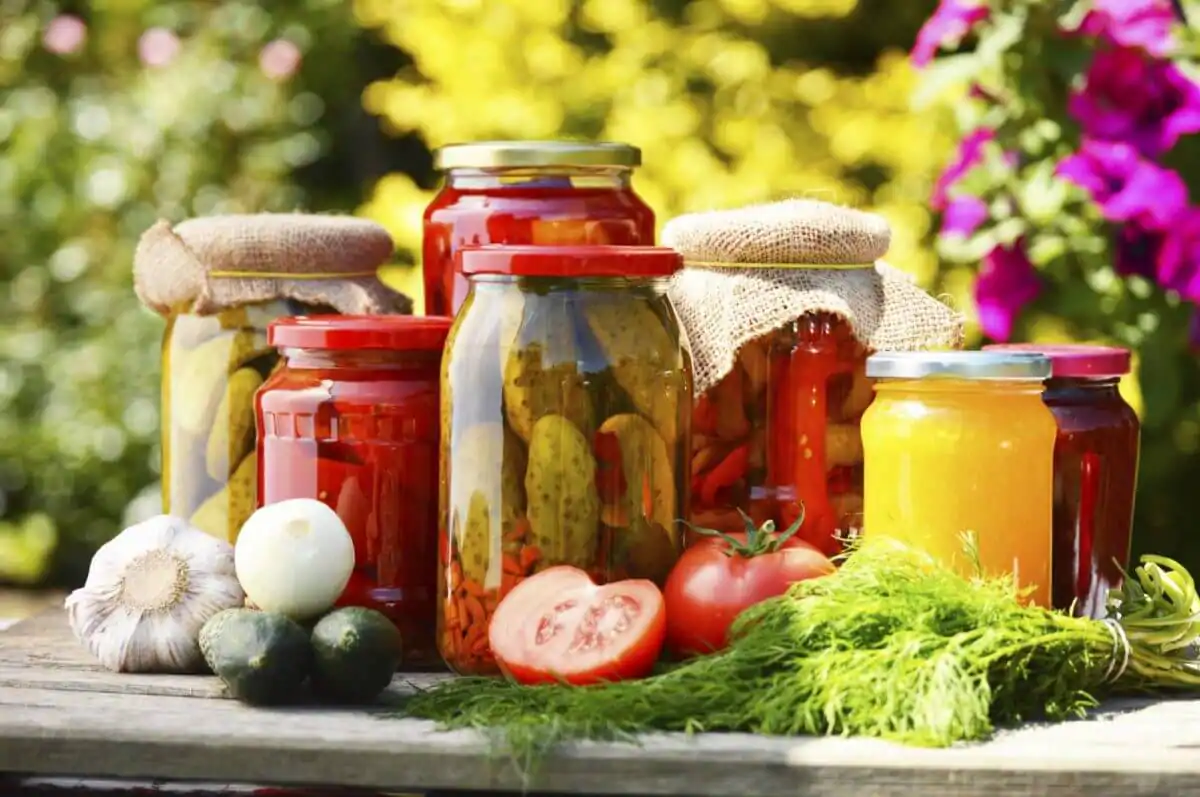
2. Canning: A Time-Honored Tradition (with Safety First!)
Canning involves sealing vegetables in jars and heating them to kill bacteria and create a vacuum seal. It is crucial to follow safe canning practices to prevent botulism, a potentially fatal form of food poisoning. Always use tested recipes from reputable sources like the USDA Complete Guide to Home Canning.
- Selecting and Preparing Vegetables: Choose fresh, high-quality vegetables. Wash them thoroughly and prepare them according to the recipe instructions.
- Jar Preparation: Wash canning jars in hot, soapy water and rinse them well. Sterilize the jars by boiling them in water for 10 minutes. Keep them hot until ready to use.
- Lid Preparation: Follow the manufacturer’s instructions for preparing canning lids.
- Filling the Jars: Pack the vegetables into the prepared jars, leaving the correct headspace (the space between the top of the food and the lid). Use a non-reactive spatula or bubble remover to release any trapped air bubbles.
- Wiping Rims and Placing Lids: Wipe the rims of the jars clean with a damp cloth. Place the lids on the jars and screw on the bands finger-tight.
- Processing: Process the jars in a boiling water bath canner or a pressure canner, depending on the acidity of the vegetables. Low-acid vegetables like green beans, corn, and peas require pressure canning to reach a safe temperature.
- Cooling and Testing Seals: After processing, remove the jars from the canner and let them cool completely. As they cool, you should hear a “pop” as the lids seal. After 24 hours, check the seals by pressing down on the center of each lid. If the lid doesn’t flex, it’s sealed properly.
- Storage: Store sealed jars in a cool, dark, and dry place. Properly canned vegetables can last for up to a year.
3. Dehydrating: Concentrating Flavors and Extending Shelf Life
Dehydrating removes moisture from vegetables, inhibiting the growth of bacteria and mold.
- Selecting and Preparing Vegetables: Choose fresh, ripe vegetables. Wash and slice them into thin, even pieces.
- Pretreatment (Optional): Some vegetables, like apples and bananas, benefit from pretreatment to prevent browning. This can involve soaking them in lemon juice or citric acid solution.
- Arranging on Trays: Arrange the vegetable slices on the dehydrator trays in a single layer, ensuring that they don’t overlap.
- Dehydrating: Set the dehydrator to the appropriate temperature and drying time, following the manufacturer’s instructions or a reliable recipe. The drying time will vary depending on the vegetable and the thickness of the slices.
- Testing for Dryness: The vegetables should be leathery and pliable, but not sticky.
- Conditioning: After dehydrating, place the vegetables in an airtight container and let them sit for a week. This allows any remaining moisture to equalize throughout the batch.
- Storage: Store dehydrated vegetables in airtight containers in a cool, dark, and dry place. They can last for several months.
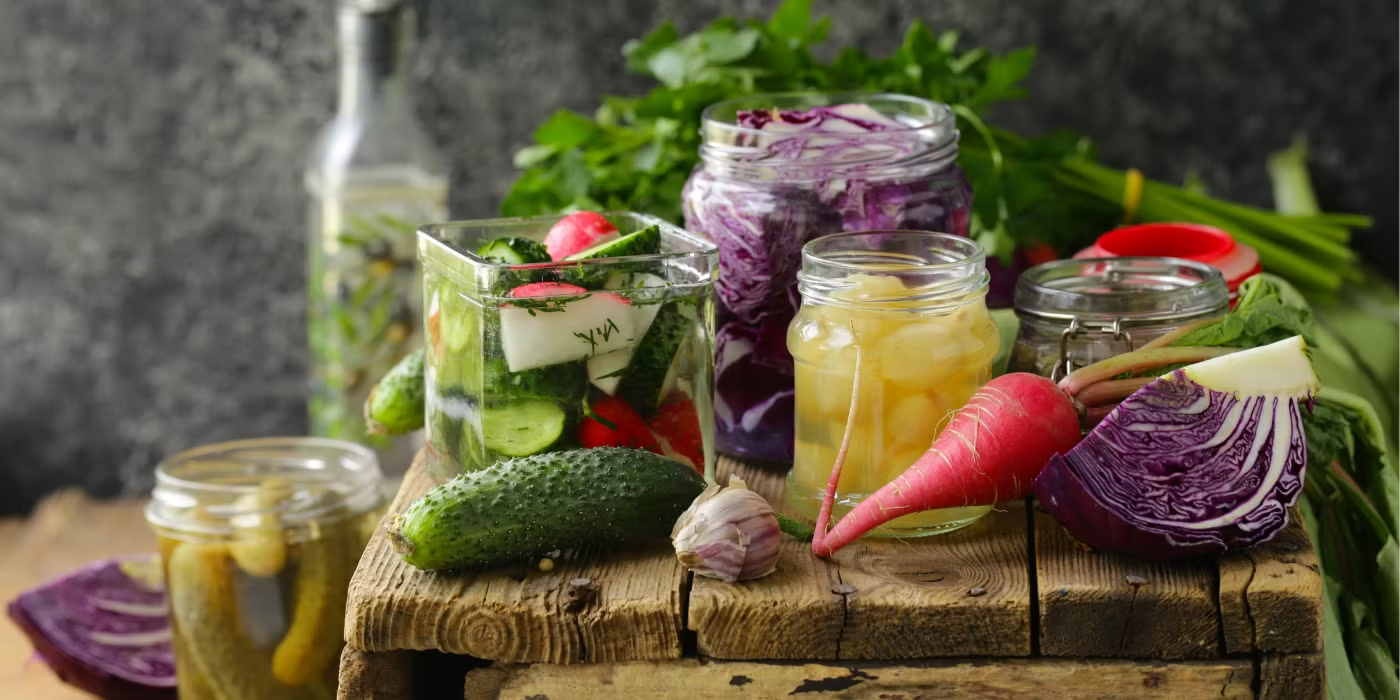
4. Fermenting: Cultivating Beneficial Bacteria
Fermenting vegetables involves using salt and natural bacteria to create an acidic environment that preserves the food and promotes the growth of beneficial probiotics.
- Selecting and Preparing Vegetables: Choose fresh, firm vegetables. Wash them thoroughly and prepare them according to the recipe instructions.
- Salt: Salt is crucial for fermentation. It inhibits the growth of undesirable bacteria and helps to draw out the vegetables’ juices, creating a brine.
- Fermentation Vessel: Use a fermentation crock or a glass jar with an airlock.
- Packing and Brining: Pack the vegetables tightly into the fermentation vessel and cover them with a brine made from water and salt.
- Weighting: Keep the vegetables submerged in the brine using a weight, such as a glass jar filled with water or fermentation weights.
- Fermenting: Let the vegetables ferment at room temperature for a specified period of time, depending on the recipe.
- Storage: Once fermented to your liking, store the vegetables in the refrigerator to slow down the fermentation process.
5. Root Cellaring: A Natural and Sustainable Approach
Root cellaring is a traditional method of storing hardy root vegetables in a cool, dark, and humid environment.
- Selecting and Preparing Vegetables: Choose mature, undamaged vegetables. Brush off any excess soil, but don’t wash them.
- Storage Conditions: The ideal root cellaring conditions are a temperature of 32-40°F (0-4°C) and a humidity level of 80-90%.
- Storage Methods: Store potatoes and onions in separate containers, as onions can cause potatoes to sprout. Pack root vegetables in layers of sand, sawdust, or peat moss to maintain humidity.
- Monitoring: Regularly check the vegetables for signs of spoilage and remove any that are rotting.
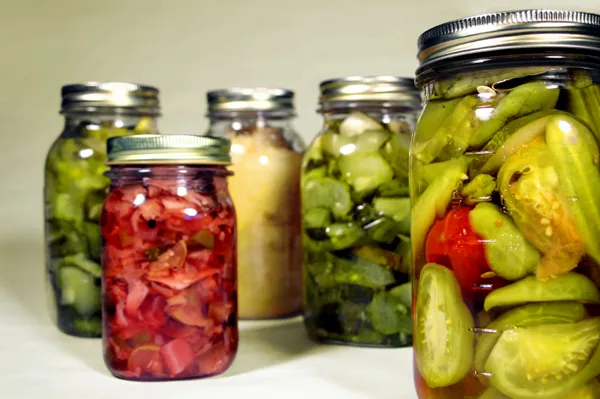
6. Pickling: Adding Flavor and Preserving at the Same Time
Pickling involves preserving vegetables in a vinegar-based brine, often with added spices and herbs.
- Selecting and Preparing Vegetables: Choose fresh, firm vegetables. Wash them thoroughly and prepare them according to the recipe instructions.
- Brining: Some pickling recipes involve brining the vegetables in salt water before pickling.
- Pickling Liquid: Prepare the pickling liquid by combining vinegar, water, salt, sugar, and spices.
- Packing and Processing: Pack the vegetables into sterilized jars and pour the hot pickling liquid over them, leaving the correct headspace. Process the jars in a boiling water bath canner.
- Storage: Store sealed jars in a cool, dark, and dry place.
Conclusion: Embark on Your Vegetable Preservation Journey!
Preserving vegetables is a rewarding and satisfying experience. By mastering these techniques, you can enjoy the taste of fresh, homegrown produce year-round, reduce food waste, save money, and connect with your food in a more meaningful way. So, grab your vegetables, gather your equipment, and embark on your vegetable preservation journey today! Remember to prioritize safety and always follow tested recipes from reputable sources. Happy preserving!