
The best time to plant garlic for bigger heads is in the fall, about 4-6 weeks before the ground freezes. This gives the cloves time to establish roots and prepare for a robust growth cycle in the spring. Read Interesting article: How to Plant and Grow Celeriac: Step-by-Step Root Vegetable Guide
Table of Contents
Understanding Garlic Varieties
Garlic comes in various types, each with its own unique characteristics and growing requirements. I remember the first time I delved into garlic gardening; I was amazed at the differences between the varieties. Choosing the right type can significantly impact not only the size of your garlic heads but also their flavor, storage life, and adaptability to your growing conditions.
Hardneck vs. Softneck Garlic
The two primary categories of garlic are hardneck and softneck. Hardneck garlic, which I personally love for its bold flavor and easy-to-peel cloves, thrives in colder climates. It’s typically characterized by a stiff flower stalk, or scape, that emerges in late spring. This type of garlic usually produces larger heads, making it a favorite for those of us looking for size and flavor.
On the other hand, softneck garlic is more common in grocery stores and is known for its long storage life and adaptability to warmer climates. Its cloves are typically smaller, but the bulbs can form multiple layers, which can also be quite appealing for culinary purposes. I’ve tried growing both types, and while the hardneck varieties consistently grew bigger heads for me, the softneck garlic had its own charm with the many cloves it produced.
Choosing the Right Variety for Your Climate
It’s essential to consider your local climate when selecting a garlic variety. I live in a colder region, and I learned the hard way that softneck varieties didn’t fare well in my winters. If you’re in a colder zone, go for hardneck garlics like ‘Russian Red’ or ‘Garlic of the West’. For milder climates, softneck options such as ‘Artichoke’ or ‘California Early’ can flourish. Read Interesting article: Artichoke Planting 101: Tips for a Successful Harvest
Understanding your climate not only guides your choice of garlic but also affects your planting time and techniques. I often recommend checking with local gardening groups or extension services to find the best varieties suited for your area. They often have firsthand experience that can be incredibly helpful.
Optimal Planting Times for Garlic
Now that we’ve covered the types of garlic, it’s crucial to know when to plant them. This can vary significantly based on your location, but there are general guidelines that I’ve found to be effective.
Fall Planting: Timing and Benefits
For those of us in the northern hemisphere, fall planting is typically the way to go. I usually plant my garlic around mid to late October, giving the cloves enough time to develop roots before the ground freezes. This pre-winter growth is vital as it helps the garlic establish a strong foundation for the following spring.
One of the primary benefits of fall planting is the extended growing season. Garlic that goes in the ground in the fall tends to produce larger heads because it can take advantage of the cool, moist soil conditions. I’ve consistently noticed that when I plant in the fall, my garlic yields are not only bigger but also healthier.
Additionally, planting in the fall allows the garlic to undergo a process called vernalization, where the cloves need the cold to trigger the growth cycle. I’ve seen this make a noticeable difference in the quality of the bulbs.
Spring Planting: Considerations and Techniques
If you miss the fall window or live in a warmer climate, spring planting is still an option, but it requires some adjustments. I’ve tried spring planting before and found that the heads were generally smaller and less flavorful than those planted in the fall. If I do go this route, I make sure to plant as early as possible, once the soil can be worked, usually around late March to early April.
When planting in the spring, it’s essential to choose varieties that are better suited for this time frame. Softneck garlic often performs better in spring, and I recommend avoiding hardneck varieties, which may not have enough time to mature fully.
Regional Variations in Planting Times
Planting times can vary dramatically depending on where you live. For instance, in the southern areas, gardeners can often plant garlic as early as September, while in northern regions, sticking to late October is more common.
I’ve found that local gardening clubs and online forums can be excellent resources for understanding the best planting times in your area. By connecting with other garlic growers, I’ve picked up valuable tips on timing and techniques that have helped me refine my approach.
Ultimately, understanding when to plant garlic is a blend of knowing your variety, your climate, and observing the local gardening culture. It’s a journey that requires a bit of patience and experimentation, but the reward of pulling up a head of garlic from the ground that you planted is worth every effort.
This exploration of garlic planting has greatly enhanced my gardening experience and has made me appreciate the nuances of each growing season. I’m excited to share more about the preparation and care that goes into growing those big, beautiful heads of garlic!
Soil Preparation for Garlic Planting
Getting the soil ready for garlic planting is one of the most crucial steps in ensuring a successful harvest. I’ve learned from experience that the right soil conditions can make all the difference in the size and quality of my garlic heads. Here’s what I’ve discovered along the way.
Soil Type and Quality
Garlic thrives best in loose, well-draining soil. I remember when I first started gardening; I didn’t think much about soil quality. I just planted my garlic in whatever patch of dirt I had available. Unfortunately, I learned the hard way that heavy, compacted soil can stifle growth. Now, I make sure to amend my garden beds with organic matter like compost or well-rotted manure. This not only improves drainage but also provides essential nutrients.
When preparing the soil, I usually aim for a sandy loam texture. That means it’s a mix of sand, silt, and clay, which balances moisture retention with drainage. I often dig in some coarse sand or perlite if my soil is too clay-heavy. It’s a simple trick, but it has worked wonders for my garlic growth.
pH Levels and Soil Amendments
Another aspect of soil preparation that I didn’t pay enough attention to early on was the pH level. Garlic prefers slightly acidic to neutral soil, ideally between 6.0 and 7.0. I purchased a simple soil pH test kit and was surprised at how easy it was to use. After testing my soil, I found it was a bit too acidic, so I decided to add some lime to raise the pH.
On the flip side, if your soil is too alkaline, you might want to incorporate sulfur or peat moss. I’ve found that adjusting the pH can truly enhance the garlic’s growth. It’s worth the effort and a small investment to get it right.
Fertilization Strategies for Bigger Heads
Now, let’s talk about fertilization. Garlic is a hungry plant, and I’ve learned that providing it with the right nutrients can lead to those big, beautiful heads we all strive for. Before planting, I like to mix in a balanced fertilizer or well-composted organic matter into the soil. A good rule of thumb is to look for a fertilizer with a nutrient ratio around 10-10-10.
In the spring, as the garlic starts to grow, I often give it a boost with a nitrogen-rich fertilizer to promote strong foliage. I usually apply it at about the time the shoots are around 6 inches tall. I’ve noticed that garlic with healthy green leaves tends to produce larger bulbs. Just be careful not to over-fertilize, as that can lead to lush tops but puny heads.
Planting Techniques for Maximizing Growth
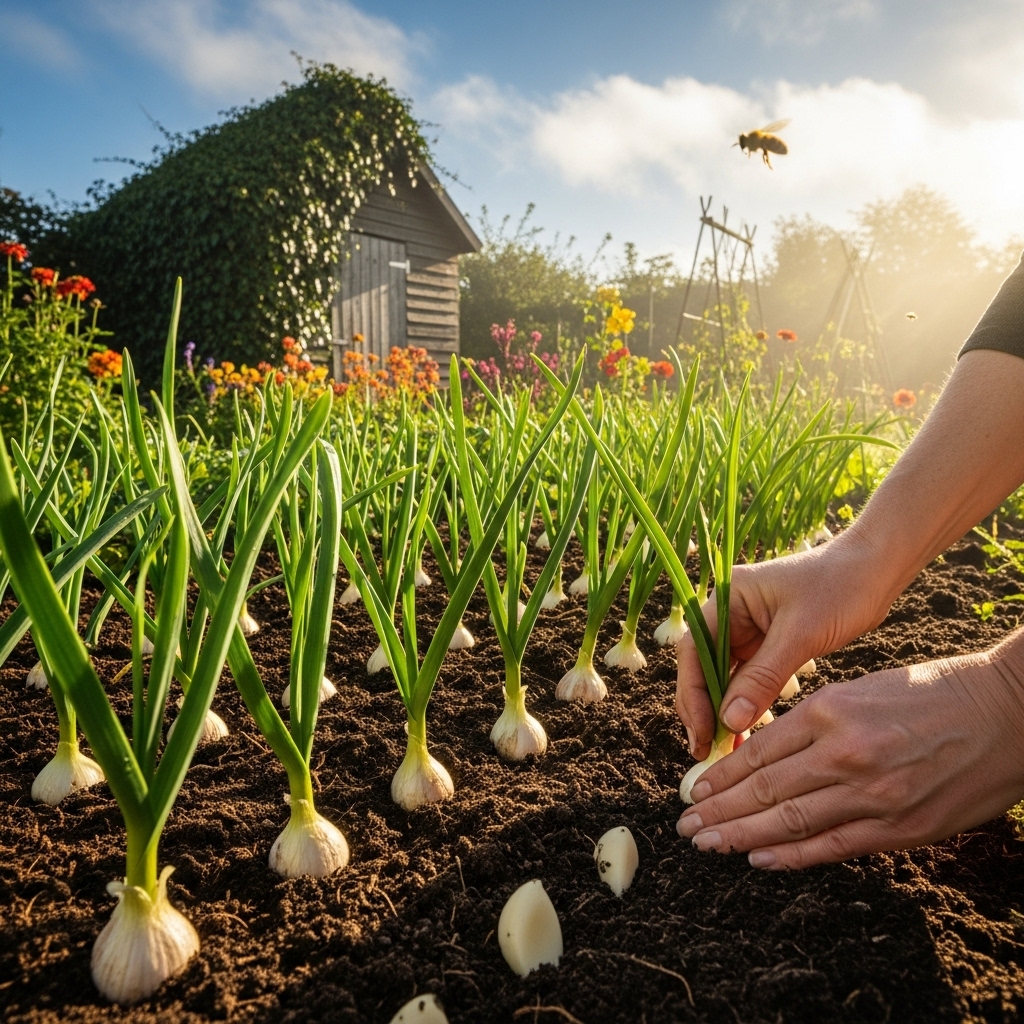
Once the soil is prepped and primed, it’s time to get those cloves in the ground! I’ve learned a few planting techniques that have helped me maximize growth and ensure a bountiful harvest.
Spacing and Depth: Best Practices
Spacing is crucial when planting garlic. I tend to plant my cloves about 6 inches apart, which gives them room to grow and expand. I’ve found that if they’re too crowded, they compete for nutrients and space, leading to smaller heads. The depth of planting is just as important; I usually bury the cloves about 2 inches deep, with the pointed end facing up.
This depth seems to be the sweet spot for my garlic; it keeps the cloves protected from temperature fluctuations while also allowing them to push through the soil easily.
Watering Guidelines Post-Planting
After planting, I keep a close eye on watering. Garlic likes consistent moisture, especially in the early stages of growth. I typically water gently to avoid displacing the cloves. I’ve learned that overwatering can lead to rot, so I wait until the top inch of soil feels dry before giving my garlic a drink.
In the spring, as the weather warms up, I increase the frequency of watering, especially if it gets dry. I use a soaker hose to ensure that the water reaches the roots without soaking the foliage, which can lead to disease.
Mulching for Soil Temperature and Moisture Retention
Mulching is another technique that I’ve come to appreciate. After planting, I often apply a layer of straw or shredded leaves. This mulch helps retain moisture, suppress weeds, and stabilize soil temperature. I’ve noticed that this not only saves me time on weeding but also keeps the soil temperature conducive for growth.
Plus, as the mulch breaks down, it enriches the soil, which is an added benefit. For me, using mulch has become a staple in my garlic-growing process, and I can’t recommend it enough.
With these planting techniques in place, I feel confident that my garlic is set up for success. Each step, from soil preparation to planting depth, plays a role in how my garlic will turn out, and I’m excited to share more about caring for it as it grows!
Care and Maintenance During Growth
Once those garlic cloves are nestled in the soil, the journey doesn’t end there. In fact, this is just the beginning! Proper care and maintenance during the growing season can significantly impact the size and quality of our garlic heads. I’ve learned that it’s all about being attentive and responsive to the needs of the plants.
Regular Watering Needs
Watering is one of the most critical aspects of garlic care. I remember my first garlic garden, where I underestimated how much water these plants needed. Garlic prefers consistent moisture, especially during its initial growth stages. After planting, I typically keep the soil evenly moist but not soggy. I usually check the top inch of soil regularly; if it feels dry, it’s time for a drink.
In the spring, as temperatures rise, I’ve found that garlic requires more frequent watering. I aim to maintain a balance—too little moisture can stunt growth, while too much can lead to rot. I often use a soaker hose to deliver water directly to the roots while keeping the foliage dry. This method has helped me avoid fungal diseases, which can be a concern in humid conditions.
Pest and Disease Management
As my garlic begins to grow, I also keep an eye out for pests and diseases. I’ve seen a few unwelcome visitors in my garden, like aphids and garlic bloat nematodes. To manage pests, I often use organic methods such as introducing beneficial insects like ladybugs or using insecticidal soap. I’ve found that early detection is crucial, so I make it a habit to regularly inspect the plants.
Disease can be a real concern too. In my experience, fungal issues like white rot are prevalent, especially in damp conditions. To prevent this, I ensure good airflow around my garlic plants by avoiding overcrowding and practicing crop rotation. I also learned the importance of planting disease-free bulbs, which has made a huge difference in the health of my garlic crop.
When to Fertilize During the Growing Season
Fertilization doesn’t stop after the initial planting. I’ve discovered that timing is key to providing my garlic with the nutrients it needs throughout its growth cycle. After planting, I typically wait until the shoots are around 6-8 inches tall before applying a nitrogen-rich fertilizer. This usually happens in early spring, and I’ve found that this boost helps promote robust leaf growth, which is vital for bulb development.
As the garlic matures, I often switch to a low-nitrogen fertilizer to support bulb formation. I’ve learned to look for fertilizers that are higher in potassium and phosphorus during this phase, as they help enhance the size and quality of the bulbs. I apply this around mid-spring, following the guidelines on the fertilizer package to avoid overdoing it.
In my experience, balancing nutrients throughout the growing season can be the difference between mediocre and magnificent garlic. It’s a bit of a dance, but one that has yielded some of my best harvests.
Signs of Maturity and Harvesting Garlic
After months of care, the excitement builds as the garlic approaches maturity. Knowing when to harvest is crucial, and I’ve picked up a few tips along the way that have helped me gauge the right moment.
Identifying the Right Time to Harvest
One of the first signs that my garlic is ready to harvest is when the lower leaves begin to yellow and die back. I usually look for about half to two-thirds of the leaves to have turned brown. I’ve learned that waiting too long can lead to bulbs splitting, so timing is essential. I often mark my calendar for late June to early July based on my previous harvests, but I still keep a watchful eye on the plants.
Another indicator I’ve found helpful is gently digging around the base of a bulb. If it looks large and well-formed, it might be time to pull it up. I’ve learned to be gentle with this process to avoid damaging the bulbs, which can affect their storage life.
Proper Harvesting Techniques for Bigger Heads
When it’s time to harvest, I’ve adopted a few techniques to ensure I get the best results. I usually use a garden fork to loosen the soil around the bulbs carefully. This way, I can lift them out without bruising or cutting them. I remember the first time I yanked them out of the ground, and I ended up with a few damaged heads—it’s definitely a lesson learned!
Once I’ve harvested the bulbs, I shake off the excess soil and place them in a shaded area to cure. Proper curing is essential, as it helps to develop the flavors and extend storage life. I typically lay them out in a single layer, ensuring good airflow around each bulb. This step has made a noticeable difference in the quality of garlic I can enjoy long after the harvest.
Growing garlic has been a rewarding journey for me, filled with lessons and discoveries. As I continue to refine my techniques for care and harvesting, I’m excited to see how each season brings new challenges and rewards. I can’t wait to share more about post-harvest handling and storage to ensure that our hard-earned garlic lasts through the year!
Frequently Asked Questions
What is the best time to plant garlic for bigger heads?
The best time to plant garlic for bigger heads is in the fall, about 4-6 weeks before the ground freezes.
What are the two primary categories of garlic?
The two primary categories of garlic are hardneck and softneck garlic.
What type of garlic is recommended for colder climates?
Hardneck garlic is recommended for colder climates, as it thrives in such conditions.
How does fall planting benefit garlic growth?
Fall planting benefits garlic growth by allowing the cloves to establish roots before winter, leading to larger heads due to extended growing time in cool, moist soil conditions.
What is vernalization in garlic planting?
Vernalization is a process where garlic cloves need cold temperatures to trigger their growth cycle, which is facilitated by fall planting.
What soil conditions are ideal for growing garlic?
Garlic thrives best in loose, well-draining soil with a sandy loam texture, enhanced with organic matter for improved drainage and nutrients.
What pH level does garlic prefer?
Garlic prefers slightly acidic to neutral soil, ideally with a pH level between 6.0 and 7.0.
How should garlic cloves be spaced when planting?
Garlic cloves should be spaced about 6 inches apart when planting to allow adequate room for growth.
When should you fertilize garlic during its growth cycle?
Fertilization should begin when the shoots are around 6-8 inches tall in early spring, and later a low-nitrogen fertilizer should be applied to support bulb formation.
What are signs that garlic is ready to harvest?
Garlic is generally ready to harvest when the lower leaves begin to yellow and die back, typically when half to two-thirds of the leaves have turned brown.