
To move a rose bush without killing it, carefully dig around the root zone, keep roots moist, and transplant during dormancy with proper aftercare.
This article covers timing, preparation, and aftercare steps to ensure a successful relocation of your rose bush, minimizing stress and extending its longevity.
When Is the Best Time to Transplant a Rose Bush for Success
Timing is crucial when relocating a rose bush. Proper seasonal scheduling minimizes stress and enhances the likelihood of successful root establishment, helping the plant thrive in its new location.
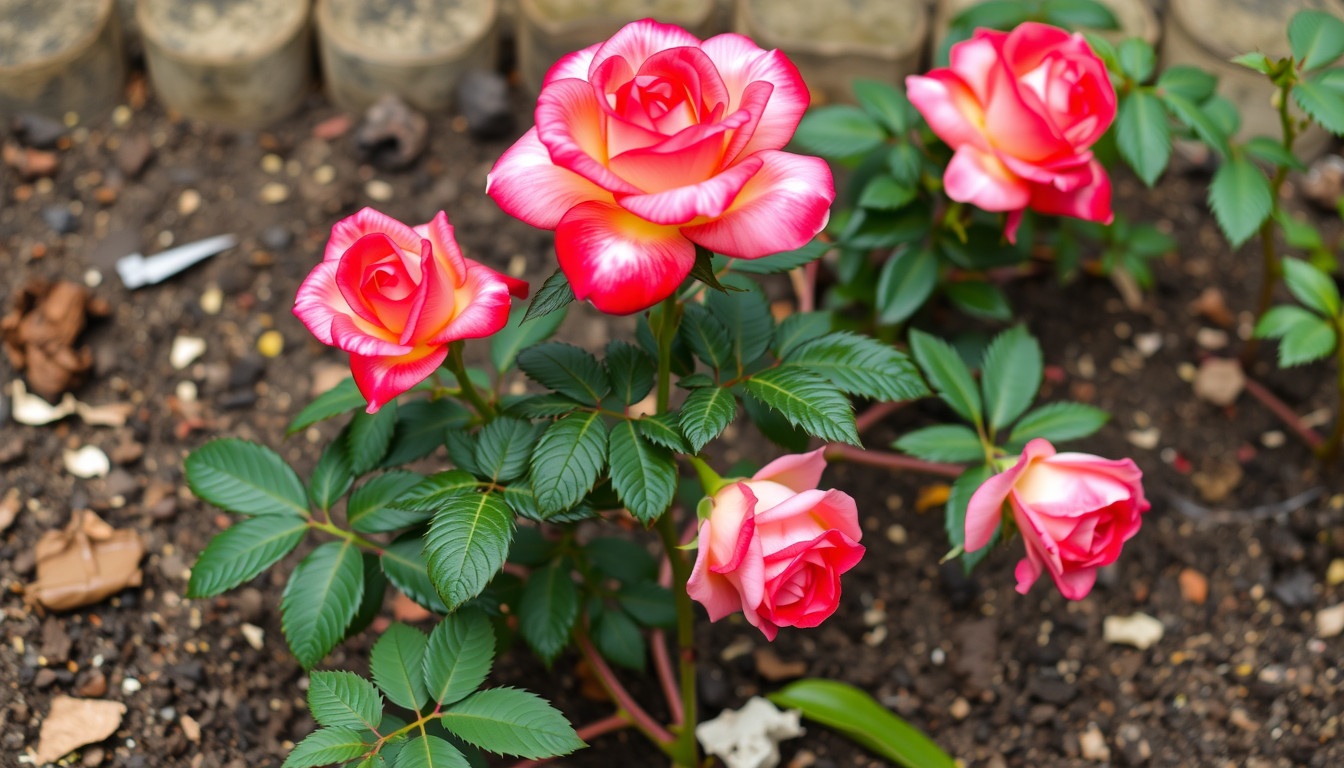
Timing your transplant during the right season is crucial, and this guide explains [LINK]the optimal seasonal timing for transplanting roses[/LINK] to help minimize stress.
1. Dormant season (late fall or winter)
Transplanting during dormancy is ideal because the rose is not actively growing. Moving a dormant rose reduces shock and allows the plant to focus energy on root development before the growing season begins. In most climates, late fall after the leaves have fallen or winter before new growth starts provides optimal conditions. During this period, the plant’s metabolic activity slows, making it more resilient to the disturbance. Ensure the ground isn’t frozen, and choose a dry, cool window for digging out the bush.
Disclosure: As an Amazon Associate I earn from qualifying purchases.
To prepare your rose bush effectively, consider using suitable pruning tools to shape and reduce stress on the plant. Shop suitable garden pruning tools on Amazon (affiliate link).
Table of Contents
2. Active growing season considerations
If the plant must be moved during the active growing season, early spring is preferable before new blooms or leaves appear. This allows the rose to recover while it’s still developing roots for the upcoming season. However, transplants during active growth carry higher risks of stress, wilting, or dieback. If spring is chosen, provide extra aftercare—such as watering frequently and mulching—to support recovery.
3. Summer transplant risks
Transplanting in hot summer months generally increases failure risk. High temperatures cause increased water loss and stress, impairing root regeneration. If relocation during summer is unavoidable, do so early in the morning or late in the evening, and keep the roots well-watered at all times. Protect the shrub from direct sun and high winds, and avoid transplanting during drought conditions to prevent dehydration. Summer transplants demand diligent aftercare, including consistent watering and shade protection to give the rose the best chance of survival.
By aligning the transplant with the plant’s natural dormant period and avoiding extreme heat, gardeners improve the chances of a successful move. Careful planning of seasonal timing influences root establishment, reduces plant shock, and supports long-term health.
Preparing the Rose Bush for Transplant: Pruning, Watering, and Root Management
Careful plant preparation reduces stress during transplantation and ensures healthy recovery. Proper pruning, watering, and assessing root ball size are crucial steps before digging up a rose bush.
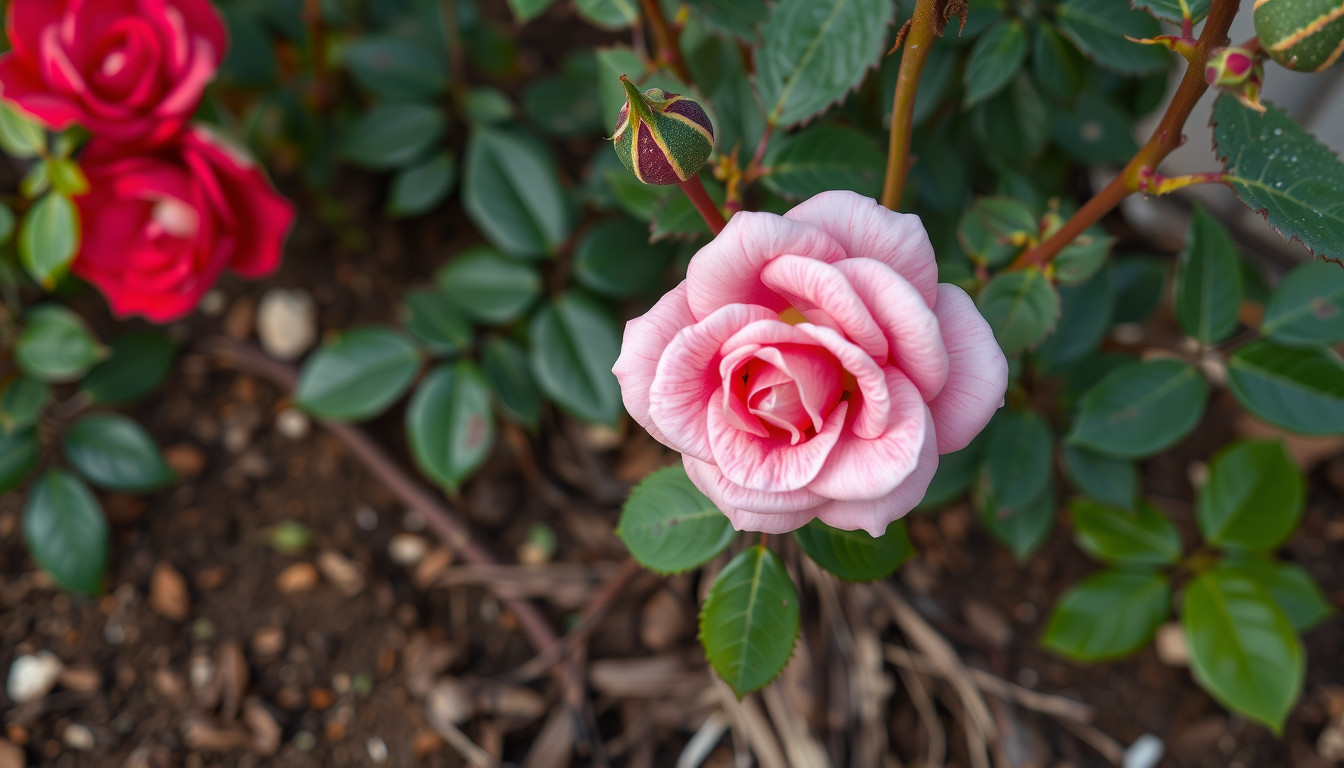
Proper preparation can prevent problems after transplant, and this article covers [LINK]how to prepare a rose bush for transplant, including pruning and root management[/LINK].
1. Pruning to Reduce Root Mass
Pruning the rose bush helps balance the plant’s energy and diminish the extent of root removal. Cut back canes to healthy growth points, removing any dead or damaged branches. This reduces the overall above-ground mass, which helps the plant focus on root development instead of supporting excessive foliage. A general guideline is to prune about one-third of the bush’s size, ensuring the remaining plant is vigorous enough to recover post-transplant. The goal is to create a manageable root ball that simplifies extraction and transplanting while maintaining enough foliage for photosynthesis.
Ensuring your rose bush is well-hydrated can make the transplant process easier and less stressful. Shop suitable watering cans with adjustable flow on Amazon (affiliate link).
2. Watering Before Digging
Water the rose bush thoroughly at least 24 hours before digging. Well-hydrated soil makes it easier to loosen and extract the root system and prevents root dehydration during the process. Deep watering encourages the roots to expand into the surrounding soil, making them more stable and minimizing damage when disturbed. Avoid watering immediately before digging to reduce soil compaction, but ensure the soil isn’t dry or excessively wet, as both conditions can hinder the extraction process. Consistent moisture levels help the roots stay healthy and resilient throughout the transplanting procedure.
3. Assessing Root Ball Size
Estimating the root ball size is vital for securing enough roots for successful transplantation. A mature rose bush’s root ball typically extends roughly three times the width of the foliage canopy. Digging around the plant, you should aim to include a root ball that encompasses the maximum lateral root spread, which often involves digging at least 12 inches deep and wide for established bushes. Including this extensive root system increases the likelihood of quick establishment after relocation. When removing the root ball, handle it carefully to prevent breaking or damaging the roots, and ensure it remains moist during transit. Keeping the root ball intact with a burlap or similar material can help retain moisture and stability, setting the stage for a healthy replanting.
Tools and Techniques for Digging, Transporting, and Replanting a Rose Bush
Using the right tools and methods is essential to move a rose bush without harming its root system. Proper handling minimizes root damage and increases the chance of successful transplantation.
1. Proper shovels and pruning shears
Select sharp, sturdy shovels designed for digging in tough soil. A pointed spade allows clean, precise cuts around the root ball, reducing stress on roots. Pair this with high-quality pruning shears to trim damaged or circling roots before transplanting. Sharp tools prevent jagged cuts that can become entry points for disease and help keep the root edges healthy and viable.
2. Wrapping roots with burlap or fabric
Once the root ball is exposed, wrap it immediately with burlap or a thick piece of fabric. This preserves moisture, prevents root desiccation, and maintains structural integrity during transport. The burlap can stay attached during planting, breaking down naturally in the soil, or it can be removed if it becomes too compacted. Keeping roots moist with this covering is critical for the plant’s survival through the move.
Properly wrapping the roots helps protect them during movement and replanting. Shop suitable burlap fabric rolls on Amazon (affiliate link).
3. Digging techniques for large root balls
For established rose bushes, root systems may extend three times wider than the foliage canopy. To capture this entire root zone, dig at least 12 inches deep and as wide as the foliage spread. Start by sinking the shovel a few inches away from the plant’s base and work outward in a gentle sweeping motion to undercut the root ball, maintaining a steady, deep cut. Avoid pulling or twisting roots, which can cause breakage. Once the root ball is loosened, lift it carefully, supporting the entire mass with the shovel or hands wrapped in protective gloves. During this process, keep the root ball shaded and moist to prevent dehydration. Transport it in a sturdy container or on a flat, stable surface, ensuring the root ball remains supported and undisturbed, which is critical for quick adaptation in its new location.
Replanting: Choosing the Right Location and Completing the Transplant
Proper replanting of a rose bush involves selecting a site that closely mimics its original growing conditions and ensuring that the plant is positioned at the correct depth. This reduces stress on the shrub and promotes healthy establishment after being moved. A well-planned transplant minimizes the risk of root damage and helps the rose adapt quickly to its new environment. Follow these guidelines for site selection and planting to give the rose the best chance of survival and vigorous growth.
Enhancing your soil can create optimal conditions for your transplanted rose bush. Shop suitable garden soil amendments on Amazon (affiliate link).
1. Selecting a site with adequate sunlight and drainage
| Building Block | Details |
|---|---|
| Sunlight | Choose an area that receives at least 6 hours of direct sunlight daily. Roses thrive in full sun, which encourages healthy blooms and disease resistance. Avoid shaded locations or areas overshadowed by trees or structures that block sunlight. |
| Drainage | The site should have well-draining soil to prevent excess moisture from accumulating around the roots, which can lead to rot. If drainage is poor, consider raising the planting area slightly or amending the soil with organic matter such as compost or coarse sand to improve water flow. |
2. Preparing the hole with enriched soil
Before replanting, dig a hole that is twice as wide as the root ball but no deeper. Mix the native soil with rich amendments such as compost or aged manure to boost nutrients and improve soil texture. These adjustments help the rose establish quickly and reduce transplant shock. Filling the hole with this enriched soil creates an environment that supports root growth and provides stability.
3. Positioning and planting the root ball
Carefully set the rose bush into the hole, ensuring that the graft union (the swollen part where the rose is grafted onto the rootstock) remains just above ground level, typically about 1 to 2 inches higher than surrounding soil to accommodate settling. Fill the hole gradually with the enriched soil, firming gently to eliminate air pockets. Water the newly planted rose thoroughly to settle the soil and hydrate the roots. Maintaining the correct planting depth and ensuring good soil contact encourages healthy root development and minimizes transplant shock.
Post-Transplant Care: Watering, Mulching, Staking, and Monitoring
Proper aftercare significantly influences the rose bush’s ability to adapt and thrive after moving. Focused attention on watering, mulching, staking, and regular monitoring helps minimize stress and supports healthy growth.
1. Regular watering schedule
Deep, consistent watering is essential in the weeks following transplantation. Water thoroughly to ensure moisture reaches the roots, but avoid overwatering to prevent root rot. Typically, soaking the soil until it’s moist about 12 inches deep every 2-3 days during hot, dry weather offers a good balance. In cooler or wetter conditions, reduce frequency. Observe the soil’s moisture level; if it remains muddy or soggy, cut back on watering. Conversely, if it feels dry at the surface, give it a thorough soak. Keeping roots consistently hydrated encourages establishment without drowning the plant.
2. Mulch to retain moisture
Applying organic mulch around the base of the rose bush stabilizes soil temperature, reduces water evaporation, and suppresses weeds. Use materials like wood chips, bark, or straw, laying a 2-3 inch layer. Spread mulch evenly, keeping it a few inches away from the stem to prevent rot. Mulching conserves moisture during dry periods, supporting root growth and minimizing transplant shock. Replenish mulch as needed to maintain an effective depth, especially after heavy rains or wind.
3. Stake to prevent wind damage
Young or recently transplanted rose bushes benefit from staking to prevent wind or accidental disturbance from causing damage. Use sturdy stakes driven into the ground at a safe distance from the roots. Attach the rose cane or trunk with soft ties, ensuring no constriction that could impair growth. Staking keeps the plant upright and reduces stress on fragile roots and stems. Once the rose bush gains sufficient stability and established root systems, typically after a few months, remove the stakes to allow natural movement and growth.
4. Monitoring for signs of stress
Regular examination helps catch early indicators of transplant stress. Look for wilting, yellowing or browning leaves, or stunted growth. If these symptoms occur, assess watering practices and adjust accordingly. Consistent leaf drop or weak new shoots may indicate root issues or inadequate moisture. Keep an eye out for pests or diseases, which can take advantage of plant stress. Prompt action, such as adjusting watering, increasing mulch, or applying organic treatments, helps the rose recover and continues healthy development post-transplant.
Frequently Asked Questions
1. What is the best season to transplant a mature rose bush?
Late fall or winter during dormancy offers the best conditions because the plant is less active and can recover more easily from transplant shock.
2. How large should the root ball be for a successful transplant?
The root ball should extend about three times the width of the foliage canopy, typically digging at least 12 inches deep and wide for mature bushes.
3. What tools are essential for digging and replanting?
Use a sharp, pointed spade for clean cuts and high-quality pruning shears for trimming roots, along with burlap or fabric for wrapping and moisture retention.
4. How should I prepare the rose bush before moving?
Thoroughly water the plant at least 24 hours before digging and prune about one-third of the above-ground growth to reduce root stress and balance energy.
5. How deep should the planting hole be?
The hole should be at least as deep as the root ball, typically around 12 inches or more, to accommodate the roots comfortably and allow for proper settling.
6. What post-transplant care is necessary for recovery?
Keep the transplanted rose well-watered, mulch to conserve moisture, and avoid heavy fertilization until the plant shows signs of new growth.
7. Can I transplant roses during their active growing season?
Yes, early spring before new leaves appear is preferable; however, late spring or summer transplants carry higher risks of stress and require diligent aftercare.
Sources and Further Reading
- How To Move A Rose Bush Without Killing It – A Pro'S Guide
- Moving a Rose Bush Without Killing It – Tips by Fantastic Gardeners
- How to Move a Rose Bush Without Killing It – The Practical Planter
- Moving Mature Roses: A Step-by-Step Guide to Relocating Established …
- How To Move A Rose Bush Without Killing It? | Pad Outdoor