
The optimal time to plant hydrangeas outdoors is in the spring after the last frost or in the fall about six weeks before the first frost. These timings allow the plants to establish roots and acclimate to their environment before facing extreme temperatures.
Table of Contents
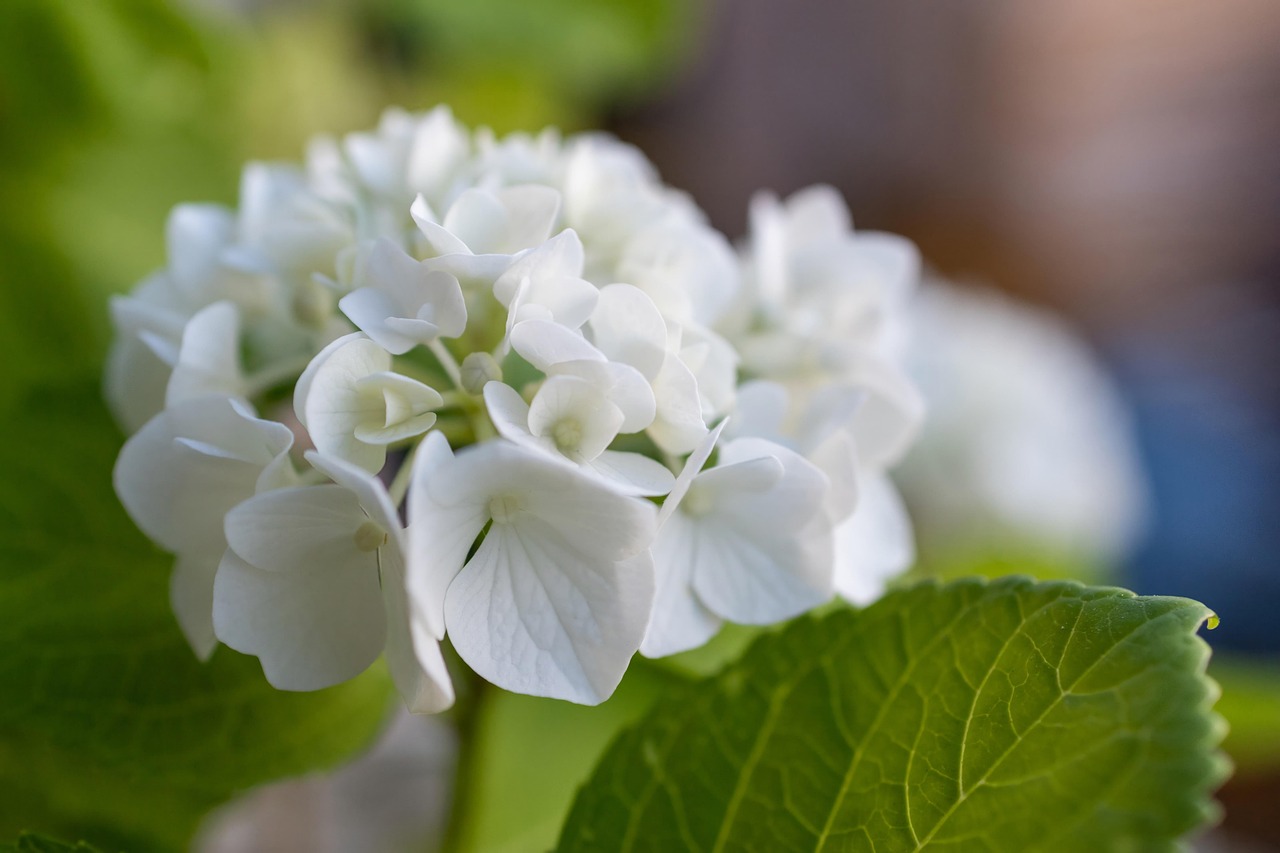
Hydrangeas are beloved for their stunning blooms and lush foliage. They bring beauty and elegance to gardens, making them a popular choice among horticulturists and gardening enthusiasts alike. Understanding the right timing for planting hydrangeas is essential for ensuring healthy growth and vibrant flowers. Timing can vary based on climate, hydrangea variety, and local weather conditions.
In most temperate regions, spring is a favorable season for planting hydrangeas. As temperatures begin to rise and the threat of frost diminishes, the soil warms up, promoting root growth. For many gardeners, late March to May serves as the ideal window for planting. However, fall also presents a viable option, particularly in areas with mild winters. Planting in early to mid-fall allows hydrangeas to establish themselves before winter dormancy.
Factors Influencing Planting Time
Several factors play a crucial role in determining the best time to plant hydrangeas. These include climate, soil temperature, and the specific variety of hydrangea. Each factor can influence how well the plant adapts to its new environment.
Climate Considerations
The local climate significantly impacts when to plant hydrangeas. In warmer regions, planting can begin earlier in spring, while colder areas may require waiting until late spring. Additionally, gardeners in areas with harsh winters should prioritize fall planting before the ground freezes.
Soil Temperature
Hydrangeas thrive in warm soil. Before planting, check that the soil temperature is consistently above 60°F (15°C). This warmth encourages root development and helps the plant absorb nutrients effectively. Gardeners can use a soil thermometer to monitor temperatures accurately.
Hydrangea Varieties
There are several varieties of hydrangeas, each with different needs and preferences. Some common types include:
- Hydrangea macrophylla (Bigleaf Hydrangea)
- Hydrangea paniculata (Panicle Hydrangea)
- Hydrangea arborescens (Smooth Hydrangea)
- Hydrangea quercifolia (Oakleaf Hydrangea)
Each variety has its optimal planting time. For instance, bigleaf hydrangeas prefer a more temperate climate, making spring planting ideal, while panicle hydrangeas can often be planted later in the season due to their hardiness.
| Hydrangea Variety | Ideal Planting Time |
|---|---|
| Hydrangea macrophylla | Spring |
| Hydrangea paniculata | Late Spring to Early Fall |
| Hydrangea arborescens | Spring or Fall |
| Hydrangea quercifolia | Spring or Early Fall |
Knowing these details helps in planning when to introduce hydrangeas into your garden. Taking into account the local climate, soil conditions, and variety specifics will set you up for success in cultivating these beautiful plants.
Preparing for Planting Hydrangeas
Before planting hydrangeas, proper preparation is essential to ensure their health and longevity. This includes evaluating the planting site, preparing the soil, and gathering necessary tools and materials. Each step plays a crucial role in creating an optimal environment for your hydrangeas to thrive.
Choosing the Right Location
Hydrangeas require specific conditions to flourish. Here are some key factors to consider when selecting a planting location:
- Sunlight: Hydrangeas generally prefer partial shade. While some varieties can tolerate full sun, too much direct sunlight can scorch their leaves and inhibit blooming.
- Soil Drainage: Ensure the area has well-draining soil. Hydrangeas do not thrive in waterlogged conditions, which can lead to root rot.
- Protection from Wind: Choose a sheltered spot that protects hydrangeas from strong winds. This helps prevent damage to their delicate blooms and foliage.
Soil Preparation
The quality of the soil directly influences the growth of hydrangeas. Here are steps to prepare your soil effectively:
- Test Soil pH: Hydrangeas prefer slightly acidic to neutral soil with a pH of 5.5 to 7.0. You can use a soil pH test kit to determine your soil’s acidity.
- Amend Soil: Based on the pH test results, you may need to amend your soil. Adding organic matter such as compost can improve drainage and provide essential nutrients.
- Till the Soil: To aerate the soil, use a tiller or garden fork to break up compacted earth. This promotes root growth and allows for better water absorption.
Gathering Tools and Materials
Having the right tools makes planting easier and more efficient. Here is a list of essential items you’ll need:
- Shovel or Spade: For digging holes.
- Garden Fork: To till and aerate the soil.
- Watering Can or Hose: To ensure your newly planted hydrangeas are adequately watered.
- Mulch: Organic mulch helps retain moisture, suppress weeds, and regulate soil temperature.
Planting Hydrangeas
Once you’ve prepared the site and gathered your tools, it’s time to plant your hydrangeas. Follow these steps for successful planting.
Diving into the Planting Process
- Digging the Hole: Create a hole that is twice as wide and just as deep as the root ball of the hydrangea. This allows ample space for roots to expand.
- Positioning the Plant: Place the hydrangea in the center of the hole. Ensure that the top of the root ball is level with the surrounding soil surface.
- Backfilling: Gently fill in around the root ball with soil, making sure to eliminate any air pockets. Firmly press down on the soil as you go.
- Watering: After planting, thoroughly water the hydrangea to help settle the soil and hydrate the plant.
- Applying Mulch: Add a layer of organic mulch around the base of the plant, keeping it a few inches away from the stem to prevent rot.
This careful approach to planting will set your hydrangeas on a path toward healthy growth and vibrant blooms. Proper site selection, soil preparation, and planting techniques are foundational for achieving beautiful results in your garden.

Care and Maintenance After Planting
After successfully planting your hydrangeas, ongoing care is essential for their growth and health. Proper maintenance includes watering, fertilizing, pruning, and protecting the plants from pests and diseases. Understanding these aspects will help you nurture your hydrangeas throughout their growing season.
Watering Hydrangeas
Hydrangeas require consistent moisture, especially during their initial growth period. However, overwatering can be just as detrimental as underwatering. Here are some guidelines for effective watering:
- Frequency: Water hydrangeas deeply once or twice a week, depending on rainfall and soil moisture. During hot, dry spells, you may need to increase the frequency.
- Method: Water at the base of the plant to avoid wetting the foliage. This reduces the risk of fungal diseases.
- Signs of Stress: Monitor for drooping leaves or wilting flowers, which indicate the need for more water.
Fertilizing Hydrangeas
Providing your hydrangeas with the right nutrients is crucial for vibrant blooms and healthy foliage. Consider the following tips for fertilization:
- Type of Fertilizer: Use a balanced, slow-release fertilizer specifically formulated for flowering plants. Look for formulations with equal parts nitrogen, phosphorus, and potassium (N-P-K).
- Timing: Fertilize in early spring as new growth begins. A second application in mid-summer can promote further blooming.
- Application: Follow package instructions for application rates. Avoid over-fertilizing, as this can lead to excessive foliage growth at the expense of flowers.
Pruning Hydrangeas
Pruning is an important aspect of hydrangea care that enhances bloom production and maintains plant shape. The timing and method of pruning depend on the variety of hydrangea:
- Bigleaf (Hydrangea macrophylla): Prune in late winter or early spring before new growth appears. Remove dead or weak stems and shape the plant.
- Panicled (Hydrangea paniculata): These can be pruned in late winter or early spring. They bloom on new wood, so don’t hesitate to cut back heavily if needed.
- Smooth (Hydrangea arborescens): Prune back to the ground in late winter to encourage new growth and abundant blooms.
- Oakleaf (Hydrangea quercifolia): Prune after flowering to maintain shape and remove any dead or damaged wood.
Pest and Disease Management
Hydrangeas can be susceptible to various pests and diseases. Regular monitoring will help you catch issues early. Common pests include aphids, spider mites, and scale insects. Here are some tips for managing them:
- Aphids: These small insects can be removed by spraying plants with water or using insecticidal soap.
- Spider Mites: Look for webbing on leaves. Increase humidity around the plants and apply miticides if necessary.
- Powdery Mildew: This fungal disease appears as white powder on leaves. Improve air circulation and avoid overhead watering to minimize its spread.
- Root Rot: Ensure proper drainage to prevent root rot caused by overly wet soil conditions. If detected, remove affected plants immediately.
By implementing these care strategies, you can ensure that your hydrangeas remain healthy and vibrant throughout their growing season. Regular attention and maintenance will yield beautiful blooms and a thriving garden.
Seasonal Considerations for Hydrangea Care

As you continue caring for your hydrangeas, it is essential to be aware of seasonal changes that may impact their health and growth. Each season brings specific tasks and considerations to ensure your plants thrive throughout the year.
Spring Care
Spring is a vital time for hydrangeas. As temperatures rise and new growth emerges, here are some key activities to focus on:
- Fertilization: As mentioned earlier, applying a balanced fertilizer in early spring supports robust growth and blooming.
- Pruning: For certain varieties, spring is the time to prune dead or damaged stems. This encourages healthy new growth.
- Watering: Monitor soil moisture closely as plants begin to grow actively. Ensure that they are getting sufficient water without becoming waterlogged.
Summer Care
Summer can be challenging for hydrangeas due to heat and potential drought. Here are essential summer care tips:
- Consistent Watering: Hydrangeas need regular watering during hot summer days. Aim to provide deep watering once or twice a week.
- Mulching: Apply a fresh layer of mulch to retain moisture and keep the roots cool during the heat.
- Pest Monitoring: Continue to watch for pests and diseases, especially during the warmer months when these issues can escalate.
Fall Care
As the growing season winds down, fall preparation is crucial for hydrangeas. Key actions include:
- Final Watering: Ensure that hydrangeas are well-watered before winter sets in, especially if fall has been dry.
- Mulching: Adding mulch in the fall can help insulate roots against winter temperatures.
- Pruning (if necessary): Some gardeners may choose to do light pruning in the fall, but this varies by variety.
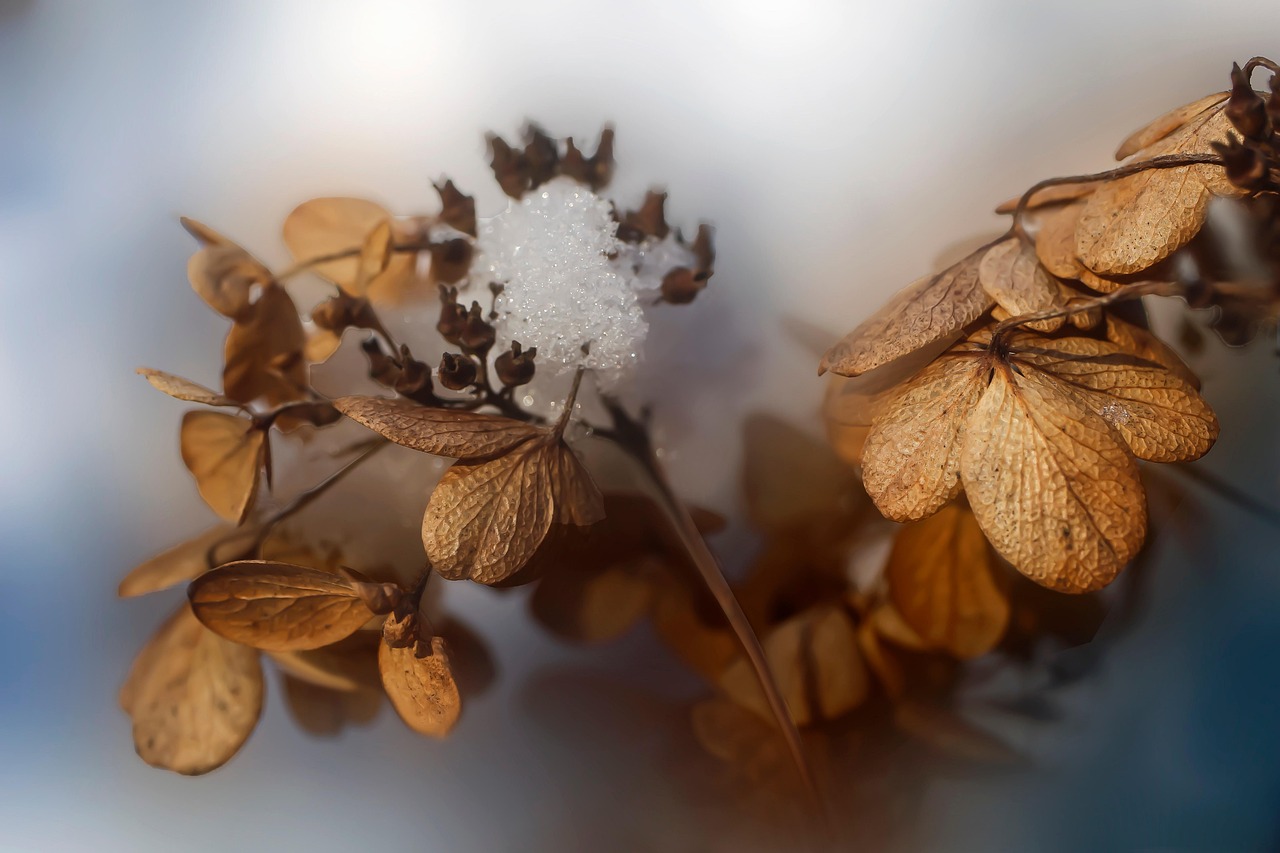
Winter Care
Hydrangeas are relatively resilient, but winter can pose threats from extreme cold and harsh conditions. Here are some winter care tips:
- Protection: In colder climates, consider wrapping young hydrangea plants or covering them with burlap to protect against freezing temperatures.
- Avoid Overexposure: Be cautious with snow accumulation on branches; gently brush off heavy snow to prevent breakage.
- Plan for Spring: Use winter months to plan your gardening activities for the upcoming spring season, including any desired changes to your hydrangea arrangements.
Final Thoughts
Planting hydrangeas outdoors requires understanding their specific needs and the optimal timing for planting. By considering factors like local climate, soil condition, and the specific variety of hydrangea, gardeners can successfully introduce these beautiful plants into their landscapes.
The journey of hydrangea care does not end with planting. Throughout the seasons, consistent watering, proper fertilization, timely pruning, and vigilant monitoring for pests and diseases are essential components of maintaining healthy hydrangeas. With diligence and care, these stunning plants will reward you with vibrant blooms and a lush garden for years to come.
Ultimately, successful hydrangea cultivation hinges on a commitment to understanding their unique needs and adapting care practices accordingly. Whether you’re a seasoned gardener or a newcomer, embracing these principles will lead to thriving hydrangeas that enhance your outdoor space beautifully.